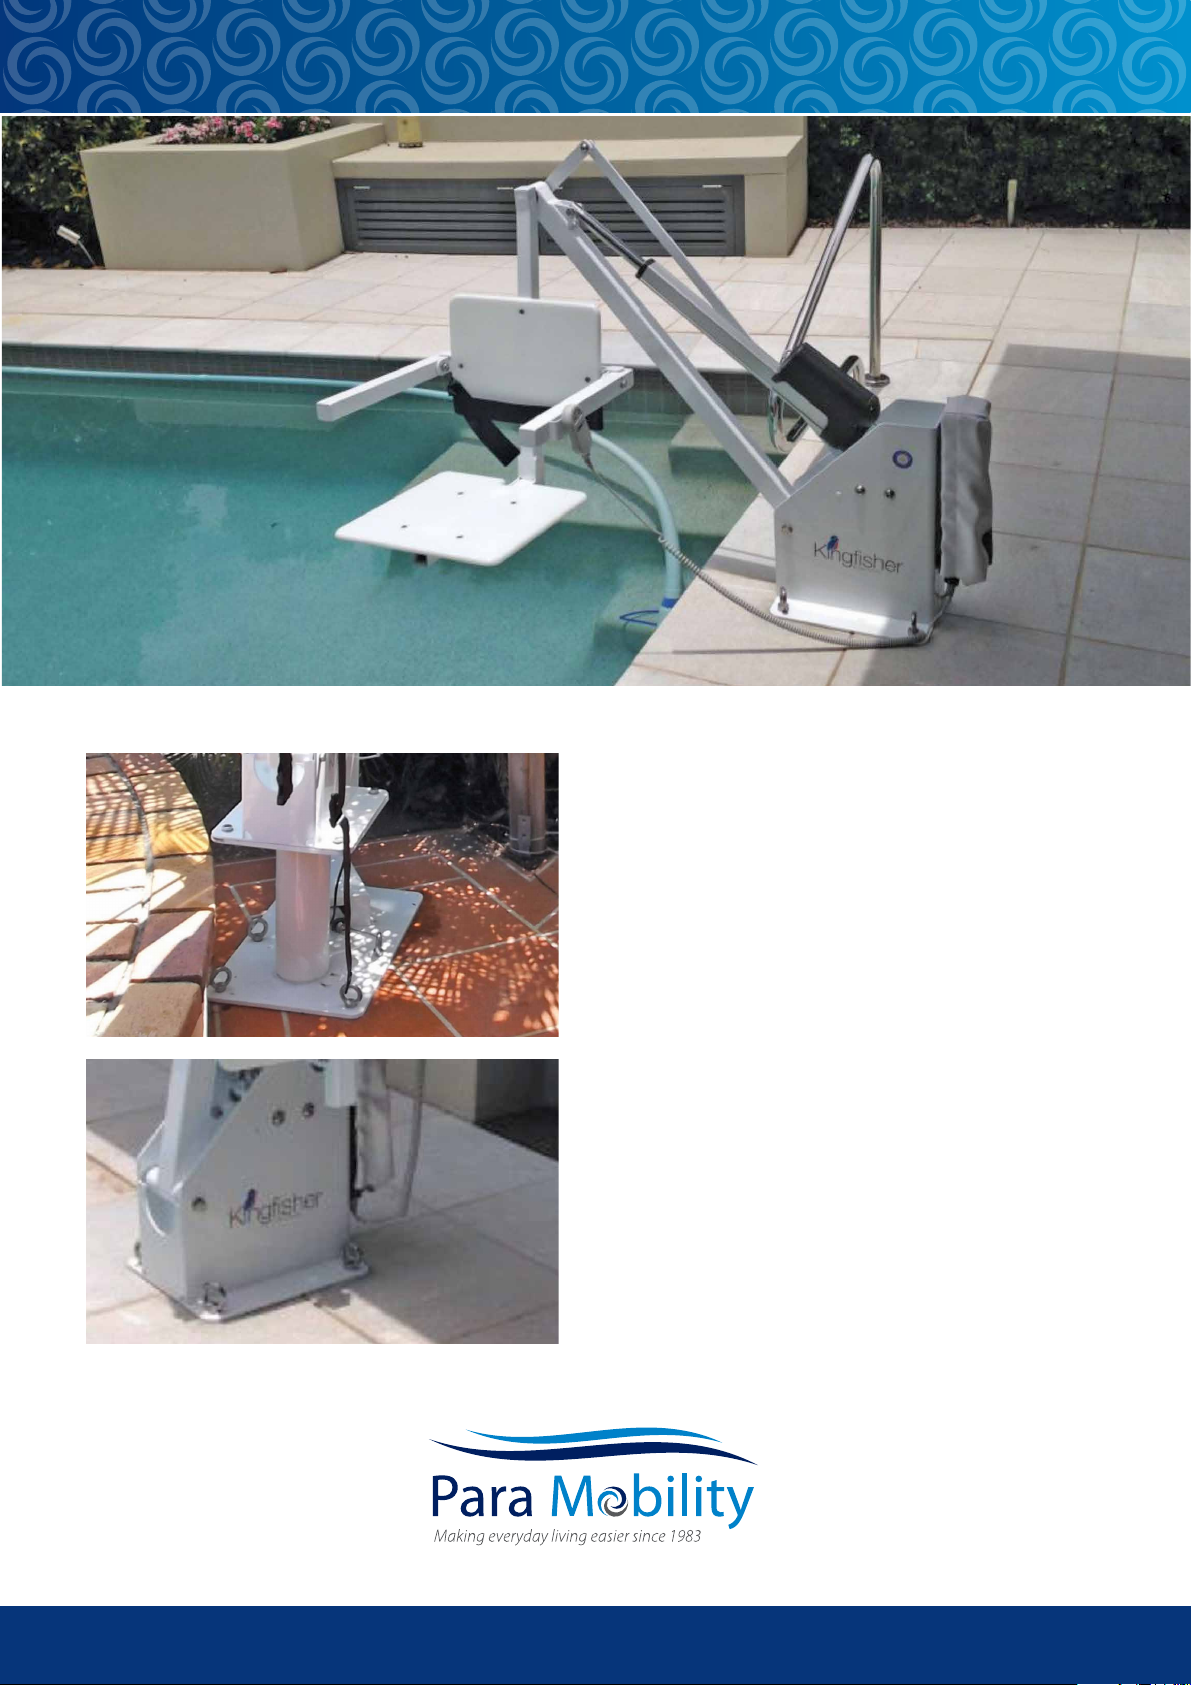
Kingfisher Pool Hoist
Maintenance Schedule and Service Guidelines
The Kingfisher Pool Hoist has been manufactured in Australia and built to Australian Standards. It is
important to regularly check over your pool hoist and associated products from Para Mobility on a
regular basis.
The Kingfisher Pool Hoist is manufactured from stainless steel. Stainless steel is a corrosion resistant alloy
however, it may display rusting characteristics under certain conditions such as in plant rooms or if the
hoist is used in an indoor environment.
Following are some guidelines to assist you in developing a maintenance schedule for your hoist.
•Routinely wipe down all surfaces of the hoist, using un-chlorinated water. This will minimise the
potential build-up of corrosion or rust like symptoms (otherwise known as Tea Staining).
•In the event the equipment displays stubborn stains or heavy deposit build up, specialised
cleaning materials are needed to remove foreign substances to restore the original finish.
•Always use the supplied cover when not in use.
Hand Control
The Hand control is a floating hand
control. Never take the hand control out
of the control box at the bottom of the
hoist unless instructed by Para Mobility or
your distributor. Check the hand control
by regularly pressing the button in the up
and down motion and before a lift to
ensure it is working correctly. Dropping
the hand control on the ground, could
damage the internal workings, please
take care at all times.
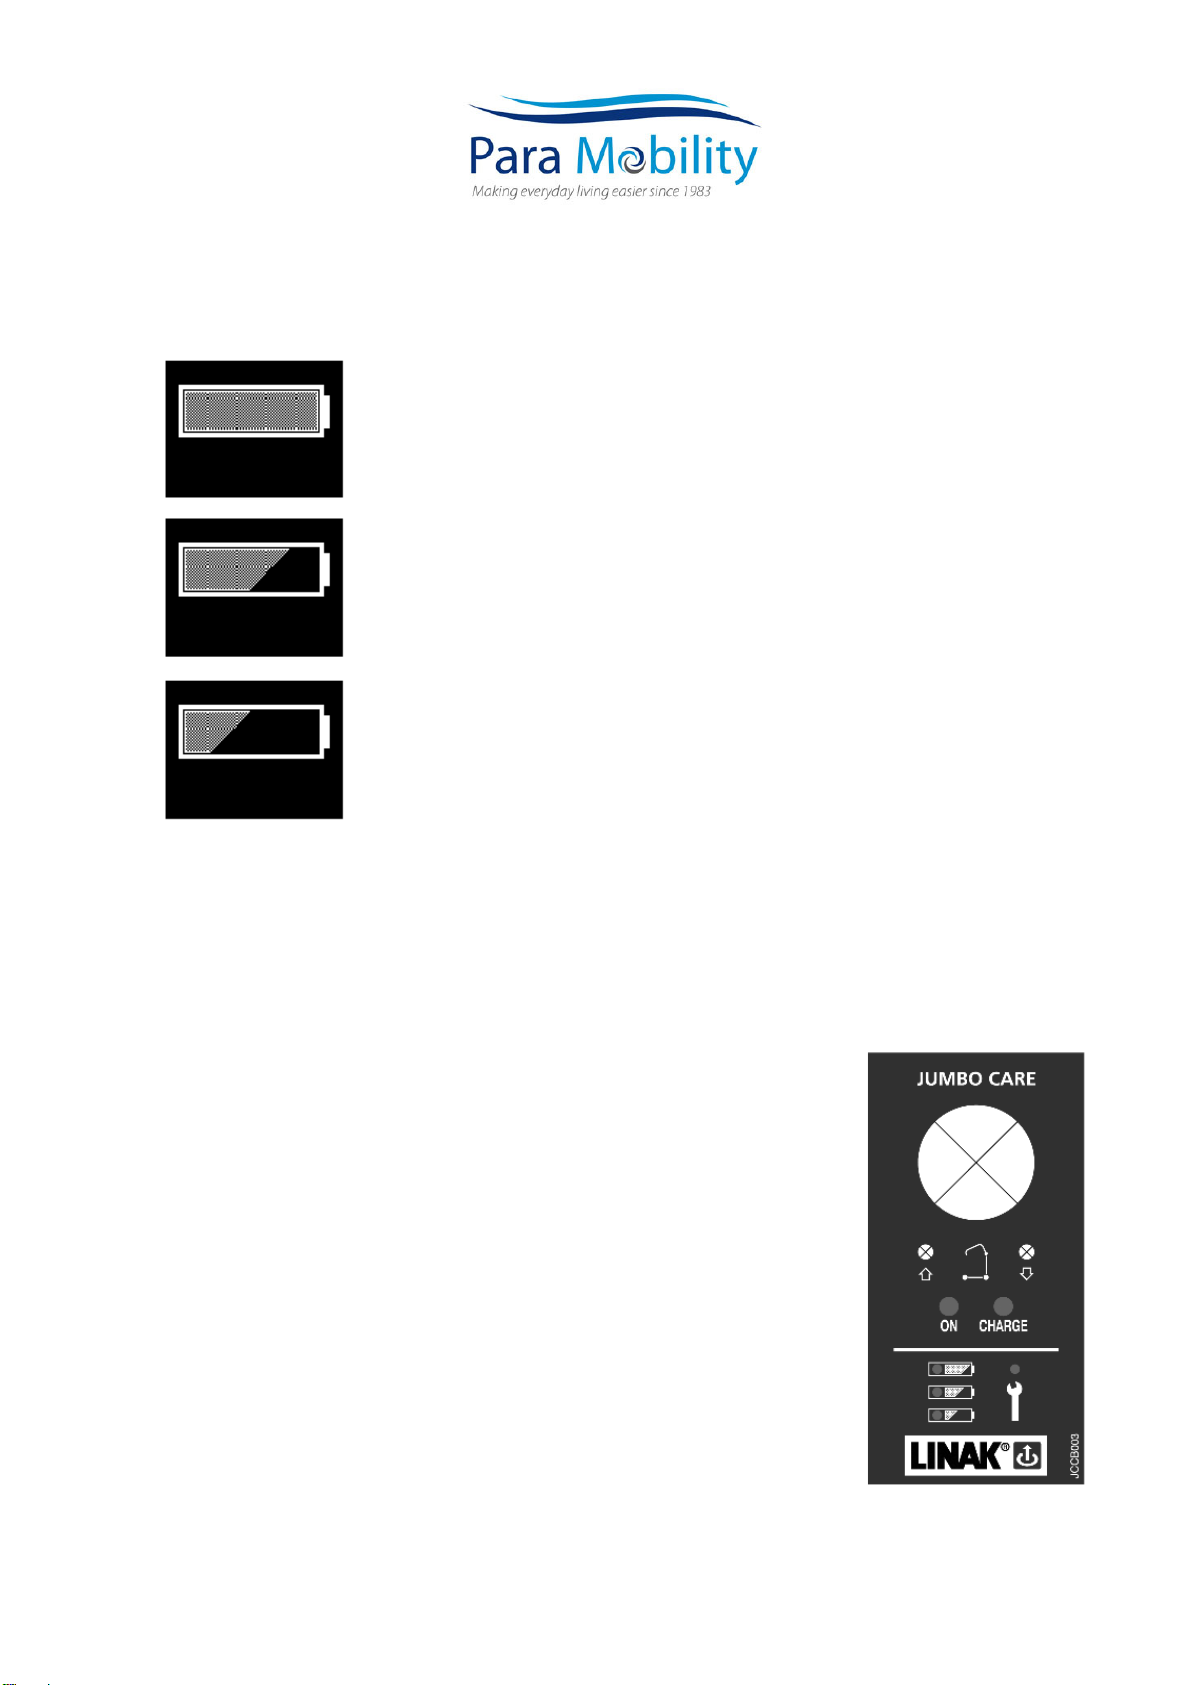
Battery and Control Box
Pool environments can be harsh, and your battery and control box needs to be protected from the
elements and chlorine products. Ensure the cover remains on the control box and battery unless
changing the battery. Check that the battery and control box terminals have a small dab of light
grease to ensure contact is being made. A regular check of these terminals is important to ensure
every lift is successful. If any corrosion builds up on the terminals a light rub with a stainless steel pad will
remove it easily.
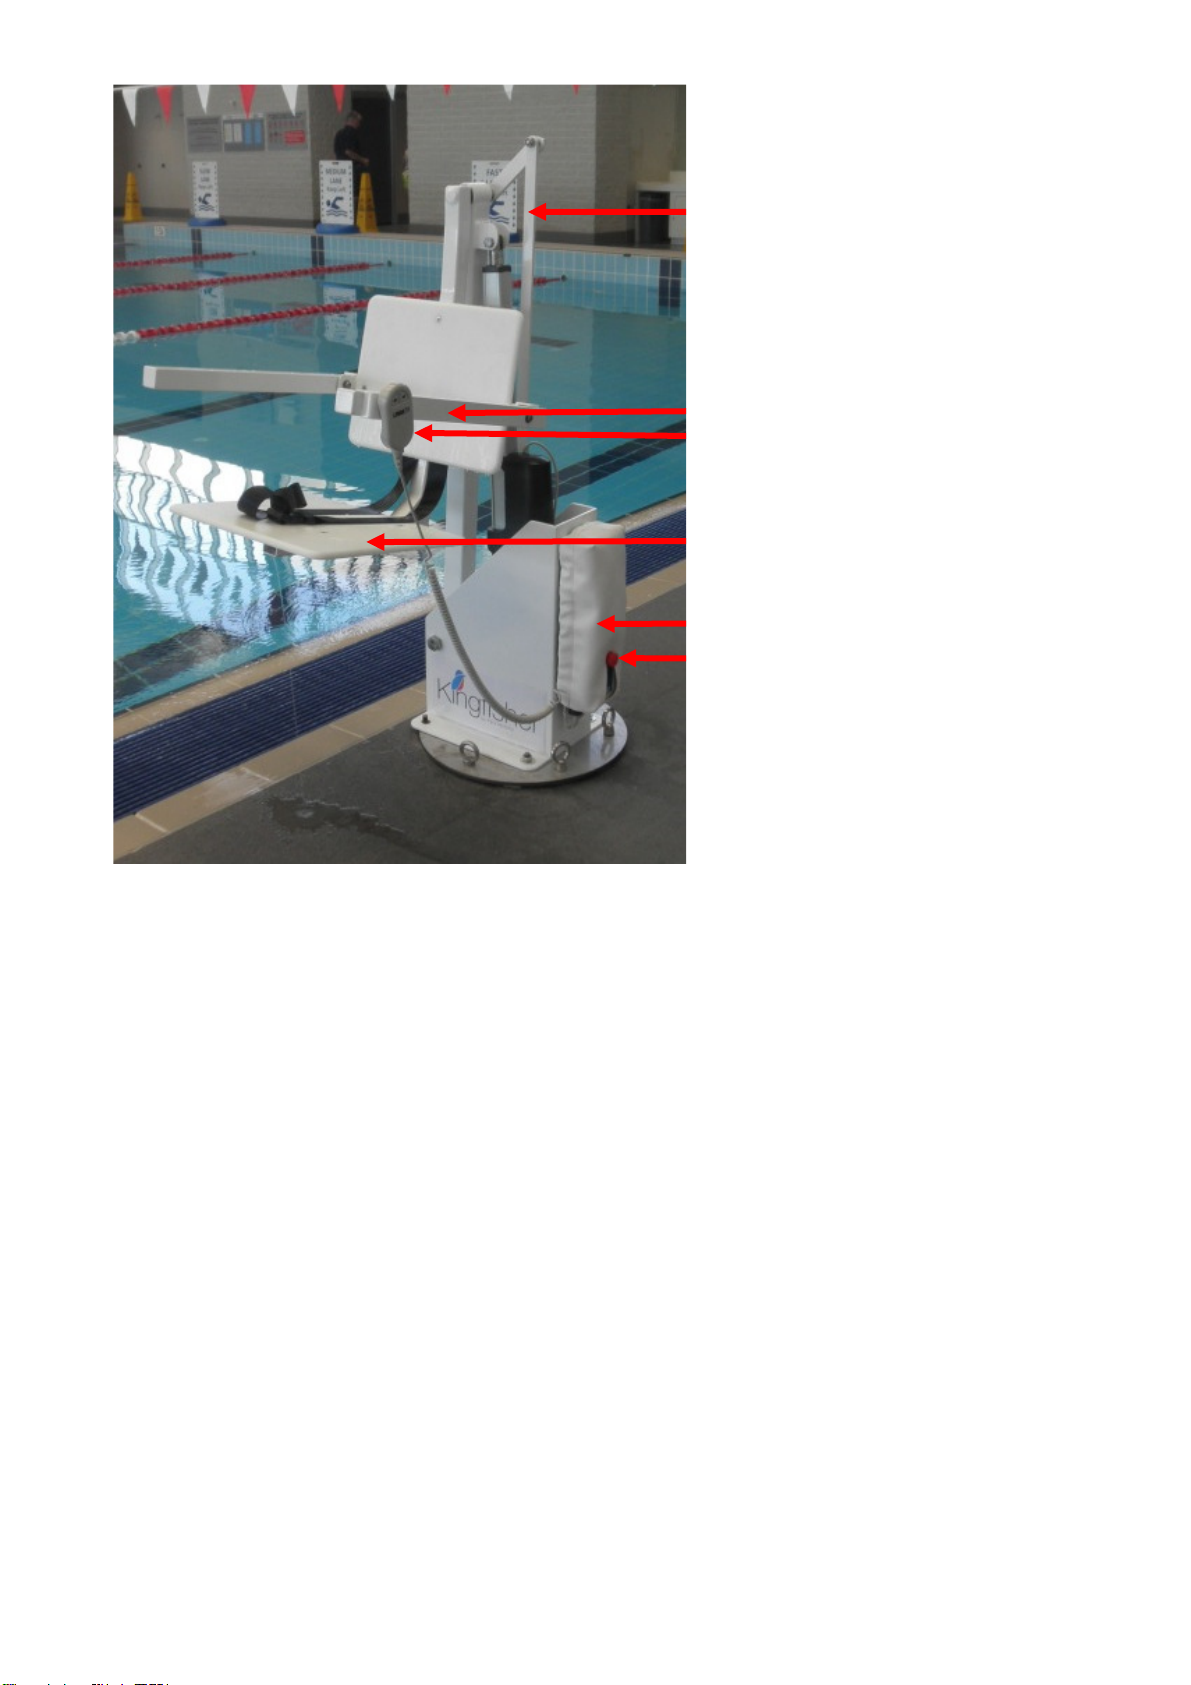
Actuator
The actuator lifts the main arm of the hoist. The hoist must never be rotated by pushing on the actuator,
this will damage the lifting mechanisms. Check to ensure it remains plugged into the bottom of the
control box. It must never be removed from the control box unless instructed by Para Mobility or your
distributor. When storing you pool hoist, DO NOT store it in a plant room where the hoist is exposed to
harsh chemicals, these chemicals could damage some of the inner working of the hoist. The arm of the
hoist must be kept down when not in use to minimise chemical build up on the actuator.
Safe Working Load sticker
This sticker must remain on the hoist at all times. This is the weight the hoist has been tested to lift. If this
needs replacing contact Para Mobility or your distributor.
Actuator
Floating hand control
and holder
Control Box & Battery