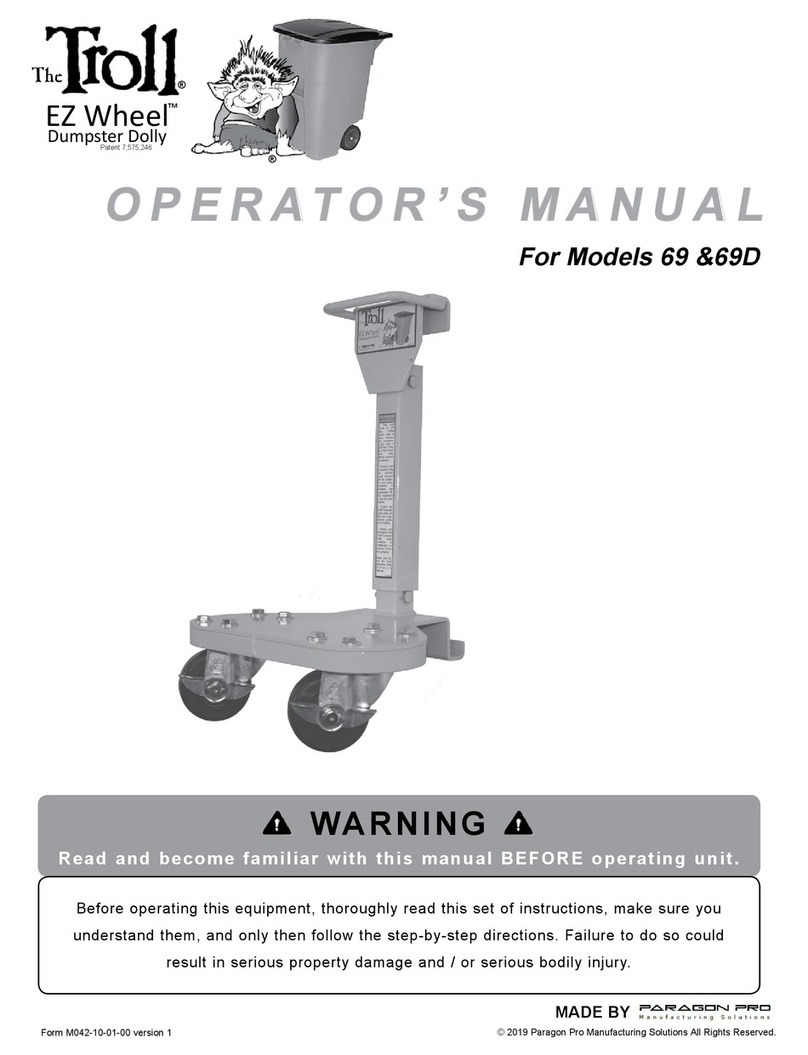
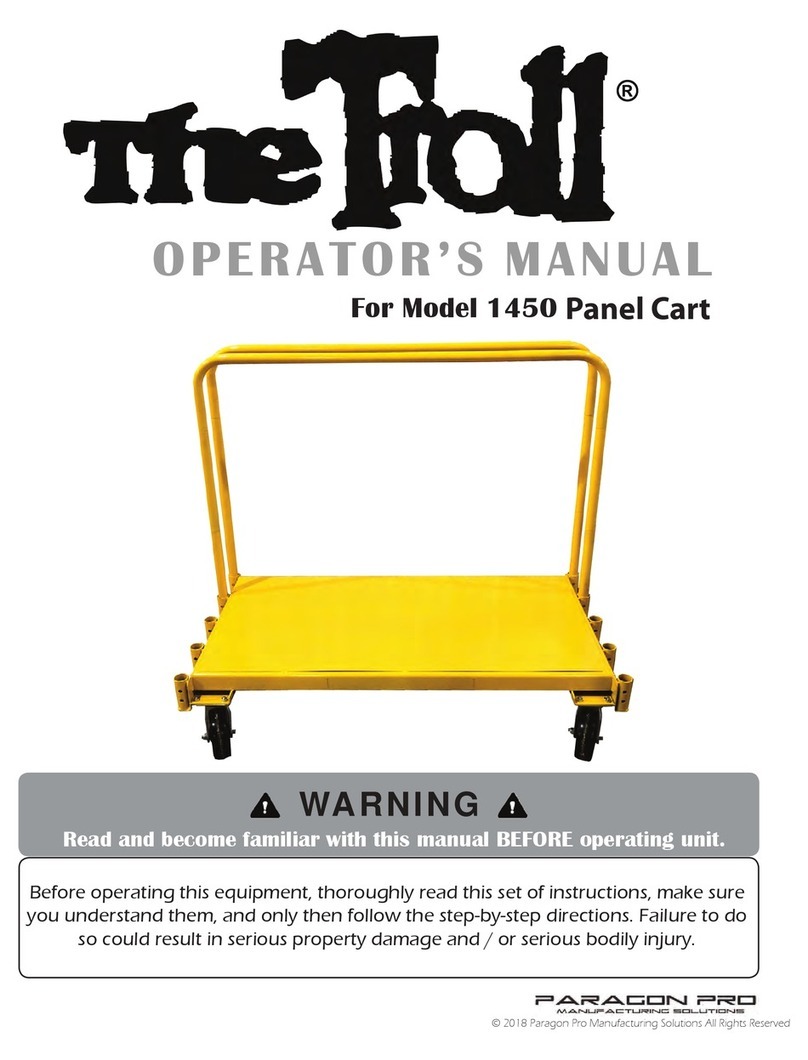
Paragon Pro Troll 2721 User manual

O
P
E
R
A
T
O
R
’
S
M
A
N
U
A
L
®
WARNI N G
Read and become familiar with this manual BEFORE operating unit.
Before operating this equipment, thoroughly read this set of instructions, make sure
you understand them, and only then follow the step-by-step directions. Failure to do
so could result in serious property damage and / or serious bodily injury.
© 2019 Paragon Pro Manufacturing Solutions All Rights Reserved.
O
P
E
R
A
T
O
R
’
S
M
A
N
U
A
L
®

To our valued customer,
Thank you for choosing a product by
Manufacturing Solutions. We are pleased that we are able to provide equipment to
make your work easier.
Our efforts are focused on producing the finest quality equipment of which we
are capable. We make sure to spend extra time and effort on our design and produc-
tion in order to reduce your time and effort spent using the product.
We take pride in providing the best for our customers. Quality, innovation, and
excellence are all qualities this company ensures. No product is sent without being
factory tested and inspected to ensure the highest quality for you.
It all began in 1972 when Roland Young designed our first product, the PANEL-
LIFT® Brand Drywall Lift, and revolutionized the drywall industry. To this day we are
continuously making advancments in manufacturing and design.
Thank you again for giving us the opportunity to work with you. Any questions
or comments that you have are always welcome.
Thank you for choosing a product by
Manufacturing Solutions. We are pleased that we are able to provide equipment to

Step 1:
Lay one of the axle frames upside
down on the oor.
Step 2:
Lay two of the frame tubes on the
axle frame as shown. Be sure that
pivot ears are verticle.
Step 3:
Position the frame tubes on the axle
frame so that the frame tube end
plates are up against the U-bolt
plates as shown.
Step 4:
Insert U-bolts and secure with
washers and nuts. Be sure U-bolts
are aligned square to the frame
tubes at the indicator marks as the
nuts are tightened.
Step 5:
Connect the second set of frame tubes
to the rst set using two 3/4” x 2” bolts
and lock nuts (nger tight only). Be sure
“marked” surfaces of the pivot ears face
and touch each other. This will center
the connection of the oset pivot ears
and keep the frame tubes parallel.
COMPLETED
RIGHT
WRONG
ASSEMBLY INSTRUCTIONS
Note: Assembly sequence requires lifting and positioning heavy components.
Procedure may require two people.

Step 6:
Lift the frame tubes and set the
two remaining axle frames in
position at the U-bolt indicator
marks as shown.
Step 7:
Insert U-bolts and secure with
washers and nuts. Be sure U-bolts
are aligned square to the frame
tubes at the indicator marks as
the nuts are tightened.
Step 8:
Connect the casters to the axle
frames with 3/8” bolts, nuts, and
washers.
Step 9:
Remove the two 3/4”bolts and
nuts from the frame tube pivot
ears and carefully lift and turn
each section of the 2721 Troll
Cart® right side up.
Step 10:
Reconnect the two sections with
the two 3/4” bolts. Tighten the
lock nuts securely. Check all of the
U-bolt connections and re-tighten
if necessary.
ASSEMBLY INSTRUCTIONS CONT.

ASSEMBLY INSTRUCTIONS CONT.
Step 11:
Connect the two end handle sections to the
frame tubes as shown. Insert U-bolts and
secure with washers and nuts. Be sure U-bolts
are aligned square to the frame tubes at the
indicator marks as the nuts are tightened.
Step 12:
Slide in the adjustable side arms to one of
two positions. Pull down on the spring-load-
ed pin to allow movement. (Note: Outer
position of the side arms will allow 4’ wide
material such as wall board to be centered
on the cart.)
(TROLL® 2721 When completed.)
Note: Assembly sequence requires lifting and positioning heavy components. Procedure
may require two people.
Parts Included: Fasteners:
Frame Tubes 4
Axle Frames 3
End Handle Section 2
8” Casters 6
Adjustable Side arms 4
1/2” U Bolts 20
1/2” Flat Washers 40
1/2” Lock Washers 40
1/2” Hex Nuts 40
3/4” x 2” Bolts 2
3/4” Lock Nuts 2
3/8” x 1” Bolts 24
3/8” Lock Nuts 24
5/16” Flat Washers 48

SAFETY INFORMATION
This product contains trace amounts of the following items which are known to cause.
These chemicals are not hazerdous under product’s intended use.
Please review CAS# for more information.
Chemical Hazard CAS# % By Weight
Arsenic
Cadmium
Chromium
Ethylbenzene
Lead
Methanol
Methylene Chloride (Dichloromethane)
Nickel
Propylene glycol monobutyl ether
Toluene
Carbon Black
Cancer
Developmental
Cancer, Developmental
Cancer
Cancer
Developmental
Cancer
Cancer
Cancer
Developmental
Cancer
7440-38-2
7440-43-9
7440-47-3
100-41-4
7439-92-1
67-56-1
75-09-2
7440-02-0
5131-66-8
108-88-3
1333-86-4
Trace
Trace
Trace
Trace
Trace
Trace
Trace
Trace
Trace
Trace
Trace

PARAGON PRO MANUFACTURING SOLUTIONS INC
LIMITED WARRANTY
TELPRO INC products manufactured by PARAGON PRO MANUFACTURING SOLUTIONS INC are warranted to be
free from defects in material and workmanship under normal use for one year from date of purchase.
If a TELPRO INC product is proven to be defective in material or workmanship within the covered time frame
from the date of purchase, return the defective part to PARAGON PRO MANUFACTURING SOLUTIONS INC and
we will either repair or replace the part at our option. We will neither assume nor authorize any other person
to assume for us any other liability.
Written notice including commercial invoice detailing the nature of the defect, date of purchase, and the
company from which you purchased your unit must be received and acknowledged by PARAGON PRO MANU-
FACTURING SOLUTIONS INC before any units may be returned. Shipping costs shall be the responsibility of the
product purchaser.
This warranty shall not apply to any equipment that has been repaired or altered outside of the factory in any
way so as in our judgment to aect its stability or reliability nor which has been subjected to abuse, misuse, or
negligence.
PARAGON PRO MANUFACTURING SOLUTIONS INC reserves the right to make changes or improvements in
design without incurring obligation to install the same on previous units.
PARAGON PRO MANUFACTURING SOLUTIONS INC shall not be liable for loss, damage, or expense directly or
indirectly from use of its products, their transportation, their repair, or from any other cause. Acceptance of
the manufacturer’s product constitutes agreement to the terms of this warranty and further that the manufac-
turer shall have no liability for any special or consequential damages.
This Warranty is in lieu of all warranties express or implied.
Fill in the following information, attach a copy of your sales receipt or invoice and le in a safe place.
Date of purchase: __________/__________/___________
Name& model# _______________________________________________________________________
Serial #: __________________________________________
NOTE: The following components of the PANELLIFT® Model 439 Drywall Lift are warranted to be free from
defects in material and workmanship under normal use for three years from date of purchase.
Part# Description
52-03 #35 chain assembly 52-05 #40 chain assembly
52-07 #50 chain assembly 52-09 1 1/4” #50 roller assembly
52-10 #Outer planet set w/ bronze 52-11 Drive assembly
52-11 #1/2” x 2 1/4” Shoulder bolt w/ fastners 52-15 Clutch assembly w/sprocket
52-16 #40 Winch drive chain
WARRANTY

Questionsabout assembly?
Can’t find a part?
Need some other help?
Call us:
1.800.448.0822
701.775.0551
We’ll get you set up!
’ll get
e
’ll get
’ll get
’ll get
’ll get
’ll get
’ll get
’ll get
’ll get
’ll get
’ll get
’ll get
’ll get
y
’ll get
’ll get
’ll get
ou set up!
y
y
y
ou set up!
ou set up!
ou set up!
ou set up!
ou set up!
ou set up!
ou set up!
ou set up!
ou set up!
ou set up!
ou set up!
ou set up!
ou set up!
ou set up!
ou set up!
ou set up!
ou set up!
ou set up!
ou set up!
ou set up!
ou set up!
ou set up!
ou set up!
ou set up!
ou set up!
ou set up!
W
W
W
W
W
W
W
e
’ll get
e
W
e
WeW
e
’ll get
e
W
e
WeW
e
’ll get
’ll get
’ll get
’ll get
’ll get
’ll get
’ll get
’ll get
’ll get
’ll get
’ll get
’ll get
’ll get
’ll get
’ll get
’ll get
’ll get
’ll get
’ll get
’ll get
’ll get
y
’ll get
’ll get
y
’ll get
’ll get
’ll get
ou set up!
y
ou set up!
y
ou set up!
y
ou set up!
y
y
ou set up!
ou set up!
ou set up!
ou set up!
ou set up!
ou set up!
ou set up!
ou set up!
ou set up!
ou set up!
ou set up!
ou set up!
ou set up!
ou set up!
ou set up!
ou set up!
ou set up!
ou set up!
ou set up!
ou set up!
ou set up!
ou set up!
ou set up!
ou set up!
ou set up!
ou set up!
ou set up!
ou set up!
ou set up!
ou set up!
ou set up!
ou set up!
ou set up!
ou set up!
ou set up!
ou set up!
ou set up!
ou set up!
ou set up!
ou set up!
ou set up!
ou set up!
ou set up!
ou set up!
ou set up!
W
W
W
’ll get
W
’ll get
’ll get
’ll get
’ll get
’ll get
’ll get
’ll get
’ll get
’ll get
’ll get
’ll get
ou set up!
ou set up!
ou set up!
ou set up!
ou set up!
ou set up!
ou set up!
ou set up!
ou set up!
ou set up!
ou set up!
ou set up!
ou set up!
ou set up!
ou set up!
ou set up!
ou set up!
ou set up!
ou set up!
ou set up!
ou set up!
Table of contents
Other Paragon Pro Outdoor Cart manuals
Popular Outdoor Cart manuals by other brands

Ohio Steel
Ohio Steel 34601 User Guide and Parts List

Rock-N-Roller
Rock-N-Roller Multi-Cart R16RT Assembly instructions

Ohio Steel
Ohio Steel 3040P manual

Mitre10
Mitre10 Number 8 EZY BARROW Assembly Instructions & Parts Identifier

Ohio Steel
Ohio Steel SU-3040PS manual

Best Choice Products
Best Choice Products SKY1882 instruction manual