Parker PEPW-2000 User manual

PRESSURE WASHER
OWNERS MANUAL
PEPW-2000, 2500

32
INTRODUCTION CONTENTS
This manual has been produced by Parker Products Ltd. and should be kept with the product and referenced
for operation, maintenance and troubleshooting.
This manual contains an overall description of the product, together with all the necessary information for using the
product correctly and safely. It is highly recommended that this manual is read prior to any operation or maintenance of
this product. The safety precautions and warnings are to ensure your safety and protect you from harm or damage to
the product.
All photographs and drawings in this manual are supplied by Parker Products Ltd. to help you with the operation and
maintenance of the product. The information contained in this manual was accurate at the time of production, however
Parker Products Ltd. may make modifications to the product without notification. This Table Saw has been designed
for personal and private use only.
The product is to be used only for its prescribed purpose, any other use is deemed to be a case of misuse.
The user/operator and not the manufacturer will be liable for any damage or injuries of any kind caused as a result of this.
Please note that our equipment has not been designed for use in commercial, trade or industrial applications.
Our warranty will be voided if the machine is used in commercial, trade or industrial businesses or for equivalent purposes.
GENERAL SAFETY ................................................................................................................... 4-5
SAFETY SYMBOLS .................................................................................................................. 6-7
FOR SAFE OPERATION ........................................................................................................ 8-10
WHAT'S IN THE BOX? ........................................................................................................... 12-13
PRODUCT FEATURES ........................................................................................................... 14-15
PRE-OPERATION ...................................................................................................................... 16
ASSEMBLY ..................................................................................................................................... 17-24
OPERATION .................................................................................................................................. 25-33
MAINTENANCE .......................................................................................................................... 34-36
TROUBLESHOOTING ............................................................................................................ 37
SPECIFICATION ......................................................................................................................... 38
GUARANTEE ................................................................................................................................ 39
DECLARATION OF CONFORMITY .............................................................................. 40

4 5
GENERAL SAFETY GENERAL SAFETY
For safe operation and maintenance symbols are moulded in relief on the machine or shown on a label.
• READ THIS MANUAL CAREFULLY BEFORE USING THIS MACHINE.
• KNOW HOW to stop the unit and reduce pressure immediately. Be completely familiar with the controls.
• CAUTION! Never use this machine if it has been damaged of is in need of replacement parts.
• ALWAYS use eye and ear protection.
• NEVER operate this machine when you are fatigued, ill or under the influence of alcohol, drugs or medication.
• ALWAYS wear heavy, long trousers, boots and gloves suitable for the job.
• DO NOT wear loose clothing, jewellery short trousers, sandals or use when barefoot, and secure long hair.
• ALWAYS Keep good footing and balance at all times – do not overreach or stand on an unstable support.
• ALWAYS have adequate drainage to reduce the possibility of a fall due to slippery surfaces.
• NEVER perform maintenance or assembly procedures on this machine when the engine is running.
• NEVER touch the electrical plug with wet hands.
• NEVER let electrical connections rest in water.
• NEVER operate the pressure cleaner while standing in water.
• NEVER point the high-pressure nozzle at people or animals.
• NEVER operate pressure cleaner without the water turned on.
• NEVER use hot water with this pressure cleaner.
• ALWAYS watch out for children, pets, wildlife and always check the working area is safe before proceeding work
• DO NOT allow children to operate the pressure cleaner at any time.
WARNING
To reduce the risk of injury, user must read
instruction manual.
GLOVES
Gloves should be worn where appropriate.
EYE & EAR PROTECTION
Approved eye & ear protection should be worn at
all times during operation.
BOOTS
Wear sturdy, non-slip boots.
CLOTHING
Appropriate clothing should be worn during
operation. Ensure clothing is made of strong
fabric and is not baggy or loose.
ON
OFF
LOCKED
UNLOCKED

6 7
SAFETY SYMBOLS
SAFETY SYMBOLS
WARNING! To reduce the risk of injury,
user must read instruction manual.
This symbol, before a safety comment, indicates a
PRECAUTION, a WARNING or a DANGER. Ignoring
this warning can lead to an accident for yourself or
for others. To limit the risk of injury, fire, or
electrocution always apply the recommendations
indicated.
KEEP BY STANDERS AWAY.
CONFORMS TO CURRENT SAFETY STANDARDS
DANGEROUS VOLTAGE
GUARANTEED SOUND POWER LEVEL
WARNING! Use of this product can pose a
danger to wildlife. Check areas, particularly
long grass and under bushes for signs of life
if necessary relocate.
NOTE: Not all animals will be deterred by
the noise of the product alone.
WASTE ELECTRICAL PRODUCTS SHOULD NOT BE
DISPOSED OF WITH HOUSEHOLD WASTE.
PLEASE RECYCLE WHERE FACILITIES EXIST
CHECK YOUR LOCAL AUTHORITY OR RETAILER
FOR RECYCLING ADVICE
WARNING! Never to touch the spark plug or
plug cord while the engine is in operation. Doing
so may result in being subjected to an electrical
shock.
DO NOT Expose to rain or use in damp locations
WARNING! Never point the gun to human, animals,
the machine body, power supply or any electric
appliances
To reduce the risk of injury, never direct a water
stream towards people or pets or place any body
part in the stream. Leaking hoses and fittings are
also capable of causing injury.
DO NOT hold hoses or fittings.
Machine not intended to be connected to the
potable water mains
Reduce the risk of injury from kickback, hold the
spray lance securely with both hands when the
machine is on.
A double-insulated product is marked with the
words “double insulation” or “double Insulated”.
No means of grounding is provided on a double-
insulated product, nor should a means for
grounding be added to the product. Servicing a
double-insulated product requires extreme care and
knowledge of the system, and should be done only
by qualified service personnel.
Recycle unwanted materials instead of disposing
of them as waste. All tools, hoses and packaging
should be sorted, taken to the local recyccling
centre and disposed of in an environmentally safe
way.

8 9
FOR SAFE OPERATION
FOR SAFE OPERATION
PROPER USE OF THE ELECTRIC PRESSURE WASHER
WARNING! -This unit is intended for use with cold water only! Do not
use hot water in this pressure washer.
• Operate the pressure washer at no more than the fluid pressure
rated for the pressure washer. Never run the pressure washer without
water supply. Running the unit without a water supply will cause
irreparable damage to the unit.
• Make sure that the water supply you use for the pressure washer is
not dirty, sandy, and does not hold any corrosive chemical products.
Using a dirty water supply will compromise the long life of the
pressure washer.
• NEVER move the unit by pulling on the high pressure hose. Use the
handle provided on the top of the unit.
• Always hold the high pressure gun and lance with two hands. Keep
one hand on the gun/trigger, while supporting the lance with the
other hand
• When dispensing detergent, the pressure washer applies detergent
to the cleaning area at low pressure only. Once the detergent has
been applied, spray the detergent o of the work area by using the
adjustable nozzle.
CAUTION -The pressure washer can be used for a variety of
applications including washing cars, boats, patios, decks, etc. where high
pressure is necessary to remove dirt and debris. High-pressure water
flow can damage the work surface if not used properly! Always test the
spray in an open area first.
WARNING! -DO NOT tamper with or adjust the safety valve setting.
The safety valve is also a pressure limiting valve.
• When the gun trigger is released, the valve opens, the pressure
switch is activated, the machine will automatically shut down.
• If the gun nozzle is blocked, it will cause the unit pressure to rise,
the safety valve will open, the pressure switch is activated, the unit
automatically shuts down.
USE OF EXTENSION CORDS
Use of an extension cord with this product is not recommended. If you
must use an extension cord, use only extension cords that are intended
for outdoor use. These cords are identified by a marking “acceptable for
use with outdoor appliances, store indoors while not in use.” Use only
extension cords having an electrical rating not less than the rating of
the product. Examine extension cord before use. Do not use damaged
extension cords! Do not pull on cord to disconnect from receptacle,
always disconnect by pulling on plug. Keep cord away from heat and
sharp edges. Always disconnect the extension cord from the receptacle
before disconnecting the product from the extension cord.
WARNING -Unsuitable extension cables can be dangerous, if an
extension cable is used, it must be suitable for outdoor use and the
connection must be kept dry and o the ground. If an extension cord
is used, the plug and socket must be waterproof. Use of a power cable
reel which keeps the socket at least 60mm above the ground is strongly
recommended.
IMPORTANT SAFETY PRECAUTIONS
Failure to follow all Safety Rules and Precautions can result in serious
injury. Read the instruction manual carefully until you completely
understand and can follow all warnings and safety rules before
operating the unit. Restrict unit to users who understand and will follow
all warnings and safety rules in this manual
WARNING - When using this product, basic precautions should always
be followed, including the following:
• If the supply cord is damaged, it must be replaced by the
manufacturer, its service agent or similarly qualified persons in
order to avoid a hazard.
• The unit must not be used by children. Children should be
supervised to ensure that they do not play with the appliance.
• This machine must not be used by persons (including children) with
reduced physical, sensory or mental skills or lack of experience and
knowledge.
• This machine can be used by persons with reduced physical,
sensory or mental abilities or lack of experience and knowledge
when they are supervised or safe use of the machine and the
resulting dangers are understood.
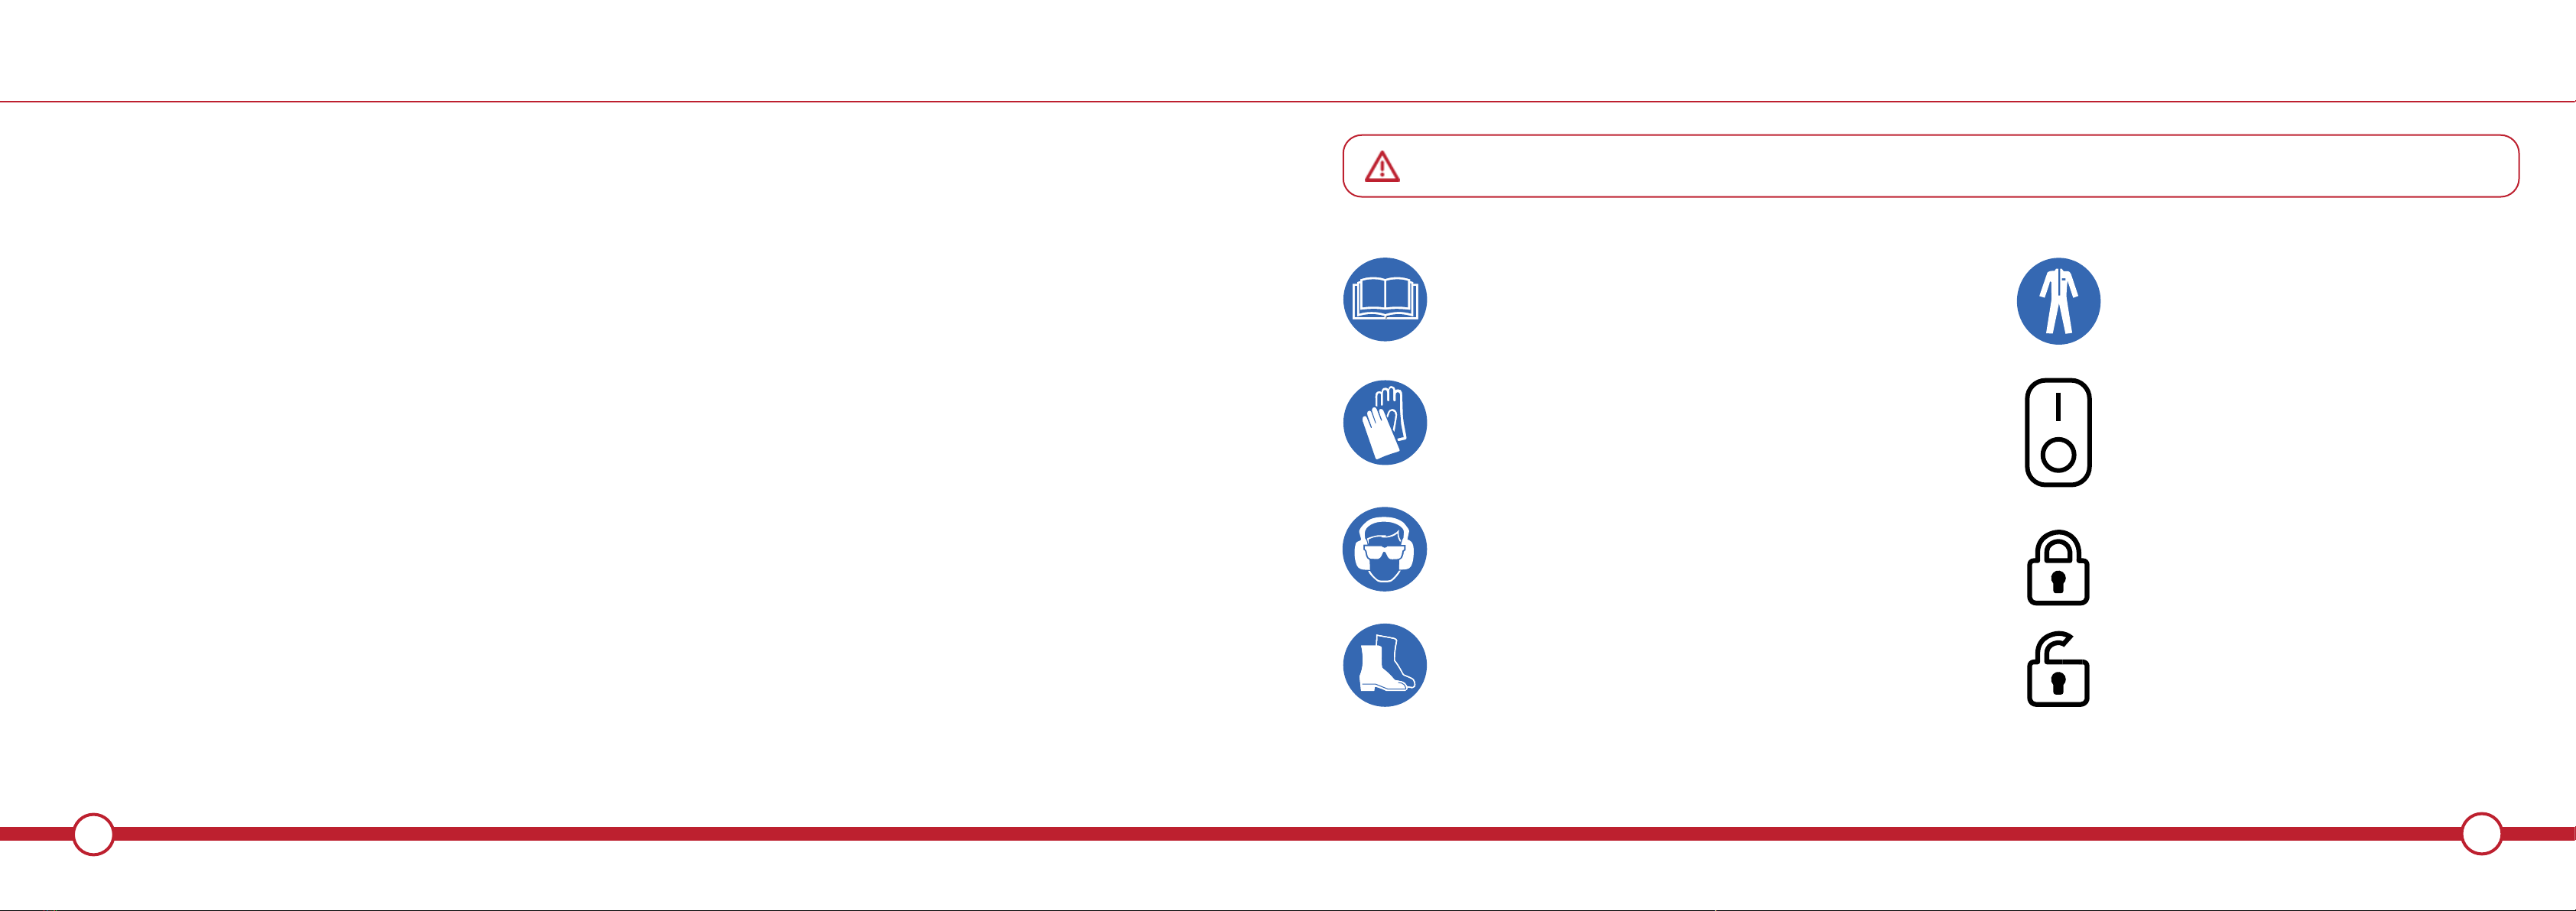
• Use suitable personal protective equipment (PPE) for high-pressure
cleaners in operation, Eg safety shoes, protective gloves, protective
visors, hearing protection, etc. when operating the appliance.
WARNING - Danger of recoil forces and the suddenly occurring torque
on the nozzle when the spray gun is opened.
WARNING - This unit has been developed for the use of the
detergent supplied or recommended by the manufacturer. The use of
other cleaning agents or chemicals can aect the safety of the unit.
WARNING! - High pressure jets can be dangerous if used improperly.
The jet must not be directed at persons, active electrical equipment or
the unit itself.
• Do not use the appliance with people within its range of action
unless they are wearing protective clothing.
• Do not point the jet at yourself or others to clean clothing or
footwear.
• Disconnect the power supply before carrying out maintenance.
• High pressure cleaners must not be operated by children or
unskilled persons.
i
i
i

10 11
FOR SAFE OPERATION
• To ensure the units safety, only use original spare parts from the
manufacturer or use spare parts approved by the manufacturer.
• Do not use the appliance if a power cable or important parts of the
appliance are damaged.
WARNING - Do not use the machine if a connecting cable or important
parts of the machine are damaged, Eg safety devices, high pressure
hoses, spray gun.
• The machine is not suitable for connection to portable water pipes.
• Connect the machine to the mains water supply.
• Use the machine on a flat surface.
• Before use, make sure that the inlet and the nozzle are not blocked.
• After use, make sure there is no water in the pump and hose.
• When the nozzle is blocked or the high pressure hose is knotted, the
overload protection function automatically activates and the
machine is switched o.
• After solving the fault, the machine can be turned back on.
WARNING! -When using this product, basic precautions should
always be followed, including the following:
• Intended for outdoor household use only.
• Do not use a damaged high pressure hose.
• Do not use near combustible materials, combustible fumes, or dust.
• Some chemicals or detergents may be harmful if inhaled or ingested
causing severe injury. Use a respirator or mask whenever there is a
chance that vapors may be inhaled. Read all instructions included
with the mask so you are certain the mask will provide the necessary
protection against inhaling harmful vapors.
• Before starting the pressure washer in cold weather, check all of the
parts of the equipment and be sure that ice has not formed. Do not
store the unit anywhere that the temperature will fall below 0 C (32 F).
• Do not make any modifications to any of the components!
• Units with broken or missing parts, or without the protective housing
or covers should NEVER be operated.
• Keep the high-pressure hose connected to the pressure washer and
the spray gun while the system is pressurized. Disconnecting the
hose while the unit is pressurized is dangerous, and may cause injury.
• Do not leave the pressure washer unattended while ON.
• Keep water spray away from electrical wiring or fatal electric shock
may result.
• Remove the plug from the socket-outlet during maintenance.
THIS PAGE HAS INTENTIONALLY BEEN LEFT BLANK

12
OPERATION
WHAT’S IN THE BOX
13
WHAT’S IN THE BOX
MAIN BODY
(PEPW-2500)
GRIP
HANDLE
LANCE
HIGH PRESSURE
HOSE
HOSE
REEL
GUN
STORAGE
HOOK
GUN / LANCE
HOLSTER
ACCESSORIES
HOLDER
HOSE
CLIP
NOZZLE
PIN
HOSE REEL
BRACKETS
HOSE REEL
HANDLE
SCREWS
x8
INLET
FILTER

14 15
PRODUCT FEATURES
PRODUCT FEATURES
TOUGH PLASTIC
WHEELS
DETERGENT
CONTAINER
HIGH PRESSURE
HOSE STORAGE
GUN/LANCE
STORAGE HOLSTER
ADJUSTABLE
SPRAY NOZZLE
ACCESSORIES
HOLDER
HOSE INLET
CONNECTOR
STORAGE
HOOK
HOSE REEL
HANDLE
ERGONOMIC
GRIP HANDLE
HIGH PRESSURE
HOSE OUTLET
POWER
SWITCH
GUN/LANCE

16 17
ASSEMBLY
PRE-OPERATION
1INSPECT PRESSURE WASHER
Check the Pressure Washer is not damaged and all components are in good
working order before use. Regular periodic inspection is required to ensure
the Pressure Washer is suitable for the task.
Before using the Pressure Washer a risk assessment should be carried out
respecting the legislation in the country of use.
Fully inspect pressure washer before use. Ensure all correct parts are supplied with the product.
If any parts are missing/damaged or for support contact ParkerBrand customer services directly on 01507 499198.
Secure the accessories holder to the rear of the
main body of the pressure washer with the screws
provided.
21 ATTACH ACCESSORIES HOLDER
Attach the accessories holder to the rear of the
main body of the pressure washer.
SECURE ACCESSORIES HOLDER

18 19
ASSEMBLY
ASSEMBLY
Secure the grip handle on to main body of the
pressure washer with the screws provided.
21 ATTACH GRIP HANDLE
Slide the grip handle on to the main body of the
pressure washer.
SECURE GRIP HANDLE
The Gun / Lance Holster and Power Cord Hook
help keep the pressure washer in good order.
Ustilise the storage both when in use and when
storing the machine for any period of time.
3USING HOLSTER & HOOK
Attach the Gun / Lance Holster by sliding it
on to the securing tab located on the left hand
side of the machine.
Push the Gun / Lance Holster on to the
securing tab until it clicks in to place.
1ATTACH GUN / LANCE HOLSTER
Attach the Power Cord Hook by sliding it on to
the securing tab located on the right hand side
of the machine.
Push the Power Cord Hook on to the
securing tab until it clicks in to place.
2ATTACH POWER CORD HOOK

20 21
1234
ASSEMBLY
ASSEMBLY
Attach the assembled Hose Reel Handle to the hose
Reel. Slide the Handle in to the Hose Reel centre hole
Be careful to align the 4 lugs on the handle to the
spaces on the Hose Reel. Slide the Handle in to the
Hose Reel until it snaps in to place.
ATTACH HANDLE TO REEL
Slide the Hose Reel Brackets on to the Hose Reel.
FIT HOSE REEL BRACKETS
Push the Hose Reel Handle through the Hose Reel
Handle Crank. The Hose Reel Handle will snap in to
place.
ASSEMBLE HOSE REEL HANDLE
Secure the assembled Hose Reel on to the Grip
handle by utilising the provided screws.
SECURE HOSE REEL
Follow the hose reel assembly guide closely, follow each step to ensure correct fitment at the first attempt.

22 23
ASSEMBLY
ASSEMBLY
Attach the Gun and Lance. The gun is spring
loaded so there will be slight resistance when
attaching the Lance.
2ATTACH GUN & LANCE 1ASSEMBLED GUN & LANCE
1GUN & LANCE
Locate the Gun and Lance for the pressure washer.
The gun and lance needs to be assembled
correctly before use of the machine can commence.
Once the Lance is attached to the gun it is ready to
be used with your pressure washer.
43 TWIST & LOCK
Twist and lock the Lance in to place. Make sure the
locking lug on the Lance is in the correct position
within the Gun.
WARNING! If the lance is not locked in place correctly it can become loose during use.
WARNING! Due to high pressure a loose lance can become a projectile potentially cause injury/Damage.

24 25
ASSEMBLY
Always connect the high pressure hose when the machine is O(0)
1ATTACH HIGH PRESSURE HOSE
Attach the high pressure hose to the pressure
washer water outlet. Ensure that the hose is
connected properly to prevent any leaks and full
pressure can be achieved.
OPERATION
Ensure all assembly instructions have been followed and carried out correctly.
Be aware the motor does not run continuously, only when the trigger is squeezed.
2ATTACH HIGH PRESSURE HOSE TO GUN
Attach the high pressure hose to the gun. Ensure
that the hose is connected properly to prevent any
leaks and full pressure can be achieved.
1STARTING THE MACHINE
1. Make sure that the power switch is in the 'O'(0) position.
2. Ensure the high pressure hose is connected to both the
machine and the gun correctly.
3. Connect the garden hose to the water inlet fitting.
4. Open the water supply valve completely.
5. Before turning the unit on, press the gun trigger to bleed
all the remaining air out of the pump and hose.
6. Start the pressure cleaner by turning the on/o switch to
the 'On'(I) position and squeeze the trigger.

26 27
OPERATION
OPERATION
Wipe away any remaining water on all parts and fittings
Failure to follow the above instructions may cause damage to the machine
1STOPPING THE MACHINE
1. Turn the power switch to the 'O'(0) position.
2. Turn o the water supply.
3. Discharge the high-pressure water left in the machine.
4. Disconnect high-pressure hose from the pressure washer
and gun.
5. Disconnect garden hose from the water inlet
6. Drain detergent reservoir and flush with running water.
7. Drain any remaining water from inlet and outlet fittings.
8. Engage the gun safety lock.
High pressure jets are dangerous if subject to misuse.
The jet must not be directed at persons, animals, live electrical equipment or the appliance itself.
Do not direct the jet against yourself or others in order to clean clothes or foot-wear.
1SQUEEZE TRIGGER
Squeezing the trigger whilst the machine is on will
activate the pressure washer and release a high
pressure jet of water.
2RELEASE TRIGGER
To stop the flow of the high pressure water jet
simply release the trigger.

28 29
OPERATION
OPERATION
When not in use always use the safety lock to prevent accidentally engaging the high pressure spray.
1SAFETY LOCK ON
This pressure washer is equipped with a gun
trigger safety lock. To lock the trigger push the
safety lock button into the 'Locked' position.
Always lock the trigger when not in use.
2SAFETY LOCK OFF
To unlock the trigger push the safety lock button
into the 'Unlocked' position. Only unlock the trigger
when you are ready to use the machine.
When using the pressure washer to clean wood decks, siding, vehicles etc., always start using the fan spray.
Spray from a minimum of 36” (36 Inches) away to avoid damaging the surface of the material you are cleaning.
Fully turn the adjustable nozzle in an
anti-clockwise direction to achieve a fan spray
from the pressure washer.
3FAN SPRAY
The adjustable nozzle will allow you to use any
variety of spray patterns from a full fan spray
to a direct stream spray. Adjust the spray nozzle
by turning it in the directions dispayed on the
nozzle itself
1ADJUSTABLE SPRAY NOZZLE
Fully turn the adjustable nozzle in a clockwise
direction to achieve a direct stream from the
pressure washer.
2DIRECT STREAM

30 31
OPERATION
OPERATION
Slide the button to “lock” to secure the gun in
the position required.
3LOCK GUN ANGLE
Slide the button to “unlock”, to access the
rotating function on the gun.
1UNLOCK GUN ANGLE
Rotating the gun will adjust the cleaning
angle, to help the user find the most
comfortable and eicient cleaning position
possible.
2ROTATE GUN
Detergent will only dispense when the lance is in the low pressure position.
Do not add water to the detergent tank, only add liquid detergent, water will be mixed automatically.
1USING DETERGENTS
The built-in detergent dispenser will allow you to
apply many forms of liquid detergent onto the work
surface. The detergent dispenser tank can be found
at the rear of the machine.
2REMOVE TANK
Remove the cap on the detergent tank and remove
from the machine. Fill with liquid detergent only, do
not put any water into the tank. The pressure
washer will mix water and detergent automatically.

32 33
OPERATION
OPERATION
Never use products with bleach or chlorine or any other corrosive materials, including liquids containing
solvents (i.e. gas, oils etc), tri-sodium phosphate products, ammonia, or acid-based cleaners. These
chemicals will harm the unit and cause damage to the surface being cleaned. always read the label.
1ADJUST PRESSURE
Adjust the pressure by rotating the nozzle in either
direction indicated on the side of the nozzle.
2PRESSURE SETTING
The machine will only dispense the detergent in the
tank when in the lance is in the low pressure
position. To disperse any detergent from the
working surface select the high pressure position.
HIGH
LOW
To disconnect the high pressure hose from the ma-
chine slide the hose release button to the left. The
high pressure hose should easily disconnect from
the machine.
2DISCONNECT HOSE FROM MACHINE
1DISCONNECT HOSE FROM GUN
To disconnect the high pressure hose from the
gun press the hose release button. The high
pressure hose should easily disconnect from the
gun.
Never disconnect the high pressure hose whilst the machine is in use.
When disconnecting the hose ensure the machine is O (0) and all pressure is purged from the machine

34 35
MAINTENANCE
MAINTENANCE
When the Nozzle gets blocked it will cause the pump to build pressure and may cause the unit to surge damaging the machine.
Only attempt to clear the Nozzle when the machine is O(0) and has been fully purged of any pressure.
Move the Nozzle pin back and forth whilst
inserted into the Nozzle Jet. This will help rid the
jet of any deposits that may have built up during
use.
3DISLODGE BLOCKAGES
Check the Nozzle jet regularly to ensure that
there are no blockages or built up residue.
1UNBLOCK LANCE
Clean the Nozzle jet by inserting the Nozzle Pin
into the Nozzle Jet.
2INSERT NOZZLE PIN
A blocked water inlet can restrict water supply to the pump which in turn can damage the machine.
You can not use the inlet rubber seal and filter at the same time. Remove the rubber seal if you wish to use the filter.
If using the inlet filter, remove the filter and
clean any residue from the filter and Inlet
that may have built up during use.
3INLET FILTER
The water inlet must be inspected regularly
to avoid blockages.
1WATER INLET
Remove the water inlet and inspect.
Remove the rubber seal and clean any
residue from the seal and Inlet that may
have built up during use.
2INLET RUBBER SEAL

36 37
TROUBLESHOOTING
MAINTENANCE
CLEAN - UP AND STORAGE
SHUTTING DOWN AND STORING THE PRESSURE WASHER
• Turn the pressure cleaner to the OFF(0) position.
• Turn o the water supply.
• Before disconnecting high-pressure hose connection, point the gun
in a safe direction and discharge the high-pressure water.
• Disconnect high-pressure hose from the pressure cleaner and gun.
• Disconnect garden hose from the pressure washer.
• Remove quick coupler fitting from garden hose and attach to the
nipple portion of the fitting installed on the pressure cleaner for
storage.
• Remove excess water from the pump by tipping the unit on both
sides to drain any remaining water from inlet and outlet fittings.
• Remove Water Intake and flush with water to remove dirt or debris.
Return filter once cleaned.
• Drain detergent reservoir and flush with running water.
• Wipe away any remaining water on all parts and fittings.
• Engage the gun safety lock.
• Store the pressure washer, parts, and accessories in an area with a
temperature above 0 C (32 F).
WINTERIZING AND LONG-TERM STORAGE
Follow all of the above shut-down procedures, adding the following
steps:-
• After disconnecting the water supply, and before disconnecting the
high-pressure hose, turn the pressure cleaner on for 2-3 seconds,
until any remaining water in the pump exits.
WARNING - DO NOT run the machine for too long. Continued use of
the pressure washer without water supply attached will cause severe
damage to the unit!
• Always store the pressure cleaner, parts, and accessories in an area
with a temperature above 0° C (32° F).
WARNING - Failure to comply with these storage instructions will result
in damage to the pump assembly.
MAINTENANCE
WARNING!
Before performing any maintenance on this machine, turn the power
switch to O(0) and unplug from the mains.
• This pressure washer is supplied with a closed lubrication system, so
no addition of oil is needed.
• Check all hoses and accessories for damage prior to use.
• Check the water inlet periodically for deposits. Clean this regularly for
maximum performance.
i
i
PROBLEM POSSIBLE CAUSE CORRECTIVE ACTION
Machine will not start when power
switch is in the 'On(I)' position
Power socket is faulty Check plug, socket, fuses.
Voltage is inadequate Check whether the voltage is adequate
Power cord is not plugged in. Plug power cord in.
Pump does not reach adequate
pressure / Power fluctuates
Water inlet is clogged. Remove and clean inlet.
Pump is drawing air. Tighten connections / bleed system
Suction valves are clogged/worn. Clean or replace valves.
Diameter of garden hose is too small. replace with 3/4 inch garden hose.
Water supply is restricted. Check hose for kinks or leaks.
Insuicient water supply.Fully open water source.
Will not maintain pressure Excessive air in waterline and pump. Turn unit and water supply o / Bleed system / Hold trigger down..
Excessive noise
Intake is blocked. Check intake valves.
Valves are worn, dirty or clogged. Check, clean or replace valves
Filter is dirty. Check, clean or replace filter
Machine cuts out during use Net voltage lower than suggested. Check whether the voltage is adequate.

38 39
SPECIFICATION GUARANTEE
SPECIFICATION
Model - PEPW-2000 PEPW-2500
Rated voltage - AC220-240V ~ 50Hz AC220-240V ~ 50Hz
Rated power - 2000 W 2500 W
Rated pressure - 110 bar 130 bar
Max. pressure - 160 bar 195 bar
Rated flow - 6.5 L/min 7.0 L/min
Max. flow - 7.5 L/min 7.8 L/min
Max. water inlet pressure - 1.2 MPa 1.2 MPa
Max. water inlet temperature - 50°C 50°C
Vibration value (K=1.5/s) - ≤2.5 m/s≤2.5 m/s
Weight - 8.5kg 8.9kg
*All measurements are approximate.
If you require further information please contact ParkerBrand directly
Your machine has been made and assembled with care. In view of this, Parker Products Ltd guarantees
your product against defective material or damage for period of a minimum of 12 months from the
date of purchase. A proof of purchase must be provided with the product.
If any fault is caused by defective materials or the quality of the build, repair will be carried out free
of charge. However, this guarantee does not apply in the case of normal wear and tear.
This includes items such as recoils, starting mechanisms, spools, carburettors, blades and the like.
Please go to www.parkerbrand.com in order to view the full warranty terms and exemptions from
the warranty. Any damage caused by misuse, accident or any repair from an unauthorised agency is
absolutely not covered by our warranty.
In case of any fault please contact us directly or return the product to us, Parker Products Ltd, or an
authorised repair agent. You can find all contact information on the ParkerBrand website.
In order for you to aect your guarantee you must provide proof of purchase in the form of a dated
receipt or invoice within the 12-month period of purchase. If repairs are outside of the warranty
period, a quote will be made accordingly.
This manual suits for next models
1
Table of contents
Other Parker Pressure Washer manuals