15/05/2019 MIGRO O&M 100 VEG & 200 - Google Docs
https://docs.google.com/document/d/1rqxNqlDkC9_60hCEOrYGwPmvNeO9Ja8qBtiQkrCTpPg/edit 10/11
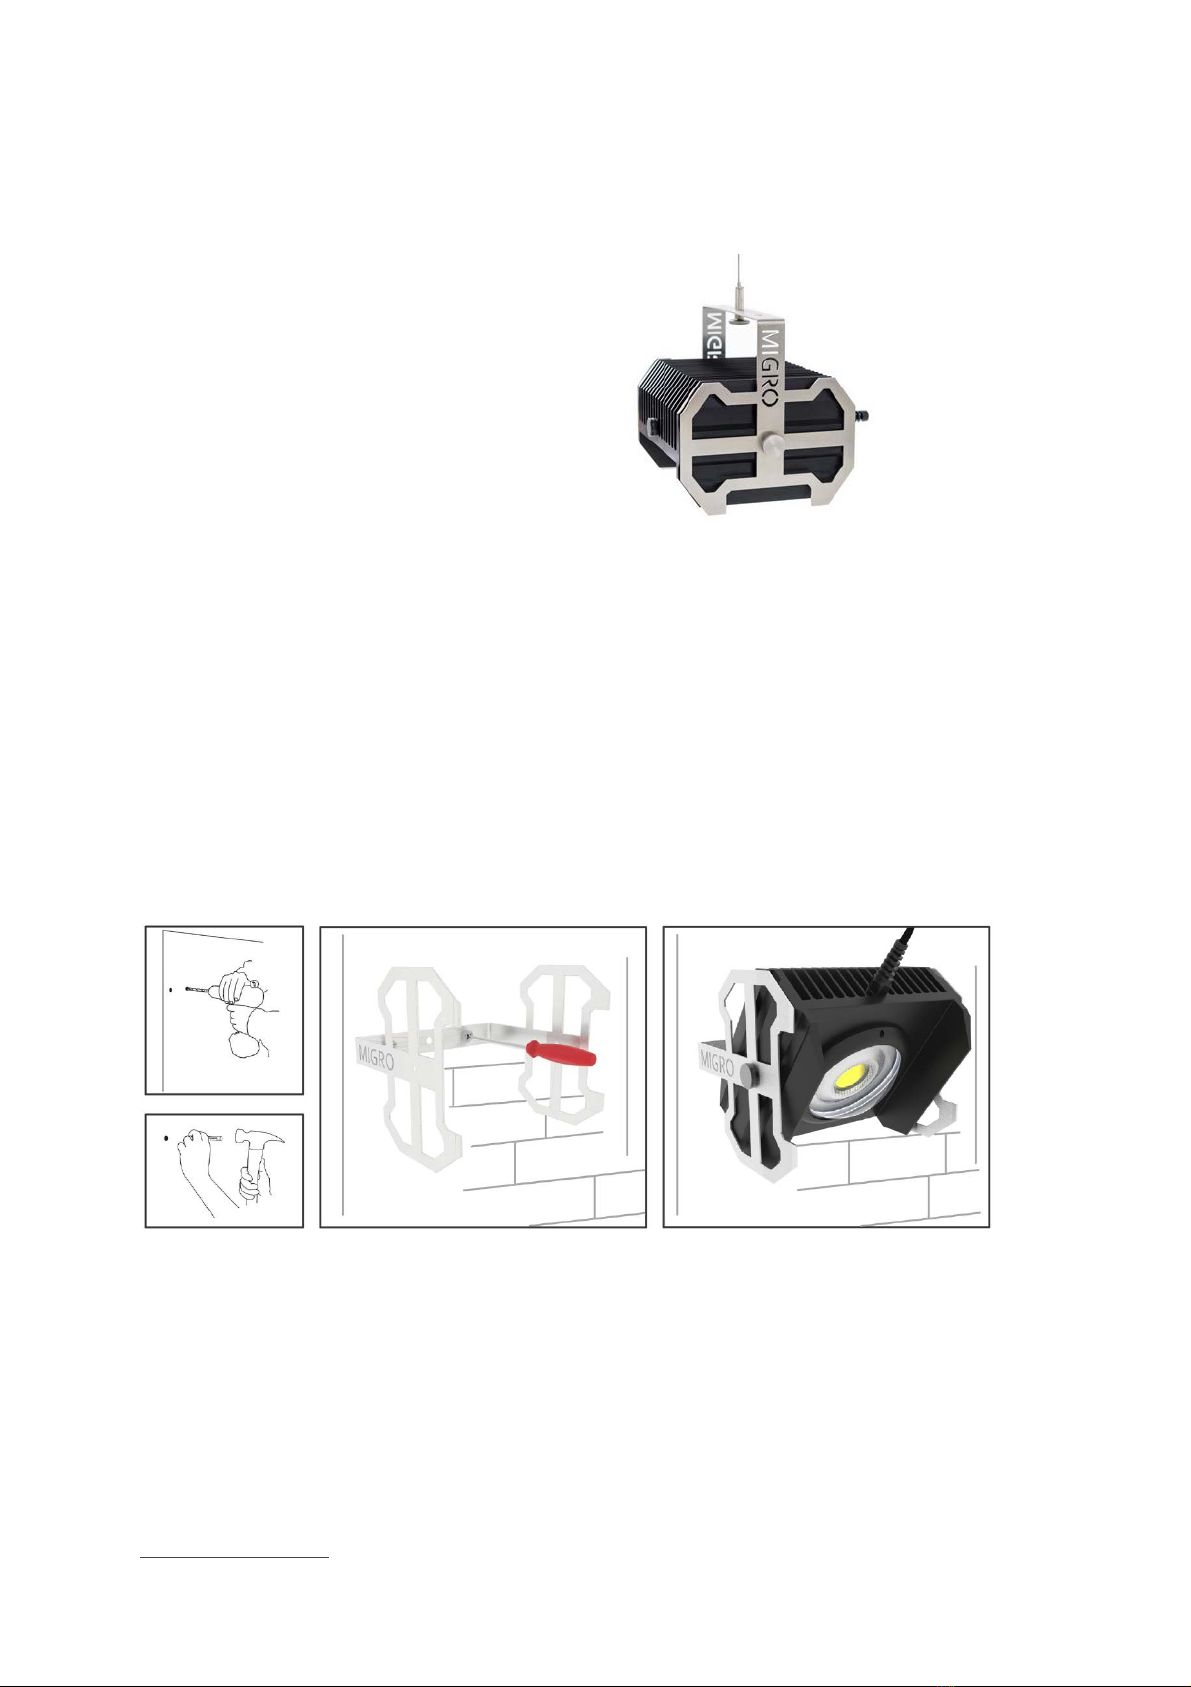
Assembly instructions
MIGRO grow light
Each grow light is mounted in a stainless
steel bracket & fixed with two M5 stainless
steel thumbscrews. To adjust the tilt of the
lamp loosen the thumbscrews, tilt the grow
light, and re-tighten the thumbscrews by
hand.
Do not over tighten the thumbscrews or
the threads in the heat sink may be
damaged.
The grow light can be fitted to a MIGRO hanger or customer specified frame using either the
M5 stainless steel thumb screws provided or with any suitable fixings adequate to take the
hanging load of the grow light.
When fixing the stainless steel bracket to a wall, beam or anything else it is easiest to
unscrew the bracket from the grow light first. You can then comfortably align the bracket in
position, drill the necessary holes, fix the bracket and refix the lamp in the bracket. Be
careful to retain and reinstall the nylon washers between the grow light heatsink and the
mounting bracket when reassembling. When fixing the bracket to a surface that is not
horizontal at least two 6mm fixings should be used to account for the cantilever forces on
the fixings in this arrangement.
Airflow and ventilation
Whatever position the grow light is fixed always ensure there is adequate room for airflow
around the fins of the heatsink to prevent heat buildup. The clearance above the heatsink
when fixed in the stainless steel bracket is adequate provided the ventilation system in the
growing space is drawing air from above the top level of the heatsink. There should be at
least 15cm or 6” clearance adjacent on at least three sides of each grow light to facilitate
adequate airflow.
By Partech LED Ltd
www.migrolight.com
10