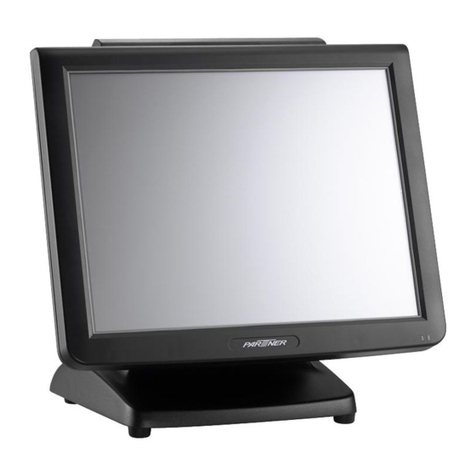
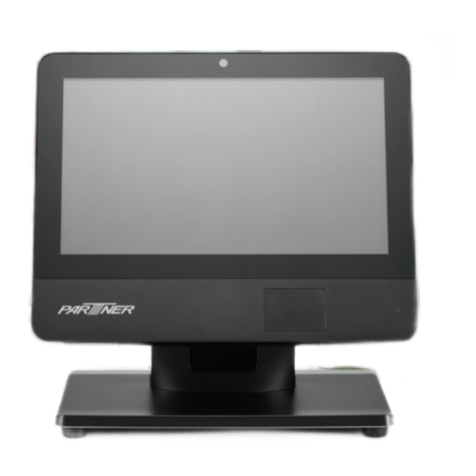
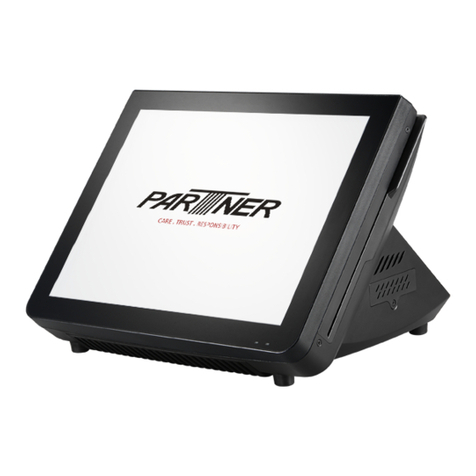
Partner PM-116 User manual

LCD Monitor
PM-116
User Manual


i
TABLE OF CONTENTS
1 GENERAL OVERVIEW �������������������������������������������������������������� 1
1�1 Flat Panel Display �����������������������������������������������������������������������������������1
1�2 Touchscreen (optional)�����������������������������������������������������������������������������1
1�3 Mounting Options�������������������������������������������������������������������������������������1
2 Contents of packing�������������������������������������������������������������������� 2
3 Installation of the PM-116 Monitor ���������������������������������������������� 2
3�1 Cable Installation��������������������������������������������������������������������������������������2
4 Adjusting the viewing angle �������������������������������������������������������� 3
5 Partner Monitor Controller Installation���������������������������������������� 4
6 Using the Partner Monitor Controller������������������������������������������ 7
6�1 Refresh�����������������������������������������������������������������������������������������������������7
6�2 Brightness ������������������������������������������������������������������������������������������������8
6�3 Contrast����������������������������������������������������������������������������������������������������8
6�4 RGB Video Gain���������������������������������������������������������������������������������������9
6�5 Position ����������������������������������������������������������������������������������������������������9
6�6 Firmware Information �����������������������������������������������������������������������������10
6�7 Position Auto Adjustment �����������������������������������������������������������������������11
6�8 Color Auto Adjustment����������������������������������������������������������������������������12
6�9 Back to Factory Default��������������������������������������������������������������������������12
7 Touchscreen Driver Installation (Touchscreen Monitor Only) ���������������������13
7�1 Touchscreen�������������������������������������������������������������������������������������������13
7�2 Calibrating the touchscreen �������������������������������������������������������������������18
8 Maintenance and Care ������������������������������������������������������������� 20
9 General Points�������������������������������������������������������������������������� 20

ii
10 Troubleshooting���������������������������������������������������������������������� 21
10�1 Additional help��������������������������������������������������������������������������������������21
11 Technical Data ������������������������������������������������������������������������ 22
11.1 Product Specication����������������������������������������������������������������������������22
12 Safety Instructions������������������������������������������������������������������ 23
13 Further Notices����������������������������������������������������������������������� 23
14 Warranty ��������������������������������������������������������������������������������� 23
15 Statement of Conrmation������������������������������������������������������ 23
16 FCC Warning Statement �������������������������������������������������������� 24

1
1
GENERAL OVERVIEW
Partner Tech is proud to offer the PM-116 LCD monitor. It offers a versatile solution for many types of
applications. Options include a resistive touchscreen and many types of exible mounting solutions.
1.1 Flat Panel Display
This at panel display features an active matrix TFT LCD screen. It provides crisp, bright, color images
with a maximum resolution of 1366x768 producing a full screen image from edge to edge. The 11.6”
display has a wide viewing angle of up to 70 degrees and a brightness of approximately 250 cd/m2
(without touch) or “NITS”. The display easily interfaces with your PC via direct VGA input just as any
monitor would connect. It includes a desktop stand, has an optional wall mount bracket, and is available
with an Ivory or Black housing.
1.2 Touchscreen (optional)
The PM-116 uses a touch screen by Touch screen technology. It was designed with the harshest
environments in mind, so it’s no wonder that it excels in reliability, durability, and expected product
life. Impervious to environmental conditions such as liquid spills and splashes, humidity, these screens
are the most contamination resistant available.
Touch screen technology is the workhorse of resistive touchscreens, providing unsurpassed
performance in POS, industrial, medical, and transportation applications. Touch the screen with a
nger, gloved hand, ngernail, or object such as a credit card, and you’ll receive a fast, accurate
response every time.
Software drivers are included which allow the screen to work with any mouse driven PC application in
DOS, Windows or Linux* environments.
(*Drivers for Linux are not included, but are supported)
IMPORTANT
The Touch Monitor can thus take over the function of both
monitor and mouse, although a normal mouse can still be
used in parallel to the Touch Monitor.
1.3 Mounting Options
The PM-116 comes standard with a desktop base or with an optional bracket using the VESA standard
for other versatile mounting congurations such as wall or pole mounting.
2
2
Contents of packing
Prior to taking into operation your PM-116 monitor, please check whether the following parts are
included and undamaged:
1 PM-116 monitor
1 CD with DDC AP, Touch driver, Manual
1 Adaptor
1 VGA cable
3
Installation of the PM-116 Monitor
The following steps are necessary for the device to function properly:
1. Switch the computer OFF.
2. Connect the PM-116 monitor to the computer. (For best results, set the computers screen resolution
to 1366x768).
3. Switch your computer back ON.
4. Install Partner Monitor Controller.
5. Adjust the display for the graphic card in the computer by using Partner Monitor Controller Auto
Adjusting. This step is important for getting the best picture quality. (Chapter 6)
6. (Touchscreen Monitor Only) Install the touchscreen drivers for the corresponding operating system
(chapter 7).
NOTE
The PM-116 must be used with the power adaptor provided.
3.1 Cable Installation
The installation of the cables must be done with the computer switched off. Begin by connecting the
VGA cable, USB cable, then the power cable.
Once connected, turn the computer ON. After about 3 seconds, you should see the image on the screen.

3
4
Adjusting the viewing angle
You may adjust the display’s viewing angle like picture shows
110o
60o
19cm
NOTE
When you adjust the viewing angle of the display, avoid
touching the LCD display with your ngers, as this may
damage or break the liquid crystal screen.

4
5
Partner Monitor Controller Installation
Partner Monitor Controller allows the user to easily adjust the display to the desired quality. Refer to
the following to install the Partner Monitor Controller.
IMPORTANT
For Windows XP or POSReady, you must rst install
Microsoft .NET Framework 2.0 before installing Partner
Monitor Controller.
If a message appears that .NET Framework could not be
found as below, press Yes will link to the web site.
1. Browse to the \DRIVER\Partner_DDC20.
2. Double-click Partner_DDC20.exe. The following screen appears. Click Next to continue.

5
3. Click Next to continue.
4. Click Next to continue.

6
5. Click Close to nish.

7
6
Using the Partner Monitor Controller
OSD function allows the user to easily adjust the display to the desired quality.
Launch the Partner Monitor Controller from the Windows desktop.
6.1 Refresh
Click the Refresh button to reload setting values from PM-116.

8
6.2 Brightness
Drag Brightness slide bar to adjust the PM-116 screen brightness.
6.3 Contrast
Drag Contrast slide bar to adjust the PM-116 screen contrast.

9
6.4 RGB Video Gain
Drag Red, Green, Blue Video Gain slide bar to increase / decrease the appropriate color value.
6.5 Position
Drag Display Area Position X and Display Area Position Y slide bars to adjust the PM-116 screen
position.

10
6.6 Firmware Information
Click the F/W Version button on the Info tab. The PM-116 screen will appear the rmware version
information.

11
6.7 Position Auto Adjustment
Click the Position Auto Adjustment button on the Control tab. The PM-116 will adjust the screen
position automatically.
IMPORTANT
Important information regarding the Position Auto
Adjustment function.
Most video cards differ as to the video signal output. For
this reason, the PM-116 monitor may need to be readjusted
after connecting it to a computer. The factory setting of the
monitor is set to produce the best results with a variety of
industry standard video cards.
By doing this, the display tries to nd the best possible
adjustment. Please note that this Auto Adjusting must be
done for each display mode.
In some cases when using a notebook computer, it might be
necessary to deactivate the internal display of the notebook
in order to obtain a good picture quality.

12
6.8 Color Auto Adjustment
Click the Color Auto Adjustment button on the Control tab. The PM-116 will adjust the tone and color
automatically.
6.9 Reset to Factory Default
Click the Reset to Factory Default button on the Control tab to reset PM-116 back to the factory default
settings.

13
7
Touchscreen Driver Installation (Touchscreen Monitor Only)
7.1 Touchscreen
IMPORTANT
A new calibration is always necessary if another touch
screen was connected to the computer or if the screen
resolution was changed. This means that the calibration
between touch screen and computer is adjusted to the
mechanical features of the particular touch screen which
was connected to the computer at that time.
A serial Touch Controller is integrated into the Touch
Commander. The default setting is 9600 Bps. Normally this
is clearly recognized by the setup programs. If, however,
it is not clearly recognized, the adjustment can be done
manually or by restarting the corresponding setup program.
Refer to the following to install the touch screen driver.
1. Browse to the \DRIVER\Touch\eGalax folder.
2. Double-click setup.exe. The following screen appears. Click Next to continue.

14
3. Click Next to continue.
4. System will give you a warning, click Ok to continue.
5. To install RS232 interface driver, check the box for Install RS232 interface driver then click Next to
continue.

15
6. To install USB interface driver, uncheck the box for Install RS232 interface driver then click Next
to continue.
7. Check the box for None and then click Next to continue.
8. Click OK to continue.

16
9. Click Next to continue.
10. Click Next to continue.
Table of contents
Other Partner Monitor manuals

Partner
Partner CD-70 User manual

Partner
Partner SP-630 User manual

Partner
Partner CD-7220 User manual

Partner
Partner CD-8220 User manual

Partner
Partner Customer Pole Display CD-5220 User manual

Partner
Partner SPM-185 Series User manual

Partner
Partner PT-6515-E User manual

Partner
Partner Customer Pole Display CD-5220 User manual

Partner
Partner SP-800 Manual

Partner
Partner CD-7220 User manual