manuals.online logo
Brands
  1. Home
  2. •
  3. Brands
  4. •
  5. Payne
  6. •
  7. Air Conditioner
  8. •
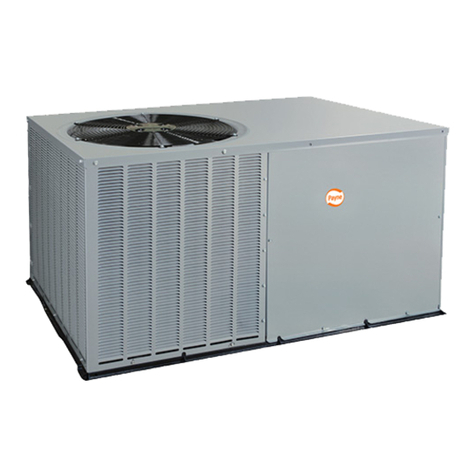
  9. Payne PA2PNB030000AA Guide

Payne PA2PNB030000AA Guide

User l
PAl P-B/PA2P-B
Single-Packaged
Electric Cooling Units
8
NOTE: Read the entire instl_action manual before starting the installation
SAFETY CONSIDERATIONS
Note to Installer:This manual shonld be left with the equipment user
A WARNING: Do not store or use gasoline or other flammable vapors and liquids in the vicinity of these or any other
appliances. Failure to follow this warning could result in fire, serious injury, or death.
z_ WARNING: Do not use this unit if any part has been under water. Bmmediately call a qualified service technician to
inspect the unit and to replace any part of the control system which has been under water. Failure to follow this warning
could result in electrical shock, fire, serious injury, or death.
z:_ WARNING: Before performing recommended maintenance, be sure the main power switch to unit is turned off.
Electric shock could cause serious injury or death.
STARTING OR SHUTTING UNIT OFF
1, To start this unit:
a Tam on the electrical powei supply to unit
b. Select temperature and set SYSTEM switch or MODE control to desired mode.
2. To shu_ this unit off:
NOTE: If the unit is being shut down because of a malfunction, call your dealer as soon as possible.
a. Set system SWITCH or MODE control to OFF.
b. Turn off the electrical power supply to unit.
OPERATING YOUR PACKAGED AIR CONDITIONER
The operation of your air conditioning system is controlled by the indoor thermostat. You simply adjust the thermostat and it maintains the indoor
temperature at the level you selecL Most thermostats of air conditioning systems have 3 controls: a temperature control selector, a FAN control,
and a SYSTEM or MODE control Ref)r to your thermostat owner's manual fbr more information.
PROCEDURE I--COOLING MODE
With the SYSTEM oi" MODE control set to COOL, your unit will run in cooling mode until the indoor temperature is lowered to the level you
have selected. On extIemely hot days, your system will run for longer periods at a time and have shorter "o_t_' periods than on moderate days.
PROCEDURE 2--HEATING MODE
Your system may be equipped with an electric strip heat heating. If so equipped once the SYSTEM or MGDE switch is set to HEA_ yonr system
will automatically mrn on the electric strip heat in order to maintain the level of cornfbrt you have selected
MAINTENANCE AND SERVICE
This section discusses maintenance that should be per%treed by your dealer and care you_ as the owner_ may wish to handle %r your new system.
A. Routine Maintenance
All routine maintenance should be handled by skilled, experienced personnel Your dealer can help you establish a standard procedm'e.
For your safety, keep your unit area clear and f'ree of combustible materials, gasoliue_ and other flammable liquids and vapors.
To assure proper flmctioning of your uniL flow of condenser air must not be obstructed fi'om reaching the unit. (learance f?om the top of the unit
is 48 in. Clearance of at least 36 in. is required on sides except the power entry side (42 in. clearance) and the dnct side (12 in. n_inin_unl clearance).
Form: OG-PA1P-02 Cancels: OG-PAIP-01 Printed in U.S.A. 1-03 Catalog No. 53PA-1P8
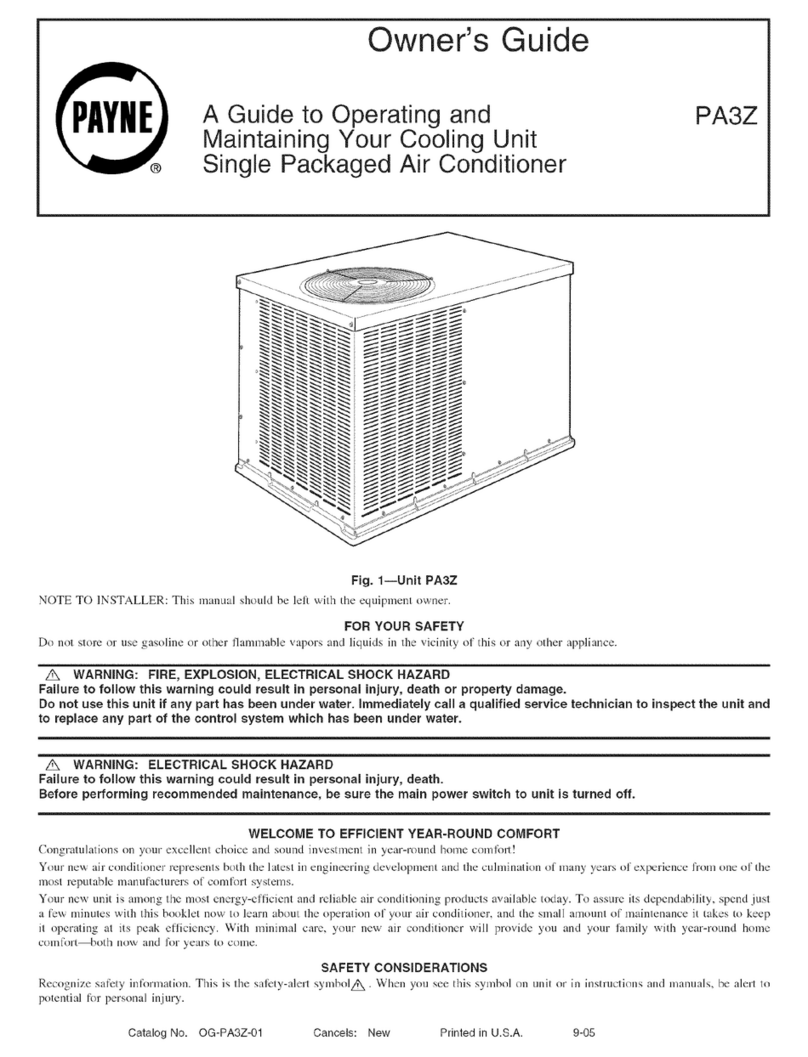
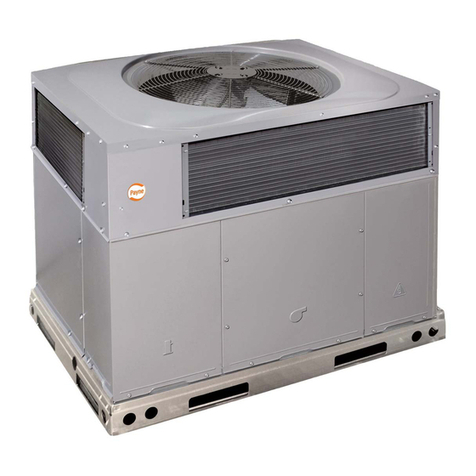
Fig.I--UnRPAIPoB/PA2PoB
B. MaintenanceandCarefortheEquipmentOwner
Before proceeding with those things yon might want to maintain yoursel£ please carefl/lly considei the iblJowing:
C99062
z_ WARNING: 1. TURN OFF ELECTRICAL POWER TO YOUR UN{T BEFORE SERVIC{NG OR PERFORMING MAINTE-
NANCE. ELECTRIC SHOCK COULD CAUSE SERIOUS INJURY OR DEATH.
2. When removing access panels or performing maintenance functions inside your unit, be aware of sharp sheet metal parts
and screws. Although special care is taken to keep sharp edges to a minimum, be extremely careful when handling parts
or reaching into the unit.
AIR FILTERS
The air filter(s) should be checked at least every 3 or 4 weeks and changed or cleaned whenever it becomes dirty Dirty filters produce excessive
stress on the blower motor and can cause the motor to overheat and shut down Table 1 indicates the correct filte* size for your unit Re*_* to Fig.
2 to access the fihers
Table l--hdooroAir Filter Data
UNIT SIZE 018 024 030 036 042 048 060
PAIP B
RETURN=AIR 20x20 20x20 20x20 _0x24 20x24 24x30 24x30
FILTERS (m_)
Throwaway
UNIT SIZE 024 030 036 042 048 060
PA2P B
RETURN=AIR 20x20 20x20 20x24 24x30 24x30 24x30
FILTERS (in_)
Throwaway
To replace or inspect filters (or accesso Ufilter rack when supplied):
1. Remove the filter access panel using a 5/16-in nut driver
2. Remove the filter(s) by pulling it out of the unit. If the filter(s) is dirty, clean or replace with a new one.
When installing the new filter(s), note the direction of the airflow arrows on the fihe* frame
If you have difl_culty locating your air filter(s) or have questions concerning proper filter maintenance, contact your dealer fbr instructions. When
replacing filters, always use the same size and type of filter that was supplied, originally, by the installer.
Z_x CAUTION: Never operate your unit without the filter(s) in place. Failure to heed this warning may result in damage to the blower
motor and/or compressor. An accumulation of dust and lint on internal parts of your unit can cause loss of efficiency and, in some
cases, a fire.
2
FILTERACCESS
PANEL*
*Foraccessoryfilterrack.
ACCESSPANEL
Fig.2--FiRerAccessPaneloVerticalSupplyShown C99094
FANS AND FAN MOTOR
Periodically_ check the condition of fan wheels and housings and _m-motor shaft bearings, Contact your dealer for tbe required annnal
maintenance,
INDOOR AND OUTDOOR COILS
(leaning of the coils should only be done by qualified service personnel (ontact your dealer for the required annual maintenance
CONDENSATE DRAIN
The drain pan and condensate &ain tine should be checked and cleaned at the same time the cooling coils are checked by your dealer
COMPRESSOR
All compressors are factory-shipped with a normal charge of the correct type refi'igeration grade o11 A compressor should rarely require additional
oil,
CONDENSER FAN
g}_X CAUTION: Do not poke sticks, screwdrivers, or any other objects into revolving fan blades, h]ury or equipment
damage may result.
The fan must be kept f?ee of all obstructions to ensure proper cooling Contact your dealer %r any required service.
ELECTRICAL CONTROLS AND WIRING
Electrical contlols are dif[]cuk to check without proper instrtmlentations Iftbere are any discrepancies in the operating cycle, contact your dealer
and request service.
REFRIGERANT CIRCUIT
7he refrigerant circuit is difficult to check fbr leaks without the propei equipment 15"inadequate cooling is suspected, contact your tocal dealer
fbr service.
Z_ WARNING: System under pressure. Relieve pressure and recover all refrigerant before system repair or final unit
disposal to avoid serious injury or death. Use aH service ports and open aH flow°control devices, including somenoid valves.
UNIT PANELS
After pert'om'_ing auy mablteuance or service oll eithei of these units, be sure all panels are [astened securely in place to prevent rain ['rom entering
unit cabinet and to prevent disruption of the correct unit airflow pattern.
C. Regular Dealer Maintenance
In addition to the type of routine maiutenance you might be willing to perform, your unit should be inspected regularly by a properly tlained service
technician. An inspection (preferably each year, but at least every other year) should include the fbllowing:
1. Inspection and, if required, cleaning of the outdoor and indoor coils.
3
2. Inspection and, if require& cleaning of the indoor coil &ain pan.
3. Inspection and cleaning of blower wheel housing and motor
4. Inspection of all supply-air and return-air ducts fbr leaks, obstl_/ctions, and insulation integrity Any problems fbund should be resolved at
this time
5. Inspection of the unit base to ensure that no cracks, gaps, etc., exist which may cause a hazardous condition
(7. Inspection of the unit casing fbr signs of deterioration
7. Inspection of all electrical wiring and components to assure proper connection.
8. Inspection tbr leaks in the refi'igerant circuit Pressure-check to determine appropriate refi'igerant charge.
9. Inspection of compressor oil level by sela-ice person to ensure proper oil level is maintained in the compressor when it is installed and
naming
10. Operational check of the unit to determine working conditions. Repair or adjustment should be made at this time.
Your servicing dealer may oft_r an economical service contract that covers seasonal inspections. Ask for f_/rther details
( omplete service instructions can be fbund in each unit's Installation, Start-Up and Service Instructions.
D. Warranty Certificate
Lnits PA1PiPA2P have a limited warranty Be sure to read the warranty carefully to detem_ine the coverage fbr your unit
E. Before You Ca[[ for Service ...
...check for several easily-solved problems.
If insufficient heating or cooking is suspected:
( ) (heck fbr sufficient airflow. Check the air filter fbr dirt. Check for blocked return-air or supply-air grilles. Be sure they are open and
unobstructed. If these checks do not reveal the cause, call your servicing dealer.
]f your unit is not operating at all, check the following list Nr easy solutions:
( ) (beck to be sure that your thermostat temperature selector is set below the indoor temperature during the cooling season or above the indoor
temperature dtlring heating season. Be sure the SYSTEM switch or MODE conhol is in the (OOL or HEAT position and not in the OFF position.
( ) If your unit still fails to operate, call your servicing dealer for tloubleshooting and repairs. Specify the model and serial nunfbers of your unit.
(Record them in this manual in the space provided.) If the dealer knows exactly which unit you have, he may be able to oft)r suggestions over
the phone, or save valuable time through knowledgeable preparation fbr the service call.
F. [n Case of Trouble
If you pertbrm the steps above and unit performance is still unsatisfactoo; shut off the unit and call your dealer
Dealer's Name
Telephone
Unit Model
Unit Serial Nurnber
© 2002 Payne Heating & Coo{[ng P.O Box 70, Indianapolis, IN 46206 4 ogpalp02 Catalog No. 53PA-1P8
This manual suits for next models

20

Other Payne Air Conditioner manuals

Payne PA3A User manual

Payne

Payne PA3A User manual

Payne PA3P042 User manual

Payne

Payne PA3P042 User manual

Payne PA3Z User manual

Payne

Payne PA3Z User manual

Payne PA5G User manual

Payne

Payne PA5G User manual

Payne PA13 User manual

Payne

Payne PA13 User manual

Payne PA10 Series Guide

Payne

Payne PA10 Series Guide

Payne PA3Z User manual

Payne

Payne PA3Z User manual

Payne PY3P User manual

Payne

Payne PY3P User manual

Payne PH16NA User manual

Payne

Payne PH16NA User manual

Payne PA5GXXA series User manual

Payne

Payne PA5GXXA series User manual

Payne PA3Z User manual

Payne

Payne PA3Z User manual

Payne PA13NAZ Operation manual

Payne

Payne PA13NAZ Operation manual

Payne PY1P-B Series Guide

Payne

Payne PY1P-B Series Guide

Payne PYIP180040 Dimensions and installation guide

Payne

Payne PYIP180040 Dimensions and installation guide

Payne PA1Z Series Dimensions and installation guide

Payne

Payne PA1Z Series Dimensions and installation guide

Payne PA13NR018 User manual

Payne

Payne PA13NR018 User manual

Payne PA10 Series Operation manual

Payne

Payne PA10 Series Operation manual

Payne PA10JA042000AA User manual

Payne

Payne PA10JA042000AA User manual

Payne PA3G Series User manual

Payne

Payne PA3G Series User manual

Payne PA1P048 Installation manual

Payne

Payne PA1P048 Installation manual

Payne PA3P048 User manual

Payne

Payne PA3P048 User manual

Payne 018-060 PA13 User manual

Payne

Payne 018-060 PA13 User manual

Payne PF4MNA User manual

Payne

Payne PF4MNA User manual

Payne PA13A/ PW3CA User manual

Payne

Payne PA13A/ PW3CA User manual

Popular Air Conditioner manuals by other brands

Frigidaire FFRE103WA1 use & care

Frigidaire

Frigidaire FFRE103WA1 use & care

Argo SWAN EVO operating instructions

Argo

Argo SWAN EVO operating instructions

Sealey sac9000.V3 instruction manual

Sealey

Sealey sac9000.V3 instruction manual

LG SA182CL owner's manual

LG

LG SA182CL owner's manual

Panasonic CS-E9CKP operating instructions

Panasonic

Panasonic CS-E9CKP operating instructions

York DJ 300 Technical guide

York

York DJ 300 Technical guide

York YNKFZC024-055BAADAFX owner's manual

York

York YNKFZC024-055BAADAFX owner's manual

Eberg QUBO Q40HD instruction manual

Eberg

Eberg QUBO Q40HD instruction manual

Hitachi RA-13JF1 Operation and installation manual

Hitachi

Hitachi RA-13JF1 Operation and installation manual

Haier 1U25MECFRA-3 Service manual

Haier

Haier 1U25MECFRA-3 Service manual

Toshiba RAS-M10SMUV-E installation manual

Toshiba

Toshiba RAS-M10SMUV-E installation manual

DeLonghi EX Series Instructions for use

DeLonghi

DeLonghi EX Series Instructions for use

ARDES AR5R003 Instructions for use

ARDES

ARDES AR5R003 Instructions for use

LG E1823P owner's manual

LG

LG E1823P owner's manual

Carrier DB-O Series Use and maintenance

Carrier

Carrier DB-O Series Use and maintenance

EIC Solutions AAC-145A-4XT Series Installation and operation manual

EIC Solutions

EIC Solutions AAC-145A-4XT Series Installation and operation manual

Mitsubishi PQHY-P200YGM-A installation manual

Mitsubishi

Mitsubishi PQHY-P200YGM-A installation manual

Bard THE WALL-MOUNT WA3S3-A installation instructions

Bard

Bard THE WALL-MOUNT WA3S3-A installation instructions

manuals.online logo
manuals.online logoBrands
  • About & Mission
  • Contact us
  • Privacy Policy
  • Terms and Conditions

Copyright 2025 Manuals.Online. All Rights Reserved.