Paytec N86 User manual

Smart POS Terminal
Instructions
Next Generation Smart-POS
www.paytec.ch
Purchase
Enter the amount that has to be
transferred. Transaction starts
with „OK“.
Insert the card and enter the PIN
via the touchscreen. Confirm PIN
entry with „OK“.
Cancellation
Enter Terminal-Password. To cancel the last transaction,
confirm with „OK“.
Terminal Description
1. Use only USB type C specified power adapters and cables, otherwise the terminal may be
damaged
2. Do not damage the power cable and power adapter. Defective cables and adapters are
dangerous, can cause hardware damage and must not longer be used
3. Keep the terminal and electronics away from liquids, otherwise it may cause a short
circuit or damage the terminal.
4. Please do not insert any foreign objects into any ports as the terminal could be seriously
damaged.
5. Please contact your terminal manufacturer in case of any problems. Unqualified persons
are not permitted to repair the Smart POS Terminal.
6. Use only appropriate printing paper (thermal paper) to prevent printer damage.
7. Prevent the device from shocks.
8. It is strictly forbidden to modify or disassemble the terminal. The terminal must not be
used in an illegal manner. Violations may result in criminal prosecution.
9. Any attempt to open the unit will result in a safety release and the loss of the warranty
claim, except battery and printer cover.
10. Keep the unit clean by cleaning it regularly with suitable cleaning utensils.
Security Information
www.paytec.ch
Category Error Reason Troubleshooting
Power on /
Power o issue
Unable to
power on terminal.
1. Run out of battery
2. Battery installation
incorrectly
3. AC power connection
incorrect.
4. Battery failure
1. Connect N86 with power
supply
2. Verify if battery is
inserted correctly
3. Verify if the AC power
supply is plugged in
correctly
4. Replace the battery
PINPAD issue No response. Terminal crash Unplug power supply and
battery, turn o terminal
and restart.
Communication
errors
Error message:
„Communication
timeout“.
1. Weak Wi-Fi signal
2. Poor SIM card
connection.
3. Terminal Soware issue.
1. Place the terminal in a
location without barriers
2. Re-insert the SIM card
3. Restart terminal
Error message aer
inserted SIM card:
„Please insert SIM
card“.
1. SIM card is damaged
2. SIM card incorrectly
inserted
1. If the SIM card‘s contacts
are oxidized, use a clean
piece of microfiber cloth
to wipe the contacts
2. Re-insert SIM card
Printer issues Blank printouts. Thermal printer paper is
inserted incorrectly
Re-insert the printer paper
accordingly to chapter in
this manual: „Insert paper
roll“.
Printing is blurred/
poorly readable.
Poor quality printer paper
is used
Replace it with good quality
printer paper.
Card reader error Error message:
„Swipe Card Error,
Please Swipe Again“.
1. Reader is dirty
2. Card is demagnetized
3. Card swiped in incorrect
direction
1. Clean the card reader
by inserting a sti paper
into the card slot. Drag
the paper horizontally
and vertically several
times to remove dirt/
particles in the reader
2. Wipe any particles of the
magnetic strip on the
card with a so cloth, if
the card is demagnet-
ized, it needs to be
replaced by issuer
3. Consider the direction
when swiping the card,
speed should be
continuous
Charging /
battery error
Displays red battery
icon aer battery
is installed and
power adaptor is
connected.
Battery was too long in
storage, it can recover aer
reactivating.
If battery icon is red, charge-
for mimimum 15 min. If icon
turns green, this indicates
that battery is reactivated
successfully and should
perform normally aer a
complete recharge.
Troubleshooting
PayTec AG, Vogelsanstrasse 15, 8307 Eretikon
Phone: +41 52 354 53 00 | Support: +41 52 354 53 26
N86

Power Charge
powe r ba nk
Ty pe- C
Select Network &
Internet
Enter the most frequently used apps and functions easy via
shortcuts at the device‘s homescreen.
• Settings App (Set up Wi-Fi, Sounds, e.g.)
• Payment Application (contains all functions required for
daily payment transactions)
• Update (manual firmware or terminal soware update)
Select your Wi-Fi and enter
password
Power On/O
Power on: Press the „ “ button for 2-3 seconds to power on the
terminal.
Power o or restart the terminal: Press the „ “ until the
„Switch o; Restart“ menu is displayed. Select „Switch o“ and
your terminal switches o. Select „Restart“ and the terminal
restarts.
Magnetic Card
Swipe the card with consistent speed in the magstripe card slot
as demonstrated in the picture. While swiping, make sure that the
magstripe is facing the device.
Note: Any damage to the magstripe or incorrect
swiping may lead to transaction failures.
Contact Card
The card slot is on the right side of the device. Insert the card
(golden contacts facing up) with gentle pressure into the slot.
During the transaction process, the card should remain in the slot
as shown in the picture.
Note: If the chip contacts are damaged or oxidized, the
transaction may fail and the card needs to be replaced.
Contactless Card
The NFC field establishes at the top of the device near the printer
cover. For around 1 second, hold the contactless card close to this
zone until you hear a „beep“ sound which means a successfully
completed transaction. Aer that sound, the card can be removed.
Paper Removal
Please tear o the paper as shown in the picture. Do it quick and
with consistent power.
Homescreen
Install Paper Roll
1. Open the printer cover
2. Insert the paper roll into the paper holder. Leave a
small paper piece below the paper cutter
3. Close the printer cover
Attention: Make sure that the paper roll is
inserted correctly, otherwise it may cause a
malfunction of the printer.
Battery
1. Remove the battery cover
2. Install/disassemble battery
(ensure that contacts on the
battery match the prongs on the
inside of the device)
3. Insert/remove white socket from
battery plug
SIM Card
Your device comes with a rechargable lithium battery. Please note: for charging the device, lithium battery
must be inserted and cover must be closed.
1. Plug the USB-C end of the cable into the USB-C port on the right side of the device
2. Plug the other end into a power adaptor
3. Plug the power adaptor into a power outlet (you can also use a PC or power bank as power supply)
4. Power on the terminal
5. The terminal screen will display the charging progress
6. Aer the terminal is fully charged “ ” will display
1. Open the battery cover
2. Insert a SIM card (with contacts
face down) by carefully sliding it
into the slot until the card is fully
inserted
Attention
To install or remove SIM card, make
sure the device is turned o to
prevent damaging the card. Do not
cover the SIM card with stickers or
adhesive, this may aect the
thickness of card and hinder the
smooth insertion or removal.
Enter the devices Settings App in the apps
drawer or via shortcut at the device‘s
homescreen.
1. Select Network & Internet
2. Select Wi-Fi
3. Next, tap the slider „Use Wi-Fi“ to the right
4. Choose a wireless network from the list
5. If prompted, type the network
password
6. Select the connect button
Set up Wi-Fi
Your payment app contains all functions for daily payment transactions.
While running payment application, four categories are displayed at the
bottom of the terminal screen.
Payment App
Enter all payment funtions like
„Purchase“, „Reversal“ or
„Credit“ in the transaction
menu.
Enter the Configuration Menu
to view and print various
reports on transactions. Please
note, the customer password
(found in the Config Sheet
attached to the delivery) is
required for entering the menu.
Print out the reports by clicking
the “Print” button.
Payment Configuration
Setup
Reporting
Enter this menu to view various
reports on transactions. Please
note, customer password is
required for entering. Print
out the reports by clicking the
“Print” button.
Enter the settings menu to set
up various configurations such
as “Protect Final Balance”,
“Language”. Please note: lan-
guage settings are only applied
in the payment application,
they do not change the device’s
basic language settings.
Attention:
Please use the „Final Balance“ function of Configuration
Menu to close the current booking period and deliver all
transactions to processor. With it‘s activation, the terminal
prints out the receipt with total amounts of the booking
period. We recommend to activate „Final Balance“ at the
end of every business day.
Other Paytec Touch Terminal manuals
Popular Touch Terminal manuals by other brands
Unitec
Unitec Wash Select II Operation manual
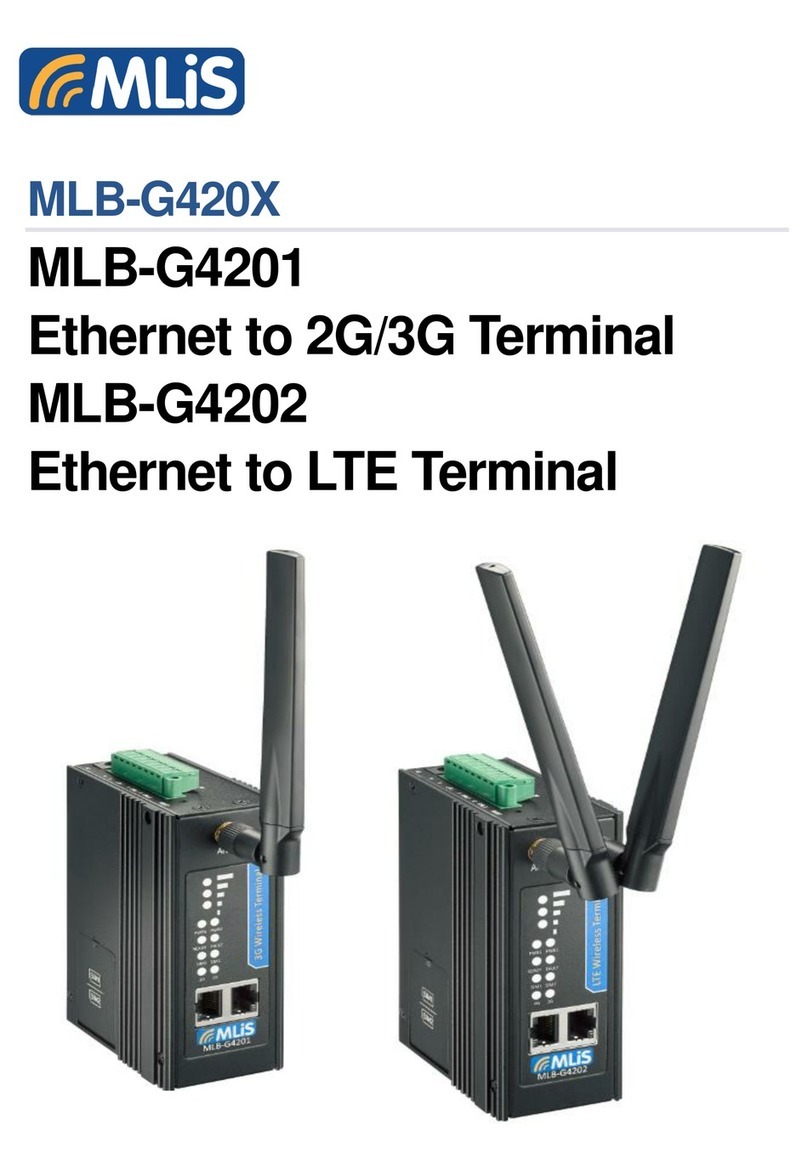
MLis
MLis MLB-G4202 user manual
VeriFone
VeriFone UX700 ML installation guide
Siemens
Siemens 3VT9100-4RC00 operating instructions
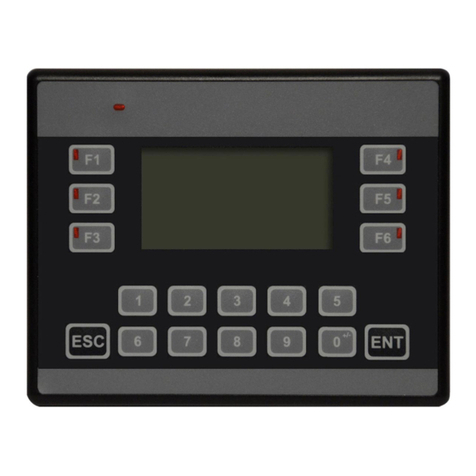
Maple Systems
Maple Systems HMC7030A-M quick start guide
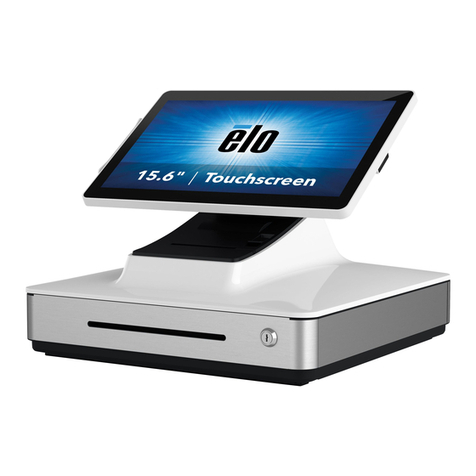
Elo TouchSystems
Elo TouchSystems PayPoint Plus for Android Quick installation guide
