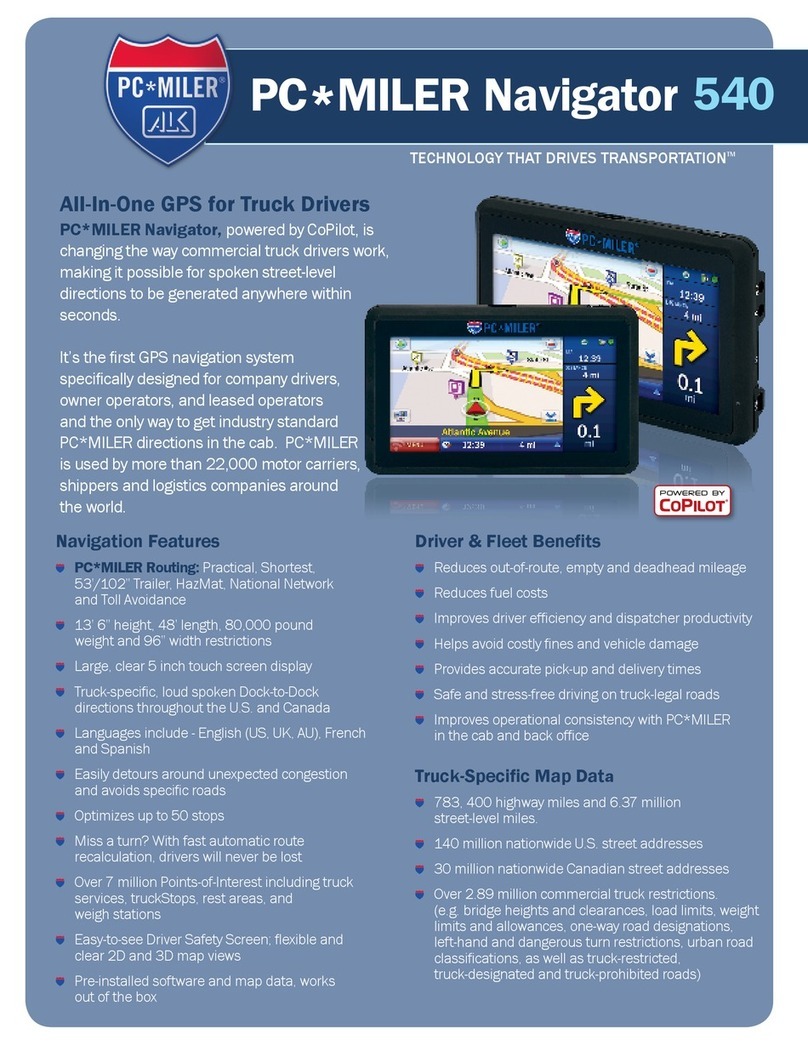
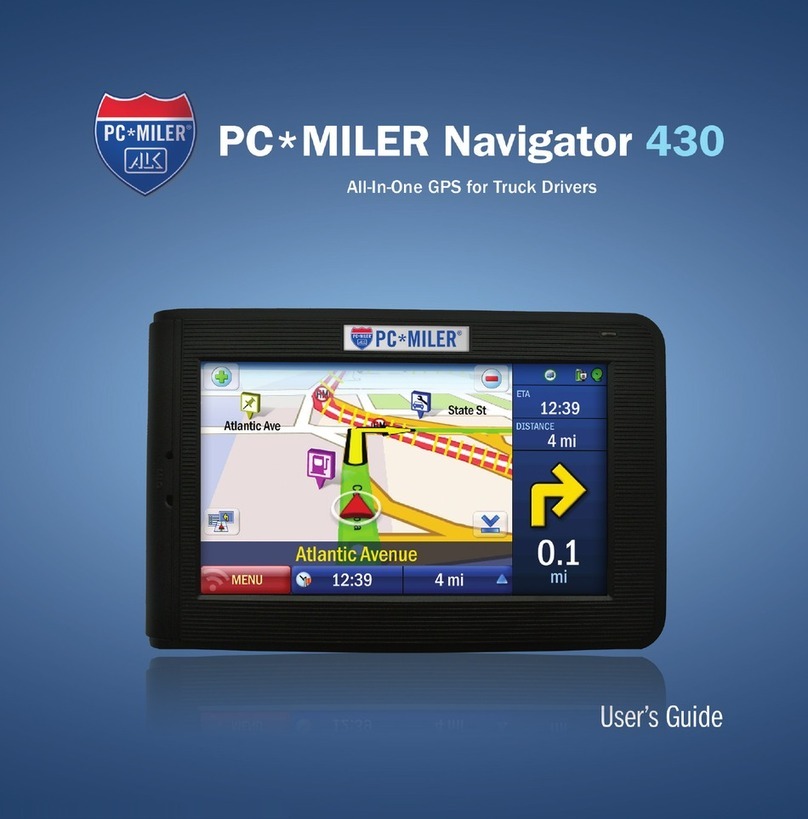
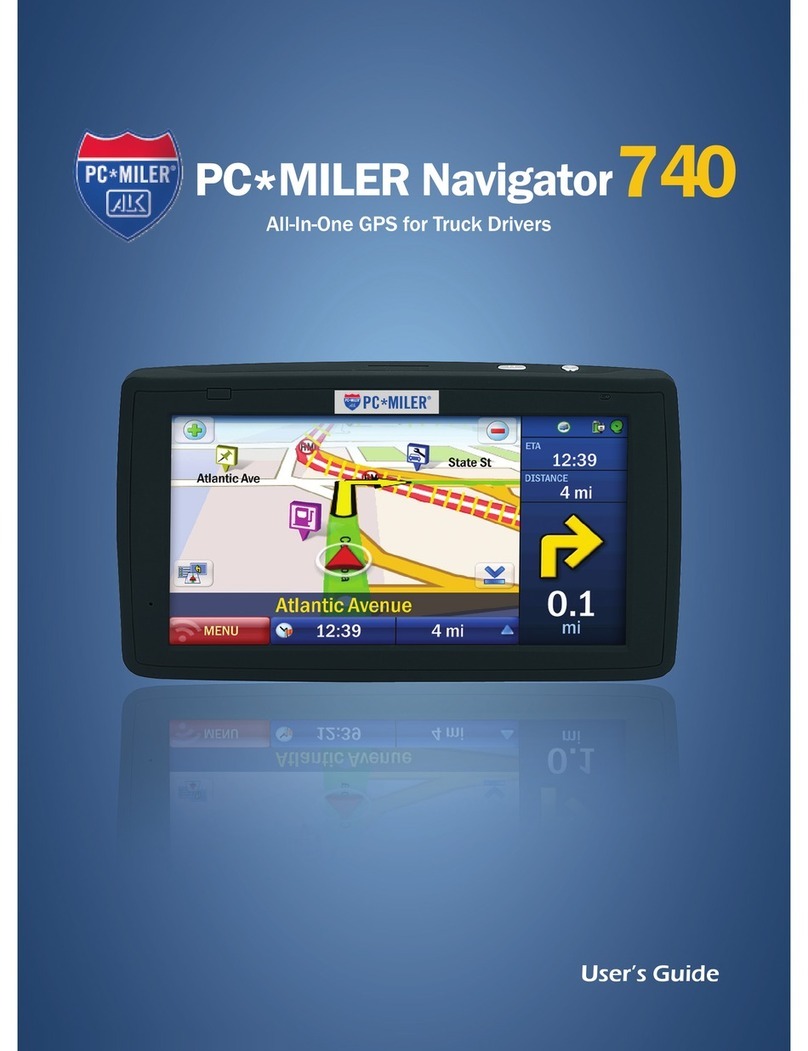
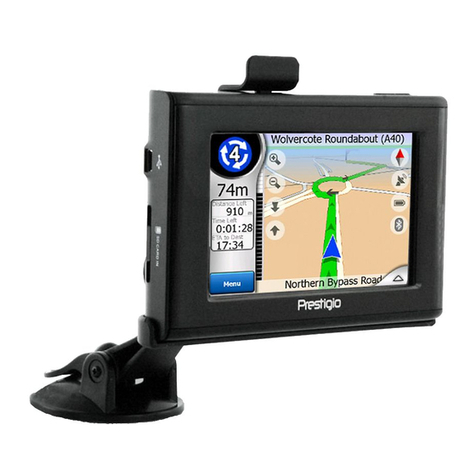
PC*Miler 750 User manual

User’s Guide
Navigator

User’s Guide
2
Welcome
Thank you for choosing PC*MILER Navigator.
This guide will tell you everything you need to know about using your
PC*MILER Navigator. It will explain the basics, share some tips for
operations and show you how to customize your unit.
FOR YOUR SAFETY
Do not operate product while driving!
It is your sole responsibility to use the product in a safe and
responsible manner.
Stay alert and pay attention to road signs!
It is your responsibility to obey local traffic laws, posted road signs and
safety regulations at all times.
The PC*MILER Navigator is designed to calculate the most
efficient truck-specific route for you. However, new roads are
continually being built, old roads redesigned, and truck restrictions
changed. ALK shall not be liable for any errors or omissions of either
the map data or truck restrictions data contained in the product. You,
the user, acknowledge and agree that the map data, the truck restric-
tions data and the routing may not be accurate. By using this product
you accept the above and relieve ALK from any and all liability.
User’s Guide 3
Getting Started
In the Box:
• PC*MILER Navigator
• QuickStart Guide
• User Manual
• Windshield Mounting System
(adjustable arm with suction cup & navigator cradle)
• Truck Charger
• Mini USB Cable
The CoPilot Truck GPS navigation software with street-level maps of
United States and Canada comes pre-installed on your PC*MILER
Navigator device. No additional installation necessary.
PC*MILER
Navigator
Quick Start
Guide
and User
Manual
Truck
Charger
Windshield
Mount
Mini USB
Cable

User’s Guide
4
Identification
Mounting your PC*MILER Navigator
Your PC*MILER Navigator can easily be secured to your windshield for
optimal viewing while driving. The mounting system consists of the
following pieces:
• Adjustable arm with suction cup
SD Logo is a trademark.

User’s Guide 5
• Navigator cradle
: Stylus is located on the back of the Navigator cradle
Assembling the Windshield Mount
• Select a location for the mount on the windshield that does not ob-
struct the driver’s view or interfere with operation of the vehicle.
• Clean and dry this area to remove any grease or dirt.
• Place suction cup on the windshield in the desired location; push the
locking lever towards the base of the mount. The mount should stick
to the surface.
If mount does not stick, make sure the area is clean and dry, then try
again.
• Align the tabs on the holder with the slots on the Navigator cradle.
Slide together until the cradle is seated firmly.
• Adjust the adjustable arm to the best viewing angle by:
o Loosening the adjustor dials
o Moving the corresponding part to the desired position
o Tightening the adjustor dials
• Align the grooves on the bottom of your unit with the tabs on the
bottom of the navigator cradle; gently push the unit into the cradle
until the unit seats firmly.

User’s Guide
6
• To remove the PC*MILER Navigator from the mount, gently push
back the tab on the top of the cradle until the units is released.
Detaching the Mount
• Pull the locking lever away from the base of the mount.
• Grasp the pull tab of the suction cup and gently pull away from the
windshield to break suction.
Connecting the Truck Charger
• Insert the mini-USB end of charger into the mini- USB port of the
PC*MILER Navigator.
• Insert the opposite end of the charger into truck power port.
Home chargers are available at pcmnav.com.
When using navigational aids it is your sole responsibility to
place, secure, and use these aids in a manner that will not
cause accidents, personal injury, property damage, or in any
manner obstruct your view.
In Minnesota, GPS systems can only be attached to the lower
third of your windshield. (Minnesota Statute: 169.71).
FOR YOUR SAFETY

User’s Guide 7
Connecting the Mini USB Cable
• Insert the USB end of the cable into an available USB port on your
computer
• Insert the mini-USB end of the cable into the mini-USB port on the
Navigator
Preparing the PC*MILER Navigator
Switching On and Off
• Switch on the PC*MILER Navigator by holding down the power
button for 4 seconds.
• Switch off the PC*MILER Navigator by holding down the power
button until unit displays ‘Powering Off’.
First-Time Setup
First-Time Position Fix
The PC*MILER Navigator has an integrated GPS receiver. The first time
you use the Navigator, the GPS receiver can take up to 10 minutes to
determine your position.
Set Up CoPilot Truck
• Tap the Truck to begin initial set-up.
• Follow the steps 1 through 14 on the following pages to ensure
CoPilot Truck is configured properly.

User’s Guide
8
1. Select Language
o Tap the desired language from the on-screen text.
2. Select a Voice
o Tap the desired voice.
: To hear a sample of the voice you have selected,
tap Test. Voices with an * will include street names when
providing directions. (See page 40 for additional
language and voice options.)
o Once selected, tap
3. Set Units of Measure
o Choose desired units of measure by tapping between
English/Imperial and Metric.
4. Set Time Zone
o Scroll through the list and highlight the correct time zone.
Tap OK.
: Scroll through the list by gently pressing the stylus
to the list and do not remove pressure. Then move the
stylus up and down to scroll the list. You will get the best
results and smoother scrolling by using the stylus,
although you can use your finger as well.
5. End User License Agreement
o Read the license agreement for PC*MILER Navigator,
Powered by CoPilot Software. After reading, tap
Accept or Decline.

User’s Guide 9
: Tapping Decline will take you out of the
navigation software. To use the PC*MILER Navigator,
the user must agree to and accept the End User License
Agreement.
6. How to Scroll
o Read the on-screen how to scroll directions and tap
7. Routing – Dimensions
o Personalized routing dimensions are: Max Height, Max
Width, Trailer Length, Total Weight and Total Weight/
Axle.
o To change personalized routing dimensions, tap the
routing dimension to be changed > enter dimension >
tap Save.
o Repeat this procedure until all personalized routing
dimensions are entered, and then tap
8. Custom Routing Type
WARNINGChanging these values will change how
CoPilot Truck calculates your ETA as well as how it
determines the optimal route.

User’s Guide
10
9. Routing - Hazmat
o Select personalized hazmat routing options and tap
10. Routing - Tolls
o Select personalized toll preferences and tap
11. Routing - More
o Select personalized routing preferences such as Scenic
Route, National Network, 53ft Trailer, Override
Restrictions, and International Borders Open (see page 54
for a description), then tap
12. Routing Type
o Select Practical or Shortest for your routing type.
represent distances and driving routes
that a driver would normally take to minimize time and
cost. represent distances and driving
routes a vehicle would take to minimize total distance
traveled while still following a reasonable route.
o Tap to continue.
13. Save Profile (Optional)
o This step is . To save the profile, enter a name
and tap To skip, just tap without entering a
name.

User’s Guide 11
14. Warning
o Read warning and tap Accept.
Tip: GPS signal will be limited or blocked inside buildings, tunnels, or
parking garages. To work effectively the PC*MILER Navigator should be
mounted in the supplied windshield cradle with a clear line of sight to
the sky.
You are now ready for your first trip!

User’s Guide
12
On Screen Information
The PC*MILER Navigator will guide you to your destination with spoken
instructions as well as clear on-screen instructions. Your screen will look
similar to the one below. By default your current location is displayed at
the bottom of the map. See the Guidance section on page 47 to learn
how to modify the information displayed.
ETA Approaching Turn
Distance to Destination Current Position
Next Turn Direction Driving View Shortcut
Distance to Next Turn Route Ahead Highlight
Information Options Demo Controls Button

User’s Guide 13
Destination
The PC*MILER Navigator uses GPS satellites to calculate
your exact position so you do not need to enter your
current location. Simply enter your destination and the
PC*MILER Navigator will provide detailed dock-to-dock voice and
on-screen instructions to get you there.
Address
• Tap Menu > Destination > Address.
• Enter the city/town name or zip code of your destination.
• Scroll through the list by gently pressing the stylus to the
list and do not remove pressure. Then move the stylus up
and down to scroll the list. You will get the best results
and smoother scrolling by using the stylus, although you
can use your finger as well.
• Tap the correct city or area
when it appears in the list
below the city field.
• Do not enter the house or
building number yet.
• Enter the first three or four
letters of the street name.
Select the correct street name when it appears.
• Enter the house/building number, select it, and tap GO.
Locate Points of Interest
The PC*MILER Navigator not only guides you to your destin-
ation, but also has all the useful places you might need on
your journey such as rest areas, truck services,and restaurants.

User’s Guide
14
• Tap Menu > Destination > Points of Interest.
• Select the desired search location: Nearby, In different city, or On
my route:
Nearby
o Tap the desired category. (If the category you are looking
for does not appear, tap More Categories on the lower
right screen to display more options. Or, search by POI
name by tapping the lower left Search by Name tab).
For example tap Truck Services > desired truck service
from list, such as Highway Exit, Truck Services, Truck Stops,
or Weigh Stations.
o Scroll through the list. Gently press the stylus to the list
and do not remove pressure. Then move the stylus up
and down to scroll the list. Once you have found the de-
sired POI, tap the POI to select it. You will get more precise
results and smoother scrolling by using the stylus.
o A details page will be displayed with POI address and
map. Tap GO.
o Confirm destination by tapping GO.
In Different City
o Enter the city/town name or zip code of your destination.
o Scroll through the list Gently press the stylus to the list and
do not remove pressure. Then move the stylus up and
down to scroll the list. Once you have found the desired

User’s Guide 15
POI, tap the POI to select it. You will get more precise
results and smoother scrolling by using the stylus.
o Tap desired category. If the category you are looking for
does not appear, tap More Categories on the lower
right screen to display more options. Or, search by POI
name by tapping the lower left Search by Name button.
For example tap Truck Services > desired truck service
from list, such as Highway Exit, Truck Services, Truck Stops,
or Weigh Station.
o Scroll through the list of POIs. Note that the distance listed
here is measured from the approximate center of the city,
not from your current location. Once you’ve found the
desired POI, tap the POI to select it.
o A details page will be displayed with POI address and
map. Tap GO.
o Confirm destination by tapping GO.
On my route
o Tap desired category. (If the category you are looking
for does not appear, tap More Categories on the lower
right screen to display more options or search by POI
name by tapping the lower left Search by Name
button).
For example tap Truck Services > desired truck service
from list, such as Highway Exit, Truck Services, Truck Stops,
or Weigh Station.
o Scroll through the list. Gently press the stylus to the list
and do not remove pressure. Then move the stylus up

User’s Guide
16
and down to scroll the list. Once you have found the
desired POI, tap the POI to select it. You will get more pre-
cise results and smoother scrolling by using the stylus.
o A details page will be displayed with POI address and
map. Tap GO.
o Confirm destination by tapping GO.
Pick on Map
You can also select a destination from the map.
o Tap Menu > Destination > Pick on Map.
A map of the area around your current location will be
displayed. Drag the screen to move around the map and
tap your desired destination when you find it.
o Confirm destination by tapping GO.
Intersection
o Tap Menu > Destination > Intersection.
o Enter the name or zip code of the city of the keypad. Se-
lect the destination from the list when it appears.
o Enter the first three or four letters of the first street name.
Select the street name from the list when it appears.
o A list of all known intersecting streets will appear. Select
the desired cross street out of this list.
o Confirm destination by tapping GO.

User’s Guide 17
Coordinates
If you know the latitude and longitude of your
destination you can enter them directly.
o Select Menu > Destination > Coordinates.
o The latitude and longitude can be entered in one of the
following formats: ,
or .
o Enter a latitude and longitude in the selected format.
Tap
The PC*MILER Navigator will take a few moments to find
the point. When the point has been located, a map will
appear with the location pinpointed by a red flag.
o Confirm destination by Tapping GO.
My Places
Save your home, work, recent and favorite addresses so you don’t have
to enter them every time.

User’s Guide
18
Home
• Tap Menu > My Places > Home.
• Enter the city/town name or zip code of your home location.
• Scroll through the list by gently pressing the stylus to the list and do
not remove pressure. Then move the stylus up and down to scroll
the list. You will get the best results and smoother scrolling by using
the stylus, although you can use your finger as well.
• Do not enter house/building number; you will enter this on the
next step.
• Enter the first three or four letters of the street name. Select the
correct street name when it appears.
• Enter the house/building number. Select the auto-filled address
to continue.
• Confirm destination by tapping GO.
Work
• Tap Menu > My Places > Work.
• Enter the city/town name or zip code of your work location.
• Scroll through the list by gently pressing the stylus to the list and do
not remove pressure. Then move the stylus up and down to scroll
the list. You will get the best results and smoother scrolling by using
the stylus, although you can use your finger as well.
• Do not enter house/building number; you will enter this on the next
step.
• Enter the first three or four letters of the street name. Select the
correct street name when it appears.

User’s Guide 19
• Enter the house/building number. Select the auto-filled address to
continue.
• Confirm destination by tapping GO.
Recent
• Tap Menu > My Places > Recent.
• Scroll through the list and tap the desired recent location.
• Confirm destination by tapping GO.
Favorites
• Tap Menu > My Places > Favorite.
• Tap
• Repeat address steps from destination section on page 13.
Truck Routing
• Tap Menu > Truck > Routing.
1. New Routing Profile
o Select desired vehicle type then tap
: The PC*MILER Navigator’s default setting is the
Truck routing.
2. Routing - Dimensions
• Personalized routing dimensions are: Max Height, Max Width,
Trailer Length, Total Weight and Total Weight/Axle.
• To change personalized routing dimensions, tap the routing
dimension to be changed > enter dimension > tap Save.

User’s Guide
20
• Repeat this procedure until all personalized routing
dimensions are entered, and then tap
3. Custom Routing Type
WARNINGChanging these values will change how CoPilot
Truck calculates your ETA as well as how it determines the
optimal route.
4. Routing - Hazmat
o Select personalized hazmat routing options then tap
5. Routing - Tolls
o Select personalized toll preferences then tap
6. Routing - More
o Select personalized routing preferences such as Scenic Route,
National Network, 53ft Trailer, Override Restrictions, and
International Borders Open (see page 54 for a description),
then tap
7. Routing Type
o Select Practical or Shortest for your routing type.
represent distances and driving routes that a
driver would normally take to minimize time and cost.
represent distances and driving routes a
vehicle would take to minimize total distance traveled while
still following a reasonable route.
o Tap to continue.
Other manuals for 750
1
Table of contents
Other PC*Miler GPS manuals

PC*Miler
PC*Miler navigator 740 User manual

PC*Miler
PC*Miler PCM Nav 430 User manual

PC*Miler
PC*Miler 440 User manual

PC*Miler
PC*Miler PCM Nav 430 User manual

PC*Miler
PC*Miler 750 User manual

PC*Miler
PC*Miler 540 User manual

PC*Miler
PC*Miler 440 User manual

PC*Miler
PC*Miler 450 User manual

PC*Miler
PC*Miler 550 User manual
Popular GPS manuals by other brands

Zero Friction
Zero Friction Distance Pro user manual

Navig8r
Navig8r i50GPS user manual

SANJOSE Technology
SANJOSE Technology GM-48S user manual

Sun-Tech
Sun-Tech ST310U Operation manual

Electronics International Inc
Electronics International Inc AV-17 Operating and installation instructions

SANJOSE Technology
SANJOSE Technology Unictron SANAV SJ-205HAB user manual