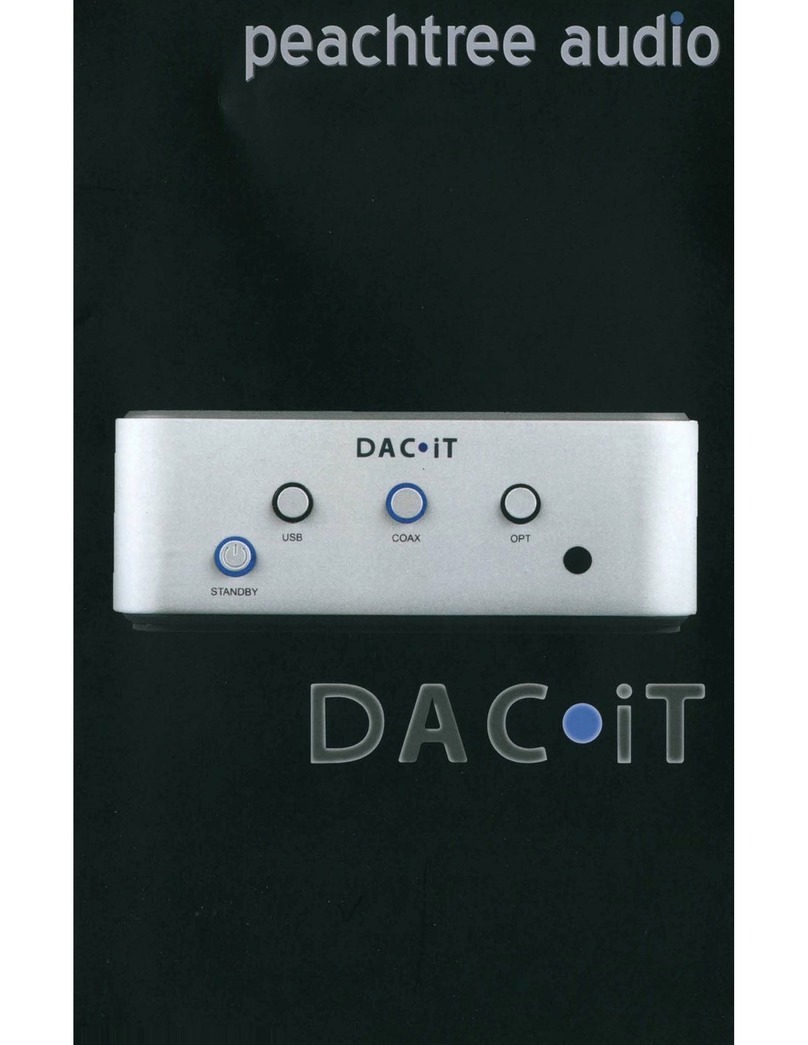
Peachtree Audio DAC iT User manual


Important Safety Instructions
Read these instructions – All the safety and operating instructions should be
read before this product is operated.
Keep these instructions – The safety and operating instructions should be
retained for future reference.
Heed all warnings – All warnings on the appliance and in the operating
instructions should be adhered to.
Do not use this apparatus near water – The appliance should not be used
near water or moisture – for example, in a wet basement or near a swimming
pool, and the like.
Clean only with dry cloth.
Do not block any ventilation openings. Install in accordance with the
manufacturer’s instructions.
Do not install near any heat sources such as radiators, heat registers, stoves,
or other apparatus (including ampliers) that produce heat.
Do not defeat the safety purpose of the polarized or grounding plug. A polarized
plug has two blades with one wider than the other. A grounding plug has two
blades and a third grounding prong. The wide blade or the third prong is
provided for your safety. If the provided plug does not t into your outlet,
consult an electrician for replacement of the obsolete outlet.
Protect the power cord from being walked on or pinched particularly at the plugs,
convenience receptacles, and at the point where they exit from the apparatus.
Only use attachments/accessories specied by the manufacturer.
Unplug the apparatus during lightning storms or when unused for long periods
of time.
Refer all servicing to qualied personnel. Servicing is required when the apparatus
has been damaged in any way, such as power supply cord or plug is damaged,
liquid has been spilled or objects have fallen into the apparatus has been exposed
to rain or moisture, does not operate normally, or has been dropped.
Please keep the unit in a good ventilation environment.
CAUTION: These servicing instructions are for use by qualied service personnel
only. To reduce the risk of electric shock, do not perform any servicing other than
that contained in the operating instructions unless you are qualied to do so.
WARNING:To reduce the risk of re or electric shock, do not expose this apparatus
to rain or moisture. The apparatus shall not be exposed to dripping or splashing
and that no objects lled with liquids, such as vases, shall not be placed on
apparatus.
WARNING: The mains plug/appliance coupler is used as disconnect device, the
disconnect device shall remain readily operable.
• The lightning ash with arrowhead symbol within an equilateral triangle is
intended to alert the user to the presence of non-insulated “dangerous voltage”
within the product’s enclosure that may be of sufcient magnitude to constitute a
risk of electric shock.
• Warning: To reduce the risk of electric shock, do not remove cover (or back) as
there are no user-serviceable parts inside. Refer servicing to qualied personnel.
• The exclamation point within an equilateral triangle is intended to alert the user
to the presence of important operating and maintenance instructions in the
literature accompanying the appliance.
WARNING:For the terminals marked with symbol of “ ” may be of sufcient
magnitude to constitute a risk of electric shock. The external wiring connected
to the terminals requires installation by an instructed person or the use of ready-
made leads or cords according to manufacturer’s instruction.
Unpacking and Warranty
Keep all packing materials for future shipments. (service)
Keep a record of your bill of sale and a copy of the serial number for warranty
and insurance purposes.
You may register your unit on our website: www.peachtreeaudio.com.
1)
2)
3)
4)
5)
6)
7)
8)
9)
10)
11)
12)
13)
14)
15)
16)
17)
18)
1)
2)
3)
Safety Guidelines

Introduction
Front Panel
Back Panel
Connections
Remote Control
Useful Tips and more...
Troubleshooting
Product Guarantee and Service
Technical Specications

Welcome to your Peachtree Audio DAC•iT!
Our goal at Peachtree is to design products that provide you with a magical musical
experience. We believe the DAC*iT reaches that goal.
At the heart of the DAC*iT is an advanced ESS Sabre DAC. The secret to the sonic
performance of the DAC*iT is the Peachtree design team’s carefully-engineered
implementation of this digital-to-analog converter, utilizing proprietary techniques and
innovative circuit design. Connect your digital music library to the DAC*iT and hear
what’s possible!
This manual is a guide to the functions and operation of your DAC•iT. It shows you
how to connect a variety of digital sources, and offers tips on getting the best
performance. The DAC•iT has been rigorously designed to deal with the real-world
problems of computer and streaming audio. And it meets the true test of any audio
component: it SOUNDS great!
We hope the DAC•iT will provide you with years of enjoyable music listening. Visit
us at www.peachtreeaudio.com for additional tips on getting the best sound from the
music on your computer, and from all your digital sources. Please contact your dealer,
or us directly, if you have questions. We now invite you to go to www.peachtreeaudio.
com to register your DAC•iT purchase.
Thank you - and Happy Listening!
The Folks at Peachtree Audio
Introduction
3

STANDBY
COAX OPTUSB
12345
Standby: The DAC•iT is in standby mode when this button glows green. Push to
turn on the DAC•iT; the button will light up blue. When you are nished listening,
push again to return to standby mode.
Digital USB Input: Push to hear music from your connected computer or other
USB audio source.
Digital Coax Input: Push to hear music from a component you have connected
via a digital coaxial cable, such as a CD player, DVD player, Sonos Zone Player,
Logitech Squeezebox or other digital source.
Digital Optical Input: Push to hear music from a component you have connected
via a digital optical cable (toslink), such as a CD player, DVD player, Sonos Zone
Player, Logitech Squeezebox, Apple TV or other digital source.
Infrared Remote Sensor: When using the remote control aim it at this sensor for
best results.
1)
2)
3)
4)
5)
Front Panel
4

USB
LINE OUT OPT COAX
L
Designed in USA
Made in China
9'&$
SERIALNO
R
12345
Line Out: To connect the analog output of the DAC•iT to your preamplifier,
integrated amplier or receiver. The level is xed (non-variable). Use your audio
system’s volume control to adjust listening levels.
USB Digital Input: To connect directly to your computer via a USB cable.
Optical Digital Input: For optical digital sources.
Coaxial Digital Input: For coaxial digital sources.
DC Input: For connecting the DAC•iT’s external power supply (see image below).
1)
2)
3)
4)
5)
5
Back Panel
PDF !"# "pdfFactory Pro" $#%&'( www.neprint.com.cn

• Coaxial Digital Input: Connect the coaxial output from any digital source, using
a coaxial digital cable. Push the “COAX” input button on the front of the DAC•iT
to listen.
• Optical Digital Input (sometimes called Toslink): Connect the optical output
from any digital source, using an optical digital cable. Push the “OPT” input button
on the front of the DAC•iT to listen.
• USB Digital Input: Connect the USB output from a computer (or other source
component which can output audio via USB) using a USB cable. Push the “USB”
input button on the front of the DAC•iT to listen.
• Line Output: Connect the DAC•iT’s left and right line out jacks to line-level
(AUX) inputs on your preamplifier, integrated amplifier or receiver. Select any
connected digital source from the front panel of the DAC•iT or from the DAC•iT
remote control. Set your listening level using your existing system’s volume
control.
WARNING: DO NOT CONNECT THIS FIXED-LEVEL LINE OUTPUT TO A
PHONO INPUT OR DIRECTLY TO THE INPUTS OF A POWER AMPLIFIER.
YOU WILL LIKELY DAMAGE YOUR PREAMPLIFIER, RECEIVER, POWER
AMPLIFIER AND SPEAKERS!
Connections
6

On/Standby: Puts the DAC•iT in or out of “Standby”.
Mute: Mutes or un-mutes the output of the DAC•iT.
OPT: Selects a source connected to an optical (Toslink) digital input.
COAX: Selects a source connected to a coaxial digital input.
USB: Selects a digital audio source connected to the USB input.
1)
2)
3)
4)
5)
1
2
3
4
5
Remote
7

USB Connections
PC
Connect the USB terminal on the DAC•iT to a USB connection on your
computer.
Your computer will “see” the USB Audio DAC inside the DAC•iT. You may get a
“Peachtree Audio 24/96” pop-up box but it’s not necessary.
Right click the speaker icon on the bottom of your screen.
Select “Audio” tab.
Using the drop-down box choose Peachtree Audio 24/96.
Click OK.
Launch Music Program and play.
Mac
Open System Preferences.
Click on Sound.
In the Output tab you should see Peachtree Audio 24/96 as one of the choices.
Select it.
Launch iTunes and enjoy your music.
Once you set up your computer following the above instructions it should
recognize the DAC•iT’s USB Audio DAC and default to it. If you unplug the USB
connection you may have to repeat some steps; this is not unusual.
1)
2)
3)
4)
5)
6)
7)
1)
2)
3)
4)
At Peachtree Audio we think products should be easy to use.
We don’t require any custom USB drivers or software programs
to listen to music from your computer. The DAC•iT’s USB digital
input accepts music les from your computer’s hard drive and
plays them back with superb delity.
Useful Tips
8

Interested in the Green Movement?
The DAC•iT meets the European RoHS standards for non-hazardous metals.
The DAC•iT utilizes a standby transformer that draws less than a watt in the US
and less than 2 watts in countries with 220V electrical service.
We will continue to investigate more ways of making our products environmentally
1)
2)
1)
2)
3)
For critical listening to music from your computer, avoid keeping multiple
programs open. It can compromise the sound quality and even cause signal
dropouts.
Avoid plugging and unplugging the USB input multiple times in a short time
span. It usually is not a problem but increases the chance of a voltage spike
to the USB input.
We’ll post articles and other helpful tips on getting the best sound from
your computer’s music les and your other digital music sources. Visit us at
our website: www.peachtreeaudio.com.
Other Useful Tips
9

You pick up hum and noise
through your DAC•iT in your
ofce system
This can require some trial and error diagnostics. If you have music
les available on a laptop computer connect it (while on battery power)
to the DAC•iT. If it works properly, with no noise, then the computer in
your ofce is introducing a ground loop into the system. This is not
uncommon. However, the DAC•iT’s digital inputs are transformer-
coupled to minimize this problem. If a problem persists, please feel
free to contact Peachtree Audio.
When you switch from one
source to another you get a
loud “click” or “pop”
Sometimes this is from static buildup but it should not occur consistently
over a long period of time. Contact your dealer or Peachtree Audio if this
persists.
Your coaxial digital connections
do not sound quite right
You must use a wide bandwidth 75 ohm digital interconnect in this
application. If you use a standard audio RCA cable the results will
not be nearly as good. This is not an unusual mistake as the two
interconnects look identical but sound different.
Your iPod doesn’t sound quite
right through the DAC•iT
Your iPod offers custom equalizations for headphone use that aren’t
necessary with the DAC•iT and a good pair of speakers. We recommend
using a “at” response. If you nd that you still need equalization, then start
at “at” and make your settings from that point.
The DAC•iT will not
turn on
Be sure the DAC•iT’s external power supply is connected to the rear
panel DC input and that the power supply is plugged into a live AC
outlet.
The DAC•iT turns on but
there is no sound
Be sure your system is not muted and that the DAC•iT has been
selected. Be sure your digital source is on and playing. Be sure
the DACiT’s standby button is glowing blue and that your desired input
is glowing blue. If the input button is blinking the DAC*iT is in
“mute” mode. Press the mute button on the remote to un-mute the
DAC*iT. Check to be sure your digital cable is properly connected.
The remote control
doesn’t work
Please check the batteries by removing the cover on the back of the
remote. It is an infrared remote so it needs a clear line of sight to the
sensor on the front panel of the DAC•iT.
You intermittently lose
your signal on the
USB input
First, try relaunching your music server program (iTunes, WMP, etc.).
If your computer still doesn’t recognize the USB DAC unplug the USB
cable from the computer and the DAC•iT, wait a few seconds, then
reconnect. These are computer hookups, and sometimes you’ll lose
a signal just as with your printer or other USB device. You should
not have this problem often. We designed the DAC•iT to remain
locked on the USB signal at all times, but signal dropouts are still
possible.
10
Troubleshooting

International Guarantee
The DAC•iT has a one year Parts and Labor guarantee from the time of
purchase. Units that are covered under this guarantee include DAC•iTs
purchased from an authorized DAC•iT distributor or dealer.
Peachtree Audio can take no responsibility for defects arising from accident, misuse,
abuse, wear and tear, neglect or through unauthorized adjustment and/or repair. The
warranty does not cover shipping costs. Visit www.peachtreeaudio.com for a copy of
the complete warranty.
Claims Under Warranty
The unit should be packed in its original packing and returned to the dealer
from whom it was purchased, or if unavailable, directly to the DAC•iT
distributor.
You should use a suitable carrier. Do Not Send By Postal Service. Peachtree
Audio cannot accept responsibility for the DAC•iT while in transit to the dealer,
distributor, or service facility. Please insure your unit against loss or damage while
in transit.
In the unlikely event that you experience a failure with your DAC•iT, please call for
a return authorization number before returning products for service. Any DAC•iT
received without an RA # will be refused. You may also wish to route your repair
through your dealer, which we encourage.
Call 704-391-9337 for a return authorization number and additional information
on where and how to return your unit for service.
Main ofce (not service):
Peachtree Audio
2045 120th Avenue NE
Bellevue WA 98005
www.peachtreeaudio.com
International Guarantee and
Claims Under Warranty
Product Guarantee and Service
11

• 3 digital inputs USB, Coax, Optical
• Fixed line-level RCA stereo output
• ESS ES9022 Sabre DAC
• 24Bit/96kHz USB capability
• 24Bit/192kHz coaxial digital capability
• 24Bit/96kHz optical digital capability
• S/N 120dB
• Output voltage 2.0V
• Output impedance 200 ohms
• Transformer-coupled digital inputs for ground isolation
• Galvanically-isolated USB stage to reduce noise from computer’s
switching power supply
• External power supply 100V-240V 50Hz-60Hz 9V 1A output
• Power consumption <1W
Dimensions 2.42” H x 6.5” W x 6.5” D
Weight 2.33 lbs
12
Technical Specifications


Instrucciones de seguridad importantes
1) Lea las instrucciones - Antes de poner en funcionamiento el equipo deben leerse todas
las instrucciones de operación y de seguridad.
2) Conserve las instrucciones – Las instrucciones de seguridad y funcionamiento deben
conservarse para futuras referencias.
3) Preste atención a todas las instrucciones - Se les debe hacer caso a todas las advertencias
que aparezcan en el equipo y en las instrucciones de operación.
4) No use este aparato cerca del agua – El equipo no debería utilizarse cerca del agua o
humedad - por ejemplo, sobre en un sótano húmedo ni cerca de una piscina o en lugares
similares.
5) Limpie el equipo solamente con un trapo seco.
6) No bloquee las aberturas de ventilación. Instálelo de acuerdo con las instrucciones del
fabricante.
7) Coloque la unidad lejos de fuentes de calor tales como radiadores, registradores de calor,
cocinas y otros productos (incluyendo amplicadores) que produzcan calor.
8) No elimine el propósito de seguridad del enchufe polarizado o con toma de tierra. Un
enchufe polarizado tiene dos patillas, una de las cuales es más ancha. Un enchufe con
toma de tierra tiene dos patillas iguales y una tercera diferente para toma de tierra. La hoja
ancha o la tercera clavija se proporcionan para su seguridad. Si el enchufe proporcionado
no sirve en su tomacorriente, consulte un electricista para realizar la sustitución del
tomacorriente obsoleto.
9) Proteja el cable de alimentación de que sea pisado o mordido, particularmente en los enchufes,
tomas de corriente, y en el punto donde sale del aparato.
10) Utilice solamente los acoples/accesorios especicados por el fabricante.
11) Desenchufe el aparato durante tormentas con relámpagos o cuando no vaya a utilizarlo durante
largos periodos de tiempo.
12) Dirija todos los mantenimientos y reparaciones al personal cualicado. Es necesaria la
reparación cuando el aparato ha sufrido daños de alguna forma, en el cable de alimentación
o en el enchufe, se ha derramado líquido o han caído objetos en el interior del aparato, éste
ha sido expuesto a la lluvia o a la humedad, el aparato no funciona con normalidad, o si se ha
caído al suelo.
13) Por favor, coloque la unidad en un área con buena ventilación.
14) PRECAUCIÓN: Estas instrucciones de servicio son para uso solamente del personal de
servicio calicado. Para reducir el riesgo de descarga eléctrica, no efectúe ninguna reparación
usted mismo que no esté contenida en las instrucciones de funcionamiento a menos que esté
cualicado para hacerlo.
15) ADVERTENCIA: Para reducir el riesgo de incendio o de choques eléctricos, no exponga
este electrodoméstico a la lluvia ni a la humedad. El aparato no debe exponerse a goteos ni
salpicaduras y no se colocarán objetos llenos de líquido, como jarrones, sobre él.
16) ADVERTENCIA: El enchufe del cable de corriente del equipo se usa como dispositivo de
desconexión y por tanto será de fácil acceso.
17) • El símbolo de relámpago con punta de echa dentro de un triángulo equilátero advierte al
usuario de la presencia de una “tensión peligrosa” no aislada dentro del alojamiento del
sistema que puede ser de una magnitud suciente como para constituir un riesgo de choque
eléctrico.
• Advertencia: Para reducir el riesgo de descarga eléctrica, no abra la carcasa (ni la cubierta
posterior) ya que no hay piezas útiles en el interior. Para efectuar mantenimientos llévelo al
personal cualicado.
• El signo de admiración dentro de un triángulo equilátero advierte al usuario de la presencia
de instrucciones importantes relacionadas con la operación y el mantenimiento en la literatura
que se entrega junto con el electrodoméstico.
18) ADVERTENCIA: Los terminales marcados con el símbolo do pueden ser de suciente magnitud
como para constituir un riesgo de choque eléctrico. El cableado externo conectado a los
terminales requiere de su instalación por parte de una persona capacitada o del uso de líneas
o cables ya preparados de acuerdo con las instrucciones del fabricante.
Desembalaje y Garantía
1) Conserve el material del embalaje para envíos futuros. (Reparaciones)
2) Mantenga un registro de su recibo de compra un una copia del número de serie para
propósitos de la garantía y del seguro.
3) Puede registrar su unidad en nuestro sitio Web: www.peachtreeaudio.com.
Normas de seguridad

Introducción
Panel frontal
Panel Trasero
Conexiones
Mando a distancia
Consejos útiles y más...
Solución de problemas
Garantía del producto y Servicio
Especicaciones técnicas

Bienvenido a su Peachtree Audio DAC•iT!
Nuestro objetivo en Peachtree es diseñar productos que le proporcionen una experiencia
musical mágica. Estamos convencidos de que el DAC•iT logra ese objetivo.
En el corazón del DAC•iT hay un ESS Sabre DAC avanzado. El secreto del comportamiento
del sonido del DAC•iT es la implementación cuidadosa del diseño del equipo de diseño
de Peachtree de este convertidor digital - analógico, utilizando técnicas propietarias y
un innovador diseño de circuitos. ¡Conecte su biblioteca de música digital al DAC•iT y
escuche qué es posible!
Este manual es una guía para las funciones y la operación de su DAC•iT, Le enseña
cómo conectar una variedad de fuentes digitales y otros consejos acerca de cómo
obtener el mejor desempeño. El DAC•iT ha sido rigurosamente diseñado para tratar con
los problemas del mundo real de las computadoras y el ujo de audio. Y cumple con la
prueba real de cualquier componente de audio: ¡SUENA genial!
Esperamos que el DAC•iT le proporcione años de audición placentera de música. Visítenos
en www.peachtreeaudio.com para consejos adicionales sobre cómo obtener el mejor
sonido de la música de su PC, y de todas sus fuentes digitales. Por favor, contacte con
su vendedor, o directamente con nosotros, si tiene alguna pregunta. Ahora le invitamos a
entrar en www.peachtreeaudio.com para registrar la compra de su DAC•iT.
Gracias y… ¡Que lo disfrute!
La gente de Peachtree Audio
Introducción
3

STANDBY
COAX OPTUSB
12345
1) Espera: El DAC•iT está en modo de espera cuando este botón se ilumina en verde.
Presiónelo para encender el DAC•iT; el botón se iluminará en azul. Cuando haya
terminado de escucharlo, empújelo de nuevo para ir al modo de espera.
2) Entrada USB digital: Presiónelo para escuchar música desde su computadora
conectada u otra fuente de audio USB.
3) Entrada coaxial digital: Púlselas para oír música procedente de un equipo que haya
conectado a través un cable digital coaxial, como un reproductor de CD, reproductor
de DVD, un reproductor Sonos Zone, una Logitech Squeezebox u otra fuente digital.
4) Entrada óptica digital: Púlselo para oír música procedente de un equipo que haya
conectado a través un cable digital óptico (toslink), como un reproductor de CD,
reproductor de DVD, un reproductor Sonos Zone, una Logitech Squeezebox, una TV
de Apple u otra fuente digital.
5) Sensor del mando a distancia infrarrojo: Cuando use el mando a distancia apunte
hacia este sensor para mejores resultados.
Panel frontal
4

USB
LINE OUT OPT COAX
L
Designed in USA
Made in China
9'&$
SERIALNO
R
12345
1) Salida de línea: Para conectar la salida analógica del DAC•iT a su preamplicador,
amplicador integrado o receptor. El nivel es jo (no es variable). Use el control de
volumen de su sistema de audio para ajustar los niveles de audición.
2) Entrada digital USB: Para conectarse directamente a su computadora mediante un
cable USB.
3) Entrada digital óptica: Para fuentes digitales ópticas.
4) Entrada digital coaxial: Para fuentes digitales coaxiales.
5) Entrada de CC: Para la conexión de la fuente de alimentación externa del DAC•iT
(vea la imagen siguiente).
5
Panel Trasero
PDF !"# "pdfFactory Pro" $#%&'( www.neprint.com.cn

• Entrada digital coaxial: Conecte la salida coaxial desde cualquier fuente digital,
usando un cable digital coaxial. Empuje el botón de entrada “COAX” en el panel
frontal del DAC•iT para escuchar.
• Entrada digital óptica (a veces denominada Toslink): Conecte la salida óptica
desde cualquier fuente digital, usando un cable digital óptico. Empuje el botón de
entrada “OPT” en el panel frontal del DAC•iT para escuchar.
• Entrada digital USB: Conecte la salida USB de una computadora mediante un
cable USB (u otro componente de fuente que pueda enviar audio a través de USB).
Empuje el botón de entrada “USB” en el panel frontal del DAC•iT para escuchar.
• Salida de líneas: Conecte los conectores de salida de línea izquierdo y derecho del
DAC•iT a las entradas de nivel de línea (AUX) de su preamplcador, amplicador
integrado o receptor. Seleccione cualquier fuente digital conectada desde el panel
frontal del DAC•iT o desde el mando a distancia del DAC•iT. Ajuste el nivel de
audición usando el control de volumen de su sistema existente.
ADVERTENCIA: NO CONECTE ESTA SALIDA DE LÍNEA DE NIVEL FIJO A UNA ENTRADA
DE MÍCRÓFONO NI DIRECTAMENTE A LAS ENTRADAS DE UN AMPLIFICADOR DE
POTENCIA. ¡PROBABLEMENTE DAÑARÁ SU PREAMPLIFICADOR, RECEPTOR,
AMPLIFICADOR DE POTENCIA Y LOS ALTAVOCES!
Conexiones
6
Other manuals for DAC iT
1
Table of contents
Languages:
Other Peachtree Audio Media Converter manuals
Peachtree Audio
Peachtree Audio BP1 User manual

Peachtree Audio
Peachtree Audio Deepblue User manual
Peachtree Audio
Peachtree Audio DAC iT User manual
Peachtree Audio
Peachtree Audio t1 User manual
Peachtree Audio
Peachtree Audio Deepblue User manual
Peachtree Audio
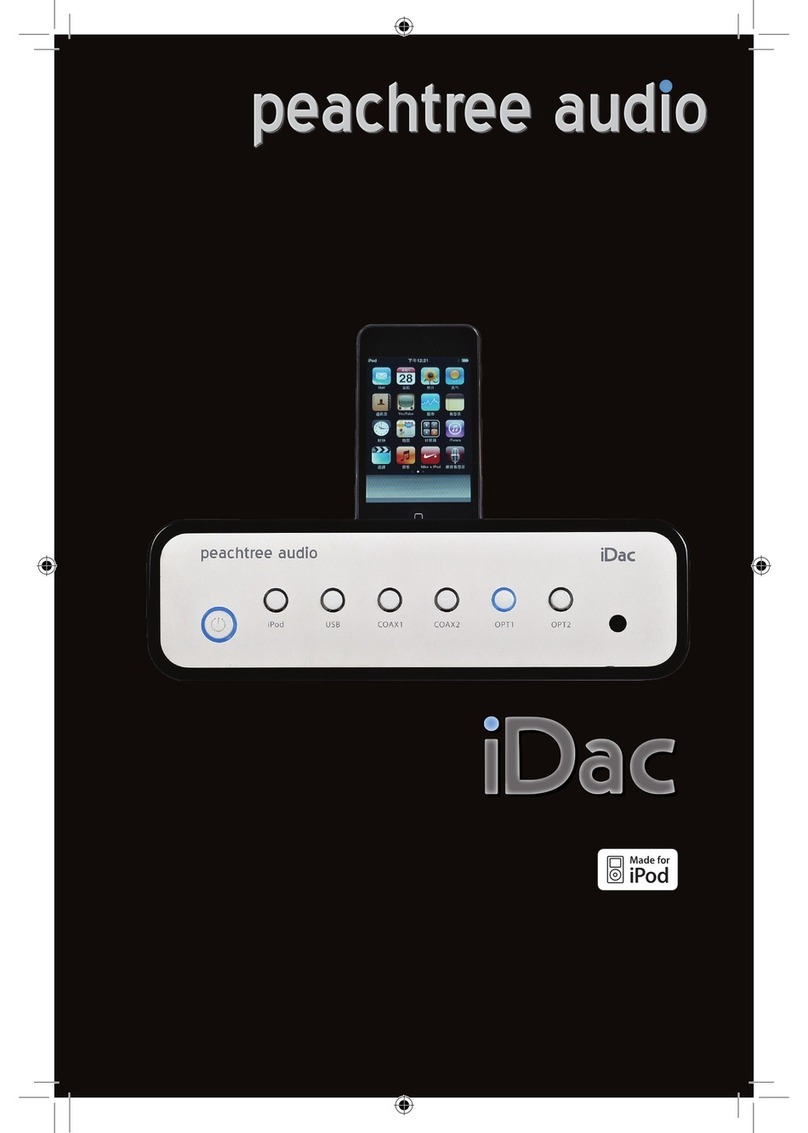
Peachtree Audio iDac User manual

Peachtree Audio
Peachtree Audio t1 24 User manual
