Peak M1 NIGHTHAWK User manual

PEAK M1 NIGHTHAWK
Installation Manual
SSANGYONG MUSSO Q200/Q201/Q215/Q250/Q261
No Loop SYPEAK0419S / Single Loop SYPEAK0423S / Triple Loop SYPEAK0427S
IMPORTANT :
Bull Bar installations should only be done by a qualified person and it is the responsibility of this
person to ensure correct fitment
This Product Must Not Be Modified Approx Install Time : 4Hrs

DISCLAIMER
Important Notice Regarding Installation and Warranty
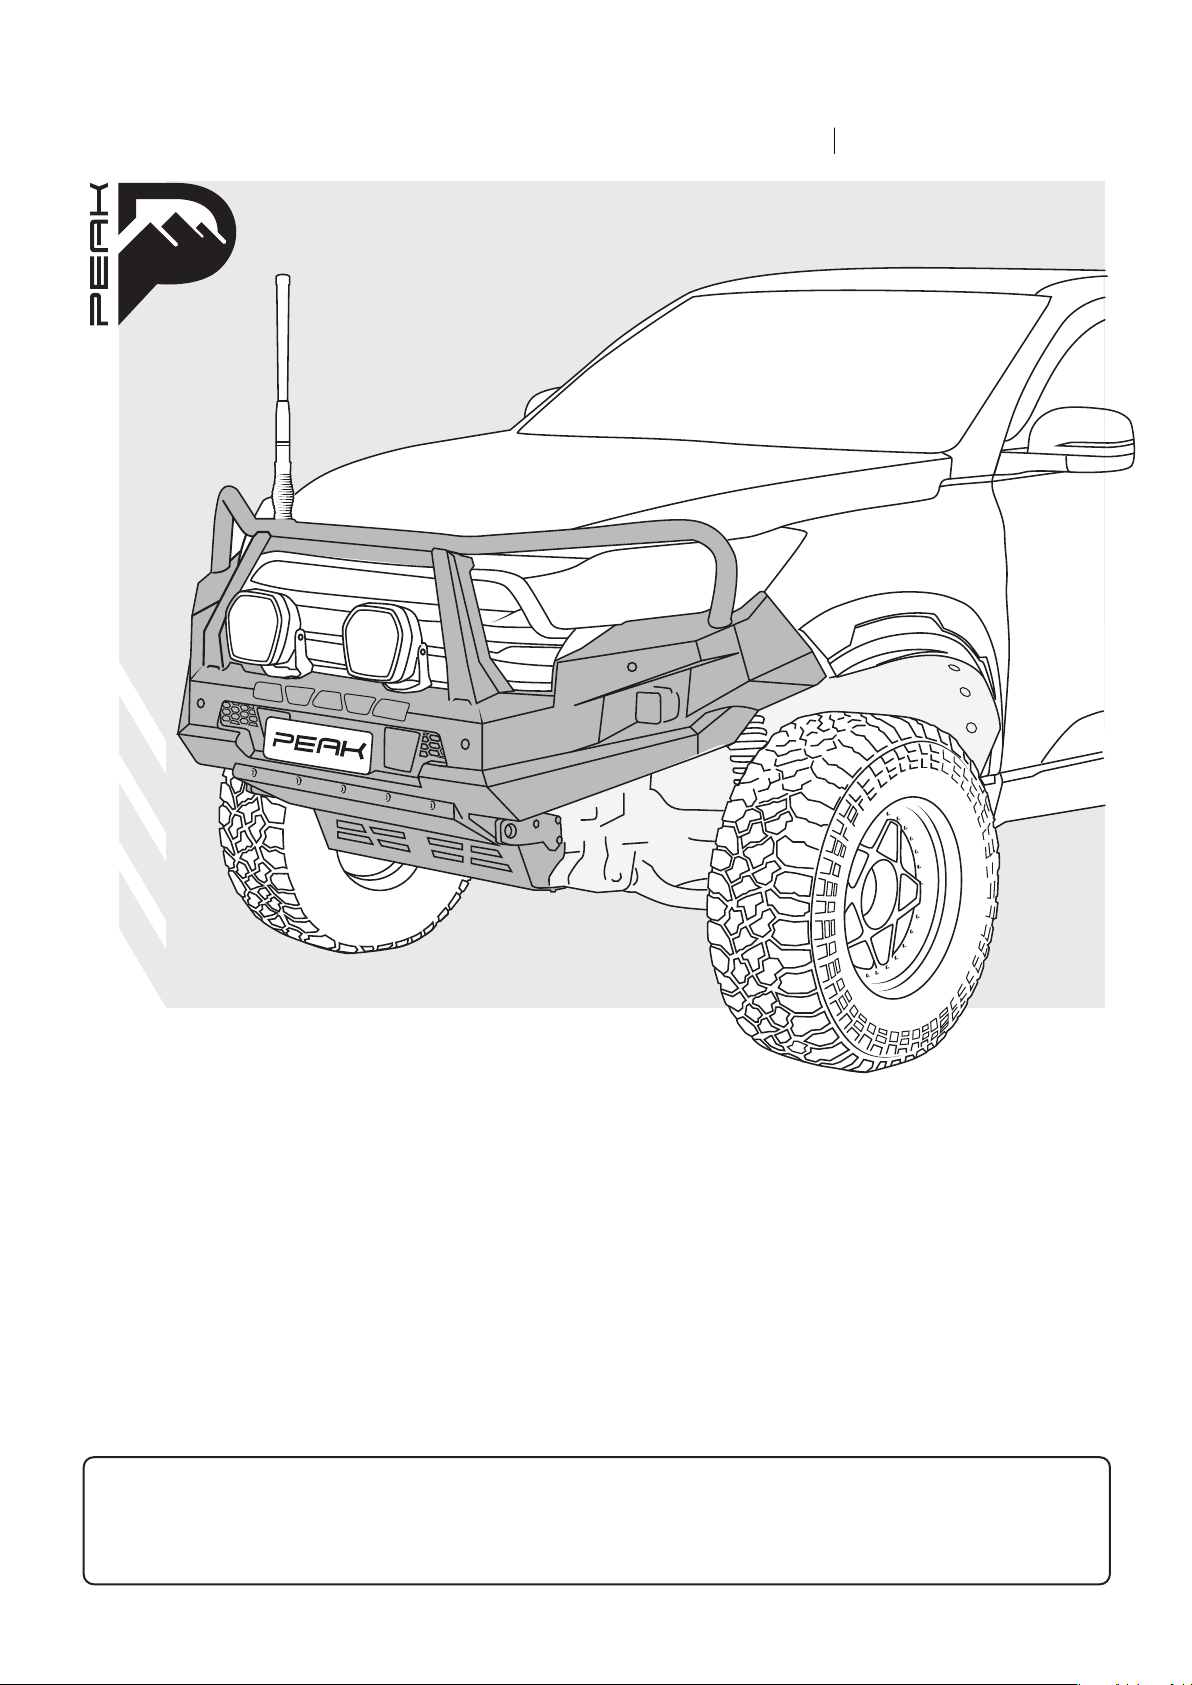
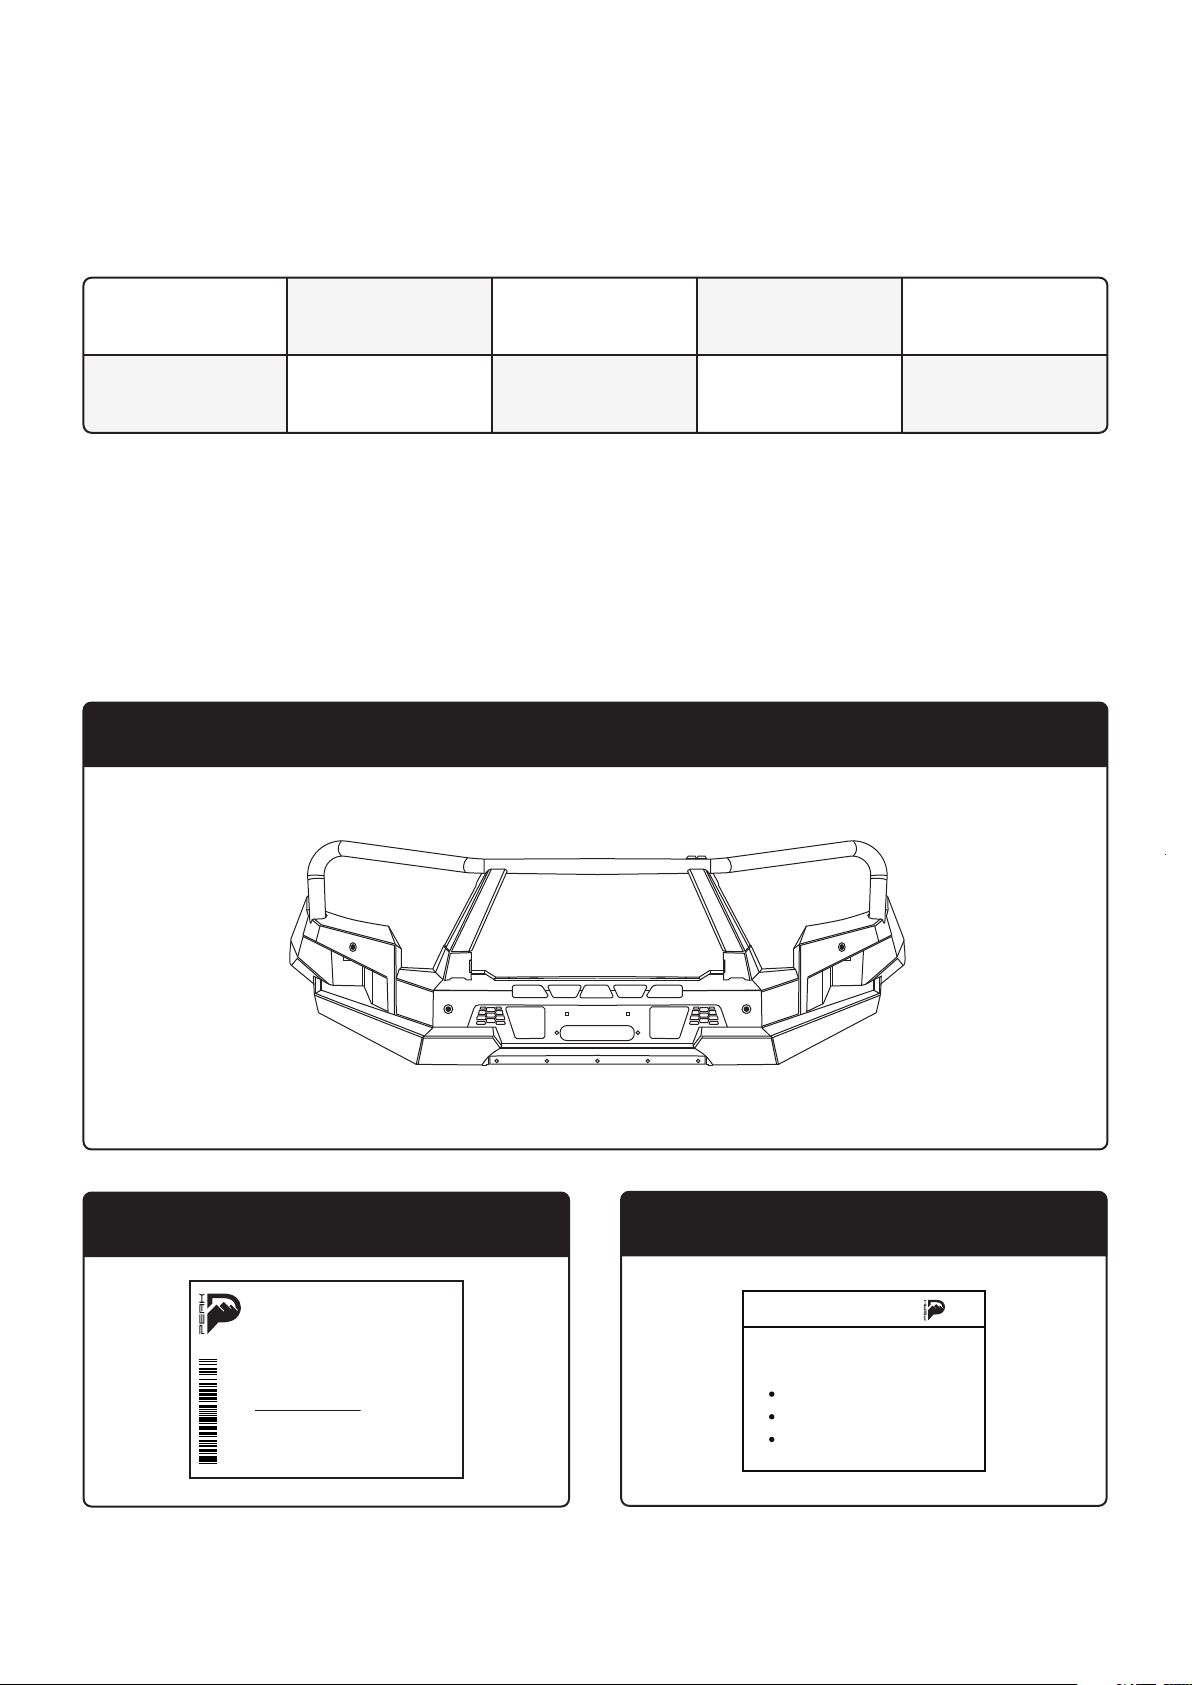
Thank you for choosing the PEAK M1 NightHawk. This manual contains essential
instructions for proper installation and usage. It is of utmost importance that you carefully
read and follow these guidelines. Additionally, we want to emphasize the critical role of
experience and expertise in installing this bull bar correctly.
Experienced Installation
Installing a bull bar requires a certain level of technical skill and knowledge. We strongly
recommend that the installation be carried out by a qualified professional who has
experience with vehicle modifications and bull bar installation. Incorrect installation can
lead to safety hazards and vehicle damage.
Voidance of Warranty
Please be aware that improper installation, use of unauthorized parts, or installation by
unqualified individuals can void the warranty of the bull bar and associated components.
Any damage resulting from improper installation or use will not be covered under warranty.
Liability and Responsibility
We, the manufacturer, cannot be held responsible for any damage, injury, or loss caused
by improper installation, modification, or usage of this product. It is the responsibility of
the installer and the vehicle owner to ensure that installation is conducted according to
the instructions provided in this manual.
Safety First
Your safety and the safety of others on the road are paramount. If you are not confident in
your ability to install the bull bar correctly, or if you lack experience in vehicle
modifications, we strongly recommend seeking assistance from a certified professional.
Professional Installation Recommended
To ensure optimal performance, safety, and warranty coverage, we strongly advise having
your bull bar installed by a qualified technician who is knowledgeable about bull bar
installations and adheres to industry standards.
By proceeding with the installation of this bull bar, you acknowledge that you have read
and understood this disclaimer, and you accept full responsibility for the installation
process and its outcomes.
If you have any questions or concerns, please contact our customer support team before
proceeding.
Thank you for choosing our product, and we appreciate your commitment to safety and
quality installation.
Peak M1 Nighthawk Installation Manual 02

SAFETY PPE
Safety Glasses
Ear Protection
Manual Handling
Always wear ear protection when using
power tools.
Ensure eye protection is always worn when
cutting or drilling.
Do not attempt to lift bar assemblies or
rock sliders on your own.
Always use two people to lift or use
mechanical Lifting aid such as hydraulic
lifting trolley.
Always ensure vehicle is properly
supported when working on it. Do not
attempt to fit products whilst supension
work is being carried out.Do not work
under a vehicle supported only by a jack.
Vehicle Support
03 Peak M1 Nighthawk Installation Manual

TOOLS
SUPPLIED HARDWARE
Bull Bar x 01
x 02 x 05
Warning Plate x 02
WARNING
PEAK RECOVERY POINT - WLL 5000KG
8000KG MAX SNATCH STRAP
4.75t MAX SHACKLE RATING
INCORRECT USE MAY RESULT IN VEHICLE DAMAGE,
ALWAYS USE RECOVERY POINTS AS A MATCHED
RECOVERY ON SIDE ANGLES REDUCES THE RATING
OF THE RECOVERY POINT.
PAIR WITH AN EQUALISING BRIDLE.
PERSONAL INJURY OR DEATH.
Peak M1 Nighthawk Installation Manual 04
Compliance Plate x 01
Noah Industries Ptv Ltd
ACN: 649 230 55
www.peak4x4.com.au
Name: Peak M1 NightHawk
Name: Peak R1 NightHawk
Part No: SYPEAK0419S / 0423S / 0427S /
Part No: SYPEAK0523S / 0525S / 0527S /
For Vehicles:
For Vehicles equipped with SRS Airbags
When installed in accordance with the instruction, this front protection bar does
not aect compliance to ADR69/00 and operation of SRS Airbag.
This product or its xing must not be modied. Warranty void if label is removed.
No accessory or tment shall project forword of this product’s forward prole. Do
not use this product on any other vehicle for which it is not designed.
SsangYong Musso (2018 Onwards)
- SYPEAK0419S - SYPEAK0523S
- SYPEAK0525S
- SYPEAK0527S
- SYPEAK0423S
- SYPEAK0427S
Ssang Yong Rexton (2018 Onwards)
2000006571595
Part# : SYPEAK0423S
S/N : PKH100000599
Desc : Peak M1 NightHawk (Single Loop)
Philips-head
Screw Driver
Hacksaw
Soldering Iron Side Cutters Wire Strippers
Ratchet Masking Tape
Rust Resistant
Paint
Socket Set Spanner Set
M12x40mm (6 Pieces)

x 01
Cassis Mount
M12x120mm (10 Pieces)
Crush Tube Large (2 Pieces)
Crush Tube Small (4 Pieces)
x 02
Wing Support x 02
M10x40MM (2 Pieces)
Front Grill Bracket x 02
05 Peak M1 Nighthawk Installation Manual
Centre Cradle x 01
M10x40mm (16 Pieces)
Recovery Points x 02
Bash Plate 01 x 01
M8x30mm (9 Pieces)
Bash Plate 02 x 02
M8x30mm (2 Pieces)
Bash Plate 03 x 01
M8x30mm (2 Pieces)

STEDI C4 Cube Flood Light x 02
Peak M1 Nighthawk Installation Manual 06
Leather Key Case x 01
Sensor Wire Extensions x 02
SENSOR MOUNTING KIT x 01
Cable Ties x 10
Fog Light Adapter x 02
x 01
Number Plate Mount x 01
M6 Cage nuts (2 Pieces)
M6x35mm (4 Pieces)

Part 1
Make sure to retain all original screws & bolts as some are to be re
purposed for the install of this product.
Removal of Original Bar & Components
1. Open bonnet and remove all screw pins holding on the front cowling in
engine bay. Fold back on the rubber seal and place up the engine bay out
of the way.
07 Peak M1 Nighthawk Installation Manual

3. Moving to the front wheel arch,
remove screws from the inner
splash guard on the bumper
portion down the inside of the
wheel arch and underneath.
Repeat for other side.
2. Remove screws a top of the grill.
(Under cowling).
4. Locate the hole in the splash
guard where the quarter panel
and the bumper meet. Using a
Philips head, remove the vertically
positioned retainer screw.
Repeat for other side.
Peak M1 Nighthawk Installation Manual 08
5. Remove factory bash plates.

6. Once all screws are removed pull bumper off starting from one side. Once
bar releases itself, keep close as the wiring harness is still connected.
Unclip the front bar wiring loom connection located on the passenger
side. Remove the front bar from the front of the car and place on a stand.
7. Once bumper bar is removed from the vehicle unclip wiring harness from
the bar and set aside.
9. Unbolt power steering cooler
lines from center reinforcement.
10. Unbolt and remove center
reinforcement.
8. Using a Phillips head screwdriver remove plastic bumper retaining
brackets from the quarter panels on both sides.
B
09 Peak M1 Nighthawk Installation Manual
A

12. Trim body panel as per photo
and cover exposed areas with
epoxy based rust resistant
paint.
11. To prevent any damage during
the bar installation, take
precautionary measures by
taping up the headlights and
quarter panels.
Peak M1 Nighthawk Installation Manual 10

14. Unclip grill from bumper bar and tape up along cut line.
13. Remove all 4 sensors from their cradles and set aside.
Cut Line
11 Peak M1 Nighthawk Installation Manual
Cut Line

15. Cut grill along cut line with air hacksaw and clean up all cut edges.
16. Tape up plastic wheel arch
garnish and trim flush with the
end of the quarter panel.
Peak M1 Nighthawk Installation Manual 12
Consider painting the quarter panel and the lower section of the headlights
black in order to conceal the gap between the panel and the bumper.

13 Peak M1 Nighthawk Installation Manual
Warranty will be voided immediately if the compliance plate & two warning
labels are not correctly applied and installed in their designated positions.
Part 2
Bull Bar Preparation
1. Affix
2x recovery point warning
labels on the outer side of
each recovery point.
1x Compliance plate on the
passenger side bottom panel
inside the bull bar. Note serial
number and keep for your
records.

In case you discover that the sensor wiring is insufficiently long, utilize the
provided wire extensions to elongate the inner sensor cable.
3. Run factory parking sensor and camera loom.
Peak M1 Nighthawk Installation Manual 14
Be sure to face the rubber isolator plate with the rubber facing down.
2. Install STEDI fog lights to bar. Please refer to diagram for correct bolt
placement.
SINGLE DAMPENER
STAINLESS MOUNTING
BRACKET
WASHER
WASHER
NUT
SHOCK DAMPENER
CAP SCREW
BOLT
SPRING WASHER
STAR WASHER
BOLT

4. Using the sensor mounting kit, follow these steps:
15 Peak M1 Nighthawk Installation Manual
a. Begin by pushing out the centre holes of the base plate. Position the sensor, then
secure the backing plate using the supplied screws.
b. Apply the adhesion promoter generously
to the base of the sensor bracket (the
side that will face upward against the
bar) and also around the sensor hole
cutout in the bar.

c. Affix the double-sided tape to each
sensor bracket's base plate.
d. Firmly place the brackets into
position.
Peak M1 Nighthawk Installation Manual 16
Ensure that the outer sensors have a horizontal orientation, while the inner
sensors should have a vertical orientation.
Horizonta
Vertical

17 Peak M1 Nighthawk Installation Manual
7. Install wing support brackets to bulbar using 1x M10x40mm Nuts bolts
and washer.
6. Using supplied adaptors, connect STEDI lights to the wiring loom (not
applicable for factory LED fog lights).
5. Connect wiring harness to each sensor.

Peak M1 Nighthawk Installation Manual 18
8. Install 2x M6 Cage nuts in centre for number plate bracket. Affix base
plate of number plate bracket to bar using 2x M6 bolts.
If you plan to install a light bar or spotlights, this is the appropriate
moment to do so. In case you're installing both spotlights and a light bar
simultaneously, ensure that you trim the spot light bolts, as there is limited
clearance available.

19 Peak M1 Nighthawk Installation Manual
Part 3
Bull Bar Installation
1. Tape up headlights and quarter panels to prevent damage when installing bar.

Peak M1 Nighthawk Installation Manual 20
2. Tape up recovery points
on chassis mounts before
mounting to vehicle.
3. Affix top part of grill bracket to the bottom headlight screw.
Table of contents
Other Peak Automobile Accessories manuals