- 15 -
18 DRINK HOLDER: Click the drink holder into place.
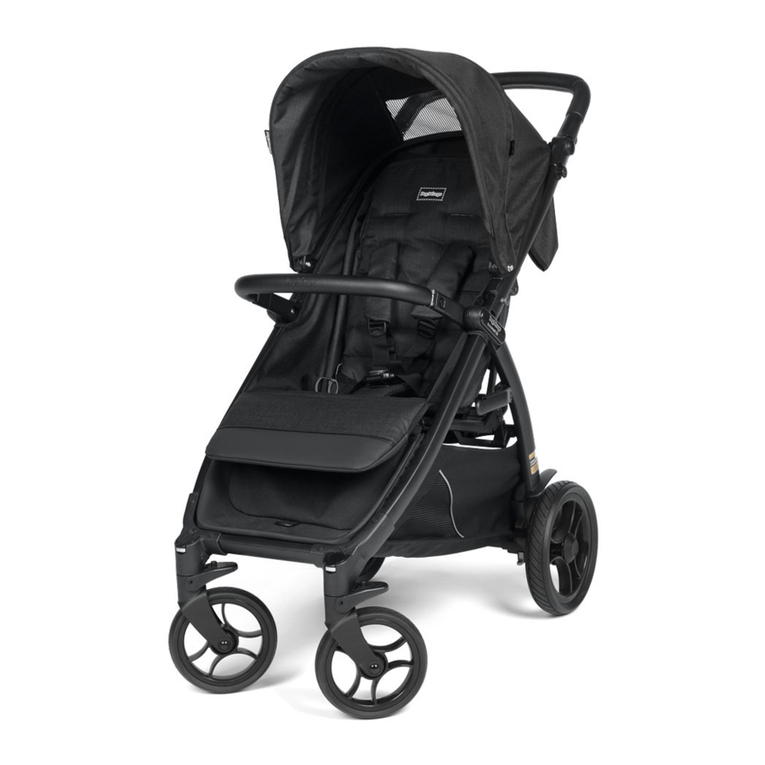
19 CARRIAGE AND/OR STROLLER: Uno becomes a
carriage when the backrest is in its lowest position,
the footrest is raised, the handlebar is on the opposite
side to the backrest and the swivelling wheels are
also on the opposite side to the backrest (fig_a). Uno
becomes a stroller when the backrest is raised, the
footrest is lowered, the handlebar is on the same
side as the backrest and the swivel wheels are on the
opposite side to the backrest (fig_b).
20 HOOD: turn back the front edge of the hood (fig_a),
insert the clips in the slots in the stroller arms (fig_b)
and button them to the rear of the backrest. Button
the hood to the insides of the armrests (fig_c) and
stretch it, lowering the joints (fig_d). To transform
the hood into a sun canopy, open the zip (fig_e) and
unbutton the rest of the hood.
21 COVER: to transform Uno into a carriage, first
lengthen the front bar to the second position and
raise the footrest, slide out the lower part of the
cover from under the footrest sack and insert the
tabs of the lower part of the front cover in the slots
of the front bar (fig_b). The slots in the front bar will
come out when the front bar is lengthened. If the
slots slide back into position, push the two levers
under the front bar towards you. Finally, slip the side
eyelets onto the armrests (fig_c). The carriage version
without a cover can be seen in Figure D.
22 Zip the upper part of the cover to the lower part, slip
the side eyelets onto the armrests in sequence (fig_a)
and button the cover to the armrests (fig_b). The
carriage version with a cover can be seen in Figure C.
23 REMOVING THE WHEELS: to remove the large wheels,
press the button (fig_a) and slide the wheel out
(fig_b). To remove the small wheels, press the switch
inwards (fig_c) and slide out the wheel at the same
time (fig_d).
CLOSING: Before closing the stroller, make sure that
the handlebar is positioned on the backrest side and
ensure that all the wheels are in the fixed position. If
the hood is on, loosen the joints.
24 To close the stroller, press lever 1 and then lever
2 (fig_a), turn the handlebar forwards and push it
downwards. Complete the procedure by fastening
the clips (fig_b). When the UNO stroller is closed, it is
freestanding.
25 TRANSPORT: the stroller has two carrying handles on
the sides that allow it to be transported both when
closed and when open (for example, when going
down stairs).
26 REMOVING THE COVER: To take the cover off the
stroller, remove the tab of the fabric covering from
the backrest (fig_a) and pull the others out of the
armrests (fig_b). To release the lower part of the cover
for washing, detach the fasteners from the points on
the frame of the footrest (fig_C).
THE GANCIOMATIC SYSTEM
The swift, practical Ganciomatic System allows you
to attach the Primo Viaggio car seat (sold separately)
to the Ganciomatic points on the stroller in one easy
step.
27 GANCIOMATIC POINTS ON THE STROLLER: to raise the
Ganciomatic points on the stroller, lift the sack at the
corners of the seat and turn the two points upwards
(fig_a). To lower the Ganciomatic points on the
stroller, pull the switch upwards and lower the point
at the same time (fig_b). Uno can be closed when the
Ganciomatic points are raised.
28 UNO + PRIMO VIAGGIO: to fasten the car seat to the
stroller: activate the brake on the stroller, remove the
hood, position the backrest in the middle position
and raise the Ganciomatic points. Turn the handlebar
to the side opposite the backrest, position the car
seat facing the handlebar and attach it by pushing
down until it clicks into place (fig_a). Ensure that the
handlebar is positioned on the side of the backrest,
pull out the front bar until the first click, position the
car seat facing the backrest and attach it by pushing
down until it clicks into place (fig_b). Always activate
the brake on the chassis or stroller before attaching
and removing the products (see the respective
instruction manuals). Check that the transport unit for
the child is attached correctly.
ACCESSORIES
29 RAIN CANOPY: Rain canopy which zips to the hood.
30 This rain canopy has been designed for use also
when the Uno stroller has the Primo Viaggio car seat
attached.
31 BORSA: bag with changing pad for the baby that can
be attached to the stroller.
SERIAL NUMBERS
32 Information relating to the date of manufacture of the
product are found under the UNO footrest.
_ Product name, date of manufacture and serial
number.
This information is required for any complaints.
CLEANING AND MAINTENANCE
PRODUCT MAINTENANCE: protect from the weather:
water, rain, or snow; prolonged and continuous
exposure to bright sunlight may give rise to colour
changes of various different materials; store this
product in a dry place.
CLEANING THE CHASSIS: periodically clean all plastic
parts with a damp cloth. Do not use solvent or
similar cleaning products; keep all metal parts dry to
prevent rusting; keep moving parts clean (adjustment
mechanisms, locking mechanisms, wheels, ...) and
free of dust and sand and, if necessary, lubricate with
light machine oil.
CLEANING THE RAIN CANOPY: wash with a sponge
and soapy water; do not use detergents.
CLEANING FABRIC PARTS: brush fabric parts to
remove dust and wash by hand at a maximum
temperature of 30°C; do not wring; do not use
chlorine bleach, do not iron; do not dry clean; do not
apply solvent-based stain removers and do not dry in
a tumble dryer.
PEG-PÉREGO S.p.A.
Peg-Pérego S.p.A. is an ISO 9001
certified company. This certification is a
guarantee for customers and
consumers of the transparency and
trustworthiness of the company's
procedures and working methods.
Peg Pérego can make changes at any time to the
models described in this publication for technical or
commercial reasons.
Peg Pérego is at the disposal of its customers and
consumers to ensure that all their demands and
queries are fully satisfied. It is a key part of our policy
to ensure we are always aware of our customers'
views and requirements. We would therefore be very
grateful if, after using a Peg Pérego product, you
take the time to fill in our CUSTOMER SATISFACTION
QUESTIONNAIRE, making a note of any comments
or suggestions you might have. You can find the
questionnaire on the Peg Pérego website: www.
pegperego.com