manuals.online logo
Brands
  1. Home
  2. •
  3. Brands
  4. •
  5. Peiying
  6. •
  7. Car Receiver
  8. •
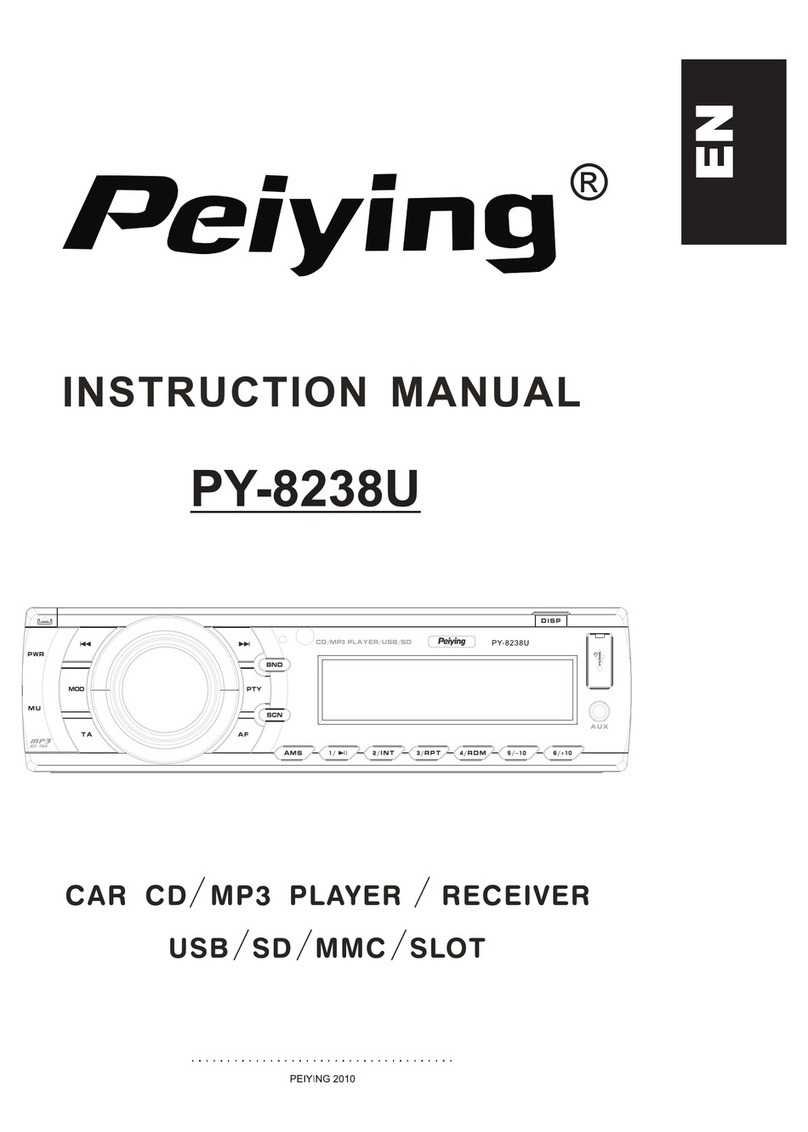
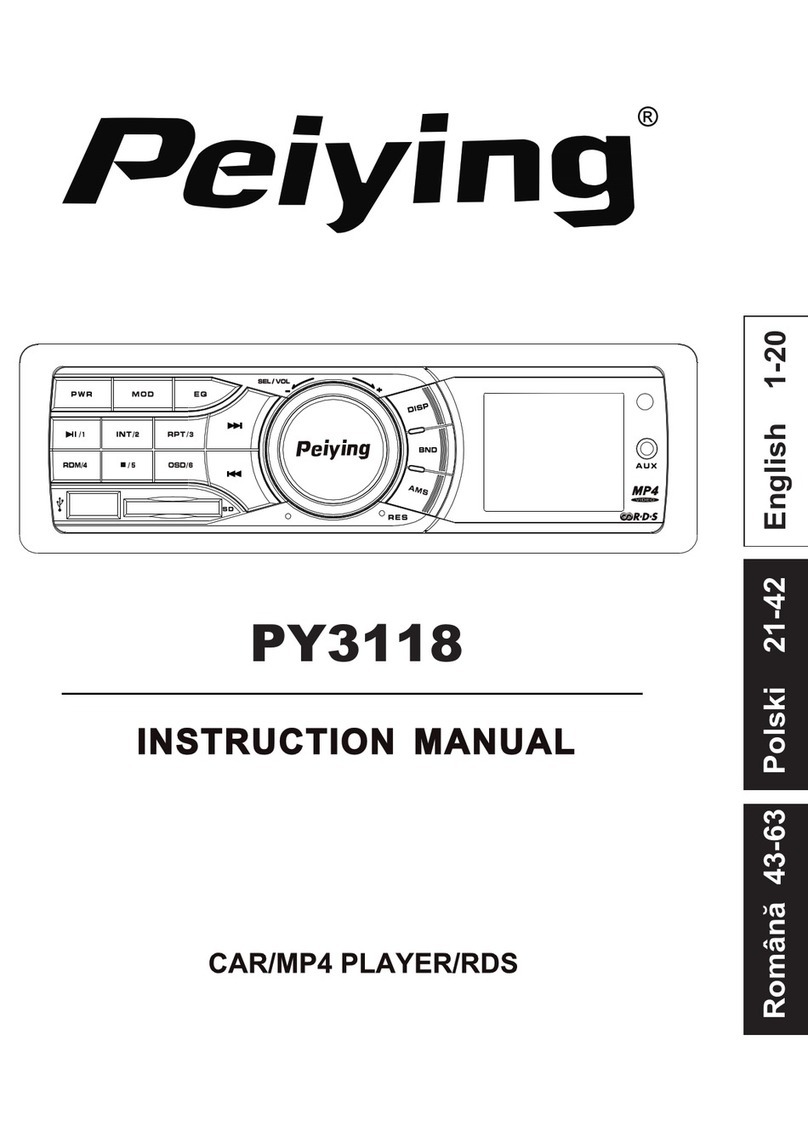
  9. Peiying PY-8138 User manual

Peiying PY-8138 User manual

PWR
B
A
N
D
PTY
AF
DISP
AUX
ID3 TAG
CAR CD MP3 PLAYER / RECEIVER
USB /SD /MMC SLOT
A
T
TROUBLE SHOOTING
No Power
No Sound
Sound Skipping
The Operation Keys
Do Not Work
The Radio or
Automatic Selection
Does Not Work
The fuse is blown
Inserting the CD in reverse
direction f
The CD is extremely dirty or
defected a
Temperature inside the car is
too high
Condensation
Volume is at minimum
Wiring is not properly
connected
The installation angle is more
o
than 30
CD is extremely dirty or
Defected
The built-in microcomputer is
not operating properly due to
Interference
The antenna cable is not
connected correctly
The signals are too weak
Replace a new fuse
Remove the CD from the player
and insert the new one
Insert the CD with the label
facing up
Clean the CD or try to play
a new one
Cool off until the ambient
temperature return to normal
Leave the player off for an
hour or so and try again
Adjust volume to desired level
Check wiring connection
Adjust the installation angle to
o
less than 30
Clean the CD or try to play
a new one
Press the RESET button or
reinstall the front panel
properly
Connect the antenna cable
correctly
Select the station manually
A CD is already inside the
player slot
CD Cannot Be
Loaded or Ejected
The car ignition key not
been switched on
If the power supply is properly
connected to the car accessory
terminal, switch the ignition
key to ACC
Symptom Causes Solution
Before going through the check list, check wiring connection. If any of the
problems persist after checklist has been made, consult your nearest service
dealer
2 1
0 1
Installation..................................................02
Additional information. . . . ......... . . . ......... . . . .....04
General operations. . . ........ . . . . ......... . . . ......... . . 05
Radio operations. . ......... . . . ......... . . . ......... . . . . ..09
CD operations. ......... . . . ......... . . . ......... . . . . ........ 12
MP3 operations............................................14
Remote operations.......................................17
Specification. . ......... . . . ......... . . . ......... . . . ......... . . 19
Before playing discs. . ......... . . . . ......... . . . ......... . . 20
Troubleshooting.............................................21
20
Before playing a CD, wipe it off with a clean, dust-free cleaning cloth.
Wipe the disc in the direction of the arrow.
Always insert the CD with the label side facing upwards.
If the CD is inserted with the printed side facing downwards, the device
may be damaged.
Note: If there is already a CD in the CD slot , do not try to insert a second
CD. This may damage the device.
Always hold CDs by the edge. In order to keep the CD clean do not touch
the surface. Pull out the CD as follows.
Do not attach any sticker or adhesive tape on the CD.
Do not expose the CD to direct sunlight or sources of heating.
Do not leave CDs in a car if it parked in direct sunlight as that will lead to
a considerable rise in the temperature inside the car.
Note: Do not use any solvents such as petrol or thinning agents. Commercially
available cleaning substances of antistatic spray will damage the device.
Cleaning the CD
BEFORE PLAYING DISCS
02
PREC AUTION S
Cho os e the moun ting locat ion whe re the un it will not inter fere wi th the no rmal
driving function of the driver.
Bef or e final ly installing the uni t, conne ct the wiring tempor arily and make sure
it is all connected up properly and the unit and the system work properly.
Use onl y the par ts incl uded wi th the uni t to ens ur e pr oper inst al lat ion. The use
of unauthorized parts can cause malfunctions.
Con sul t with your ne ar es t de aler if ins tallation req ui res the drilling of ho les or
other modifications of the vehicle.
Install the unit where it does not get in the driver's way and cannot injure the
passenger if there is a sudden stop. Like an eme rgency stop.
If installation angle exceeds 30 from horizontal, the unit might not give its
optimum performa nce.
Avoid installing the unit where it would be subject to high temp erature, such
as from direct sunlight, or from hot air, form the heater, or where it would be
subject to dust, dirt or excessive vibration.
DIN FRONT-MO UNT (Me thod A)
Installing the unit
1. Dashboard
2. Holder
After inserting the holder into
the dashboard, select the
appropriate tab according to
the thickness of the dashboard
material and bend them
inwards to secure the holder in
(Fig. 1)
place.
3. Screw
INSTALLATION
(Fig. 1)
12
3
1 9
30
0
SPECIFICATION
General
Power Supply Requirements: DC 14.4V, Negative Ground
Maximum Output Power:
Chassis Dimensions: 178 x 163x 50mm (W x D x H)
Tone Controls
Bass (at 100Hz): +10dB / -10dB
Treble (at 10K): +10dB / -10dB
Current Drain: 10A
CD Player
Signal to Noise Ratio: More than 60dB
Channel Separation: More than 60dB
Frequency Response: 20Hz - 20KHz
FM Radio
Frequency Coverage (MHz): 87.5 - 108MHz (Europe)
IF : 10.7MHz
Sensitivity (S/N=30dB): 12dBu
Stereo Separation: >30dB
AM Radio
Frequency Coverage (KHz): 522 - 1620KHz (Europe/OIRT)
530 - 1710KHz (U.S.A.)
IF :
Sensitivity (S/N=20dB): 42dBu
87.5 - 107.9MHz (U.S.A.)
25W x 4(CH)
65-74MHz(OIRT)
450KHz
Load Impedance:4 ohms
Remarks:
Specifications subject to change without notice
0 3
1. Dashboard
2. Nut (5mm)
3. Spring Washer
4. Screw (5 x 25mm)
5. Screw
2.Insert fingers into the groove in the
front of fram e and pul l out to remove
the frame. (When reatt achi ng the
frame, point the side with a groove
dow nwards and at tach it. )
3.Leve r
Insert the levers supp lied with the
uni t into the grooves at both si des of
the uni t ad show n in figure unti l they
click. Pullin g the le vers makes possible
to remove th e unit fro m the dashboard.
DIN REAR-MOUNT (Method B)
Installation using the screw holes on
the sides of the unit
Fastening the unit to the factory
radio mounting bracket:
1. Select a position where the screw
holes of the bracket and the
screw holes of the main unit
become aligned (are fitted), and
tighten the screws at 2 places on
each side. Use either truss screws
(5 x 5mm) or flush surface screws
(4 x 5mm)
2. Screw
3. Dashboard or Console
NOTE: The mounting box, outer trim ring, and half-sleeve are not used for method B installation.
INSTALLATION
6. Strap
Be sure to use the strap to
secure the back of the unit in
place. The strap can be bent by
hand to the desired angle.
7. Plain Washer
2
3
2
2
1
3
(Fig.3)
Removing the uni t
1
2
3
4
5
6
7
(Fig.2)
18
REMOTE CONTROL LAYOUT
Replacing the Battery
When the operational range of the remote control becomes short or non functions while
operating. Replace a new CR2025 battery. Make sure the battery polarity before
replacement.
1.Pull out Battery Holder while pressing the stopper
2.Put the button type battery(+)mark upward into the Battery Holder.
3.Insert the Battery Holder into the Remote control
INPUT THE SD CARD
The SD oblique angle keeps
downward exposure, put into
the SD slot and press it again
to eject.
.
DETACHING TH E FR ONT PANEL
Press REL but ton in the upper left
cor ner , and hen front panel will not
funct ion proper ly.
REMOVING THE FR ONT PANEL
When the front panel was tur ned down
。
to a pos ition of 90 ,hol d and sl ide the
front panel to left, and then pul l it out .
04
ADDITIONAL INFORMATION
RELEASE
1 7
REMOTE CONTROL LAYOUT
WIRE CONNECTION DIAGRAM
HOW TO INSTALL AND REMOVE THE FRONT PANEL
INSTALLING THE FRONT PANEL
To install the front panel, insert the panel
into the housing and make sure the panel
is properly installed, otherwise,
abnormalities occurs on the display or
some keys will not function properly
FRONT PANEL
ND
2
1ST
AA
BB
AF
TAPTY
1Power Button
Pause/play/Preset button1
Intro/Preset Button2
Repeat Playing/Preset Button3
Random/Preset Button4
Preset Button5
Preset Button6
Mute Button
Volume control
2
3
4
5
6
7
8
9
10
11
12
13
14
15
16
17
18
Mode Switch
Scan Button
Display Button
APS/AMS Button
Band Switch
Tuning/Selecting Tracks/ F.F / F.R
Select Button
19
Alternative Frequencies Button
Traffic Announcement Button
Programme Type Button
Wire connection
IG NITIO N SW ITCH(B+)
RED
YE LLO W
BLACK
BLUE
GROUND(B-)
POWER ANTENNA
MEM ORY BACK-UP
1A
WHITE
WHITE /BL ACK
GREEN
GREEN/BL ACK
FRONT Lch
SPEAKER
REA R Lch
SPEAKER
GREY
GREY/BLACK
VIO LE T
VIO LE T/BLACK
FRONT Rch
SPEAKER
REAR Rch
SPEAKER
MAIN UNIT
ANTENNA
CONNECTOR
RCA
CABLE
Rch RED
LINE OU T
(GREY)
Lch WHITE
2
3
10
14
15
1
17
8
5
SEL
BAND
MODE
DISP
SCN
POWER
TOP INT RPT
RDM
1 2 3
456
4
6
9
12
11
13
16
18
19
7
AMS
1010
0 5
GENERAL OPERATIONS
FRONT PANEL LAYOUT
8
92 3 2 4
MP3 OPERATIONS
2 9
16
SEARCH FUNCTIONS (CHARACTER SEARCH EXAMPLE)
If the structure of Disc above does MP3 TOC, it is as follows...
Total Directories:4
Total Song:7
Directories to have MP3 file:3(A,C,D)
To listen to a song from MP3 (On Normal play)
1) AMS button input ( 3 times) character search mode display.
2) SEL button(3)input character " A" display in the 1st digit.
3)Rotate MENU knob (3) anticlockwise input Character "E" display.(If
SEL
button ( 3) is pressed for longer than 0.5 sec,. "Asia" file will begin playing.)
4) SEL BUTTON ( 3)input (1 time) Character "EA" display.
5)Rotate MENU button ( 3)anticlockwise input Character " EC" file display.
6) SEL button(3). Input Character" ECA" display.
7) Rotate MENU knob ( 3) anticlockwise input Character " ECH" display
8) SEL button ( 3) input Character " ECHA" display.
9)Rotate MENU knob(3) anticlockwise input Character "ECHO" display.
10)SEL input for longer than 0.5 sec, "ECHO" file will begin playing.
1. Power Button
22. Traffic Announcement Button
3. Volume/ Sel Button
12. Tune Seek&Track forward Button
10. Band switch
11. Tune Seek&Track reverse Button
6. Display Button
14. Play / Pause & Preset Button 1
2. Release Button
15. Intro & Preset Button 2
7. LCD Display
16. Repeat & Preset Button 3
13. Automatically memory storing
17. Random & Preset Button 4
4. Mute Button 18. Preset Button 5
20. Alternative frequencies Button
19. Preset Button 6
5. Mode switch
26. Scan Button
21. Programme type Button
25. Remote Control Sensor
9. Reset Button 23. Eject knob
24. CD Slot
8. FLASHING LED
MP3
MP3
MP3
MP3
MP3
MP3
MP3
DISC C
A
B D
Black.
Fortune.
China.
Echo.
Glass.
Asia.
Delight.
27. AUX Jack
PWR
B
A
N
D
PTY
AF
A
T
DISP
FLIP DOWN D ETA CHABLE CD MP3 PL AYER
2 6
3
4
5
1 2
1 31 4 1 5 1 6 1 7 1 8 1 9 2 0
2 6
1 1
1 0
2 1
1
2 5
SEL
SCN
72 2
2 8
AUX
2 7
28. Mini USB connecter
29. SD/MMC Slot
MP3
RESET
BASS
Press VOL/SEL button(3) one time. Adjust bass level by using VOL/SEL(3)Knob.
TREBLE
Press VOL/SEL button(3) two times. Adjust treble level by using VOL/SEL(3)
Knob
BALANCE
Press VOL/SEL button(3) three times. Adjust sound balance between left and
right speakers by using VOL/SEL(3)Knob .
FADER (optional)
Press SEL button(3) four times. Adjust sound balance between front and rear
speakers by using VOL/SEL(3)Knob.
Press VOL/SEL button (3) for several seconds, it is activated as cyclical mode
of following functions for user's selection.
06
GENERAL OPERATIONS
A) TA SEEK or TA ALARM
- TA SEEK MODE
When newly tuned station does not receive TP information for several seconds,
the radio retunes to next station which has not the same station (PI) as the last
station, but has the TP information.
TA SEEK or ALARM MASK DPI or ALL SEMI DSP ESP 12/45 LOUD
BEEP SEEK1/2 STEREO/MONO LOCAL/DX METAL
MP3 OPERATIONS
1 5
5) Third digit"0" is displayed instead of the second digit. Then Vol button(3)
clockwise to select 3rd digit to " 1".
6)Press sel button (3) and enter "131" then LED will show as "131, then a track
Number is selected and ready to be played.
7)Finally press SEL button (3), then track number "131" will play immediately.
8)MENU Knob(3) performs to shift 1st digit from 1~9 loop rotation,
then the 2nd
and 3rd digit is shifted from 1~9 as a loop rotation.
SEARCH FUNCTIONS (FILE SEARCH EXAMPLE)
If the stru cture of Disc above does MP3 IOC, it is as follows....
Total Directories:4
Total Song:7
Directories to have MP3 file:3(A,C,D)
We regard directories as MP3 file. When operating it is located as A - >C->D->A->
To listen to a song from MP3 (On Normal play)
1)press the AMS button ( 13) for 2times. File search mode will be displayed.
2)press SEL button(3) . " A" directory will be displayed.
3)Rotate MENU button ( 3) anticlockwise. "D" directory display. (If SEL button ( 3)
is pressed for more than 0.5sec, first song in " D"dir. " E" file will start to play) .
4)Press SEL BUTTON (3) " E" file display.
5)Rotate MENU button ( 3)anticlockwise. "F" file display.
6)Press SEL button(3). " F.MP3" file will start to play.
7)If SEL button is pressed after MENU Down button(3) has been pressed for
once."C"file will be displayed.
3) Then press MENU Up button (4) 3 times, then 2nd digit will increase according
to the number of times key is pressed.
4) If LCD shows "013", then press SEL/MENU/ENT button (3) again and the 2nd
digit is selected. LCD will show "130". (If SEL/MENU/ENT button (3) is pressed
for longer than 0.5 sec, 13th song is played.)
GENERAL OPERATIONS
ON/OFF
Press POWER button (1) to turn on the unit. Press it again to turn off.
FRONT PANEL RELEASE
Press REL button (2) to detach the removable front panel
SOUND ADJUSTMENT
Turn on (3) can adjust the desired volume quality.
Press SEL button (3)will change in the following order.
Option:
Adjust volume level by using VOL/SEL (3) knob.
Note: The unit is initially set to volume mode.
VOL BAS TRE BAL FAD
(Volume) (Bass) (Treble) (Balance)(Fader)
MP3
MP3
MP3
MP3
MP3
MP3
MP3
c.
d.
e.
f.
g.
DISC
a.
b.
C.
A.
B.D.
reinforce the bass output. Press MENU UP and MENU DN to switch between
LOUD ON/ LOUD OFF
F) BEEP
The situation of beep sound is selected. Press MENU UP and MENU
DN to switch between BEEP ON/ BEEP OFF
G) SEEK 1/ SEEK2:
SEEK1:SEEK is activated night away when key is pressed for longer than
500ms.
SEEK2: SEEK is activated after key is released.
H)Stereo/Mono: Stereo or Mono
I) DX/LOCAL: Dx or Local
J) METAL: METAL ON/ METAL OFF
GENERAL OPERATIONS
0 7
In MASK DPI mode, the wrong sound or long mute (according to PI SOUND
or PI MUTE) can be heard from the AD station which has NO RDS signal and
of which the field strength is higher than that of the currently tuning AF
(station). But, these phenomenon are rare and the user will hardly hear the
wrong sound in whole Europe.
14
MP3 OPERATIONS
MP3 OPERATION
MP3 SEARCH MODES
MP3 Track, File and Character search is possible by using BAND button (10);
During MP3 operation, press BAND button (10) to several seconds to select
TRACK mode, FILE mode or CHARACTER mode. Directory, File, Song, Album, Artist
Name display is possible by using BAND button (10). Name display appears in
order from left side of the LCD and any time DISP button (6) is pressed, current
playing time will be displayed.
DIRECTORY
Directory: 1000 Max Directory Level: 8 Level Max Tracks: 1000 Max
BIT RATE
MPEG1: All MPEG/VBR (44.1KHz)
MPEG2: All except 8kbps/VBR (44.1&22.05KHz)
ANTI-SHOCK
120 sec MAX (128kbit/s)
CHARACTER SUPPORTED
English Capital Letters: A~Z Arabian Numbers: 0~9 Special Char.: ",',(,),*,+,-,.,/
SEL
During MP3 operation, press AMS BUTTON(13)for several seconds to select
TRACK search, after selecting the desired track with 1 digit or 2digits,selected
song begins to play after SEL button (3) is pressed for longer than 0.5 sec.
During file search, when VOL/SEL button (3) is pressed for longer than 0.5 sec.
at the current directory mode ,first song in the corresponding dir. Will begin playing.
Dur ing charac ter search, whe n VOL /SEL button (3) is pr es sed for lon ge r than 0.5 sec.
After the manual input song name is selected, the current inputted song will begin
playing or indicate "NOT FND" on the display.
SEARCH FUNCTIONS (TRACK SEARCH EXAMPLE)
How to search for track number "131", titled "WXY.MP3"
1) Press BND/ID3 button (6) to go in to search initial mode. It is now in TRACK
search mode. Then LCD displays first digit, "001".
2) Press SEL/ME NU/ENT button (3) to select 1st digit "1", then LCD will shows "010"
and 1st digit "1" is selected. (If SEL/MENU/ENT button (3) is pressed for more
than 0.5 sec, the first song is played.)
wrongly masked as DPI by some interference, the unit hesitates to search real afs.
For this reason, the unit has the user option (MASK DPI) which doesn't mask the
AF of NO RDS signal with high field strength.
C) DSP: POP, ROCK, CLASSIC, FLAT, DSP OFF
D) ESP: ESP 12' or ESP 45'
E) LOUDNESS
When TP information gets lost at the current station for retune time which is set
by RETUNE SHORT or RETUNE LONG, the radio start to retune to next same
PI station. When same PI station does not catch in 1 cyclic search, the radio retune
to next station with TP information.
-TA ALARM mode:
When this mode is selected, any automatic retune mode is not activated.
When newly tuned station does not have TP information for several seconds, beeps
come out.
When TP information gets lost at the current station for retune time, the beep sound
is out-putted. When newly tuned station has not RDS signal, "PI SEEK" is supp-
ressed somewhat.
B) MASK DPI or MASK ALL Mode
-MASK DPI mode:
Masked only the AF which has different PI.
-MASK ALL mode:
Masked the AF which has different PI and NO RDS signal with high field strength.
Signal with high field strength
The AF frequency (which has different PI or NO RDS signal with high field strength)
is masked during checking PI when the unit searches AF. The unit doesn't search
this AF (DPI) for few minutes.
In the case of the AF of NO RDS signal with high field strength, if the real AF is
08
LIQUID CRYSTAL DISPLAY
Exhibit current frequency and activated functions on the display (7).
FLASHING LED
If the front panel does not install in the main unit, the LED (8) will be flashing.
RESET
RESET button (9) is placed on the housing and must be activated with either
a ball point pen or thin metal object. (Do not use sharp object to avoid damaging
the unit.) The RESET button (9) is to be activated for the following reasons:
- Initial installation of the unit when all wiring is completed.
- All the function buttons do not operate.
- Error symbol on the display.
NOTE:
If press RESET button (9), the unit can't work yet. please use a cotton swab soaked
in isopropyl alcohol to clean the socket on the back of the front panel.
GENERAL OPERATIONS
1 3
CD OPERATIONS
CD OPERATION
SELECT TRACKS
During CD operation, press TUNE/SEEK/TRACK REVERSE button (12) or
TUNE/SEEK/TRACK FORWARD button (11) to move to the previous track or the
following track, Track number shows on display. During CD operation, hold
TUNE/SEEK/TRACK REVERSE button (12) or TUNE/SEEK/TRACK FORWARD
button (11) to fast reverse or fast forward. CD play starts from when you release
the button.
STOP PLAYING
Press PAU button (14) to pause CD player. Press it again to resume play.
REPEAT THE SAME TRACK
During CD operation, press RPT button (16) to continuously repeat the same
track. Press again to stop repeat.
PREVIEW ALL TRACKS
During CD operation, press INT button (15) to play first several seconds of each
track on the current disc. Press again to stop intro and listen to track.
PLAY ALL TRACKS IN RANDOM
During CD operation, press RDM button (17) to play all tracks on CD in random
order. Press again to cancel the function.
EJECT
Press EJECT button (23) to stop CD play and eject the disc from the slot (24).
MUTE
Press MUTE button (4) to mute down the sound. Press it again to release this
mode and recover previous volume level.
SELECT MODE
Press MOD button (5) to choose desired listening mode. [e.g. radio mode
to CD (MP3) mode]
DISPLAY
Press DISP button (6) to operate as the conversion of each display mode as follow:
1) RADIO MODE
- When RDS DATA is received : PS NAME FREQUENCY CLOCK PTY
- When RDS DATA is not received : Frequency CLOCK PTY
2) MP3 MODE
- Time is displayed for 5sec when DISP key is pressed, and it returns to its
previous display ( Folder, File name...) unless DISP key is pressed again.
3) From the clock mode, when DISP Key is pressed for longer than 1sec,
clock mode switches to clock Adjusting mode and the clock display
begins flashing. At this time clock can be changed by using VOL/SEL (+/ -) ,
or the ENCODER VOLUME.
RADIO OPERATIONS
0 9
BAND SELECTION
At tuner mode, press BAND button (10) to select the desired band. The
reception band will change in the following order:
STATION SELECTION
Press TUNE/SEEK/TRACK FORWARD button (11) or TUNE/SEEK/TRACK
REVERSE button (12) shortly for manual tuning function.
Press for several seconds the automatic tuning mode (SEEK mode) is
selected.
AUTOMATICALLY MEMORY STORING & PROGRAM SCANNING
- Automatically Memory Storing
Press AMS(MP3) button (13) for several seconds, the radio searches from the
current frequency and checks the signal strength until one cycle search is finished.
And then 6 strongest stations are stored into the corresponding preset number
button.
- Program Scanning
Press AMS(MP3) button (13) shortly to scan preset station. When the field strength
level is mo re than the threshold level of stop level, the radio is holding at that preset
number for several seconds with releasing mute, then searches again.
RDS (RADIO DATA SYSTEM)OPERATION
During RDS mode, SEEK, SCAN, AUTO MEMORY is activated on programs that
receive PI CODE (RDS programs).
AF : Alternati v e Frequencies
- Set t i ng R D S Mode Press AF butto n (20) and release i m m ediately to switch
on or off RD S mode.Whenever RDS is switched on, symbol "AF" ap p e ars o n
the display.
CD OPERATIONS
12
TA : Traffic Announcement
TA button (22) is operated as follows: When pressed short, it is engaging whether
TA mode on or off. When TA mode is on and a traffic announcement is transmitted:
TA is turned ON / OFF and TA indicatoris displayed.
When traffic announcement is transmitted, regardless of the mode, traffic anno-
uncement is received.
If VOLUME LEVEL is below 20, VOLUME LEVEL is raised to 20, and returns to its
previous mode and volume level when the traffic announcement is over.
If volume is adjusted during traffic announceme nt, only the previous volume is valid.
- When TA is on, SEEK, SCAN, AUTO MEMORY function can be received
or saved only when traffic program identification code has been received.
- When TA is ON, traffic program identification code is not received during speci-
fied time.
TA ALARM : NO TA / TP is displayed and alarm is set off. TA SEEK : TA
SEEK is activated.
- Alarm mode and seek mode can be selected, and during the seek mode,
and if no TP signal is received after the specified time, TP seek is activated during
TA ON mode.
RADIO SEEK, SCAN, Auto memory function is valid only for Traffic programs.
The RDS data used are the PI, PS, AF, TP, TA, EON and PTY data.
PI: Program Identification Code Code for identifying programs
PS: Program Service Name Broadcast station name data
expressed in alphanumerically characters.
AF: Alternative Frequencies Frequency list of broadcasting
stations transmitting the same program
TP: Traffic Program Identification Identification data for traffic information
broadcasting station
TA: Traffic Announcement Identification Identification data showing traffic
information is being transmitted or not
EON: Enhanced Other Networks Information Br oadcasting information on PI, AF, TP,
TA, etc. relating to networks other than the network used for current reception
PTY: Program Type Code Contents of programs such as news,
light music, sports etc.
FM1 FM2 FM3 AM1(MW1) AM2(MW2 )
FM1 FM2 FM3 FM AM1(MW1) AM2(MW2)
Or:
10
When region is on :PI code is checked when AF CHECK in progress
When region is off: PI CODE and COVERAGE AREA is not checked when
AF CHECK in progress.
PTY: Programme Type
-use PTY to Select Program
PTY button(21) is operated as follows:
In Radio mode, while selecting PTY engagement, its selection is implemented
by preset buttons(14-19) as described in notes.
When PTY key is pressed, pressed pty is displayed, If there are no keys
entered for 2seconds, previously selected PTY is searched. The radio starts
to search corresponding PTY information, and stops if the corresponding
PTY information is detected.
If corresponding PTY information is not existed any more, PTY engaging is
automatically exit to normal mode, no PTY is displayed.
PTY is displayed for current program. User can switch to desired program
by usingPTY seed.
Speed and music is stored separately in the memory, so user can find the
desired PTY by using the PTY and memory key.
-2 program types are SPEECH and MUSIC.
By pressing PTY once, MUSIC is entered. When PTY is pressed the secong
time, SPEECH is entered.
1 1
RADIO OPERATIONS
Timing of AF search is dependant on the strength of the signal. When AF
transfer is not complete after the specified time,
PI seek is activated; furthermore, if RDS data is not received during transfer of
RDS program to memory, PI seek is activated after 1 cycle of AF search.
REG : Regional Program Operation
Press AF button (20) for several seconds to switch on or off region mode. Some
broadcasting stations change their program from normal broadcasting to regional
broadcasting for a certain time period. When region is on, the current listening
program remains unchanged. When region is off, it allows the reception moves
to the regional station.
RADIO OPERATIONS
AF
- AF / REG key directs the activation of AF SEARCH.
AF search is activated when reception is bad.
- During FM MODE, when AF is ON, SEEK, SCAN, AUTO, MEMORY
function can only receive and save RDS program.
INDICATOR
AF ON
AF OFF
AF FLASHING
CONDITIONS
AF ON MODE, RDS in formation is rece ived.
AF OFF MODE
AF ON MODE, RDS in formation is not re ceived.
STATION STORING
Press preset button (14~19)
1) RADIO MODE.
M1 ~ M6
- PRESET MEMORY is loaded when key is pressed for less than 1 second.
- PRESET MEMORY is saved when key is pressed for longer than 1 sec.
2) CDP / CDC MODE / CD MP3 / FLASH Mp3
PLAY / PAUSE
Press preset button (14) is activated. During a PAUSE, DISC INDICATOR flashes.
TOP - First son g wi ll play whe n Top key is pr es sed for longer than 0. 5s ec during pl ay.
INT
Press preset button (15): During INTRO ON, INT indicator comes on and
begins playing the first 10sec of each song, until the last song is played. It begins
playing the entire track from where INT started
RPT
Press preset button (16): CDP mode : REPEAT ON / OFF is activated.
When REPEAT ON, RPT INDICATOR comes on and repeats the existing track.
- CDC mode : Activates REPEAT ON → DISC REPEAT → REPEAT OFF.
During a REPEAT, DISC- RPT INDICATOR comes on and repeats the current CD.
RDM
Press preset button (17): During RANDOM ON, RDM INDICATOR is turned on.
D-UP / D-DOWN
Press preset button (18-19):
- CDC MODE : DISC UP / DOWN is activated.
- MP3 MODE : 10 TRACK UP / DOWN is activated.
When the total track is 10 or less, KEY is inactivated.
SCAN UP
Pres s Sca n bu tton (26 ) to scan up by on e channel step wi th station detection.
If a val id sign al has de tec ted, the cur ren t freq ue ncy is bl ink ed wi thin 5 secon ds ,
then pres s it agai n to stop scan and remai n the curren t freque ncy; ot he rwise,
the un it continu e to scan by one channel step wi th stat ion detection 5 secon ds
later.

Other Peiying Car Receiver manuals

Peiying PY-9348 User manual

Peiying

Peiying PY-9348 User manual

Peiying URZ0482 User manual

Peiying

Peiying URZ0482 User manual

Peiying PY9905 User manual

Peiying

Peiying PY9905 User manual

Peiying URZ0467 User manual

Peiying

Peiying URZ0467 User manual

Peiying PY9909.1 User manual

Peiying

Peiying PY9909.1 User manual

Peiying PY9909.4 User manual

Peiying

Peiying PY9909.4 User manual

Peiying URZ0465-2 User manual

Peiying

Peiying URZ0465-2 User manual

Peiying PY8307 User manual

Peiying

Peiying PY8307 User manual

Peiying PY-EM01 User manual

Peiying

Peiying PY-EM01 User manual

Peiying PY-9398 User manual

Peiying

Peiying PY-9398 User manual

Peiying PY3118 User manual

Peiying

Peiying PY3118 User manual

Peiying PY9908 User manual

Peiying

Peiying PY9908 User manual

Peiying PY9909 User manual

Peiying

Peiying PY9909 User manual

Peiying PY8238U User manual

Peiying

Peiying PY8238U User manual

Peiying PY6334 User manual

Peiying

Peiying PY6334 User manual

Peiying PY8238U User manual

Peiying

Peiying PY8238U User manual

Peiying PY9909.2 User manual

Peiying

Peiying PY9909.2 User manual

Popular Car Receiver manuals by other brands

Kenwood KRC-380 instruction manual

Kenwood

Kenwood KRC-380 instruction manual

E.T.T. Megakick Waikiki Reference manual

E.T.T.

E.T.T. Megakick Waikiki Reference manual

Blaupunkt Toronto 400 BT OPERATING AND INSTALLATION Manual

Blaupunkt

Blaupunkt Toronto 400 BT OPERATING AND INSTALLATION Manual

Blaupunkt RPD 7000 Owner's record

Blaupunkt

Blaupunkt RPD 7000 Owner's record

iSimple PXAMG owner's manual

iSimple

iSimple PXAMG owner's manual

Blaupunkt RPD 440 user guide

Blaupunkt

Blaupunkt RPD 440 user guide

Phase Linear UMP401 - Phase Linear Radio owner's manual

Phase Linear

Phase Linear UMP401 - Phase Linear Radio owner's manual

Marantz Melody Media M-CR603 Mode d'emploi

Marantz

Marantz Melody Media M-CR603 Mode d'emploi

Jensen VM9324 operating instructions

Jensen

Jensen VM9324 operating instructions

Clarion DFZ675MC owner's manual

Clarion

Clarion DFZ675MC owner's manual

Scott DRX 2002 User manual and installation instructions

Scott

Scott DRX 2002 User manual and installation instructions

Kenwood KRC-S205 instruction manual

Kenwood

Kenwood KRC-S205 instruction manual

Pioneer AVIC-D3/XU/UC Service manual

Pioneer

Pioneer AVIC-D3/XU/UC Service manual

JVC KD-G635 instructions

JVC

JVC KD-G635 instructions

Xtrons HD923 Black user manual

Xtrons

Xtrons HD923 Black user manual

GPX KC222S user guide

GPX

GPX KC222S user guide

Blaupunkt London MP37 operating instructions

Blaupunkt

Blaupunkt London MP37 operating instructions

Blaupunkt Melbourne SD27 Operating and installation instructions

Blaupunkt

Blaupunkt Melbourne SD27 Operating and installation instructions

manuals.online logo
manuals.online logoBrands
  • About & Mission
  • Contact us
  • Privacy Policy
  • Terms and Conditions

Copyright 2025 Manuals.Online. All Rights Reserved.