9
Owner’s manual
EN
OTHERS ADJUSTMENT
Press VOL/SEL bulton (3) for several seconds,it is activated as cyclical mode of following func-
tions for user’s selection.
Press and hold this button will go to different modes:
Press and hold will go to DSP mode automatically:
by turning this function button to choose Flat ,CLASSlC , Pop and Rock‘
by press the function button to select your favorite DSP mode.
When in the DSP mode,press the function button once will to ESP mode:
by turning the function button to choose 12 secods or 45 seconds ESP.
by press the function button to select your desire ESP seconds.
When in the DSP mode,press the function button twice will go to BEEP mode (the key pad
tone) by turning the function button to choose on or off by press the function button to select
on or off.
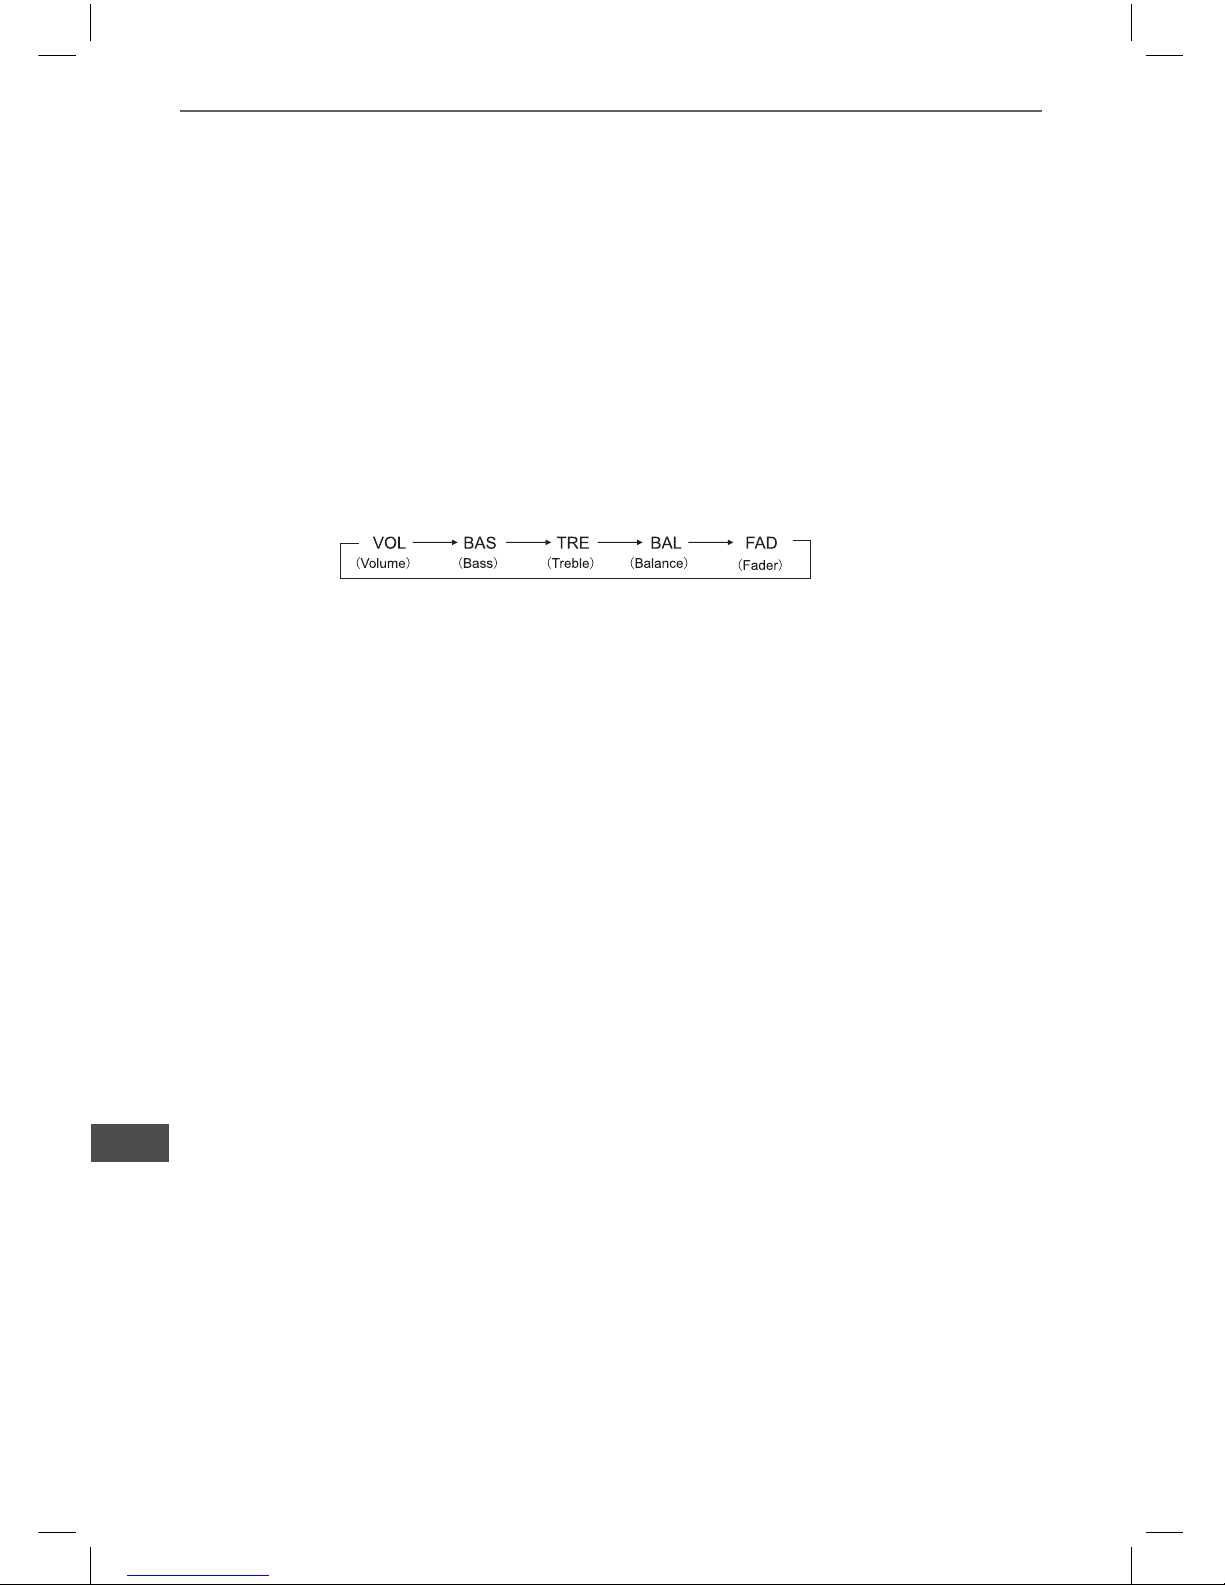
VOL LAST/ADJUST
This function allows to set the volume level of the unit after it was turned off and then turned on
again Choose VOL LAST if you want the volume level to be the same as it was before turning
off VOL ADJUST allows to choose volume level.
SEEK MODE
SEEK 1: When SEEK 1 mode is activated, AUTO SEEK SCAN is stopped when station is
detected even user still push SEEK button.
SEEK 2: Auto SEEK SCAN is not stopped even if station is detected if user pushes SEEK
button. When releases SEEK button, then stop when station is detected.
TIME DISPLAY DSP OFF ON LOUD OFF/ON DEMO OFF/ON
BEEPON/OFF
SEEK ½VOL LAST/ADJ
AEM OFF/ON
STEREP/MONO
DX/LOCALAREAEUR/USA