manuals.online logo
Brands
  1. Home
  2. •
  3. Brands
  4. •
  5. Pentair
  6. •
  7. Control Unit
  8. •
  9. Pentair LINCOLN 84976 Owner's manual

Pentair LINCOLN 84976 Owner's manual

LINCOLN
APENTAIR COMPANY
Models 84976, 84977, 84978, 84979
POWER-MASTER III DRUM PUMPS
Packed Piston /Shovel Type Foot Valve
OWNER/OPERATOR MANUAL
It is the responsibility of the Owner/Operator to properly use and maintain this equipment
The Instructions and Warnings contained in this manual shall be read and understood by the Owner/Operator prior to
operating this equipment
It IS the responsibility of the Owner/Operator to maintain the legibility of all Warning and Instruction labels.
The Owner/Operator shall retain this manual for future reference to important Warnings, Operating and Maintenance
Instructions.
WARNING
DO NOT operate these pumps with 10” airmotor.
DO NOT exceed the stated maximum working pressure of the airmotor
or the lowest rated component in your system.
DO NOT alter or modify any part of this equipment.
DO NOT operate this equipment with combustible gas.
DO NOT attempt to repair or disassemble the equipment while the
system is pressurized.
TIGHTEN all fluid connections securely before using this equipment.
ALWAYS read and follow the fluid manufacturer’s recommendations
regarding fluid compatibility, and the use of protective clothing and
equipment.
CHECK allequipment regularly and repair orreplace worn or damaged
parts immediately.
IMPORTANT: Failure to heed these warnings including misuse,
overpressurizing, modifying parts, using incompatible chemicals and
fluids, or using worn or damaged parts, may result in equipment
damage and/or serious personal injury, fire, explosion, or property
damage.
MODEL CHART
PUMP PUMP MAXIMUM DELlVERY MAXIMUM AIR DIMENSION “A” DIMENSION “B”
RATIO
TUBE MODEL AIRMOTOR* PRESSURE PRESSURE in. (cm.) in. (cm.)
2072 84808 80.1 8000psi (552 bar)
2070 84806 44.1 4400 psi(304 bar) 100 psi (7 bar) 60 (152.4)
84976 2068 84804 22.1 34
4400 psi (304 bar) (86.4)
2066 84803 10.1 2000 psi (138 bar) 200 psi (14 bar) 60-7/8 (154.8)
2079 84808 80.1 8000 psi (552 bar)
2077 84806 44.1 4400 psi (304 bar) 100 psi (7 bar) 53-3/8 (135.6)
84977 2075 84804 22.1 4400 psi (304 bar) 27.3/8 (69.5)
2073 84803 10.1 2000 psi (138 bar) 200 psi (14 bar) 54-1/4 (137.8)
2071 84806 64.1 6400 psi (442 bar) 100 psi (7 bar) 60 (152.4)
84978 2069 84804 32.1 6400 psi (442 bar) 34 (86.4)
2067 84803 15.1 3000 psi (207 bar) 200 psi (14 bar) 60-7/8 (154.6)
2078 84806 64.1 6400 psi (442 bar) 100 psi (7 bar) 53-3/8 (135.6)
84979 2076 84804 32.1 6400 psi (442 bar)
2074 84803 15.1 3000 psi (207 bar) 200 psi (14bar) 54-1/4 (137.8) 27-3/8 (69.5)
*Refer to Airmotor Owner/Operator Manual, Section A50 Page 78
LINCOLN
®APENTAIR COMPANY
One Lincoln Way Copyright 1994
St Louis, Missouri 63120-1578 Printed in USA
(314) 679-4200
Section -A50
Page -83B
MAY-94 FORM 402543
ATTACHING AIRMOTOR
TO PUMPTUBE
1. Tightly attach tie rods to the airmotor
(use short threaded end of the tie
rods).
2. Mount airmotor on top of the pump-
tube outlet and tightly connect
Coupling Nut (Item 2) to airmotor
piston rod.
3. Hand tighten tierods tothe pumptube
with four nuts supplied with airmotor.
4. Slowly cycle the pump several times,
using just enough air pressure to
operate the pump without stalling.
5. Stop the pump on an “up” stroke and
tighten the four nuts to securely fasten
the airmotor to the pumptube.
OPERATING PRECAUTIONS
•
•
•
•
•
•
Use Lincoln replacement parts to
assure compatible pressure rating.
HEED ALL WARNINGS.
Be sure material hoses and other
components are able to withstand
fluid pressures developed by this
pump.
Do not operate pump continuously
at speeds in excess of 75 cycles
per minute.
Disconnect air line from pump air-
motor when system sits idle for long
periods of time.
SERVICING. Before servicing or
On Models
84976 &84977
Torque to
100 ft. lbs.
On Models
84978 &84979
Torque to
50 ft. lbs.
cleaning pump, or removing fluid
hose orgun from aunit that has been
used, be sure to disconnect air lines
and carefully bleed pressure off of
the system.
WARNING
PREVENT STATIC SPARKING.
If static sparking occurs, fire or
explosion could result. Pump,
dispensing valve, and
containers must be grounded
when handling flammable
fluids such as petroleum
products, paints, lacquers, etc.
and wherever discharge of
static electricity is hazard.
Check continuity (a good static wire
connection) with an ohmmeter. Place
one probe on one hose fitting and
the other probe on other hose fitting,
continuity or proper grounding
through hose is good when areading
is obtained on the ohmmeter.
PREVENT FIRES. When pumping,
flushing or recirculating volatile
solvents, the area must be adequately
ventilated.
Keep solvents away from heat, sparks
•
•
•
©Indicates Change
PUMP PRIMING
To begin operation, the pump has to be
primed with the pumped material. The
Power-Master III pump is adouble acting
(pumps material on “up’’ &’’down” stroke)
positive displacement reciprocating
pump and as such intakes material only
on the “up” stroke.
pushed out of lines and material fills up
pump and lines. Close output line
(material shut-off valve) -pump should
stall against pressure.
and open flames. ”Keep containers
closed when not in use.
CAUTION Note: Pumps are factory tested with
light oil and some of it is left in to
protect pump parts during
storage and transportation. To
prevent contamination of material
to be pumped, flush pump
before using.
To prime pump, open output line
(material valve) and slowly open air
supply valve until pump starts. Allow
pump to cycle very slowly until all air is
DO NOT allow pump to operate
when out of material.
DISASSEMBLY
Tools Required
2-1/8” Dia. Strap Wrench
Retaining Ring Pliers (External)
Retaining Ring Pliers (Internal)
11/16“ Hex Wrench
7/8” Hex Wrench
13/16“ Hex Wrench
1-3/8” Hex Wrench
2-1/4” Hex Wrench
Pliers
Procedure
1. Remove Priming Tube (Item 42) from
Adapter Tube (Item 30).
2. Remove Cotter Pin (Item 40) from
from Priming Plunger (Item 39).
3. Remove Priming Shovel (Item 41)
from Priming Plunger (Item 39).
8. Remove Retaining Ring (Item 31)
and Guide Washer (Item 32) from
Check (Item 36).
9. Remove Retaining Ring (Item 33),
Packing Washer (Item 34) and U-cup
Packing (Item 35) from Check
(Item 36).
10. Remove Lube Cup (Item 4) from
Gland Nut (Item 6).
11. Remove Bolt Connector (Item 1)
from Plunger (Item 3).
12. Pull Piston Assembly (Items 25,27
&28) to remove Plunger (Item 3),
Connecting Rod (Item 23), Adapter
(Item 24) and Piston Assembly from
Pump Tube (Item 21).
13. Remove Pump Tube (Item 21) from
Outlet Body (Item 12).
18. Remove Outlet Body (Item 19) from
Outlet Body (Item 12).
19. Remove Ball (Item 17), Check Seat
(Item 16)and Gaskets (Item 15)from
Outlet Body (Item 12).
20. Remove Retaining Ring (Item 10),
Packing Washer (Item 9) and U-cup
Packing (Item 8) from Gland Nut
(Item 6).
21. Remove Piston Adapter (Item 25)
from Adapter (Item 24).
22. Remove Ball (Item 17) from Adapter
(Item 24).
23. Remove Cotter Pins (Item 22) from
Connecting Rod (Item 23).
24. Remove Adapter (Item 24) and
Plunger (Item 3) from Connecting
Rod (Item 23).
4. Unscrew Adapter Tube (Item 30) from 14. Remove O-ring (Item 20) from
Pump Tube (Item 21) and slide off of Outlet Body (Item 12). 25. Unscrew Piston Adapter (Item 25)
Piston Assembly (Items 25, 27 &and remove Piston Collar (Item 27)
28). 15. Remove Gland Nut (Item 6) from from Piston Body (Item 28).
Outlet Body (Item 12).
5. Remove Priming Plunger (Item 39) 26. Remove U-cup Packings (Item 26)
from Piston Body (Item 28). 16. Remove Sleeve (Item 11) from from Piston Adapter (Item 25) and
Outlet Body (Item 12). Piston Body (Item 28).
6. Remove Check Seat (Item 38) and
O-ring (Item 37) from Adapter Tube 17. Remove Priming Plug (Item 13) and 27. To re-assemble pump, reverse
(Item 30). and Adapter (Item 14) from Outlet disassembly procedure. (Refer to
Body (Item 12). illustration for torque specifications.)
7. Remove Check Assembly (Items 31,
32, 33, 34, 35, &36) from Adapter
Tube (Item 30).
TROUBLESHOOTING
Problem Possible Cause Solution
Pump does not operate. Restricted or inadequate air supply. Check air supply pressure and air hose
diameter (see Airmotor manual for
minimum air supply hose diameter).
Obstructed material output. Check output line for restrictions.
Erratic or accelerated operation. Pump is not primed. Prime pump (see “Pump Priming”
instructions).
Insufficient material supply. Refill material supply.
Material is too heavy for priming. Lower output with material valve. Increase
pressure to pressure primer (if in use).
Check for inlet restrictions.
Pump operates on “down” stroke only Worn or damaged Piston U-cups (Item 26) Check and replace if needed.
(missing “up” stroke). or Piston Check (Items 17 &25).
Pump operates on “up” stroke only Worn or damaged Inlet Check (Items 36 Check and replace if needed.
(missing “down” stroke). &38).
Insufficient material supply. Pump is not Check inlet for restrictions. Lower output
intaking enough material to dispense on with material valve.
both strokes.
Pump is operating but not dispensing Inlet Check (Items 36 &38) is not seating Check and replace if needed.
material. or is damaged.
OPTIONAL PACKING KITS (Includes Items 8, 26 &35)
86223 Teflon Packing Kit -For Models 84976 &84977.
86224 Teflon Packing Kit -For Models 84978 &84979.
86225 UHMW Polyethylene Packing Kit -For Models 84976 &84977.
86226 UHMW Polyethylene Packing Kit -For Models 84978 &84979.
86227 Viton Packing Kit -For Models 84976 &84977.
86228 Viton Packing Kit -For Models 84978 &84979.
PUMP REPAIR KITS
86229- Includes soft parts for Models 84976 &84977.
86230- Includes soft parts for Models 84978 &84979.
SPECIFICATIONS
Pump stroke -6in. (152 mm)
Max. recommended speed (continuous) -75 cycles/rein.
Output per cycle:
84976 &84977 -6.7 cu. in. (110 cc)
84978 &84979 -4.6 cu. in. (75 cc)
Approx. cycles per gallon (liter):
84976 &84977-35 (9)
84978 &84979-51 (13)
Output at 75 cycles/r min.:
84976 &84977 -2.2 gpm (8.2 liter/min.)
84978 &84979 -1.5 gpm (5.7 liter/min.)
Wetted part materials -Steel, Brass, Copper, Polyurethane, Nitrile
PARTS LIST
ITEM DESCRIPTION PART NUMBER
NO. QTY. Model 84976 Model 84977 Model 84978 Model 84979
1Bolt Connector 1 236225 236225 236225
2Coupling Nut 236225
1 237051 237051 237051
3Plunger 237051
1 242914 242914 242916 242916
4Lube Cup 1 242231 242231 242231 242231
5O-ring (nitrile) 1(Note #1) (Note #1) (Note #2) (Note #2)
6Gland Nut 1 242915 242915 242917 242917
7O-ring (polyurethane) 1(Note #1) (Note #1) (Note #2) (Note #2)
8U-cup (polyurethane) 1(Note #1) (Note #1) (Note #2) (Note #2)
9Packing Washer 1(Note #1) (Note #1) (Note #2) (Note #2)
10 Retaining Ring 1(Note #1) (Note #1) (Note #2) (Note #2)
11 Sleeve 1 86241 86241 86240
Outlet Body 86240
12 1 242216 242216 242216 242216
13 Priming Plug 1 16382 16382 16382 16382
14 Adapter 116381 16381 16381 16381
15 Gasket (copper) 2(Note #1) (Note #1) (Note #2) (Note #2)
16 Outlet Check 1 11948 11948 11948 11948
17 Ball 266285 66285 66285 66285
18 Ball Stop 157036 57036 57036
Outlet Body 57036
19 112017 12017 12017 12017
20 O-ring (nitrile) 1(Note #1) (Note #1) (Note #2) (Note #2)
21 Pump Tube 1 242396 242401 242396 242401
22 Cotter Pin 2(Note #1) (Note #1) (Note #2) (Note #2)
23 Connecting Rod 1242397 242402 242397 242402
24 Adapter 1 242380 242380 242380 242380
25 Piston Adapter 1 242691 242691 242689 242689
26 U-cup (polyurethane) 2(Note #1) (Note #1) (Note #2) (Note #2)
27 Piston Collar 1242410 242410 242400 242400
28 Piston Body 1242692 242692 242690 242690
29 O-ring (nitrile) 1(Note #1) (Note #1) (Note #2) (Note #2)
30 Adapter Tube 1 242409 242409 242398 242398
31 Retaining Ring 1(Note #1) (Note #1) (Note #2) (Note #2)
32 Guide Washer 1(Note #1) (Note #1) (Note #2) (Note #2)
33 Retaining Ring 1(Note #1) (Note #1) (Note #2) (Note #2)
34 Packing Washer 1(Note #1) (Note #1) (Note #2) (Note #2)
35 U-cup (polyurethane) 1(Note #1) (Note #1) (Note #2) (Note #2)
36 Check 1 242918 242918 242918 242918
37 O-ring (polyurethane) 1(Note #1)
Check Seat (Note #1) (Note #2) (Note #2)
38 1 242919 242919 242919
Priming Plunger 242919
39 1242920 242920 242920 242920
40 Cotter Pin 1(Note #1) (Note #1) (Note #2) (Note #2)
41 Priming Shovel 113235 13235 13235 13235
42 Priming Tube 1 242375 242375 242375 242375
NOTES: 1. Included in 86229 Pump Repair Kit.
2. Included in 86230 Pump Repair Kit.
RETAIN THIS INFORMATION FOR FUTURE REFERENCE
When ordering replacement parts, list Part Number, Description, Model Number and Series Letter.
LINCOLN provides aDistributor Network that stocks equipment and replacement parts.

This manual suits for next models

3

Other Pentair Control Unit manuals

Pentair Fleck 2850 User manual

Pentair

Pentair Fleck 2850 User manual

Pentair PROSTOP-E User manual

Pentair

Pentair PROSTOP-E User manual

Pentair AUTOTROL 368 User manual

Pentair

Pentair AUTOTROL 368 User manual

Pentair Sapag 1100 Installation and operating instructions

Pentair

Pentair Sapag 1100 Installation and operating instructions

Pentair FLECK 5810 XTR2 User manual

Pentair

Pentair FLECK 5810 XTR2 User manual

Pentair FLECK 9000 SXT User guide

Pentair

Pentair FLECK 9000 SXT User guide

Pentair Fleck 5800 XTR User guide

Pentair

Pentair Fleck 5800 XTR User guide

Pentair HI-FLOW 261049 User manual

Pentair

Pentair HI-FLOW 261049 User manual

Pentair FLECK 9000 User manual

Pentair

Pentair FLECK 9000 User manual

Pentair Anderson Greenwood 93 Series User manual

Pentair

Pentair Anderson Greenwood 93 Series User manual

Pentair Fleck 5800 LXT User manual

Pentair

Pentair Fleck 5800 LXT User manual

Pentair Raychem PMKG-LE User manual

Pentair

Pentair Raychem PMKG-LE User manual

Pentair AUTOTROL 604 User guide

Pentair

Pentair AUTOTROL 604 User guide

Pentair FLECK3150 DOWNFLOW User manual

Pentair

Pentair FLECK3150 DOWNFLOW User manual

Pentair FLECK 2750 Downflow User manual

Pentair

Pentair FLECK 2750 Downflow User manual

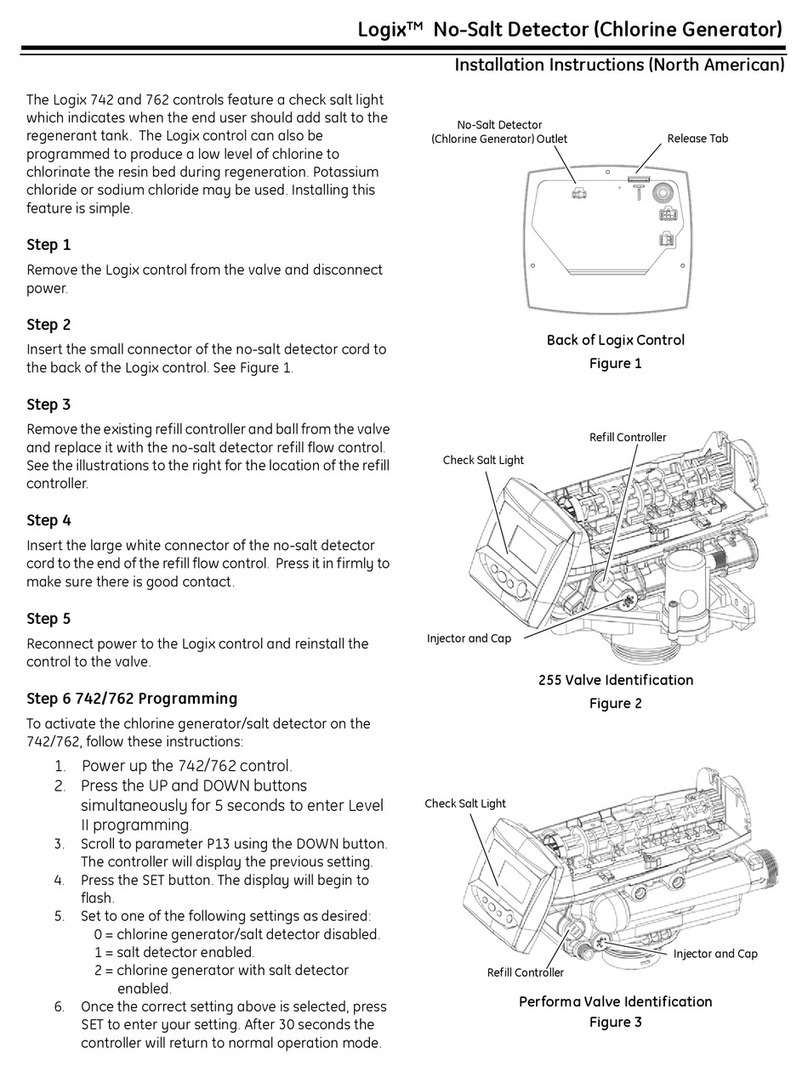
Pentair Autotrol 255 Series User manual

Pentair

Pentair Autotrol 255 Series User manual

Pentair FLECK 4600-SXT User guide

Pentair

Pentair FLECK 4600-SXT User guide

Pentair FLECK 2910 NXT User guide

Pentair

Pentair FLECK 2910 NXT User guide

Pentair ANDERSON GREENWOOD 95 POSRV Technical specifications

Pentair

Pentair ANDERSON GREENWOOD 95 POSRV Technical specifications

Pentair AUTOTROL 360 User manual

Pentair

Pentair AUTOTROL 360 User manual

Pentair FLECK 5800 User manual

Pentair

Pentair FLECK 5800 User manual

Pentair Fleck 2850 User manual

Pentair

Pentair Fleck 2850 User manual

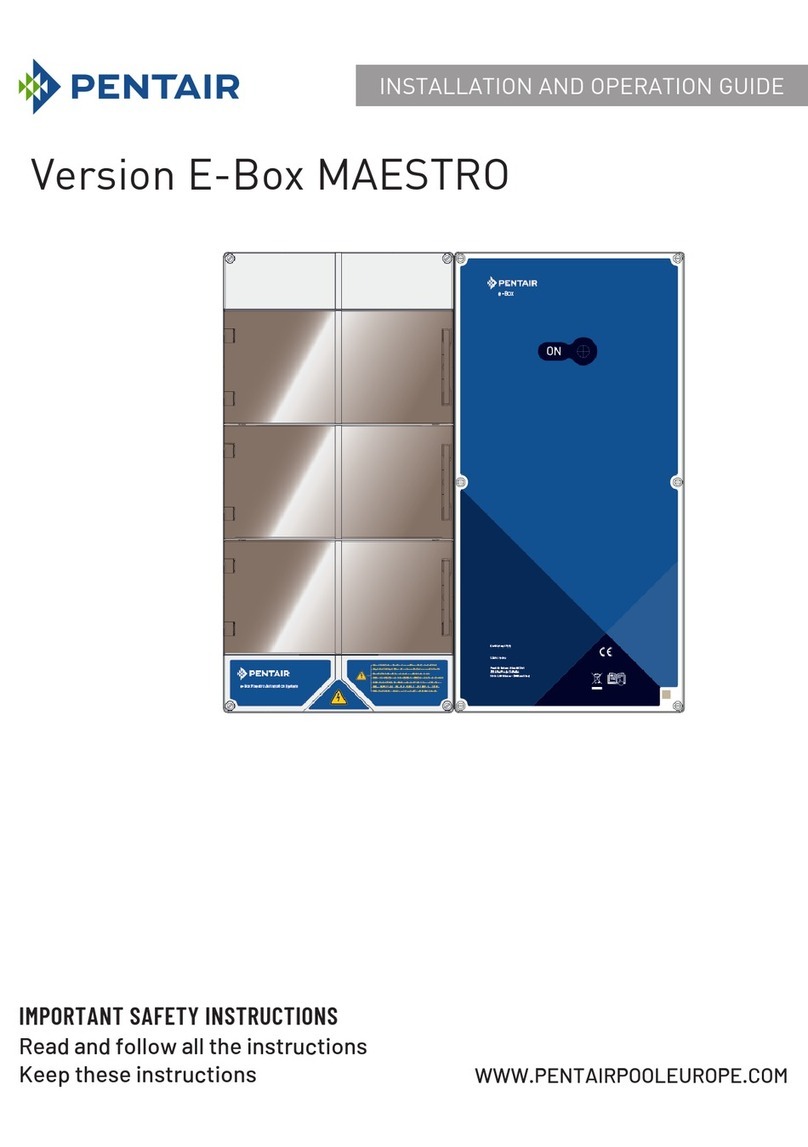
Pentair E-Box MAESTRO Operating instructions

Pentair

Pentair E-Box MAESTRO Operating instructions

Pentair SIATA V132-SFE User manual

Pentair

Pentair SIATA V132-SFE User manual

Popular Control Unit manuals by other brands

Seitz 14A80 user manual

Seitz

Seitz 14A80 user manual

Wilo RS485 Installation and operating instructions

Wilo

Wilo RS485 Installation and operating instructions

Becker CentralControl CC41 Commissioning Instruction

Becker

Becker CentralControl CC41 Commissioning Instruction

SICK CDB650 operating instructions

SICK

SICK CDB650 operating instructions

Panduit NetKey NKP5E88M Series installation instructions

Panduit

Panduit NetKey NKP5E88M Series installation instructions

MX Options Concentric Petite Fitting instructions

MX

MX Options Concentric Petite Fitting instructions

Clean Water Systems Fleck 2510 Installation & start?up guide

Clean Water Systems

Clean Water Systems Fleck 2510 Installation & start?up guide

Fairchild FSB44104A user guide

Fairchild

Fairchild FSB44104A user guide

LEGRAND Wattstopper LMIN-104 installation instructions

LEGRAND

LEGRAND Wattstopper LMIN-104 installation instructions

PMK ATT10BNCS instruction manual

PMK

PMK ATT10BNCS instruction manual

Tektronix TDS3FFT user manual

Tektronix

Tektronix TDS3FFT user manual

Woodward easYgen Technical manual

Woodward

Woodward easYgen Technical manual

Balluff BNI EIP-502-105-R015 user guide

Balluff

Balluff BNI EIP-502-105-R015 user guide

NXP Semiconductors TWR-LS1021A Getting started

NXP Semiconductors

NXP Semiconductors TWR-LS1021A Getting started

Advantech PCM-3117 Startup manual

Advantech

Advantech PCM-3117 Startup manual

Danfoss MCO 101 manual

Danfoss

Danfoss MCO 101 manual

Moons' Lin Engineering R701P user manual

Moons'

Moons' Lin Engineering R701P user manual

Aventics RV1 operating instructions

Aventics

Aventics RV1 operating instructions

manuals.online logo
manuals.online logoBrands
  • About & Mission
  • Contact us
  • Privacy Policy
  • Terms and Conditions

Copyright 2025 Manuals.Online. All Rights Reserved.