IV. Function setting operation
Function setting operation
Page
number:
Unit’s
place/ten’s
place/hund
red’s place
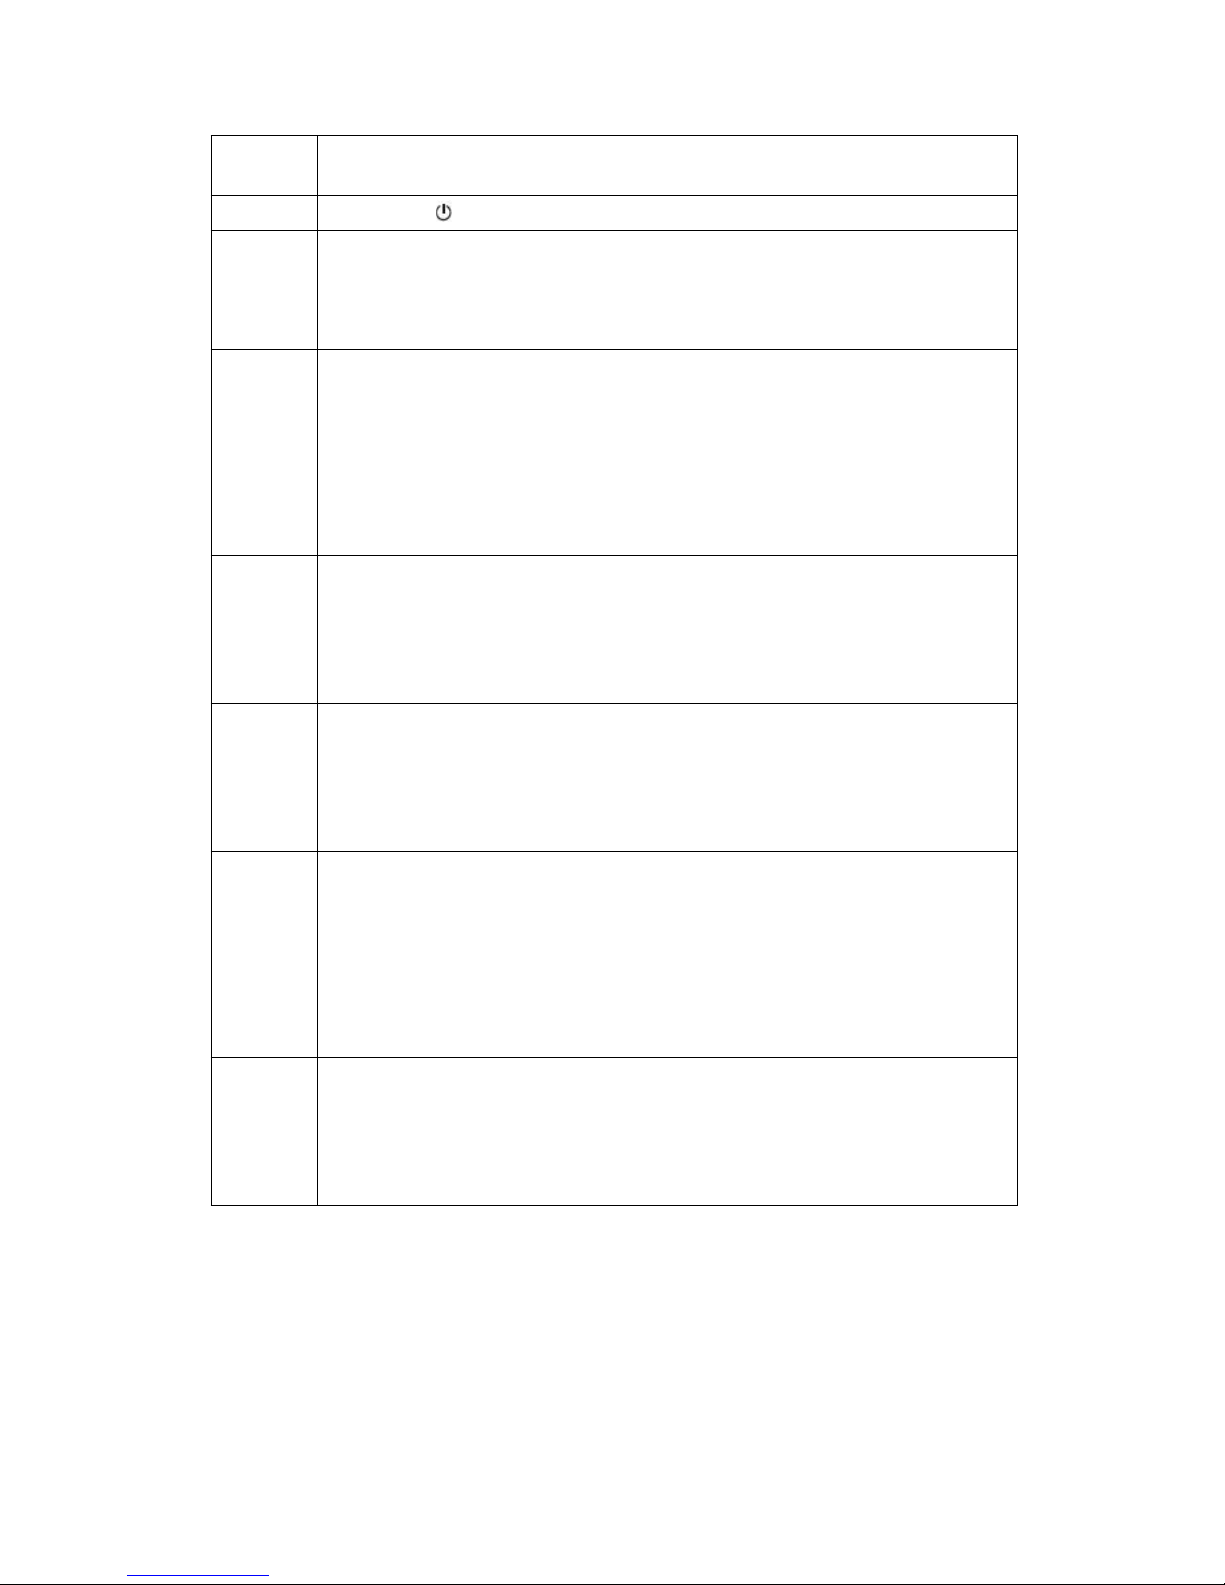
Check historical record: at the main interface, press [▼]
key to enter historical record mode; press [ENTER] key and
the current page is selected. At the moment, press [▲] key
or [▼] key to go through the data. If you want to skip to
certain page directly, input the page number directly. Press
[SHIFT] key to select the unit’s place, ten’s place and
hundred’s place of the page number. Press [▲] key to
increase the value by 1 (+1) and press [▼] key to decrease
the value by 1 (-1).
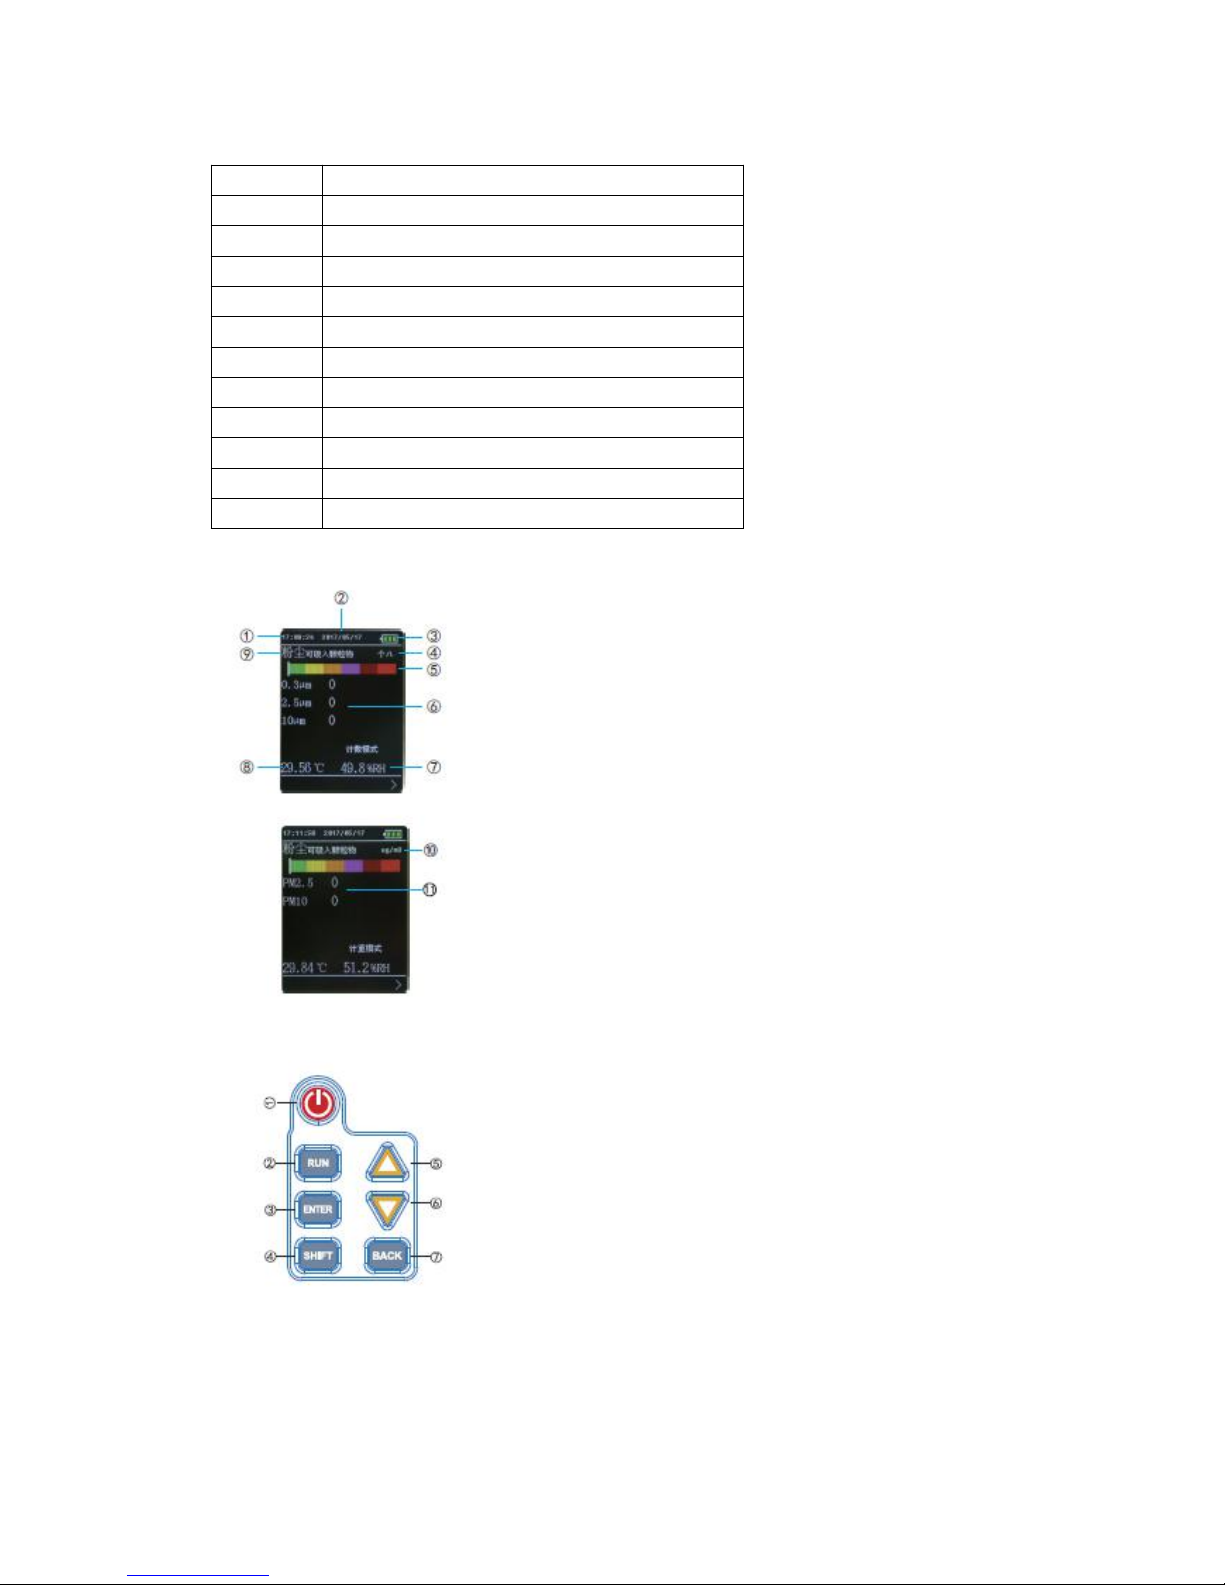
Particle
unit:
piece/L,
ug/m3
Change the particle unit: at the main interface, press [▼]
key twice to enter the functional parameter mode, press
[ENTER] key to enter the change state. Press [SHIFT] key to
select piece/L or ug/m3. At the moment, press [▲] key or
[▼] key to select your desirable unit and press [ENTER]
key to confirm. Press [BACK] key to return to the main
interface.
At the main interface, press [▼] key twice to enter the
functional parameter mode, press [ENTER] key to enter the
change state. Press [SHIFT] three times to select “No” in
the item of “changing time”. Press [▲] key or [▼] key to
select “Yes”. Press [ENTER] key to enter time change
interface. Press [SHIFT] key to select the items to be
changed. Press [▲] key to increase the value by 1 (+1) and
press [▼] key to decrease the value by 1 (-1). Press
[ENTER] to confirm. Press [BACK] key to return to the
main interface.
At the main interface, press [▼] key twice to enter the
functional parameter mode, and press [ENTER] key to enter
the change state. Press [SHIFT] key six times to select the
items to be changed in “temperature unit”. Press [▲] key
or [▼] key to select “degree centigrade” or “Fahrenheit
degree”. Press [ENTER] key to confirm. Press [BACK] key
to return to the main interface.
At the main interface, press [▼] key twice to enter the
functional parameter mode, and press [ENTER] key to enter
the change state. Press [SHIFT] key seven times to select
the items to be changed in “Restore factory-set value”.
Press [▲] key or [▼] key to select “Yes”. Press [ENTER]
key to confirm. The screen displays “restoring factory set
value…”. After completion, press [BACK] key to return to
the main interface. (Users may also use the method to
delete data record).