0166ES | 03/2019 | 2 of 6MOHAWK TECHNICAL SERVICES DEPARTMENT | 508 EAST MORRIS STREET, DALTON, GA. 30721 | 888.387.9881
Pergo Extreme Installation Instructions
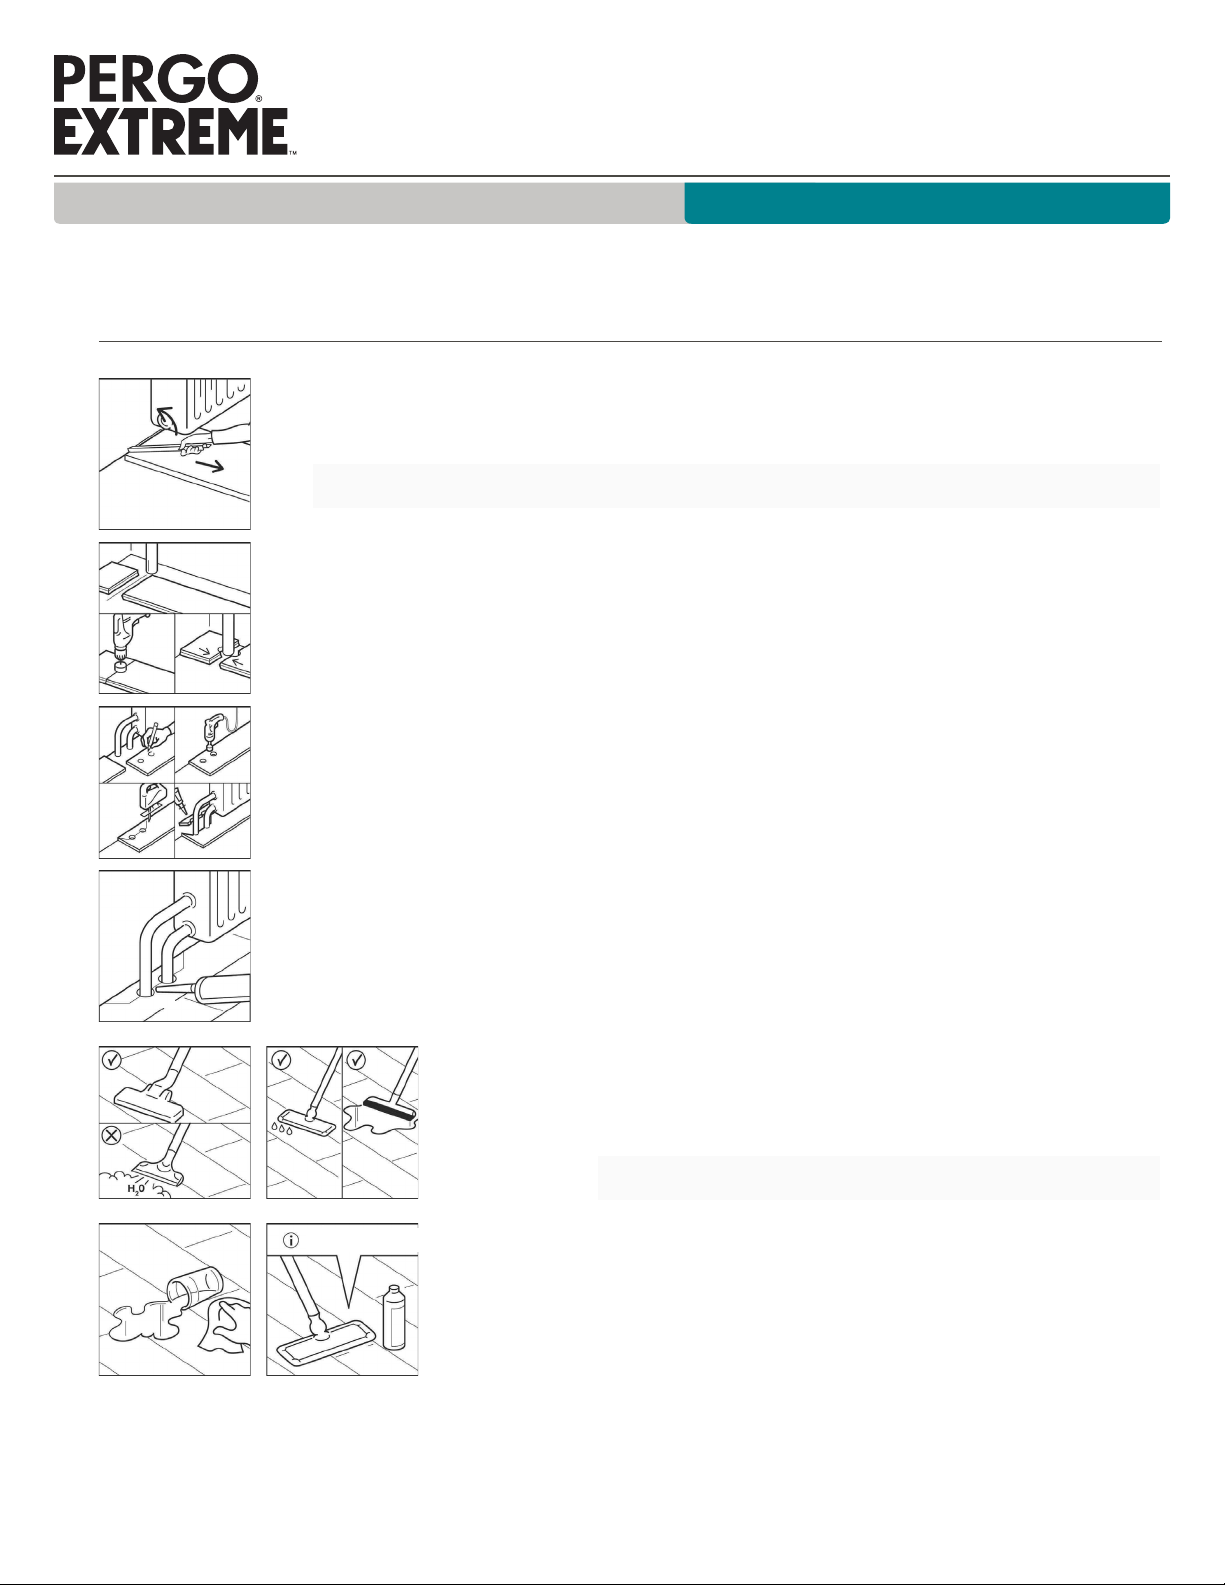
>3/16” in 10’
(5mm in 3m)
>3/16” in 10’
(5mm in 3m)
Pergo Extreme
Preparation (cont.)
6. Any unevenness greater than 3/16" in a 10' radius (5mm in 3m) must be leveled. Use an
appropriate leveling compound and use primer or sealer if recommended by supplier. In some
cases, the use of an underlayment may eliminate the need for additional leveling of subfloor.
7. Floor heating systems (hydronic or electric) that are built into the cement subfloor may be
used with Pergo Extreme Flooring if a constant room and floor temperature of 65 to 85°F
(18 to 30°C) can be maintained during acclimation and installation and for 48 hours after
installation is complete. For health and safety reasons, a maximum floor surface temperature
of 82°F (27°C) must be maintained. Separate rooms with and without radiant floor heating
or rooms with dierent temperature controllers using a transition profile. We recommend
Mohawk RevoFit™ moldings, following manufacturer’s installation guidelines and utilizing a 1/4
inch (6 mm) expansion gap 5/8 inch (16mm) for areas that will be exposed to temperatures
greater than 85°F (30°C) to allow expansion and contraction of the subfloor.
8. Make sure that the subfloor is dry, flat, stable, clean and free from debris, grease and
chemical substances. If needed, scrape o and clean up old adhesives. Prior to installation,
carefully remove all debris, sweep and vacuum. Repair surface imperfections and cracks. We
recommend removing existing base trim and installing new moldings after installation of Pergo
Extreme flooring is complete.
9. The following standard tools are needed: utility knife, tape measure, safety glasses, chalk line,
speed square, tapping block, circular saw, gloves and a pencil. In addition to the standard tools,
we recommend having a pull bar and a carpenter’s square available.
The use of any accessories other than Pergo Extreme accessories may cause damage
to your Pergo Extreme flooring. In such cases, the warranty provided by Pergo will be
void. Therefore, we advise using only Pergo Extreme accessories, which have been specially
designed and tested for use with your Pergo Extreme flooring. The RevoFit™ molding can be
used as a T-molding or reducer, and track may be stapled to wooden subfloors or glued, using
a moisture-cured polyurethane based adhesive and following manufacturer’s instructions. Do
not glue any transition strips or moldings directly to the floor.
10. Visually inspect all planks before and throughout installation in optimal lighting. Unacceptable
planks should be discarded or, when possible, used as cut pieces to start or finish rows after
removing the defective portion of the plank.
www.Pergo.com
www.Pergo.com