manuals.online logo
Brands
  1. Home
  2. •
  3. Brands
  4. •
  5. Pergola kits USA
  6. •
  7. Garden House
  8. •
  9. Pergola kits USA SANTA FE User manual

Pergola kits USA SANTA FE User manual

Santa Fe Pavilions www.pergolakitsusa.com
800-403-9259 (Toll Free)
Assembly instructions for:
SANTA FE PAVILIONS
Santa Fe Pavilions www.pergolakitsusa.com
CONTENT OF BOXES
QUANTITY
DESCRIPTION
DRAWING
4
Posts
4
Dual Support Beams (usually
ship in 2 parts that include
blocking timber(s) attached to
one of the 2 dual supports)
Quantity will vary
depending on size
Arched Rafters
Quantity will vary
depending on size
(if you ordered)
Roof Slats (tongue and groove
boards)
4
Secondary Knee Braces
(strengthens union between
posts and rafters)
4
Main Knee Braces (strengthen
union between posts and dual
support timbers)
4
Trim pieces for
bottom of posts
Depending on size
Hardware: Bolts and deck
screws
Deck Screws Bolts, washers and nuts
2
(if you ordered)
Anchors (U brackets, Gale Wind
or hurricane anchors)
Hurricane anchors
1
(if chosen)
Ceiling Fan base
U
brackets
Gale
Wind
Santa Fe Pavilions www.pergolakitsusa.com
ASSEMBLY INSTRUCTIONS
All Pavilions are completely erected in the shop prior to crating for shipping. All hardware is included. All parts are
fully sanded, routered, notched, drilled and numbered for ease of reassembly. The parts that go together have the
same numbers/letters written next to the predrilled holes they attach to.
All Pavilions parts are notched into the part they connect to. You'll find the numbers next to the notches and/or
drill holes. Before beginning re-assembly, place the parts that go together on the ground with one another so you
don't have to be searching around in the middle of the reassembly. Most pavilions take less than one day to
reassemble with one helper. Very large pergolas (6 posts or larger) usually require a second day to finish up.
Note: print the drawings that you approved before start the construction, they are needed to see the distances
between the posts.
Step 1.Attach the post to the ground. There are different ways to do it. Please see the How to anchor your
pergola document.
Santa Fe Pavilions www.pergolakitsusa.com
Step 2. Attach dual support beams to posts with four bolts (6 ” x 3/8”) washers & nuts. (Match numbers). Tap
the bolt all the way into the wood to set it, then add a washer and nut and lightly tighten.
Repeat this step with the other dual support beams.
One the 2 supports have one large beam already attached or a few 18” pieces depending on size, this add support
and strength to the structure. This beam must be in the interior of the support and bolted after you attach the
supports to posts as shown below:
Beam between the
supports
Attach with carriage bolts, washers
and nuts. The quantity of bolts
depends on supports length.
Santa Fe Pavilions www.pergolakitsusa.com
Step 3. Attach corner arched rafter to posts with one bolt per post (6 ” x 3/8”) washers & nuts. (Match
numbers).Tap the bolt all the way into the wood to set it, then add a washer and nut and lightly tighten.
Repeat this step in the other side (Rafter and Posts).
Step 4. Attach secondary knee brace to post & arched rafter with two bolts, washers & nuts. (Match
numbers).Tap the bolt all the way into the wood to set it, then add a washer and nut and lightly tighten. Repeat this
step with the other end arched rafter.
8”x 3/8” Bolt,
washers & nut.
4 ½”x 5/16” Bolt,
washers & nut.
Santa Fe Pavilions www.pergolakitsusa.com
Step 5. Attach main knee brace to post & dual support beams with two bolts, washers & nuts. (Match
numbers).Tap the bolt all the way into the wood to set it, then add a washer and nut and lightly tighten. Repeat this
step with the other main knee brace.
Step 6. Attach arched rafters to dual support beams with galvanized deck screws (3" x #8) at 45 degree angles
to attach to the dual support beams. There are 8 screws used per arched rafter (2 per dual support beam). Make
sure each arched rafter's notches are snuggly into the dual support beams before adding the deck screws. The dual
support beams have lines marking the exact spot to attach the arched rafter. The interior arched rafters do not
have numbers. They are all cut identically and are interchangeable. Just make sure to stay to the markings on the
dual support beams to keep the spacing exactly the same (default rafter spacing is 24” on center unless custom
ordered differently). Start at one end and attach one rafter at a time from both sides and on both ends before
moving to the next rafter.And repeat the process in all arched Rafters.
Bolt 8”x 3/8”,
washer & nut.
Bolt 6 ”x 3/8”,
washer & nut.
Santa Fe Pavilions www.pergolakitsusa.com
Step 7:Attach roof slats to rafters & with deck screws (1 5/8” x #8”). The roof slats are all notched identically.
The roof slats are notched to fit into each other. Place the center roof slat first (the slat with groove on both sides)
and then the rest for both sides.
This completes the pavilion assembly. Hope you enjoy your set for many decades. If you ever have a problem or
a question, don't hesitate to call us (800-403-9259) or email us. We are here to support you.

Other Pergola kits USA Garden House manuals

Pergola kits USA DEL MAR User manual

Pergola kits USA

Pergola kits USA DEL MAR User manual

Pergola kits USA PREMIUM VINYL PAVILION User manual

Pergola kits USA

Pergola kits USA PREMIUM VINYL PAVILION User manual

Pergola kits USA Sunbrella Side Shade User manual

Pergola kits USA

Pergola kits USA Sunbrella Side Shade User manual

Pergola kits USA PREMIUM VINYL PAVILION User manual

Pergola kits USA

Pergola kits USA PREMIUM VINYL PAVILION User manual

Pergola kits USA WOOD PAVILION User manual

Pergola kits USA

Pergola kits USA WOOD PAVILION User manual

Pergola kits USA WOOD PAVILION User manual

Pergola kits USA

Pergola kits USA WOOD PAVILION User manual

Pergola kits USA PREMIUM VINYL PAVILION User manual

Pergola kits USA

Pergola kits USA PREMIUM VINYL PAVILION User manual

Pergola kits USA WOOD GABLE ROOF PAVILION User manual

Pergola kits USA

Pergola kits USA WOOD GABLE ROOF PAVILION User manual

Popular Garden House manuals by other brands

Yardmaster 66 ZGEY Assembly instructions

Yardmaster

Yardmaster 66 ZGEY Assembly instructions

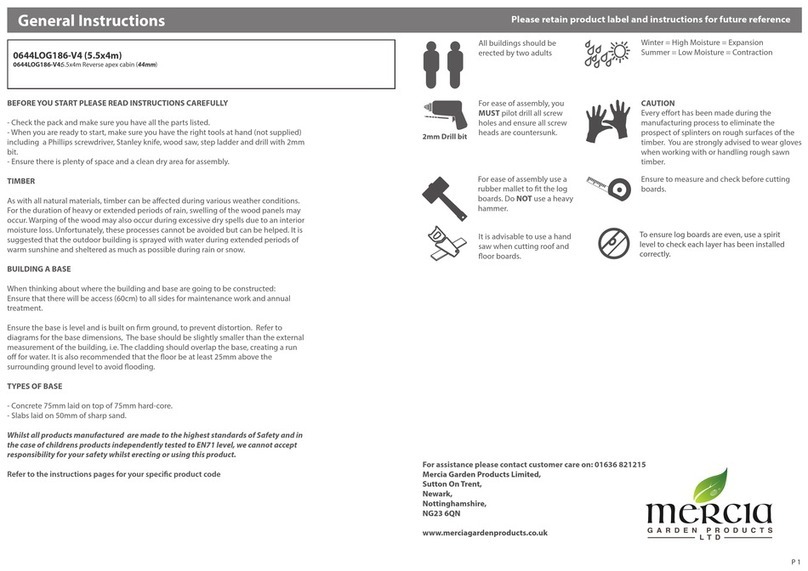
Mercia Garden Products 0628LOG181-V4 manual

Mercia Garden Products

Mercia Garden Products 0628LOG181-V4 manual

Lemeks Palmako PA120-5930-6 Assembly, installation and maintenance manual

Lemeks

Lemeks Palmako PA120-5930-6 Assembly, installation and maintenance manual

Rion Hobby Gardener Assembly instructions

Rion

Rion Hobby Gardener Assembly instructions

Select ISAAC E9682 Assembly manual

Select

Select ISAAC E9682 Assembly manual

Palmako Saale installation manual

Palmako

Palmako Saale installation manual

Palmako Roger FR44-5953-2 installation manual

Palmako

Palmako Roger FR44-5953-2 installation manual

Lemeks Palmako Grace PM56-4529 Assembly, installation and maintenance manual

Lemeks

Lemeks Palmako Grace PM56-4529 Assembly, installation and maintenance manual

Mercia Garden Products 03WES0808-V1 General instructions

Mercia Garden Products

Mercia Garden Products 03WES0808-V1 General instructions

Mercia Garden Products 03DTSHHP1206HGD4MW-V1 General instructions

Mercia Garden Products

Mercia Garden Products 03DTSHHP1206HGD4MW-V1 General instructions

Shire Salcey Assembly

Shire

Shire Salcey Assembly

G21 Boston 882 manual

G21

G21 Boston 882 manual

Mercia Garden Products 05DTMBPN0503DD-V1 Assembly instructions

Mercia Garden Products

Mercia Garden Products 05DTMBPN0503DD-V1 Assembly instructions

Rutland County Burley 6ft Assembly instructions

Rutland County

Rutland County Burley 6ft Assembly instructions

Palmako Roger 27,7 installation manual

Palmako

Palmako Roger 27,7 installation manual

Mercia Garden Products 01PTOSBA0306DDNW-V1 General instructions

Mercia Garden Products

Mercia Garden Products 01PTOSBA0306DDNW-V1 General instructions

Gartenhaus-King Valery manual

Gartenhaus-King

Gartenhaus-King Valery manual

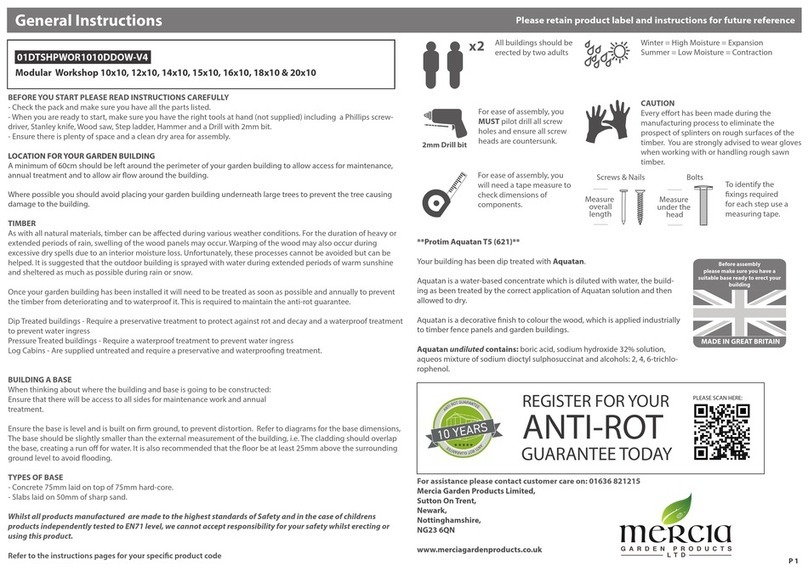
Mercia Garden Products 01DTSHPWOR1010DDOW-V4 General instructions

Mercia Garden Products

Mercia Garden Products 01DTSHPWOR1010DDOW-V4 General instructions

manuals.online logo
manuals.online logoBrands
  • About & Mission
  • Contact us
  • Privacy Policy
  • Terms and Conditions

Copyright 2025 Manuals.Online. All Rights Reserved.