7
Owner’s Guide PCC-100 & PCC-200
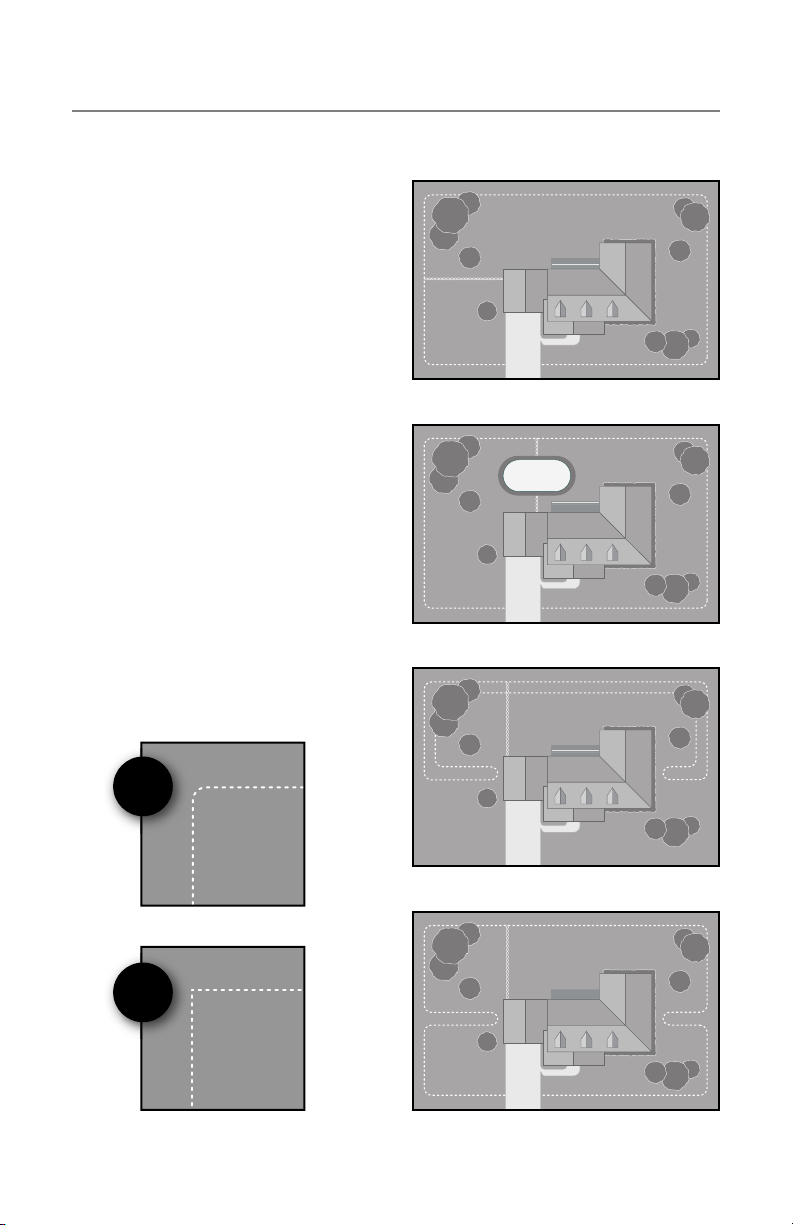
STEP 4
Testing your fence operation
It is important to test that your system is
functioning properly before burying the
boundary wire. You will be looking to en-
sure that the fence is activating properly
at the boundary locations, as well as look-
ing for unwanted signals in the house and
other safe areas of the home.
1. Install the supplied battery in your pet’s
training collar. Remove the battery
cover screw cap, insert the battery and
ensure that the top marked “This end
up” is closest to the battery compart-
ment opening. Replace the battery cap.
2. Ensure that the fence wires are
properly inserted into the wall-mount
transmitter and the adapter is plugged
into the side of the transmitter and wall
outlet. The transmitter display should
illuminate.
3. Hold the
pet’s training
collar by the
nylon strap
as shown at
approximately
the height
of your pet’s
neck.
4. Slowly approach your outside bound-
ary loop wire and listen carefully for
the training beeps. Should you hear the
training beeps, back up and try different
parts of the boundary area ensuring that
the collar is activating properly in other
locations. If the collar activates too far,
or too near the fence wire, adjust the
signal field setting (see STEP 6).
5. Walk back and forth over the twisted
wire listening for any training beeps.
There should be none.
6. Walk around the “safe” areas of the
yard and house listening for any train-
ing beeps. Again, there should be no
response from the pet’s collar when
further than 10’ from the boundary loop.
TROUBLESHOOTING TIPS
The collar will not activate at the bound-
ary loop:
• The training collar’s battery has been
installed in the proper orientation and
the cap has been secured.
• The wall-mount transmitter has the wire
that runs from the outside loop secured
in the wire connectors and the trans-
mitter is plugged in to the wall outlet.
• The boundary loop is connected to the
twisted wire running to your transmitter
using the supplied waterproof splices
and that there is only TWO ends of wire
inserted into each splice.
• Check to determine if your pet fence
system is installed in close proximity to
a neighboring system. If so, see STEP 6:
System Adjustments and Programming.
• Should you continue to encounter dif-
ficulties please call customer care at
1-866-900-2007
The collar activates in safe areas of the
yard or home:
• Check that the wire is not running close
to outside utility lines and move where
necessary.