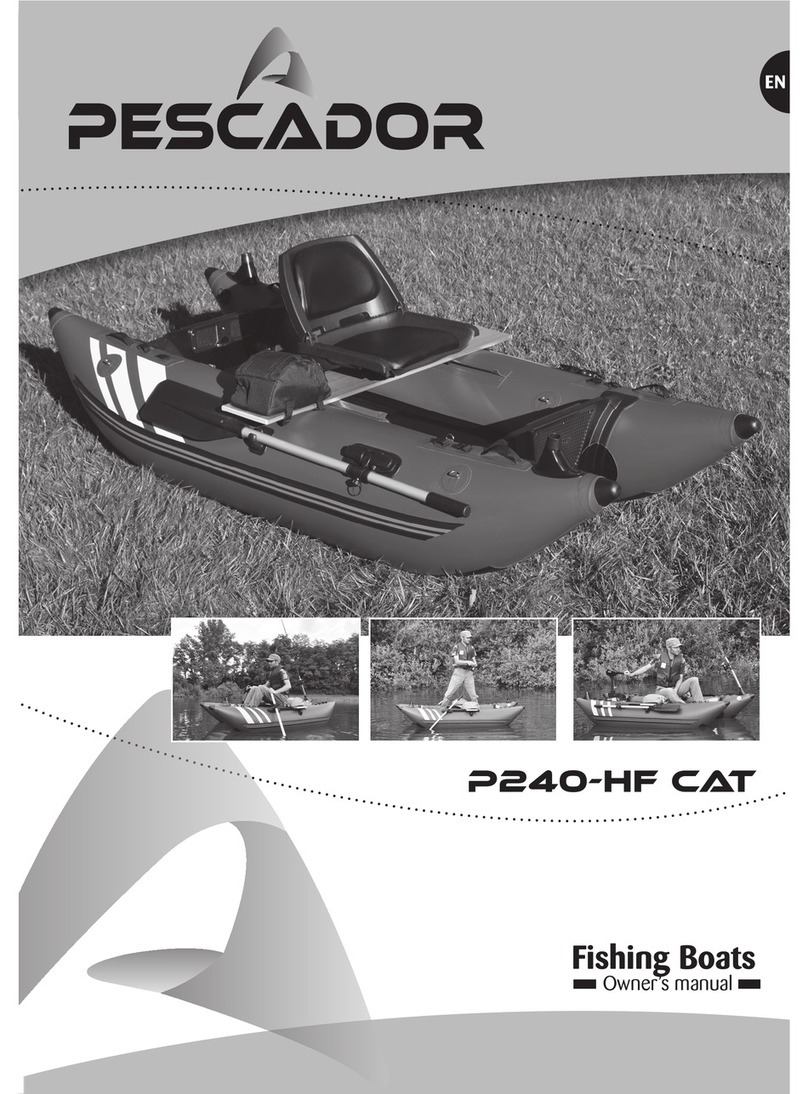
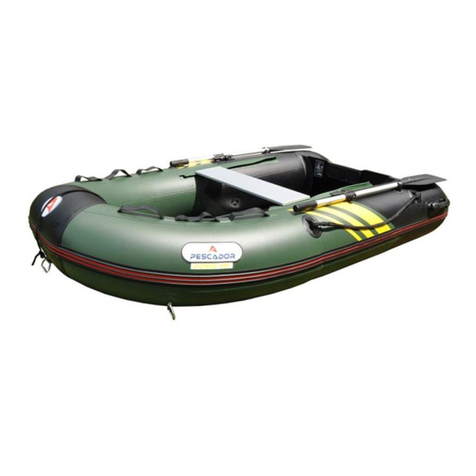
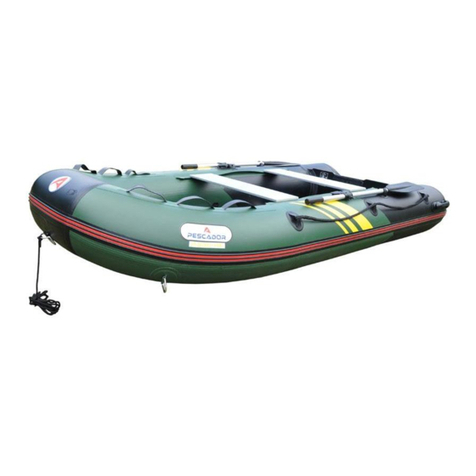
Pescador PT200-HF User manual

EN
PT200-HF
Fishing Boats
Owner’s manual

2
Dear customer,
Congratulations on your purchase of the PESCADOR PT200-HF. We are proud to bring you a quality product at an affor-
dable price with excellent performance. Please take the time to read through this manual. It contains details of the
PESCADOR PT200-HF, its equipment, and information on its operation and maintenance. Familiarize yourself with this
inflatable before using it on the water in order to ensure safety and to prevent accidents.
Indicates an imminently hazardous situation which, if not avoided, could result in death or serious injury
or property damage. Be cautious and have a good reading.
There is a risk of serious injuries or death from drowning. Fishing sports and boating can be very dan-
gerous and physically demanding. The user of this product acknowledges, understands, and assumes
the risks involved. Observe the following safety measures and safe operating practices whenever using
this product.
• Always wear an approved personal flotation device.
• Do not exceed maximum weight capacity. Regardless of the number of persons on board, the
total weight of persons and equipment must not exceed maximum weight capacity.
• Do not operate the PESCADOR PT200-HF under the influence of drugs or alcohol.
• Do not fish alone.
• Children must be supervised by a responsible adult at all times.
• Dress appropriately for weather and marine conditions; cold water and cold weather can result
in hypothermia.
• Check weather forecasts and beware of offshore winds, currents and safe river levels.
• Get informed on local regulations and hazards related to water activities and boat operation.
• Check your equipment prior to each use for signs of wear, leaks or failure.
• Tie a leash to your oars when appropriate.
• Always inform someone of your fishing route, the time and place of your departure and your
intended time and place of arrival.
• Always wear your identification documents with you.
• Make sure you are able to exit the boat under any circumstances.
• Scout unfamiliar waters: portage where appropriate.
Validity:
As continual improvement is one of the key values we share with our customers, we reserve the right to change specifi-
cations and to discontinue models without notice.
The description and specifications contained herein were in effect at the time this manual was approved for printing. They
are not contractual in any case.

Front D-ring with
rope (7.50 m)
Lateral rubbing strake
Oar locks
Oar holders
Alu oars (132xm - 2 pcs)
Molded handles
Capacity plate
Rod holder
Marine plywood
fix transom
Marine plywood
slatted floor boards
Slide seat
Self bailing
drain valve
Strip handles
Grab Line Marine plywood bench seat
Motor plate
3
PT200-HF
• Material: 1000 Denier Polyester
with double side PVC coating
0.9 mm thick
• Front D-ring with
towing rope (7.50 m)
• 1 marine plywood transom
• 2 aluminum oars
• 1 marine plywood bench seat
(adjustable) - 70 x 20 x 1.8 cm
• Foot pump
• 3 marine plywood slatted floor
boards - 80 x 10 x 1.2 cm
• Pressure Gauge
• High pressure valves (2)
• Rubbing strakes
• 4 strip handles
• 2 molded handles
• 1 rod holder
• 2 lateral grab lines
• Self bailing drain valve
• 1 carry bag
• 1 Repair kit
• Owner’s manual
Standard Equipment
Technical features
Length
(cm)
Width
(cm)
200 120
Width
inside
(cm)
30
Tube
diameter
(cm)
110 x 66
Nr of
chamber
2
Max.
persons
1+1
Capacity
(kg/Lbs)
Max. motor
capacity
Weight
(kg)
Standard
180/
396
2.5 HP =
1.88 kW
16 ISO 6185
Part 1
Type II
Cat. D

4
Assembly
General procedure
1. Remove any sharp objects from the area where the boat will be assembled and inflated.
2. Unfold and spread out boat flat.
3. Slide each slatted floor board into its floor passing through opening (3 pieces).
4. Half inflate the boat with pump first.
5. Position wood bench seat
6. Fully inflate the chambers.
7. Check the valves and close carefully to prevent any leakage.
Slatted floar assembly instruction
Slide each slatted floor board into its floor passing opening.
Make sure that each floor board is well centered, as it will be difficult to reposition once the boat is fully inflated.
Assembly instructions / inflation/ deflation
Choose a smooth and clean surface to unfold your PESCADOR PT200-HF.
Inflate your PESCADOR PT200-HF with a pump designed for inflatable boats, or other low pressure inflatables. These
types of pump will have a hose and adapters to fit the valves of your PESCADOR PT200-HF.
1. Side tube valve(s), please see drawing to the right:
Unscrew the valve cap (1). Push button (2) in and turn approximately 90 degrees (“OUT”
position). Insert the pump hose end piece and inflate it until you will reach the required
pressure. After inflation, tighten all the valve caps (clockwise). Only the valve(s) cap can
ensure final air tightness. To release air from the side chambers, remove the valve cap (1)
and push button (2) in and turn approximately 90 degrees (“IN” position). (3) : valve base.
2. Max. air pressure: the recommended pressure for this item is for the side tube
chambers: 0.25 bar / 3.60 psi (= 250 mBar).
Any use of an air compressor may result in poor performance or damage to the PESCADOR PT200-HF, and automatically
voids all warranties. If you leave your PESCADOR PT200-HF exposed to the hot sun, check the pressure and deflate it
slightly. Otherwise the PESCADOR PT200-HF may become over inflated and stretch the material. The ambient tempera-
ture affects the tube’s internal pressure : a variation of 1°C/ 1.8°F causes a variation of the pressure in the air chamber
of +/- 4 mBar (0.06psi).

5
Motor installation
Disassembly / Maintenance
The maximum rated horsepower for our Fishing Boats are:
Read the instruction manual supplied by the outboard motor manufacturer. All outboards are slightly different, and some
require special installation procedures.
General outline:
• Place the motor in the center of the transom.
• Screw the mounting brackets securely to the transom.
1. To deflate your PESCADOR PT200-HF, remove the valve cap from the valves.
2. Remove bench seat, slatted floar boards, motor bracket, and oars.
3. Clean and check the PESCADOR PT200-HF as well as all the accessories. Make sure your boat is completely dry
before storing. Make sure that no sand or gravel remains inside the boat: this could result in abrasion or even
punctures.
4. Fold the 2 sides into the middle, then roll it up from the opposite end of the valves (so remaining air can escape from
the valves).
5. Place your boat and equipment in its carry bag.
6. Store your boat in a clean and dry place.
Note: If you install a more powerful engine than the maximum rated horsepower for your boat, you might
lose control of your boat and risk serious injury. Never exceed the maximum rated horsepower.
Note: If the mounting brackets are not tightly secured to the transom, the motor could loosen during use
or even fall from your boat. Ensure they are fastened securely.
PT200-HF
• Max HP : 2.5 / 1.88 kW
Whenever you take your PESCADOR PT200-HF out of the water and deflate it, allow time to completely
air dry. Neither the skin/hull nor the inside chambers will suffer from water damage, but stagnant water
could cause mildew and unpleasant odours.

6
How to repair small punctures
Warranty Registration Card
Check that the air chamber is fully deflated and lies flat.
1. Prepare a round patch no less than 3 inches or 7 centimeters in diameter.
2. Clean the patch and the area surrounding the leak with Alcoholic solution.
3. To contain excess glue, use masking tape to tape off the area around the patch.
4. Apply 3 thin, even coats of repair kit adhesive over the damage surface of your PESCADOR PT200-HF and the patch.
Wait 5 minutes between each coat.
5. After the 3rd coat, wait 10-15 minutes before applying the patch. Use a hand roller to apply the patch evenly.
6. Let dry 24 hours before re-inflating your boat.
1. General
Please fill out and mail in the enclosed Warranty Registration Card right away. You will void your warranty by not filing the
registration card with us. Be sure to enter the Serial #(CIN code = the 12 digit number) you will find on the capacity plate.
2. Care and Preservation
There is very little that you have to do to keep your boat in good condition for many years. You may store it inflated or
deflated. If you leave it outside, raise it up off the ground. If it is going to be left outside, cover it with a tarp (we do not
recommend hanging the boat). If you leave it in the water, you will probably have to drain out rainwater at times. If you
store it inside, we suggest you pick a cool and dry place, making sure the boat is clean and dry before you pack it up
- or mold can accumulate. That is all you need to keep your boat in mint condition for years to come. Most dirt can be
removed with a garden hose, a sponge and mild soap. Do not sprinkle with powders. Do not store in an area where it is
likely to be exposed to extreme temperatures (above 60°C or below -20°C).
• Perform all of your repairs in a well-ventilated area.
• Avoid inhaling glue vapors.
• Avoid contact with the skin or the eyes.
• Keep all repair materials (glue, solvents, etc) away from the reach of children.
• The repairs on the welds must not be glued. Only the manufacturer of the PT200-HF
can perform repairs on the welds themselves.

Notes
7

8
05/16
Warranty
Warranty Registration Card
AQUATEC Europe - 6 rue de l’Europe - F-68500 Bergholtz
Tel : +33 (0)3 89 62 56 30 – Fax : +33 (0)3 89 62 56 31
We (“AQUATEC Europe”) shall warrant the new products, accessories and parts manufactured to be free from defects in material and
workmanship, and this warranty shall not cover any commercial and/or professional use of Products.
1. This Warranty Period for the Products is counted from the shipment date and is specified hereunder:
XThe fabrics : Two (2) years
YSeam constructions : Two (2) years
ZWorkmanship : Two (2) years
[Accessories & parts : One (1) year
2. The owner’s registration form is the only valid registration identification. If any Products are found to be defective, Customer shall
return to the distributor or AQUATEC Europe for inspection and/or repair as instructed with a copy of the registration form.
3. AQUATEC Europe’s obligation under this warranty shall be limited to, at its option, either repair or replace the same without charge or
provide a credit or refund based on the original price, or less a reasonable amount for actual use. Except as expressly agreed between
both Parties, Customer must return Products for repair at its own expense. The return transportation of the repaired or replaced Products
from AQUATEC Europe to the destination by Customer shall be paid by AQUATEC Europe.
4. Since this warranty applies to defects in material and workmanship, it does not apply to normal wear and tear of fabric or to damage
caused by:
a) neglect, lack of preventive care, modification, accident, abnormal operation, unauthorized repairs, use in a manner not in accordance
with applicable Specifications, racing competition,
b) use of any accessories or parts not manufactured or supplied by AQUATEC Europe.
This warranty does not apply to the haul out, launching, storage charge, telephone or rental charge, inconvenience or less of time and
income.
All incidental and consequential damages are excluded from this warranty. Implied warranties are limited to the life of the warranty.
This card must be completed and signed, and returned to your dealer within 10 days of date of purchase in order for the warranty on
your new fishing boat to be valid.
Customer
Address
City Country Zip
Phone Date of Purchase
Dealer
City Country Zip
Model Serial #
By signing this warranty card, I acknowledge that I have read and understand all cautions and warnings relating to the use of this product,
and I understand that any occupants or users of this product risk injury or death.
Customer Signature Date
Non-contractual pictures/ Photos non contractuelles
Table of contents
Other Pescador Boat manuals
Popular Boat manuals by other brands

Supra
Supra SL owner's manual

Horizon Fitness
Horizon Fitness 2008 Beneteau 43 Information & operation manual

Nautiraid
Nautiraid Narak Cross 475 Instruction book

OceanFlyer
OceanFlyer Grand Banks 49' Classic operating manual

Jeanneau
Jeanneau Fun Instruction and maintenance manual

Jeanneau
Jeanneau NC14 owner's manual

WindRider
WindRider 17 owner's manual

RS SAILING
RS SAILING Vision Rigging guide

Blue Wave Boats
Blue Wave Boats 220 V-Bay LC Specifications

Hamilton Turbocraft
Hamilton Turbocraft Colorado Explorer owner's manual

Boston Whaler
Boston Whaler 170 Montauk owner's manual

Edgewater Networks
Edgewater Networks 190 InShore 2014 Series OWNER ASSISTANCE MANUAL