Warning Tip:
A: Guarantee every post upright
B: Fasten J with R and electric tool in the right direction.
C: Make sure every J assembled correctly before put your kennel in use.
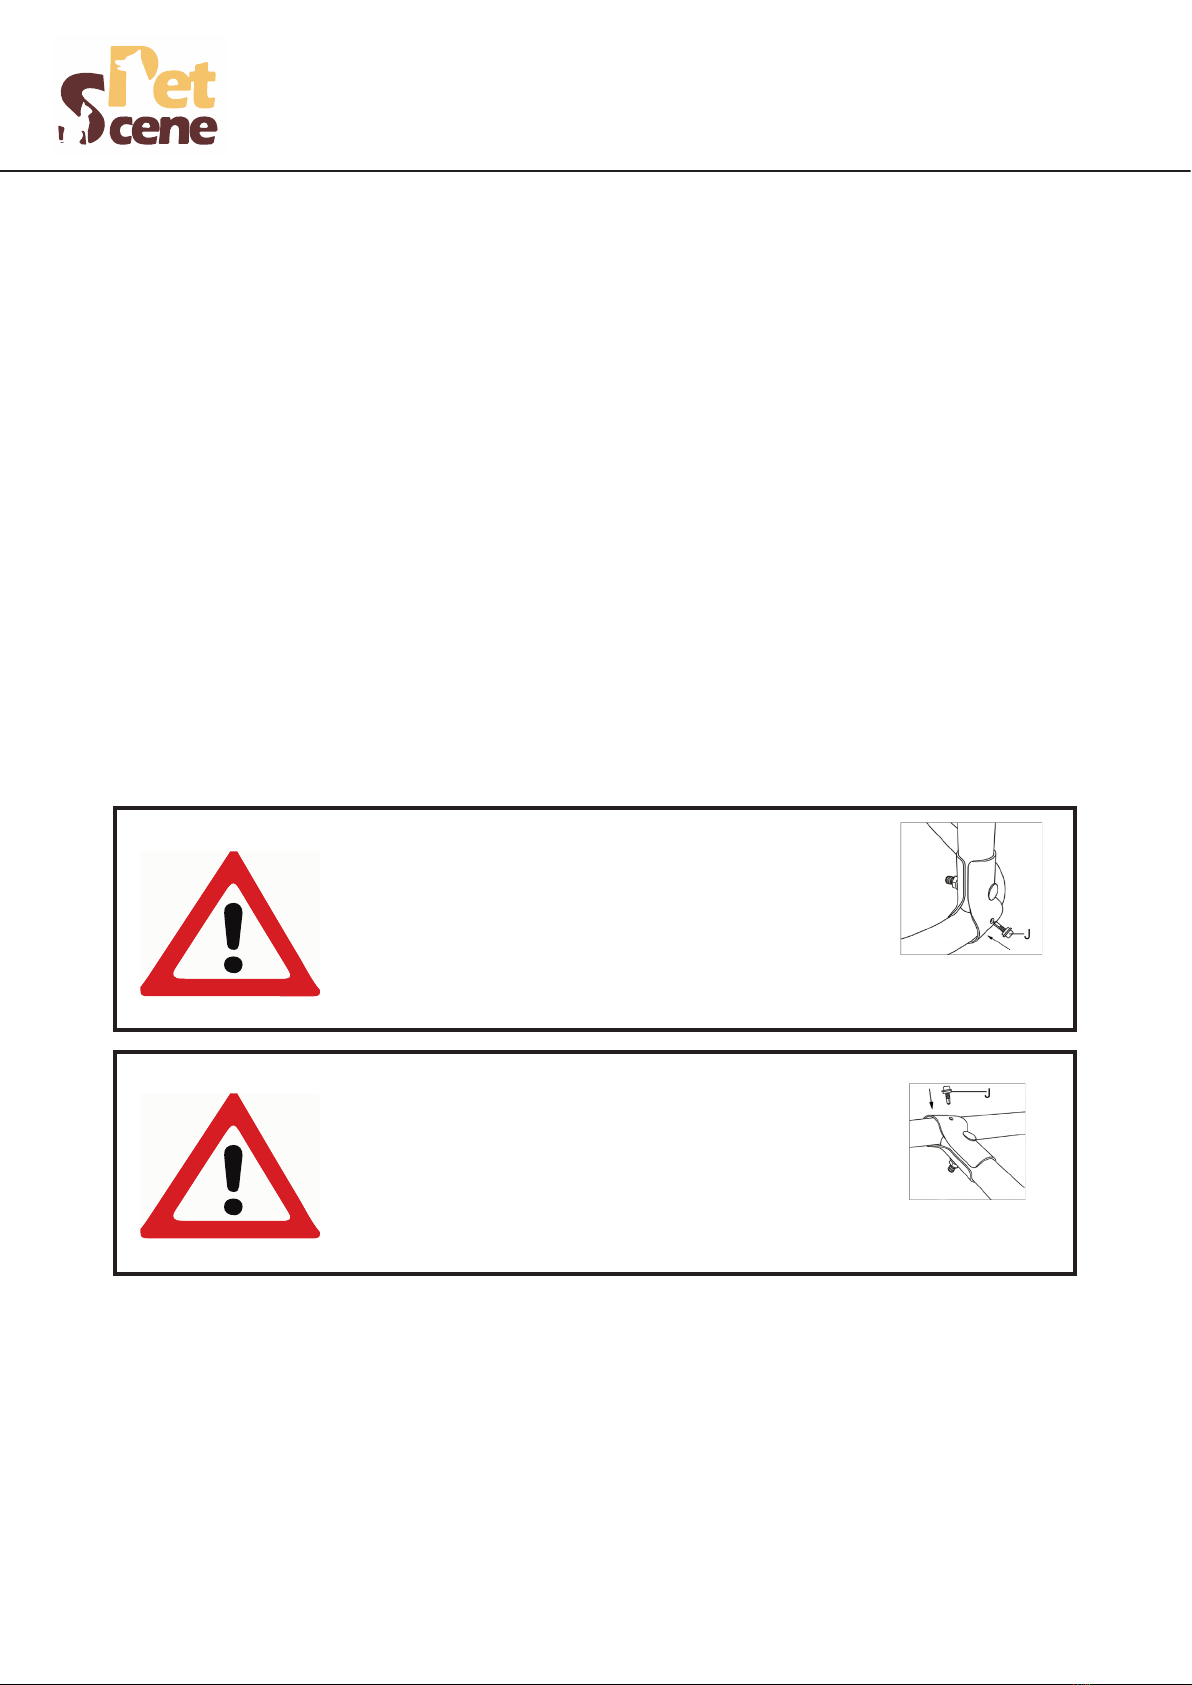
Warning Tip:
A: For safety consideration please make sure to nd
part J from 2/2 carton and fasten down the kennel before
you put it in use.
B: Guarantee every post upright.
C: Fasten J with Rand electric tool in the right direction.
D: Make sure every J assembled correctly before put your kennel in use.
Dog Run Kennel With Roof
4.6x4.6x2.32m
Start by unrolling the compressed chain-link mesh roll on the ground and extending it. Then roll it again. Insert
1 piece o f round rod into the edge of the chain-link mesh roll, and then hook the round rod with the door post -
another person is then required to unroll the chain-link mesh around the frame of the dog run.
If the chain-link mesh is too long, remove some of the wire at the desired length (at least 15-20 cm from the
door). Insert another round rod piece into the edge of the chain-link mesh to tighten the chain-link mesh to a
good t. Attach the hooked round rod to the frame. To secure the top and the bottom of the dog run - tie some
binding wire to x the chain-link mesh to the frame. Finally, ensure that the clips are xed tightly and securely
to the frame by using the self-tapping screws. Now your large dog run is complete and ready for your dog.
Installing the chain link mesh
1.Need 2 people at least when you assemble to avoid the damage of steel tube.
2.Do not use this cage unless all bolts, screws and knobs are rmly secured.
3.Please use it on a at hard ground.
4.No climbing and no revision on product.
5.Caution,hands pinching.
notice