Factory Reset
To perform a Factory Reset, first enter the Settings
Screen. Click the Menu button until the words
Factory Reset scroll in the lower-right of the display.
Click the Plus aValue button to initiate a Factory
Reset. A countdown timer
will begin after the reset is
initiated. Pressing any
button before the countdown completes will cancel
the Factory Reset.
Factory Reset will erase all user settings. Any color
changes, drop/capo settings, concert A reference, or
changes made within the Settings Screen will be reset
to their factory defaults.
Firmware and Hardware Version
To view the current Firmware or Hardware Version,
first enter the Settings Screen. Click the Menu button
until Firmware or Hardware scrolls in the lower-right
of the display. The version number will immediately
scroll after the words Firmware or Hardware.
Exit
To exit the Settings Screen, Click the Menu button
until the word EXIT scrolls in the lower-right of the
display and the gear icon Gflashes. Click the Plus a
or Minus bValue button to exit the Settings Screen
and return to the Tune Screen.
Peterson Connect™
Peterson Connect is a free software interface that can
be used to customize your StroboClip HDC.
• Update Firmware
• Design your own Sweetened & Guided Tunings
• Configure Sweetener or Guided Tuning Presets
• Re-order, minimize or expand your on-board Presets
• Adjust various display settings
The majority of users will be able to make all needed
adjustments to their StroboClip HDC without the need
for Peterson Connect. However, some users may
wish to experiment with this free utility to further
customize their StroboClip HDC.
https://www.petersontuners.com/connect
Warranty
We warrant this product to be free of defects in
materials or workmanship for a period of 2 years after
delivery to the original purchaser. Our obligation under
this warranty is limited to the replacement or repair of
any part or parts which prove upon our examination to
be defective. This warranty does not apply to damage
resulting from transportation, misuse, abuse, or
alteration. The above warranty is contingent upon
registration within 10 days of the date of receipt of the
product by the original purchaser. The warranty conveys
specific legal rights to the purchaser, other rights vary
from state to state and internationally
Peterson Electro-Musical Products, Inc. 11601 S. Mayfield Ave.
Alsip, IL 60803 USA 708.388.3311© 2023 Peterson Electro-Musical
Products, Inc. All rights reserved. “StroboClip HDC“,“Virtual
Strobe“, “Sweetener“, “Peterson Connect” and the linear &
concentric strobe patterns are trademarks of: Peterson
Electro-Musical Products, Inc.- U.S. Patent # 6,580,024
StroboClip HDC™ Settings Screen
Reminder: Your StroboClip HDC has two screens of
operation in which parameters can be adjusted. The
Settings Screen, allows for more detailed adjustment as
well as system information. All adjustments of settings after
this message require the user to first access the settings
screen.
From the Tune Screen, click the Menu button five
times or until the Gear Icon Gflashes. Then, click the
Plus aor Minus bValue button to enter the Settings
Screen.
Global Color
Upon entering the Settings Screen, Global Color is
the first adjustable parameter. The word Global
Color will scroll in the
lower right of the
display. Use the Plus
aor Minus bValue
button to select your
Global Color.
Note: Global Color affects all display colors on the
StroboClip HDC except for those already set via the tune
screen. If a display color has been selected in the tune
screen, it will save to that Sweetener Preset and will
override the Global Color Settings.
Global Accidentals
To adjust the Global Accidentals setting, first enter the
Settings Screen. Click the Menu button until Global
Accidentals scrolls in the lower-right corner of the
display. Use the Plus aor Minus bValue button to
select from one of the
three Global
Accidental settings.
The three available
Global Accidentals
settings are:
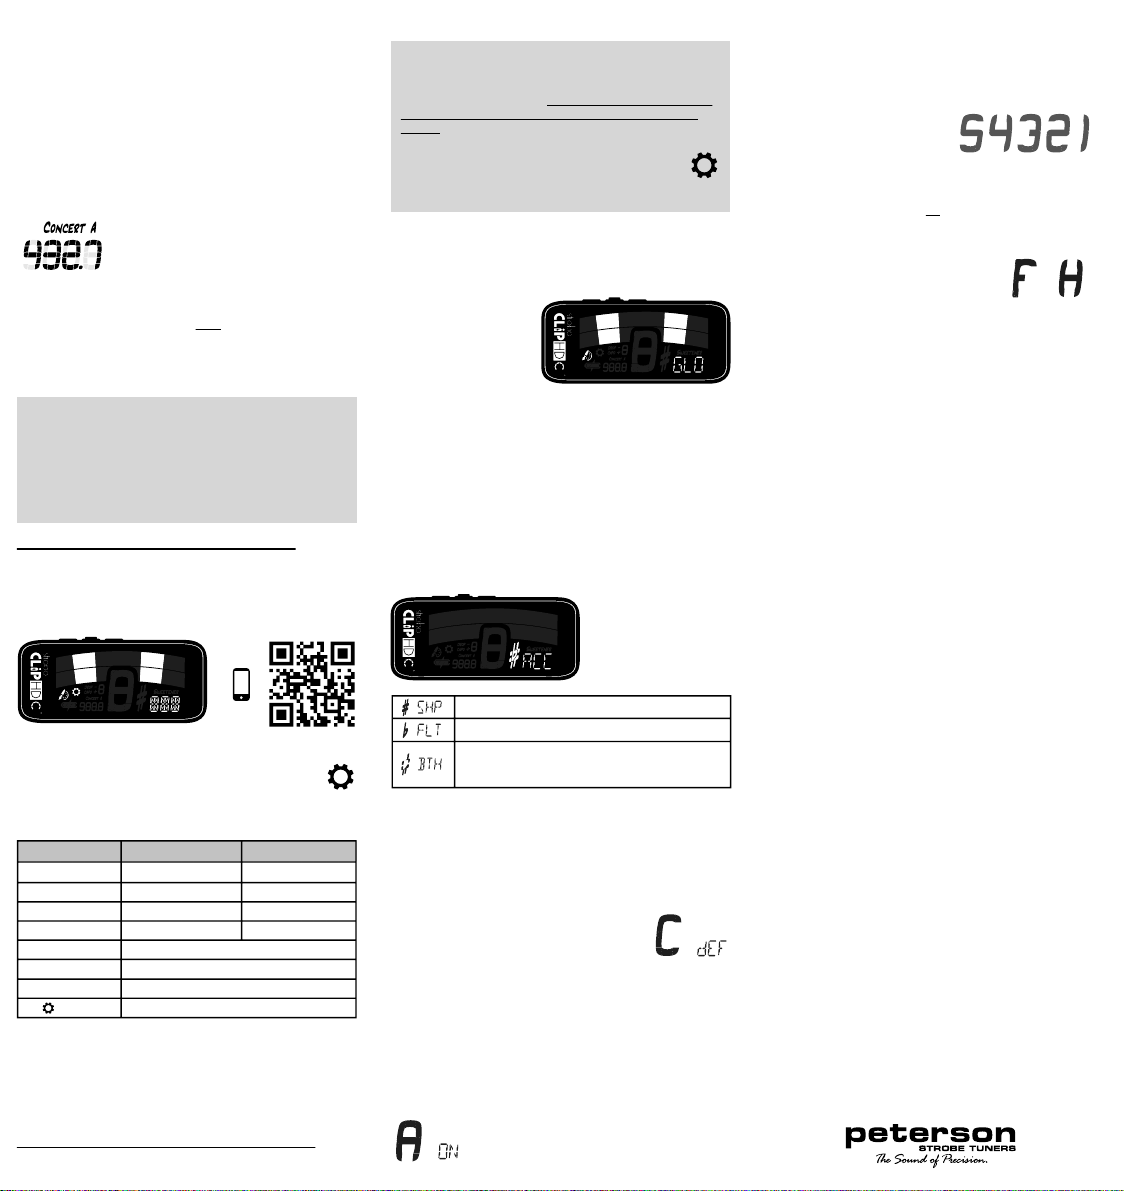
Configuration
To view and change the Active Configuration, first
enter the Settings Screen. Click the Menu button until
a large Cappears in the center of the screen and
Configuration scrolls in the lower-right corner of the
display. Use the Plus aor Minus bValue button to
choose between dEF (default) or the
three letter name of any custom
configuration, commonly USR (user).
Auto Order Presets
To view and change the Auto Order Presets setting,
first enter the Settings Screen. Click the Menu button
until a large Aappears in the center of the screen and
Auto-Order scrolls in the lower-right corner. Use the
Plus aor Minus bValue button to choose either On
or Off. Auto Order Presets reorders your most
recently used Sweetener Presets to the top of the list.
This allows you to access your most
recently used Presets with just a few
button pushes.
Sharps: F# C# G# D# A#
Flats: Gb Db Ab Eb Bb
Both: A combination of both sharps and flats in
common enharmonic equivalents
F# C# Ab Eb Bb
Default Value
Orange
Sharp
dEF
On
Value Options
10 Default Colors
Sharp / Flat / Both
dEF / USR
On / Off
Click the Plus aValue button to start factory reset
View Only
View Only
Click Plus aor Minus bValue to exit to Tune Screen
Parameter
Global Color
Global Accidentals
Configuration
Auto-Order Presets
Factory Reset
Firmware Version
Hardware Version
Exit
Drop Tuning / Capo Tuning Transposition cont.
NOTE: The transposition setting can also be used for
tuning "transposing" wind instruments which sound
lower or higher than written. When adjusting the
transposition setting, the Note Display will show the
relative note name for the selected transposition
number.
Changing The Concert Pitch Reference
Click the Menu button four times or until the
Concert A value flashes. Use the Plus aor Minus b
Value button to select a value from
390 - 490Hz. Click the Plus aor
Minus bValue button to increment
or decrement the Concert A
Reference by 0.1Hz. Press and hold either the Plus a
or Minus bValue button to increment or decrement
the Concert A Reference by 1Hz.
Pressing the Plus aand Minus bValue buttons
together while the Concert A value is flashing will
quickly revert to default. ( 440Hz)
Note: When Preset Display Color, Concert A
Reference or Drop/Capo Transposition settings are
changed, those parameters will save with the
Sweetener preset that is currently active. Selecting
another Sweetener preset may change your Preset
Display Color, Drop/Capo Transposition or Concert A
Reference settings.
StroboClip HDC™ Settings Screen
Your StroboClip HDC has two screens of operation in
which parameters can be adjusted. For more
advanced use, the Settings Screen allows for detailed
adjustment as well as system information.
Click the Menu button five times or until the Gear
Icon Gflashes. Click the Plus aor Minus b
Value button to enter the Settings Screen.
The adjustable settings within the Settings Screen
and their default values are:
After changing the desired settings, press the Menu
button to confirm the changes and navigate to the Exit
Setting G. Use the Plus aor Minus bValue button to
exit the setting screen, or allow the setting to time out
and return to the Tune Screen. For an in-depth look at
the Settings Screen parameters and their uses, visit:
www.petersontuners.com/products/stroboClipHDC/settings
or use your mobile device to scan the QR code above.


