Petunia Pickle Bottom sightseer User manual

English Español Français
baby carrier
sightseer™
Please read directions before use. Save for future reference.
If you have questions or if there is anything you do not understand, contact Petunia Pickle Bottom
OWNERS MANUAL

Table of Contents
ENGLISH
Warning ............................................................................................ 2
Helpful Hints ..................................................................................... 3
Carrier Parts ................................................................................... 4-5
For Use With an Infant..................................................................... 6-8
For Use With an Older Baby ................................................................ 9
Removing your Baby from the Carrier ................................................. 10
Washing Instructions ........................................................................ 11
ESPAÑOL
Warning .......................................................................................... 12
Helpful Hints ................................................................................... 13
Carrier Parts ............................................................................... 14-15
For Use With an Infant................................................................. 16-18
For Use With an Older Baby .............................................................. 19
Removing your Baby from the Carrier ................................................. 20
Washing Instructions ........................................................................ 21
FRANÇAIS
Warning .......................................................................................... 22
Helpful Hints ................................................................................... 23
Carrier Parts ............................................................................... 24-25
For Use With an Infant................................................................. 26-28
For Use With an Older Baby .............................................................. 29
Removing your Baby from the Carrier ................................................. 30
Washing Instructions ........................................................................ 31

ENGLISH
3
©Petunia Pickle Bottom 305 South Kalorama Street, Suite F, Ventura, California 93001
The trademark Petunia Pickle Bottom is protected by trademark rights.
U.S. Patent Pending
Helpful Hints
Position the back adjustor before placing your baby in the
carrier. The back adjustor should be positioned comfortably
between your shoulder blades.
Always make sure that the torso belt is securely attached
before placing your baby in the carrier.
Be sure to continually support your baby until you’ve
confirmed that all clips are securely latched.
For the baby’s comfort, ensure that the interior padding piece
at the lower clip connection is positioned to cover the buckle
that rests near or against baby’s body.
For greatest comfort, the carrier should ride fairly high and fit
snugly against your body. For a general reference point, your
baby’s head should sit directly below your chin and the torso
belt should fit snugly against your rib cage.
For quickest use, leave the left lower clip attached, and keep top
adjustment straps fully extended.
To maintain the shape of your carrier, lay flat for storage
or hang uniformly on a hanger by both straps.
WARNING FALL HAZARD
Read all instructions before assembling and using this Baby Carrier.
Important: Keep instructions for future use.
Small babies can fall through a leg opening. Follow instructions for use.
Only use this Baby Carrier for babies from 21" (53 cm) and 8 lb (3.5 kg)
up to 22 lb (10 kg).
Baby must face towards you until he or she can hold head upright.
This Baby Carrier is designed for use by adults while walking only.
Adjust leg openings to smallest possible size.
For babies 8-11 lb (3.5-5 kg) the infant leg button must be used.
Hold baby close to you until securely fastened in the carrier.
Make sure baby is properly positioned with the legs straddling the seat and both
arms extending through the armholes.
Check to ensure all buckles, snaps, straps and adjustments
are secure before each use.
Pull all straps tightly around your body.
Suffocation risk if baby is positioned incorrectly or if Carrier does not fit properly.
Never lie down with baby in Baby Carrier.
Inspect the Baby Carrier regularly for any signs of wear and tear
before each use.
Do not unfasten the torso belt while baby is in the Carrier.
Do not exercise while wearing the Carrier.
Use care around hot, sharp, or hazardous objects. Baby can grab objects.

ENGLISH
5
CARRIER PARTS
Refer to these parts when reading the instructions.
Open view of carrier (left) and profile view (right)
carrier lining back adjustor
shoulder strap
top adjustment strap
upper
clip
torso clip
lower clip
lower clip
infant leg button hole
upper clip
torso strap
infant leg button
torso strap
torso clip
connection
upper clip connection
lower clip
infant leg
button hole
infant leg button
upper clip
carrier shell
lower clip connection

ENGLISH
7
Step 1 Hold the carrier by the top straps with
the “PETUNIA PICKLE BOTTOM” logo on the
back adjustor facing you. All clips, including the
right-side torso clip, should be unlatched.
Top adjustment straps should be fully extended.
Step 8 While fully supporting your
baby, connect the lower clip on the right
shoulder strap to the lower clip connection
on the right side of the carrier shell.
continued on page 8
FOR USE WITH AN INFANT
with baby facing in, toward your body
Use the following directions to carry a baby from 21"(53 cm)
and 8 lb (3.5 kg) up to 22 lb (10 kg)
Step 2
Slip the carrier over your head, feeding
your head through the center opening and your left
arm through the left strap opening (as if you were
putting on a t-shirt). Shoulder straps should lie flat
and untwisted on each shoulder.
Step 5 Fold the carrier up towards your
body. On the left side, connect the lower
clip on the shoulder strap to the lower clip
connection on the carrier shell.
Step 6 Connect the upper clip on the left
shoulder strap to the upper clip connection on
the left side of the carrier shell with the head
support in the up position. Top adjustment
straps should be fully extended.
Step 7 Gently place your baby in the
carrier facing you by feeding the baby’s
right leg and right arm through the
corresponding openings. Ensure that the
baby is centered in the carrier. Continue to
hold the baby until all carrier clips have been
securely closed. The clips should make an
audible click when they are fully latched.
Step 3 Reach around and grab the
loose right-side torso strap and connect
it to the torso clip connection on carrier
shell. Tighten the two torso straps so
that harness fits snug.
Step 4 Slide the back adjustor
plate so that it is positioned comfortably
between your shoulder blades.

ENGLISH
9
Step 11
For babies between 8-11 lbs
(3.5-5 kg), connect the infant leg support
button on the left and right side of the shell to
the infant leg button hole on the lining.
Step 12 While supporting the baby with
one hand, adjust the carrier to your body by
tightening the left and right torso straps, and
if needed, re-positioning the location of the
back adjustor. When worn properly, torso and
shoulder straps should fit snugly to the body.
For proper back support, the carrier should
never be worn with the straps loose.
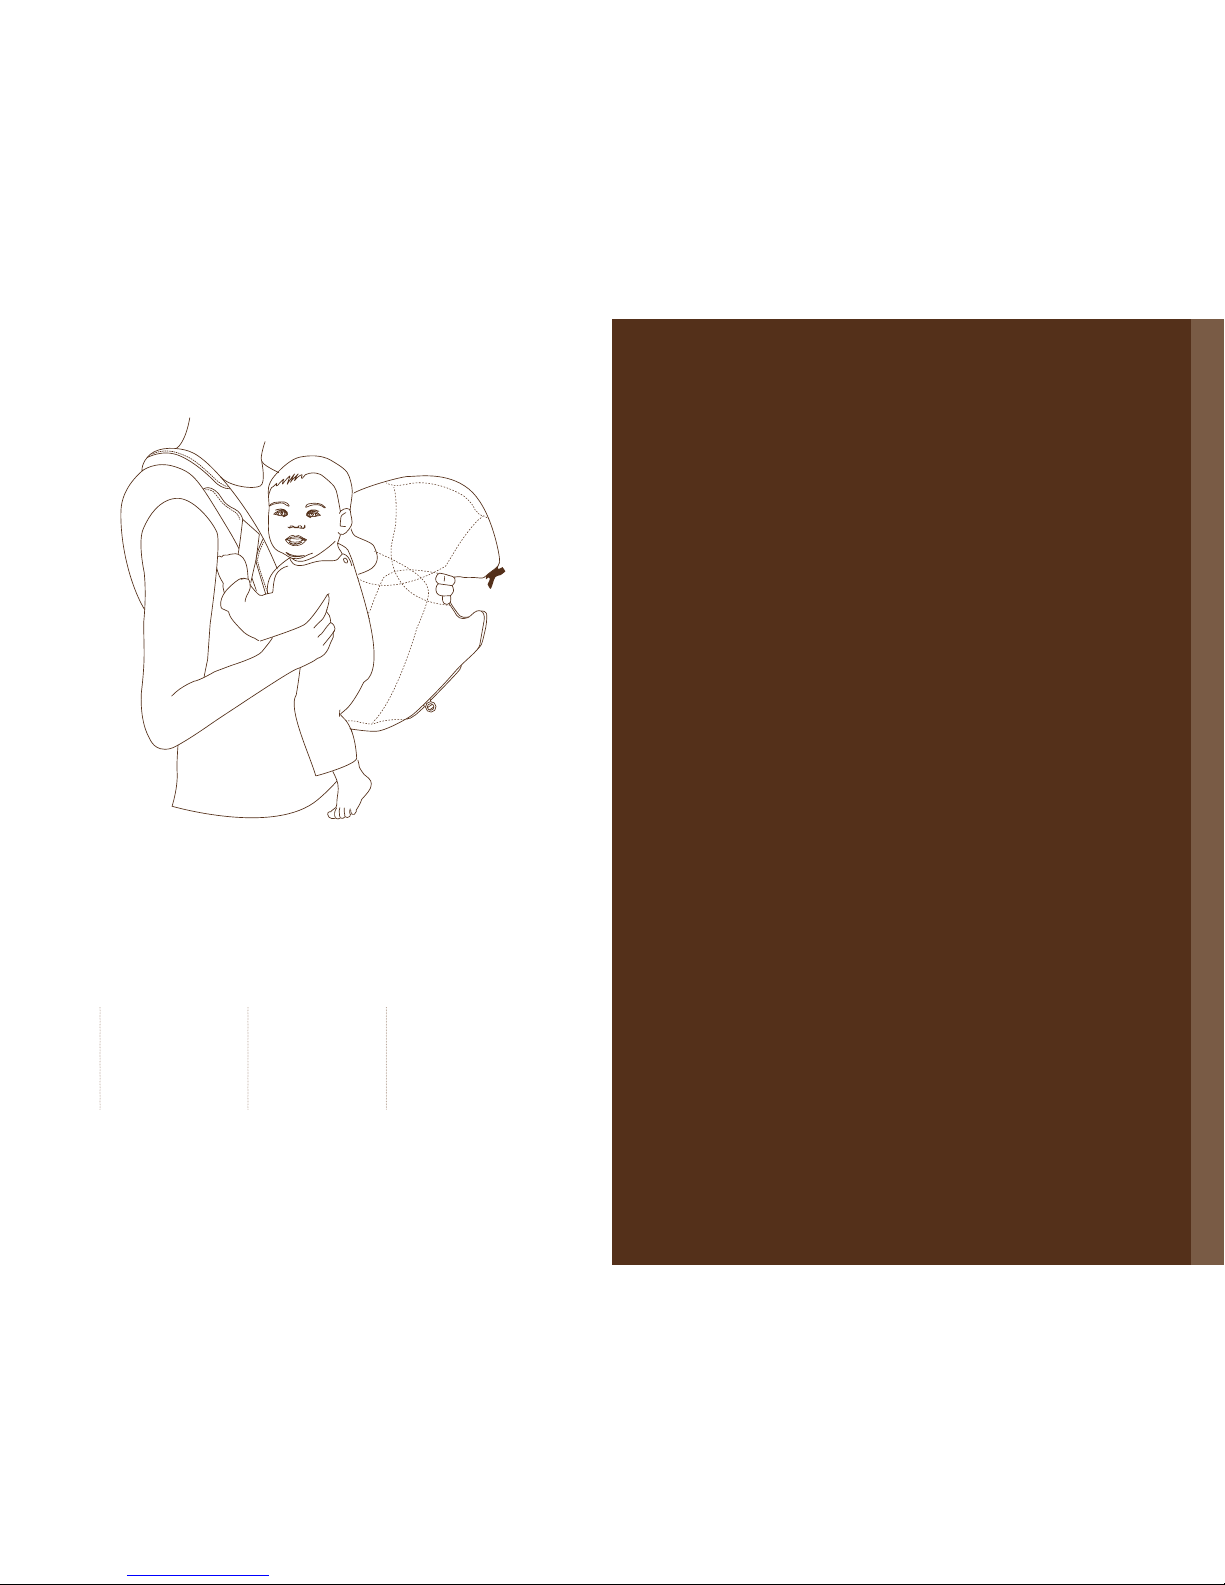
FOR USE WITH AN OLDER BABY
Step 9 Connect the upper clip on
the right shoulder strap to the upper
clip connection on the right side of
the carrier shell.
Step 10 Pull the top adjustment
straps on the upper left and right
clips to provide gentle support for the
baby’s head. Always make sure there
is adequate room around your baby’s
face to provide a clear source of air.
Step 6 Gently place your baby in the
carrier facing out by feeding the baby’s left
leg through the left leg opening.
FOR USE WITH AN INFANT (CONT.)
Use the following directions to carry a baby from 21"(53 cm)
and 8 lb (3.5 kg) up to 22 lb (10 kg)
When your baby is old enough to hold his or her head and shoulders upright,
you may use the carrier with your baby facing out.
To position your baby facing out, follow steps 1-5 then proceed to steps 6-9 below.
Step 8
Still supporting
your baby, fold
down the head support at the top of the
detailed
stitch lines and connect
the upper
clips in the modified, folded-over
position.
The baby’s arms
should be above the
folded-down front flap. Tighten or loosen
the upper clip adjustment straps to your
baby’s comfort.
Step 9 While supporting the baby with
one hand, adjust the carrier to your body by
tightening the left and right torso straps, and
if needed, re-positioning the location of the
back adjustor. When worn properly, torso
and shoulder straps should fit snugly to the
body. For proper back support, the carrier
should never be worn with the straps loose.
Step 7 While fully supporting your baby,
connect the lower clip on the right shoulder
strap to the lower clip connection on the right
side of the carrier shell.

ENGLISH
11
Washing Instructions
for the Sightseer Carrier:
Machine wash cold, gentle cycle.
Remove promptly. Do not twist or wring.
Lay flat to dry. Do NOT machine dry.
To remove excess moisture and reduce
drying time, open and lay carrier flat with
the shell of the carrier between two dry
towels. Gently roll the carrier shell and
towels together to absorb moisture. Do not
leave rolled in towels. Unroll and remove
towels before laying flat to dry.
Step 1 If in use,
unhook the infant leg
buttons on the left and
right side of the leg
openings.
Step 3 Gently
remove your baby
from the carrier with
your right hand.
Step 2 Unclasp
the upper clip and
the lower clip on
the right side only,
making sure to fully
support your baby
with your left hand.
REMOVING YOUR BABY
FROM THE CARRIER

Designed in California
100% Satisfaction Guarantee
petuniapicklebottom.com
At Petunia Pickle Bottom, our commitment to quality is unwavering— we take great pride
in the craftsmanship of each and every product we make. That’s why we proudly
offer a 100% satisfaction guarantee. If you are not satisfied with your purchase or if you
experience a problem with our product, please don’t hesitate to contact us at
or refund at our option. Damage due to wear and tear will be repaired at a reasonable charge.
Table of contents