Pfaff 1244 User manual

1243
1244
This instruction manual applies to machines
from the following serial numbers onwards:
7262 020 and software version 0435/002.
INSTRUCTION MANUAL
296-12-19 312/002
Operating instructions Engl. 05.15

Reprinting, reproduction and/or translation of PFAFF instruction manuals (including parts
thereof) is only permitted with our prior agreement and citation of the source.
PFAFF Industriesysteme
und Maschinen GmbH
Hans-Geiger-Str. 12 - IG Nord
D-67661 Kaiserslautern
This instruction manual applies for all of the designs and subclasses listed in
Chapter 3 Technical Data.
The settings manual for the machine can be downloaded at no charge under
www.pfaff-industrial.de/de/service-support/downloads/technical. As an
alternative to the Internet download, the settings manual can also be ordered as
a hard copy under order no. 296-12-19 313/002.

Table of Contents
Contents ..................................................................................Page
1Safety .................................................................................................................................... 5
1.01 Directives............................................................................................................................... 5
1.02 General safety instructions .................................................................................................... 5
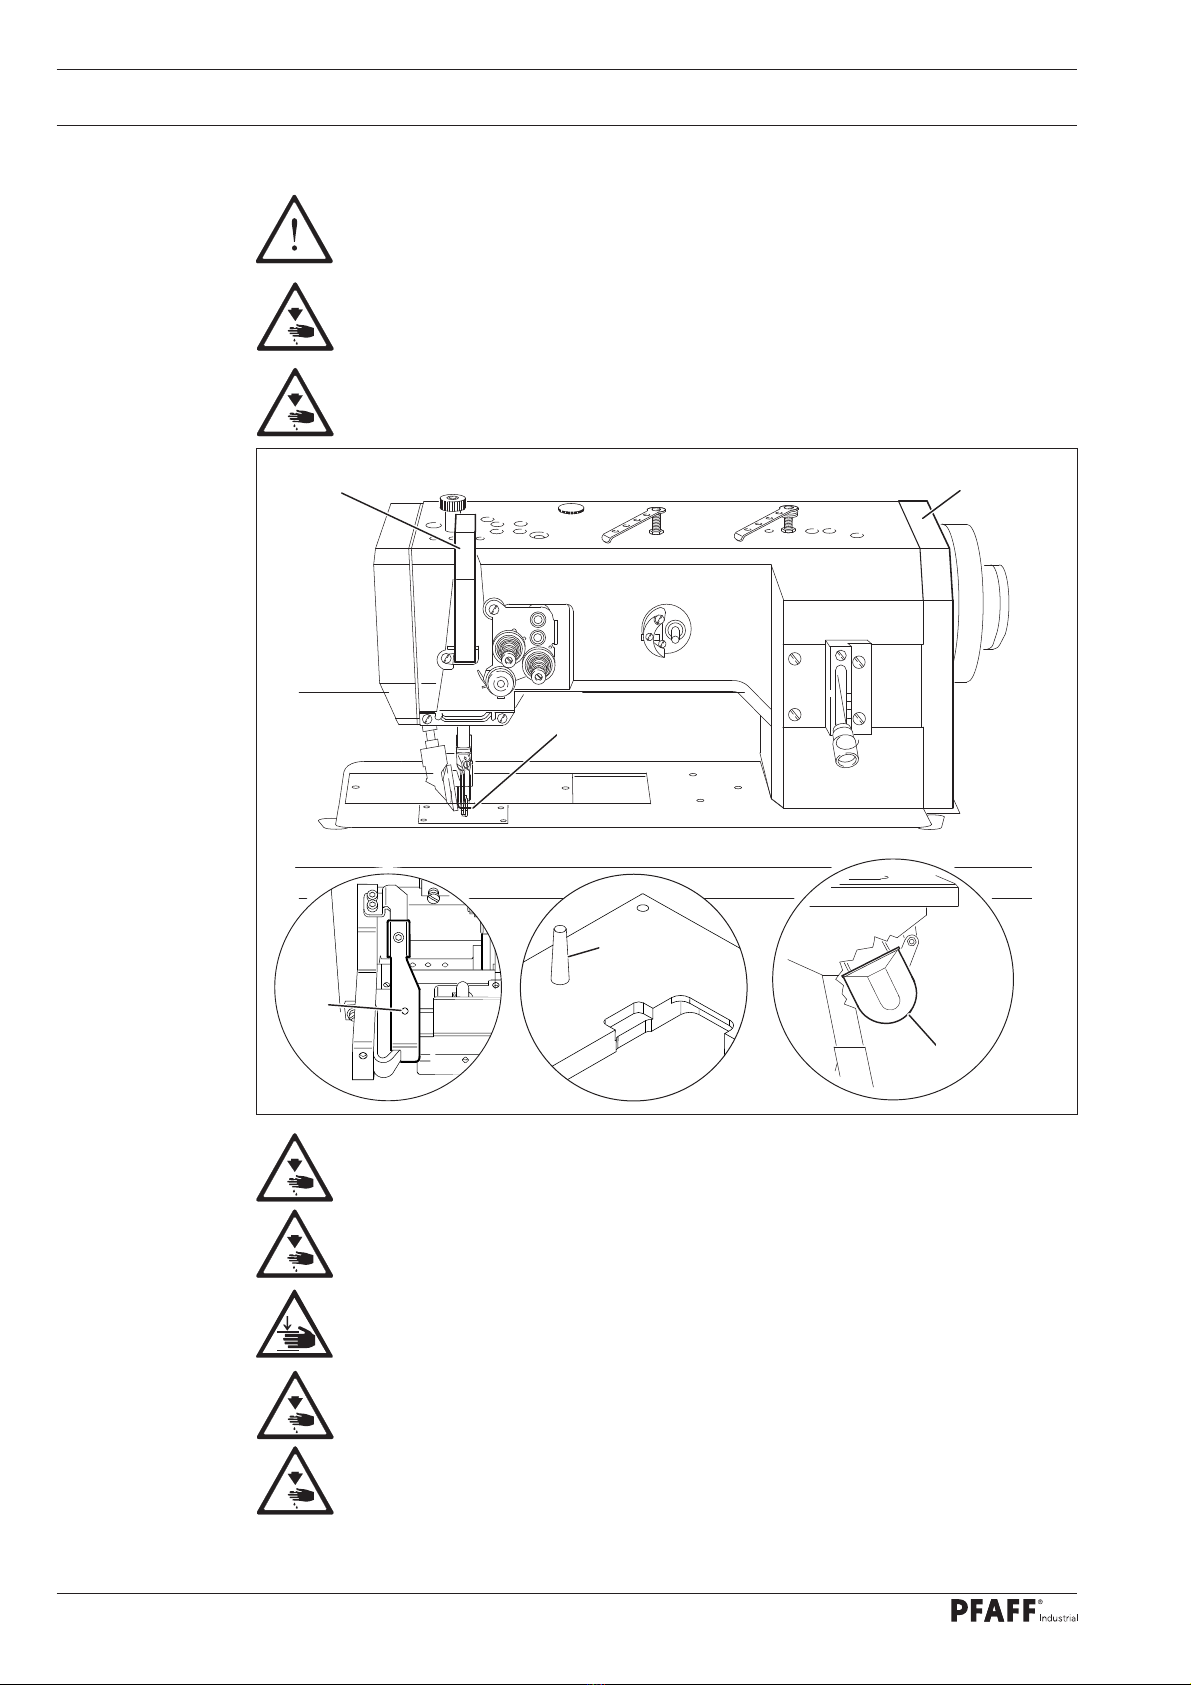
1.03 Safety symbols ...................................................................................................................... 6
1.04 Special points of attention for the owner-operator................................................................. 6
1.05 Operating personnel and technical staff ................................................................................ 7
1.05.01 Operating personnel .............................................................................................................. 7
1.05.02 Technical staff ........................................................................................................................ 7
1.06 Danger warnings.................................................................................................................... 8
2Proper Use............................................................................................................................ 9
3Technical Data.................................................................................................................... 10
3.01 PFAFF 1243.......................................................................................................................... 10
3.02 PFAFF 1244.......................................................................................................................... 11
4Disposal of the Machine.................................................................................................... 12
5Transport, Packaging and Storage ................................................................................... 13
5.01 Transport to the customer’s premises ................................................................................. 13
5.02 Transport within the customer’s premises........................................................................... 13
5.03 Disposal of the packaging materials .................................................................................... 13
5.04 Storage ................................................................................................................................ 13
6Work Symbols.................................................................................................................... 14
7Operating Controls ............................................................................................................15
7.01 Main switch ......................................................................................................................... 15
7.02 Buttons on the machine head (only in machines with backtacking system -911/..).............. 15
7.03 Treadle ................................................................................................................................. 16
7.04 Hand lever to raise the roller presser................................................................................... 16
7.05 Lever for stitch length regulation and reverse sewing ......................................................... 17
(In machines without backtacking system -911/..)................................................. 17
7.06 Lever for stitch length regulation (in machines with backtacking system -911/..).................. 17
7.07 Knee lever (in machines without backtacking system -911/..) .............................................. 18
7.08 Control panel (only in machines with P40 CD)..................................................................... 18
8Set-up and Initial Commissioning .................................................................................... 19
8.01 Set-up .................................................................................................................................. 19
8.01.01 Setting the table height........................................................................................................ 19
8.01.02 Inserting the sewing machine into the stand....................................................................... 20
8.01.04 Tensioning the V-belt ............................................................................................................ 21
8.01.06 Assembling the upper V-belt guard ...................................................................................... 22
8.01.07 Mounting the synchroniser .................................................................................................. 23
8.01.08 Assembling the anti-tipping device ......................................................................................23

Table of Contents
Contents ..................................................................................Page
8.02 Connecting the plug-in connections and ground cable ........................................................ 24
8.03 Assembling the reel stand ................................................................................................... 25
8.04 Initial start-up ....................................................................................................................... 26
8.05 Switching the machine on / off ............................................................................................ 26
8.06 Machine drive home position............................................................................................... 26
9Set-up.................................................................................................................................. 27
9.01 Inserting the needle ............................................................................................................ 27
9.02 Winding the bobbin thread, adjusting the thread tension.................................................... 28
9.03 Removing / inserting the bobbin case.................................................................................. 29
9.04 Inserting the bobbin case / adjusting the bobbin thread tension ......................................... 29
9.05 Threading the needle thread / adjusting the needle thread tension
(with the PFAFF 1243) ........................................................................................................ 30
9.07 Threading the needle thread / adjusting the needle thread tension
(with the PFAFF 1244) ........................................................................................................ 31
9.08 Setting the bobbin stitch counter......................................................................................... 31
10 Maintenance and Care....................................................................................................... 32
10.01 Maintenance intervals.......................................................................................................... 32
10.02 Cleaning the machine .......................................................................................................... 32
10.03 General oiling ....................................................................................................................... 33
10.04 Oiling the hook..................................................................................................................... 34
10.05 Oiling the front parts............................................................................................................ 34
10.06 Checking / setting the air pressure ...................................................................................... 35
10.07 Cleaning the maintenance unit air filter ............................................................................... 35
10.08 Parameter settings .............................................................................................................. 36
11 Table Top............................................................................................................................ 37
11.01 Table plate cutout (PFAFF 1243)........................................................................................... 37
11.02 Table plate cutout (PFAFF 1246) ....................................................................................... 38
11.03 Table top assembly .............................................................................................................. 39
12 Wearing Parts..................................................................................................................... 40

Safety
5
1 Safety
1.01 Directives
The machine was built in compliance with the European regulations specified in the declaration
of conformity and declaration of incorporation.
As a supplement to this instruction manual, please also observe the generally applicable,
legal and other regulations and legislation – also in the country of use – and the valid
environmental protection regulations! Always comply with the locally applicable regulations
of the professional associations and other supervisory authorities!
1.02 General safety instructions
●The machine may only be operated after you have become acquainted with the associated
instruction manual and only by operating personnel who have received appropriate training!
●Always read the safety instructions and the instruction manual of the motor manufacturer
before starting up the machine!
●Always follow the hazard and safety instructions attached to the machine!
●The machine may only be operated for its intended purpose and only with the associated
safety covers, while adhering to all the relevant safety requirements.
●The machine must always be disconnected from the power supply by pressing the main
switch or pulling out the mains plug when sewing tools are replaced (such as the needle,
sewing foot, needle plate and bobbin) and when threading, leaving the workstation, or
performing maintenance!
●The daily maintenance work may only be carried out by suitably qualified personnel!
●Repairs and special maintenance work may only be carried out by technical staff or
people with appropriate training!
●Work on electrical equipment may only be carried out by qualified technical staff!
●Work on parts and equipment under voltage is not permitted!
●Exceptions are regulated by the EN 50110 standards.
●Modifications and changes to the machine may only be made in compliance with all of
the relevant safety requirements!
●Only those replacement parts approved by us for usage may be used for repairs!
We warn you expressly that spare parts and accessories that are not supplied by
us are also not tested and approved by us.
Fitting or using these products may therefore have negative effects on features which
depend on the machine design. We are not liable for any damage caused by the use of
non-Pfaff parts.

Safety
6
1.03 Safety symbols
Hazard point!
Special points of attention.
Risk of injury to operating personnel or technical staff!
Electric voltage!
Danger to operating personnel or technical staff
Danger of hands being crushed!
Danger to operating personnel or technical staff
Caution!
Do not operate without finger guard and safety covers!
Turn off the main switch before threading, changing the
bobbin or needle, cleaning, etc.!
1.04 Special points of attention for the owner-operator
●This instruction manual is a part of the machine and must be made available to the
operating personnel at all times. The instruction manual must have been read before
the initial start-up.
●The operating personnel and technical staff must be instructed about the machine’s
safety covers and about safe working methods.
●The owner-operator may only operate the machine in a flawless condition.
●The owner-operator must ensure that no safety covers are removed or disabled.
●The owner-operator must ensure that only authorised persons work on the machine.
Additional information can be requested from the responsible sales centre.
I

Safety
7
1.05 Operating personnel and technical staff
1.05.01 Operating personnel
Operating personnel are persons responsible for equipping, operating and cleaning the
machine and for fault clearance in the sewing area.
The operating personnel are obligated to comply with the following points:
●The safety instructions provided in the instruction manual must be followed for all work!
●Any work method jeopardising machine safety must be refrained from!
●Tight-fitting clothing must be worn. The wearing of jewellery such as chains and rings
is prohibited!
●Care must be taken to ensure that no unauthorised persons are located in the machine’s
hazard zone!
●Any changes occurring on the machine which impair its safety must be reported to the
owner-operator immediately!
1.05.02 Technical staff
Technical staff are persons with technical training in electricity/electronics and mechanics.
They are responsible for lubricating, servicing, repairing and adjusting the machine.
The technical staff are obligated to comply with the following points:
●The safety instructions provided in the instruction manual must be followed for all work!
●Turn off the main switch and secure it against reactivation before starting any adjustment
and repair work!
●Never work on live parts and equipment!
Exceptions are regulated by the EN 50110 standards.
●Reattach the safety covers following repair and maintenance work!

Safety
8
1
2
3
0
Fig. 1 - 01
1.06 Danger warnings
A work area of 1mmust be kept free in front of and behind the machine to
ensure unobstructed access at all times.
Do not reach into the needle range during the sewing operation!
Risk of injury from the needle!
Do not allow any objects to be placed on the table during the adjustment work!
The objects could become jammed or be slung away!
Risk of injury from parts flying around!
Do not operate the machine without the take-up lever guard 1!
Risk of injury due to the motion of the take-up lever!
Do not operate the machine without the finger guard 2!
Risk of injury from the needle!
Do not operate the machine without the anti-tipping device 3!
Risk of injury by crushing between the sewing head and the table top!
Do not operate the machine without the support 4!
Risk of damage due to the top-heavy sewing head!
Machine can tip over backwards when moving it!
Do not operate the machine without the belt guard 5and 6!
Risk of injury due to the rotating driving belt!
1
5
6
2
3
4

Proper Use
99
2 Proper Use
The PFAFF 1243 is a single needle lockstitch sewing machine with roller presser and large
vertical hook.
The PFAFF 1244 is a two-needle lockstitch sewing machine with roller presser and large
vertical hook.
The machines are used for sewing lockstitch seams in the clothing industry.
Any usage not approved by the manufacturer is deemed misuse!
The manufacturer shall assume no liability for damage caused by misuse!
Proper use also includes compliance with the operating, maintenance,
adjustment and repair measures specified by the manufacturer!

Technical Data
10
3 Technical Data
3.01 PFAFF 1243
Stitch type:......................................................................................................... 301 (lockstitch)
Needle system:................................................................................................................... 134
Model CN8:....................................................... for the machining of medium-heavy materials
Model C/DN8: ..................... for the machining of medium-heavy materials to heavy materials
Model DN8: .................................................................... for the machining of heavy materials
Needle size in 1/100 mm:
Model CN8:................................................................................................................. 120 - 150
Model C/DN8: ............................................................................................................. 120 - 190
Model DN8: ................................................................................................................ 160 - 190
Stitch length max: ......................................................................................................... 8.0 mm
Speed max.:
Model CN8.................................................................................................... 2100 stitches/min
Model C/DN8; DN8....................................................................................... 1800 stitches/min
Clearance beneath the roller presser:.............................................................................. 5 mm
Passage width:............................................................................................................. 270 mm
Clearance height: ......................................................................................................... 115 mm
Bed plate dimensions: .............................................................................................. 518 × 177
Sewing head dimensions:
Length:............................................................................................................ approx. 530 mm
Width: ............................................................................................................. approx. 177 mm
Height (above table): ....................................................................................... approx. 265 mm
Motor data: ................................................................................. see motor specification plate
Working air pressure......................................................................................................... 6 bar
Air consumption...................................................................................... ~0.8 l / working cycle
Noise data:
Emissions sound pressure level in the workplace at n = 1500 min-1: ............. LpA = 79 dB(A)
(Noise measurement in accordance with DIN 45 635-48-A-1,ISO 11204, ISO 3744, ISO 4871)
Net weight of sewing head:..................................................................................approx. 42 kg
Gross weight of sewing head: ..............................................................................approx. 50 kg
Subject to alterations.
K
pA = 2,5 dB

Technical Data
11
3.02 PFAFF 1244
Stitch type:......................................................................................................... 301 (lockstitch)
Needle system:................................................................................................................... 134
Model CN8:....................................................... for the machining of medium-heavy materials
Needle size in 1/100 mm:
Model CN8:................................................................................................................ 120 - 150
Stitch length max: ......................................................................................................... 8.0 mm
Speed max.:
Model CN8.................................................................................................... 2100 stitches/min
Clearance beneath the roller presser:.............................................................................. 5 mm
Passage width:............................................................................................................. 270 mm
Clearance height: ......................................................................................................... 115 mm
Bed plate dimensions: .............................................................................................. 518 × 177
Sewing head dimensions:
Length:............................................................................................................ approx. 530 mm
Width: ............................................................................................................. approx. 177 mm
Height ( above table ): ..................................................................................... approx. 265 mm
Motor data: ................................................................................. see motor specification plate
Working air pressure......................................................................................................... 6 bar
Air consumption...................................................................................... ~0.8 l / working cycle
Noise data:
Emissions sound pressure level in the workplace at n = 1400 min-1: ............. LpA = 79 dB(A)
(Noise measurement in accordance with DIN 45 635-48-A-1,ISO 11204, ISO 3744, ISO 4871)
Net weight of sewing head:................................................................................. approx. 44 kg
Gross weight of sewing head: ............................................................................. approx. 52 kg
Subject to alterations.
K
pA = 2,5 dB

Disposal of the Machine
12
4 Disposal of the Machine
It is up to the customer to dispose of the machine properly.
The materials used for the machine include steel, aluminium, brass and various plastics.
The electrical equipment consists of plastics and copper.
The machine must be disposed of in accordance with the locally valid environmental
protection regulations, with a specialised company being contracted if necessary.
Please ensure that parts coated with lubricants are disposed of separately in
accordance with the locally valid environmental protection regulations!

Transport, Packaging and Storage
13
5 Transport, Packaging and Storage
5.01 Transport to the customer’s premises
All machines are completely packed for delivery.
5.02 Transport within the customer’s premises
The manufacturer assumes no liability for transport within the customer’s premises or to
the individual usage sites. Please ensure that the machines are only transported in a vertical
position.
5.03 Disposal of the packaging materials
The packaging materials of these machines consists of paper, cardboard and VCI fleece.
It is up to the customer to dispose of the packaging properly.
5.04 Storage
The machine can be stored for up to 6months when not in use. It must then be protected
from dirt and moisture. For longer storage periods, the machine’s single components,
especially its sliding surfaces, must be protected against corrosion, e.g. by an oil film.

Work Symbols
14
6 Work Symbols
Activities to be performed or important information in this instruction manual are
emphasised by symbols. The symbols used have the following meaning:
Note, information
Cleaning, care
Lubrication
Maintenance, repairs, adjustment, service work
(only to be carried out by technical staff)

Operating Controls
15
7.02 Buttons on the machine head (only in machines with backtacking system -911/..)
The machine sews backwards as long
as the button 1is pressed during the
sewing operation.
Fig. 7 - 02
7 Operating Controls
7.01 Main switch
Before switching on the
machine, raise the take-up
lever as far as possible.
Turning the main switch 1switches the
machine on and off.
Fig. 7 - 01
1
1

Operating Controls
16
7.03 Treadle
With the main switch turned on
In machines without backtacking
system -911/..
0 = Neutral position
+ 1= Sewing
- 1= Trim thread (in machines with
thread trimmer -900/56)
In machines with backtacking
system -911/..
0 = Neutral position
+ 1= Sewing
- 1= Raise roller presser
- 2= Trim thread (in machines with
thread trimmer -900/56)
0
-2
-1
Fig. 7 - 03
+1
Fig. 7 - 04
7.04 Hand lever to raise the roller presser
Bringing the hand lever 1to the top
position raises the roller presser.
1

Operating Controls
17
7.05 Lever for stitch length regulation and reverse sewing
(In machines without backtacking system -911/..)
Turning the knurled thumb screw on
lever 1sets the stitch length.
You can sew in reverse by pressing the
lever 1upwards until you feel it stop.
Fig. 7 - 05
1
7.06 Lever for stitch length regulation (in machines with backtacking system -911/..)
Turning the knurled thumb screw 1sets
the stitch length for the forward switch
Turning the knurled thumb screw 2sets
the stitch length for the reverse stitch.
Fig. 7 - 06
1
1
2
3
0
The reverse stitch can be set
to any length irrespective of
the forward stitch.
Please refer to the separate
instruction manual for the
drive for the setting options
for the automatic front and
end backtack.
2

Operating Controls
18
7.08 Control panel (only in machines with P40 CD)
The description can be found in the instruction manual for the drive.
7.07 Knee lever (in machines without backtacking system -911/..)
Pressing the knee lever 1in the
direction shown by the arrow raises
the roller presser.
Fig. 7 - 07
1

Set-up and Initial Commissioning
19
8 Set-up and Initial Commissioning
The machine may only be set up and started up by qualified personnel! All of
the relevant safety regulations must always be complied with in this process!
If the machine was delivered without a table, then the stand and the table top
provided must safely support the weight of the machine and its motor.
Adequate stability of the stand must be guaranteed, even during the sewing
operations.
8.01 Set-up
Suitable electrical supply connections must be provided at the erection site, see Chapter 3
Technical data. The erection site must also have a firm and level subsurface and adequate
lighting.
The table top is lowered for packaging purposes.
The adjustment of the table height is described below.
8.01.01 Setting the table height
Fig. 8 - 01
Loosen the screws 1and 2.
Move the table top to the desired working height by pulling it out and pushing it in and
align the table top horizontally.
Adjust the stand on both sides evenly to prevent it tilting.
The stand must have all four feet firmly on the ground to make sure it is positioned securely.
Firmly tighten the screws 1.
Adjust and tighten the desired treadle position on the screws 2.
1
1
2

Set-up and Initial Commissioning
20
1
2
3
0
Fig. 8 - 02
8.01.02 Inserting the sewing machine into the stand
The hinge 1is screwed to the sewing head base plate.
Insert the sewing machine into the table top.
Insert the sewing head support 2into the table top hole.
1
Do not operate the machine without the support 2! Risk of damage due to the
top-heavy sewing head! Machine can tip over backwards when moving it!
1
2
This manual suits for next models
1
Table of contents
Other Pfaff Sewing Machine manuals

Pfaff
Pfaff 1245 User manual

Pfaff
Pfaff Creative 1471 User manual

Pfaff
Pfaff 1025 User manual

Pfaff
Pfaff Creative 2140 User manual

Pfaff
Pfaff 1591 User manual

Pfaff
Pfaff select 1540 User manual

Pfaff
Pfaff creative 3.0 User manual

Pfaff
Pfaff 259 User manual

Pfaff
Pfaff 3307-3 Series User manual

Pfaff
Pfaff 3519-4/01 User manual