manuals.online logo
Brands
  1. Home
  2. •
  3. Brands
  4. •
  5. Pfister
  6. •
  7. Plumbing Product
  8. •
  9. Pfister 0X6-340R User manual

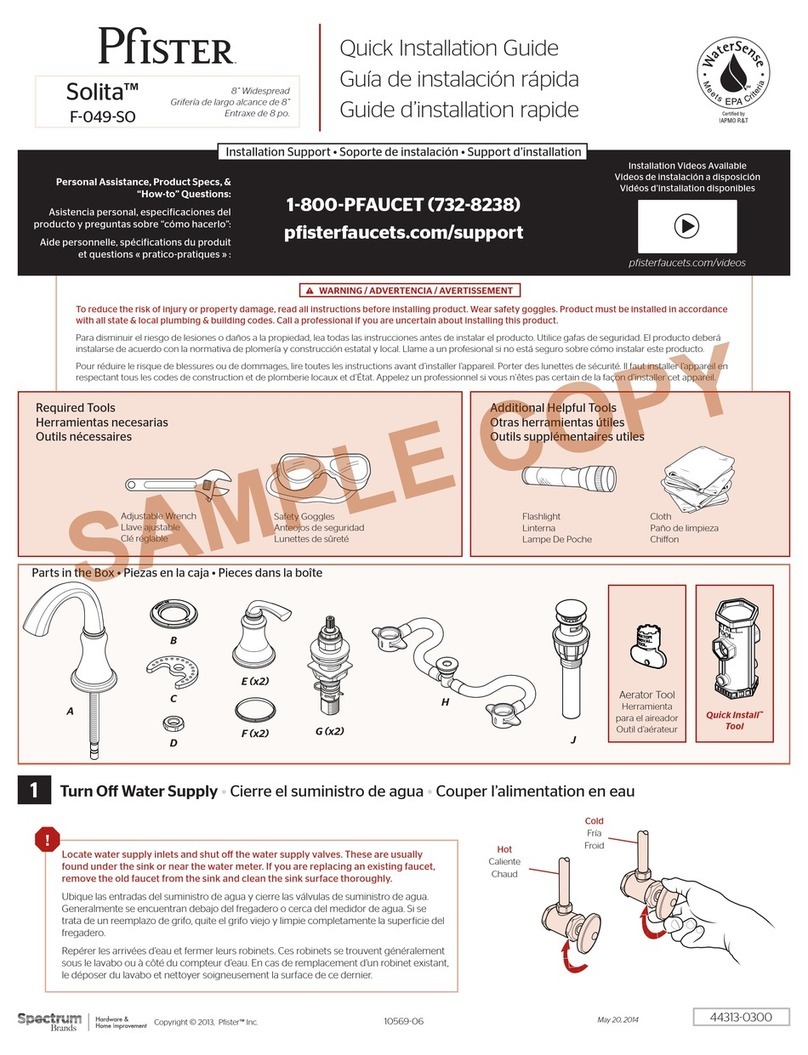
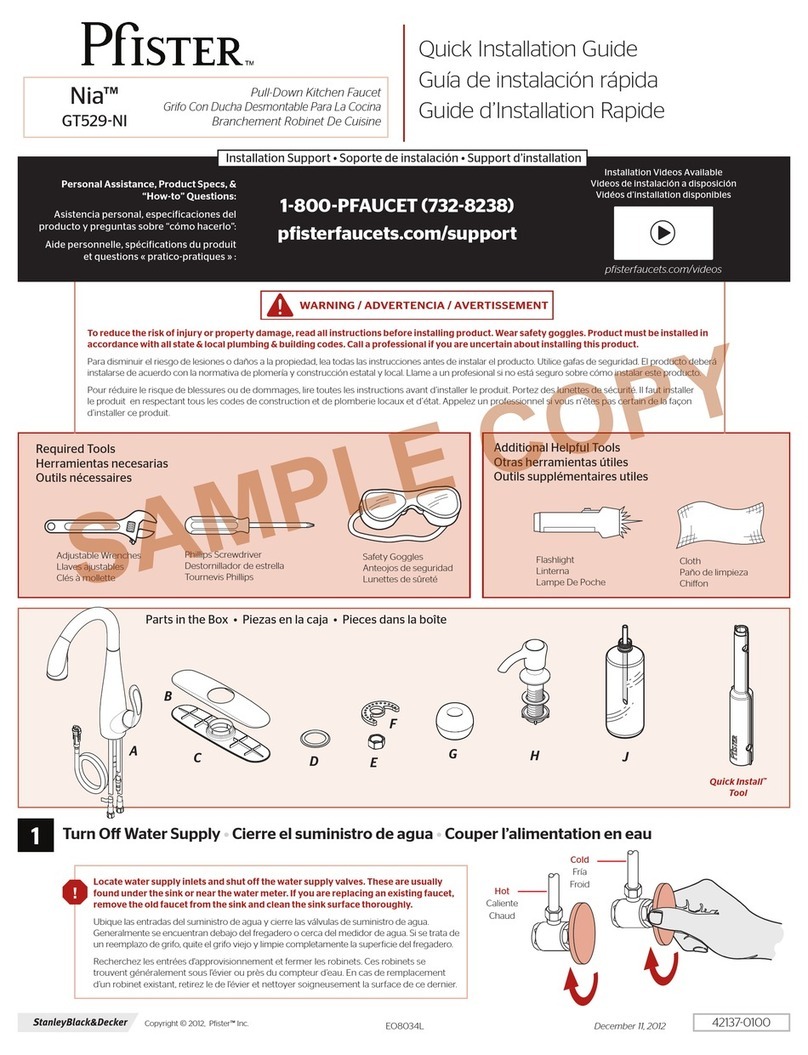
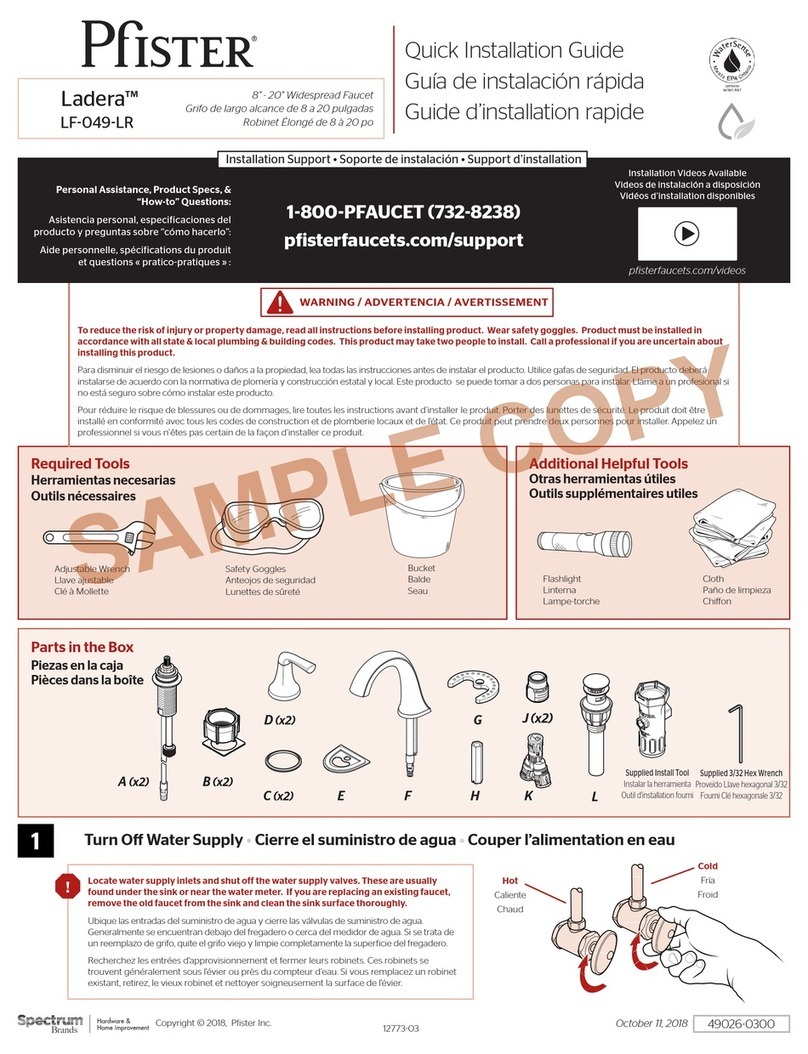
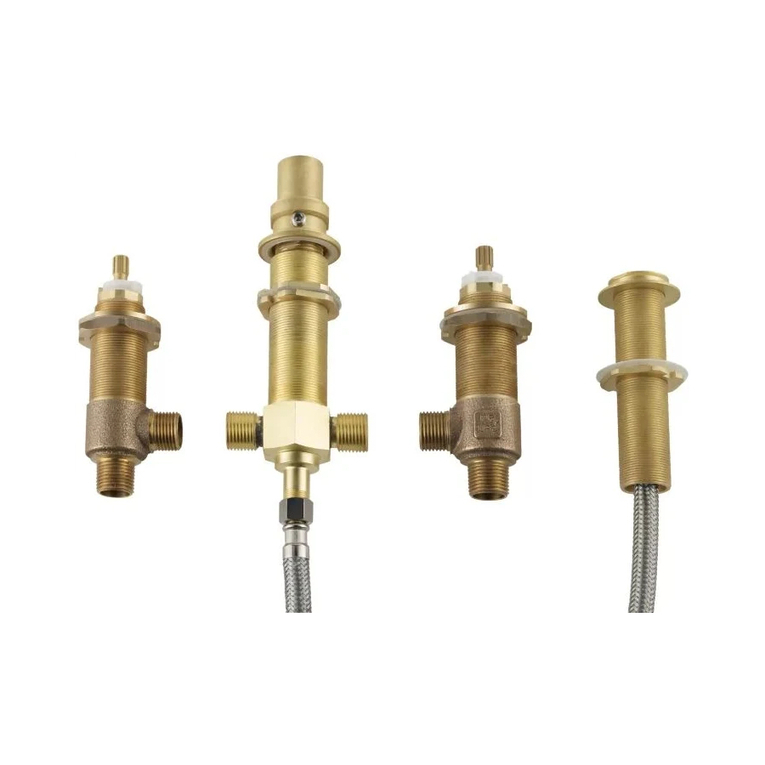
Pfister 0X6-340R User manual

To reduce the risk of injury or property damage, read all instructions before installing product. Wear safety goggles. Product must be installed in
accordance with all state & local plumbing & building codes. Call a professional if you are uncertain about installing this product.
Para disminuir el riesgo de lesiones o daños a la propiedad, lea todas las instrucciones antes de instalar el producto. Utilice gafas de seguridad. El
producto deberá instalarse de acuerdo con la normativa de plomería y construcción estatal y local. Llame a un profesional si no está seguro sobre
cómo instalar este producto.
Pour réduire le risque de blessures ou de dommages, lire toutes les instructions avant d’installer l’appareil. Porter des lunettes de sécurité. Il faut installer
l’appareil en respectant tous les codes de construction et de plomberie locaux et d’État. Appelez un professionnel si vous n’êtes pas certain de la façon
d’installer cet appareil.
WARNING / AVERTENCIA / AVERTISSEMENT
Turn O Water Supply •Cierre el suministro de agua •Couper l’alimentation en eau
1
Parts in the Box • Piezas en la caja • Pieces dans la boîte
502610300
April 28, 2020
Installation Support • Soporte de instalación • Support d’installation
Installation Videos Available
Videos de instalación a disposición
Vidéos d’installation disponibles
Required Tools
Herramientas necesarias
Outils nécessaires
Additional Helpful Tools
Otras herramientas útiles
Outils supplémentaires utiles
Safety Goggles
Anteojos de seguridad
Lunettes de sûreté
pisterfaucets.com/videos
Quick Installation Guide
Guía de instalación rápida
Guide d’installation rapide
Locate the water supply inlets & shut o the water supply valves. These are usually found near
the water meter.
If you are replacing an existing unit, remove the old unit & clean mounting surface thoroughly.
Ubique las entradas del suministro de agua y cierre las válvulas de suministro. Estas se encuentran
generalmente cerca del medidor de agua. Si reemplaza una unidad existente, retírela y limpie
completamente la supericie de montaje.
Repérez les entrées d’alimentation d’eau et fermez les robinets d’arrêt. Ils sont normalement
trouvés près du compteur d’eau. Si vous remplacez un appareil existant, enlevez le vieil appareil et
nettoyez soigneusement la surface de montage.
These instructions are provided for
standard loor-joist conigurations.
Estas instrucciones se proporcionan
para vigas de piso que son entandar.
Ces instructions sont fournies pour les
solives de plancher sont entandar.
Personal Assistance, Product Specs, &
“How-to” Questions:
Asistencia personal, especiicaciones del
producto y preguntas sobre “cómo hacerlo”:
Aide personnelle, spéciications du produit
et questions « pratico-pratiques » :
1800PFAUCET (7328238)
pisterfaucets.com/support
Flashlight
Linterna
Lampe-torche
Cloth
Paño de limpieza
Chion
Copyright © 2020, Pister Inc.
Hot
Caliente
Chaud
Cold
Fría
Froid
1335403
0X6340R
Rough-In
Cuerpo de la Valvula
Corps de Vanne
Power Drill
Taladro Eléctrico
Foreuse Électrique
Flat Screwdriver
Destornillador
Tournevis
PTFE plumber's tape
Cinta para plomería PTFE
Ruban PTFE de plombier
Pencil
Lápiz
Crayon
A B (x22) C (x2) D (x2)
SAMPLE COPY
2
2Install Valve
Instale la Válvula
Installez la Soupape
A B (x16)
Power Drill
Taladro Eléctrico
Foreuse Électrique
For faucet dimensions, refer to Spec Sub
Para las dimensiones de la llave referirse a la
especiicación presentación
Pour les dimensions du robinet se référer à la
spéciication de présentation
A
Joist
Vigueta
Solive
TOWARDS TUB
Al a Baño
Au Bain
Stringer
Larguero
Raidisseur
1/214 NPT
Note: Water line connection may vary
Nota: La conexión de la línea de agua puede variar
Remarque: la connexion à la ligne d'eau peut varier
Valve can be rotated slightly to
accommodate water lines
La válvula puede ser girado
ligeramente para acomodar las líneas
de agua
Valve peut être tourné légèrement
pour tenir compte des lignes d’eau
9"[228.6]
B
A
5-1/16"
[128.6]
Stringer
Larguero
Raidisseur
A (in inches) B (in inches)
3371/2
31/2 37
4 361/2
41/2 36
5 351/2
51/2 35
634
2B
Align with plate,valve, and water
line before drilling
Alinear con la placa, de la válvula,
y la línea de agua antes de perforar
Aligner avec la plaque, la vanne et
la conduite d'eau avant de percer
2A
Wrap plumber’s tape on male
threads BEFORE installing.
Envuelva la cinta de plomero en
en las roscas macho ANTES de
instalar.
Enveloppez le ruban de
plombier sur les ilets mâles
AVANT d’installer.
For concrete installations under 6"
depth, use plate and Ø3/16" concrete
screws (Qty. 16-not included)
Para instalaciones de hormigón de menos
de 152 mm de profundidad, utilice la placa
y Ø 3/16" tornillos de hormigón (Cantidad
16 - no incluido)
Pour les installations en béton moins de
152 mm de profondeur, utilisez la plaque et
des Ø 3/16 vis de béton (quantité 16 - non
inclus)
3
2Install Valve
Instale la Válvula
Installez la Soupape
B (x6) C (x2)
Power Drill
Taladro Eléctrico
Foreuse Électrique
Flat Screwdriver
Destornillador
Tournevis
PTFE plumber's tape
Cinta para plomería PTFE
Ruban PTFE de plombier
Test for Leaks
Prueba para detectar fugas
Test de fuites
B
B
C
OFF
APAGADO
VIDE
Clockwise
Hacia la derecha
aiguilles d'une montre
Counter-Clockwise
En sentido antihorario
Sens anti-horaire
ON
ABIERTO
OUVRIR
2C
2E2D
Drill 1/8" Pilot Holes
Taladre agujeros piloto de 1/8 "
Percez des trous pilotes de 1/8 po
For Additional Installation Help:
Para la instalación adicionales de ayuda:
Pour aider à l’installation supplémentaires:
1800PFAUCET (7328238)
pisterfaucets.com
3Install Flooring
Instalar el Piso
Installer le Plancher
Finished Floor
Piso Terminado
Sol Fini
3 ⅜” (85mm) diam.
D
3A 3B
D (x2)
Throw away after
plaster is dry
Tire a la basura después
de que el yeso se seque
Jeter après le plâtre
est sec
No Tools Required for This Step
No se necesitan herramientas para este paso
Aucun outil n’est nécessaire pour cette étape
Parts Explosion •Despiece de piezas •Vue éclatée des pièces
9100759
3C
SAMPLE COPY

Other Pfister Plumbing Product manuals

Pfister Marielle LG532 Series User manual

Pfister

Pfister Marielle LG532 Series User manual

Pfister Shower Panel 016-800SP User manual

Pfister

Pfister Shower Panel 016-800SP User manual

Pfister Kenzo RT6-4DF User manual

Pfister

Pfister Kenzo RT6-4DF User manual

Pfister Venturi F-529-7VN User manual

Pfister

Pfister Venturi F-529-7VN User manual

Pfister Catalina F-049-E User manual

Pfister

Pfister Catalina F-049-E User manual

Pfister Courant 8P8-WS2-COS User manual

Pfister

Pfister Courant 8P8-WS2-COS User manual

Pfister Ladera 8P8-WS2-LRS User manual

Pfister

Pfister Ladera 8P8-WS2-LRS User manual

Pfister Vaneri 8P8-WS2-VRIS User manual

Pfister

Pfister Vaneri 8P8-WS2-VRIS User manual

Pfister Henlow LF-048-HE User manual

Pfister

Pfister Henlow LF-048-HE User manual

Pfister Pasadena F-529-EPD User manual

Pfister

Pfister Pasadena F-529-EPD User manual

Pfister Cantara F-529-7CR User manual

Pfister

Pfister Cantara F-529-7CR User manual

Pfister Sonterra F-WL2-45PX User manual

Pfister

Pfister Sonterra F-WL2-45PX User manual

Pfister KENZO 16 Series User manual

Pfister

Pfister KENZO 16 Series User manual

Pfister PARISA LG42 Series User manual

Pfister

Pfister PARISA LG42 Series User manual

Pfister Ashfield RT6 806 Series User manual

Pfister

Pfister Ashfield RT6 806 Series User manual

Pfister Vorena 8P8-VO User manual

Pfister

Pfister Vorena 8P8-VO User manual

Pfister Selia 8P8WS-SL User manual

Pfister

Pfister Selia 8P8WS-SL User manual

Pfister Traditional LG6-1TF User manual

Pfister

Pfister Traditional LG6-1TF User manual

Pfister Neera LG529-NEC User manual

Pfister

Pfister Neera LG529-NEC User manual

Pfister Avalon 48 Series User manual

Pfister

Pfister Avalon 48 Series User manual

Pfister Saxton LG6-4GLY User manual

Pfister

Pfister Saxton LG6-4GLY User manual
Pfister Venturi LF-042-VN User manual

Pfister

Pfister Venturi LF-042-VN User manual
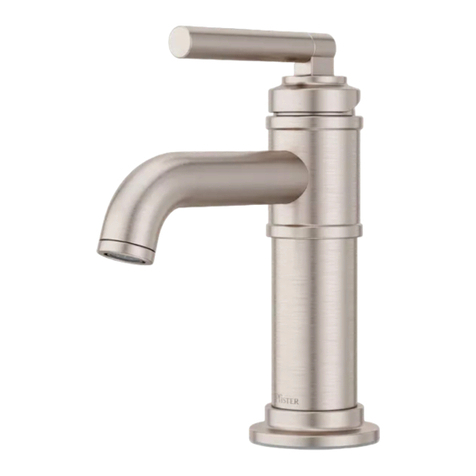
Pfister Deckard R89-7DA User manual

Pfister

Pfister Deckard R89-7DA User manual

Pfister Ashfield LF-049-YW2 User manual

Pfister

Pfister Ashfield LF-049-YW2 User manual

Popular Plumbing Product manuals by other brands

IB RUBINETTI ELIO 396 Fitting instructions

IB RUBINETTI

IB RUBINETTI ELIO 396 Fitting instructions

Kohler K-5826 Installation and care guide

Kohler

Kohler K-5826 Installation and care guide

Hans Grohe Croma 220 Air 1jet 26465000 Assembly instructions

Hans Grohe

Hans Grohe Croma 220 Air 1jet 26465000 Assembly instructions

Hans Grohe AXOR Montreux 27982 1 Series Installation instructions / warranty

Hans Grohe

Hans Grohe AXOR Montreux 27982 1 Series Installation instructions / warranty

Bradley S19-120 Installation

Bradley

Bradley S19-120 Installation

Axor Terrano 37133001 Features & dimensions

Axor

Axor Terrano 37133001 Features & dimensions

Moen T393 installation guide

Moen

Moen T393 installation guide

Hans Grohe Crometta S 240 1jet Showerpipe Reno 27342007 Instructions for use/assembly instructions

Hans Grohe

Hans Grohe Crometta S 240 1jet Showerpipe Reno 27342007 Instructions for use/assembly instructions

Spectrum Brands Pfister Winfield LG49-WF0 Quick installation guide

Spectrum Brands

Spectrum Brands Pfister Winfield LG49-WF0 Quick installation guide

Kraus Arlo KVF-1200 installation guide

Kraus

Kraus Arlo KVF-1200 installation guide

Creda Thermostatic Power Shower installation instructions

Creda

Creda Thermostatic Power Shower installation instructions

Grohe 320XX Specification sheet

Grohe

Grohe 320XX Specification sheet

Kohler K-8855 installation guide

Kohler

Kohler K-8855 installation guide

Vaask WMD-001 installation guide

Vaask

Vaask WMD-001 installation guide

Lefroy Brooks K1-4303 Installation, operating,  & maintenance instructions

Lefroy Brooks

Lefroy Brooks K1-4303 Installation, operating, & maintenance instructions

Hans Grohe Logis 71400009 Instructions for use/assembly instructions

Hans Grohe

Hans Grohe Logis 71400009 Instructions for use/assembly instructions

Hans Grohe Talis M51 160 2jet sBox 73850 Series Instructions for use/assembly instructions

Hans Grohe

Hans Grohe Talis M51 160 2jet sBox 73850 Series Instructions for use/assembly instructions

Hans Grohe 14822000 Instructions for use/assembly instructions

Hans Grohe

Hans Grohe 14822000 Instructions for use/assembly instructions

manuals.online logo
manuals.online logoBrands
  • About & Mission
  • Contact us
  • Privacy Policy
  • Terms and Conditions

Copyright 2025 Manuals.Online. All Rights Reserved.