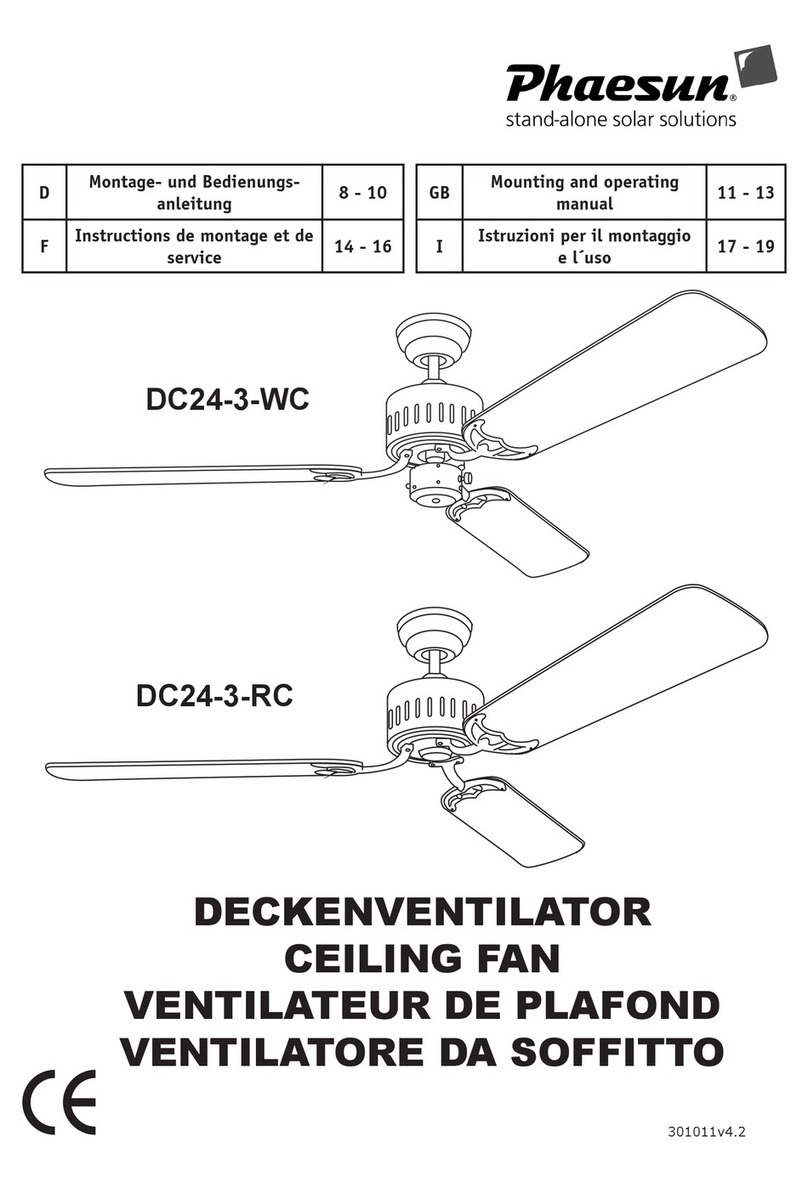
Phaesun DC Ceiling Fan User manual

PHAESUN GmbH
INSTRUCTION MANUAL
READ AND SAVE THESE INSTRUCTIONS

WARNING: To avoid fire shock and serious personal injury, follow these instructions.
Important Safety Instructions
Table of Contents
WARNING
!
1. Read all instructions and safety information before installing your new fan.
Review the accompanying assembly diagrams.
2. Before installing the fan, disconnect the power by removing fuses or turning off circuit
breakers.
3. Make sure that all electrical connections comply with local codes, ordinances, or
National Electrical Codes. Hire a qualified electrician or consult a do-it -yourself
wiring handbook if you are unfamiliar with installing electrical wiring.
4. Make sure the installation site you choose allows the fan blades to rotate without any
obstructions. Allow a minimum clearance of 7 feet from the floor to the trailing edge of
the blades.
5. If you are mounting the fan on a ceiling outlet box, use a metal outlet box. Secure the
box directly to the building structure. The outlet box and its support must be able to
support the moving weight of the fan ( at least 50 lbs.). Do not use plastic outlet box.
Attach the mounting bracket using the hardware supplied with the ceiling outlet box.
6. If you are mounting the fan to a joist, make sure it is strong enough to support the
moving weight of the fan (at least 50 lbs.)
7. After you install the fan, make sure that all connections are secure, this will prevent
the fan from falling.
8. Do not insert anything into the fan blades while the fan is operating.
9. Turn the fan off and wait for it to stop before reversing fan direction.
10. To reduce risk of electrical shock and personal injury, do not install fan on sloped
ceiling.
11. o reduce risk of electrical shock and personal injury, do not use this fan with any
solid-state.
12. To reduce risk of personal injury, use only the two steel screws, and lock washers,
provided with the fan for mounting to the outlet box.
Tools Needed for Assembly ............................................... 1
Assembly Drawing ............................................................ 1
Parts List ......................................................................... 1
How to Assemble Your Ceiling Fan .................................. 1,2
How to Mount Your Fan Blades .......................................... 2
How to Hang Your Ceiling Fan ....................................... 2,3
How to Wire Your Ceiling Fan ............................................ 3
How to Operate Your Ceiling Fan ...................................... 4
Maintenance ................................................................... 5

1
Parts List
CAUTION: To avoid possible electrical shock,
be sure electricity is turned off at the main fuse
box before assembling.
1. Securely attach the J-Hook to the ceiling joist
using the screws/washers/spring washers
supplied with the ceiling joist (Figure 2).
1. J - Hook (1)
2. Screw (2)/Washer (2)/Spring Washer (2)
3. Wire Connectors (3)
4. Rubber grommet (1)
5. Downrod (1)
6. Canopy (1)
7. Yoke Cover (1)
8. Canopy Setscrew (2)
9.Yoke Cover Setscrew (3)
10 Downrod Support
11. Downrod Support Setscrew (2)
12. Clevis Pin (1)
. Hairpin Clip (1)
14. Fan Motor Assembly (1)
15. Receiver Assembly (1)
16. Hand-Held Remote Transmitter (1)
17. Fan Blade Set (3)
18. Blade Setscrew (6)
19. Fan Wires
.
13
Assembly Drawing
Tools Needed for Assembly
-
-Adjustable wrench - Wire Cutters
- Stepladder
Philips Screwdriver - Slotted Screwdriver
This Manual Is Designed to Make it as Easy as Possible for You to
Assemble, Install, Operate and Maintain Your Ceiling Fan
How to Assemble Your Ceiling Fan
2.Remove the clevis pin and hairpin clip from the
downrod and retain them for reinstallation in
step 4.
Figure 2
Ceiling Joist
Screw (2)
Washer (2)
Spring Washer (2)
J - Hook
Outlet Box
6
18
17
16
Figure 1
3
4
19
1 2
3 4
5 6
F/R OFF
5
2
1
12
13
7
14
15
11
10
9
8

How to Assemble Your Ceiling Fan (Cont’d)
3. First, loosen the two setscrews in the downrod
support, carefully thread for electrical wires through
downrod (Figure 3).
4. Put the downrod into the downrod support and align
the clevis pin holes in the downrod with the holes in
the downrod support. Install the clevis pin and secure
with the hairpin clip, then re-tighten the two setscrews
(Figure 4) securely while pulling up on the downrod.
The hairpin clip must be properly installed to prevent
the clevis pin from getting loose. Pull on the downrod
to make sure the clevis pin is properly installed.
How to Mount Your Fan Blades
1. Mount the fan blade to the fan motor assembly
using two blade setscrews (Figure 5). Repeat
for the remaining two blades.
2. Make sure the setscrews securing the fan motor
assembly are tight and that the blades are properly
seated.
NOTE: Periodically check blade hardware and
resecure if necessary.
How to Hang Your Ceiling Fan
1. Place the canopy into the downrod as shown
in figure 6.
2. Remove the setscrew/washer/spring washer
from the rubber grommet (Figure 7a) and
retain them for reinstallation in step 3.
3. Put the rubber grommet in the downrod and
securely install it by using setscrew/washer/
spring washer supplier with the downrod
(Figure 7).
2
WARNING
!
To reduce the risk of personal injury, do not
bend the blades when installing, balancing
the blades or cleaning the fan. Do not insert
for reign objects in the between the rotating
fan blades.
WARNING
!
Do not connect fan blades until the fan
is completely installed. Installing the fan
with blades assembled may result in
damage to the fan blades.
Figure 3 Figure 4
Electrical
Wires
Hairpin Clip
Clevis Pin
Setscrew
Downrod
Support
Hairpin Clip Clevis Pin
Setscrew
Downrod
Support
Figure 5
Fan Blade Set (3)
Fan Motor
Assembly
Downrod
Blade Setscrew (6)
Rubber
Grommet
Canopy
Figure 6
Downrod
Setscrew
Figure 7
Yoke Cover
Canopy
Downrod
Fig. 7a
Removed
+

Figure 8a Figure 8b
Rubber
Grommet
J-Hook
4
rubber grommet rests properly on the J-hook.
As shown in figure 8a and 8b.
5. Securely attach the canopy/yoke cover to the
downrod/rubber grommet assembly by using
two canopy/yoke cover setscrews supplied
with your ceiling fan (Figure 9).
NOTE: This step is applicable after
necessary wiring is completed.(See page 3)
. Hang the fan up into the J-hook, be sure the
How to Hang Your Ceiling Fan (Cont’d)
WARNING
!
It is critical that the clevis pin in the downrod support
be properly installed and the setscrew securely tight-
ened. Failure to verify that the pin and setscrew are
properly installed (as shown in Figure 4) could result
in the fan falling.
How to Wire Your Ceiling Fan
If you feel that you do not have enough electrical wiring knowledge or experience,
have your fan installed by a licensed electrician.
WARNING
To avoid possible electrical shock, be sure
electricity is turned off before wiring.
1. Securely connect the red wire (DC +) from fan
to the power supply wire ( + ) using wire connector
supplied.
2. Securely connect the black wire (DC -) from fan to
the power supply wire ( - ) using wire connector
supplied.
3. Connect the green/yellow grounding lead from the
fan to the supply grounding conductor using
wire connector.
As shown in figure 11.
Caution: The Power Supply must be DC12V (or DC24V) and the wire connection must be + to +
and - to -. These fans are reverse polarity protected, fan will not work if wired incorrectly, please
ensure pos and neg wiring is connected correctly.
3
6. The fan must be hung with at least 7 feet of
clearance from floor to blades (Figure 10)
Figure 10
Floor
less than
7 feet
No
Ceiling Joist
Figure 9
Canopy
+
Canopy
setscrew
Ceiling
Figure 11
+
-
Power Supply :
DC12V or DC24V
(Battery)
Red (DC +)
Black ( DC - )
Green/yellow(Ground)

How to Operate your Ceiling Fan
4
1. Setting the Code: The remote unit has 16 different code
combination. It may be necessary to test a couple frequency
code settings to improve signal reception and/or eliminate
interference from other remote control household items.
Multiple fans should have different code settings to allow
independent fan control. To set the code, perform these steps.
2. Transmitter: Remove battery cover. Press firmly below arrow
and slide battery cover off. Slide code switches to your choice
of up or down position. Factory setting is all down. Do not use
this position. With a small screwdriver or ball point pen slide
firmly up or down (Figure 12). Replace battery cover on the
transmitter.
3. Receiver: Slide code switches to the same positions as set
on your transmitter (Figure 13).
Note1: When you set the codes, please remove the yoke cover
setscrews (3) from the yoke cover first and then replace the
screws after the codes setting completed.
Note2: Receiver in controllers system features an automatic
learning function. There are no frequency switches on the
receiver unit. The receiver will automatically scan the frequency
from the hand-held control if an changes are made. The frequency
settings should be changed only in the case of interference or
if multiple ceiling fans with the same type of control system are
installed in the same structure.
Hand-Held Remote Transmitter
Figure 12
Code Switches
ON
1 2
3 4
5 6
F/R OFF
Battery
9V x 1
5. The remote buttons instruct as below (as shown in figure 14):
OFF Button - fan off
1st Button - high speed
2nd Button - medium high speed
3rd Button - medium speed
4th Button - medium low speed
5th Button - low speed
6th Button - minimum speed
F/R Button - toggles between air upflow and air downflow
Figure 14
1 2
3 4
5 6
F/R OFF
4. Operating & Using Remote Transmitter:
Install one 9 volt battery (included) into the hand-held remote
transmitter. Press any fan speed button and allow the receiver to
scan (normally within 3-5 seconds) the fan is now programmed and
ready for normal operation.
Note: If not using for long period of time, remove battery to
prevent damage to transmitter. Store the transmitter away from
excessive heat or humidity.
Receiver
Unit
Figure 13
ON
ON
234
1
Motor Bottom
Cover
Code Switches
Yoke Cover
Yoke Cover
Setscrew
Canopy

Maintenance
1. Periodic cleaning of your new ceiling fan is
the only maintenance that is needed.
2. When cleaning, use only a soft brush or lint
free cloth to avoid scratching the finish.
3. Abrasive cleaning agents are not required
and should be avoided to prevent damage
to finish.
RECOMMENDED: Periodically check that the blade sets to the fan motor setscrew are secure and
tight.
!
Do not use solvents when cleaning your
ceiling fan. It could damage the motor
and create the possibility of electrical
shock.
WARNING
5

Table of contents
Other Phaesun Fan manuals
Popular Fan manuals by other brands

Ruck Ventilatoren
Ruck Ventilatoren MPC 30 Series instructions

Litex
Litex E-BT52ABZC5C1S installation guide

Minka
Minka minkaAire ANYWHERE F307 Instruction manual warranty certificate

Monte Carlo Fan Company
Monte Carlo Fan Company 3AVMR64 D Series Owner's guide and installation manual

Monte Carlo Fan Company
Monte Carlo Fan Company 5CQM52 Series Owner's guide and installation manual

RenewAire
RenewAire HE1XRT Installation, operation & maintenance manual