manuals.online logo
Brands
  1. Home
  2. •
  3. Brands
  4. •
  5. Phanteks
  6. •
  7. Enclosure
  8. •
  9. Phanteks Magnium Gear NEO Qube 2 User manual

Phanteks Magnium Gear NEO Qube 2 User manual

MAGNIUMGEAR
148 mm
410 mm
128x400x50 mm
140x430x75 mm
130x410 mm
275 mm
Up to 280 mm wide
CPU cooler height
GPU length
Side Radiator
Top Radiator
Bottom Radiator
Power supply length
E-ATX Motherboard
01
INTRODUCTION
Thank you for choosing the Magnium Gear NEO
Qube 2. This manual will walk you through the
installation process and provides an overview of all
the features, clearances and accessories that the
NEO Qube 2 provides.
This manual is intended for:
- NEO | Qube 2
- NEO | Qube 2 IM
If you have any questions, suggestions or require customer
service, please check our website www.magnium-gear.com or
contact us through support@magnium-gear.com
Power
Reset*
*Becomes power button for dual-system, see
DUAL-SYSTEM section for more information.
D-RGB color
D-RGB mode
Headphones & Mic
USB C
USB 3.0
USER MANUAL
MODES
Press and hold the MODE button for two seconds
to turn o LEDs, press again to turn it ON
COLORS
SOLID
BREATHING
SPARKLE
MUTLI-COLOR
TURN OFF LEDs
INCLUDED ACCESSORIES
FRONT I/O
D-RGB CONTROLS
FAN & RADIATOR SUPPORT
SIDE TOP BOTTOM
CLEARANCE
FANS
RADIATOR
120mm 3x 3x 3x
- 2x 2x
up to 360 mm
-
up to 360 mm
up to 280 mm
up to 360 mm
-
120mm
140mm
140mm
WWW.MAGNIUM-GEAR.COM
VERSION 1.3
33x
SSD & Motherboard
Screw
8x
HDD Screw
6x
Zip Ties
5x
Motherboard Stand-o
4x
PSU Screw
NOTE | D-RGB control buttons are deactivated if connected to a motherboard.
MAGNIUMGEAR
02
Remove the top panels by
loosening the thumb screws
located at the rear. (1)
Slide each panel to the rear
(2) before lifting it upwards
(3) to fully remove it. Do this
for both top panels.
Lift the side/front panel
upwards (4) before pulling it
away from the chassis.
Both side and front panels are
removed in the same way.
01
02
2
1
3
4
REMOVING CHASSIS PANELS
REMOVING SIDE & FRONT PANELS
WARNING FOR NEO QUBE 2 IM
Please be careful when removing the front panel, the infinity
mirror coating is sensitive to fingerprints and not easy to clean.
MAGNIUMGEAR
03
With all the panels removed, there is enough room to place all of
your components. We’ll first start with the motherboard.
The HDD brackets can be positioned as shown in option Band C
or removed to allow for 5x 2.5” SSDs as option A.
There are dierent configurations possible with the storage
bracket. Below you see the configuarations as, A, Bor C. Use the
provided SSD and/or HDD screws.
After the drives have been installed, place back the storage
bracket onto the chassis and secure with 2x case screws.
Use the SSD screws to install the 2.5”
SSD’s. The 3.5” HDD can be installed with
the HDD screws.
Remove the storage bracket before installing the power supply.
The power supply is then secured with 4x PSU screws.
03
05
04
Supported Motherboad form-factors are:
Mini-ITX | Micro-ATX* | ATX | E-ATX (up to 280mm wide)
*For Micro-ATX Motherboards, please re-position the stand-os according to the
motherboards’ manual.
PSU
2.5”
3.5”
3.5”
B
A
C
2.5” 2.5” 2.5”
2.5”
2.5”
2.5”
2.5”
2.5”
2.5”
2.5”
SSD Screw HDD Screw
Case Screw
2x
REMOVE
PSU Screw
4x
INSTALL
Motherboard
Screw
9x
INSTALL
Case Screw
2x
INSTALL
MOTHERBOARD
STORAGE INSTALLATION
POWER SUPPLY
MAGNIUMGEAR
04
DUAL-SYSTEM
Use as Power Switch
Use as Power LED
01
02
03
04
05
MOTHERBOARD
FRONT I/O
HEADER DIAGRAM
MINI-ITX
PCIe DEVICE
REVOLT X
01
04
02
03
05
OPTIONAL | Only applicable when installing a dual-system into the NEO Qube 2.
Motherboard
Screw
4x
INSTALL
Motherboard
Stand-o
4x
INSTALL
The front I/O cables can now be connected to the motherboard
and power supply.
The integrated lighting can be expanded with more lighting
products using the two available connectors.
Additionally, the lighting can be controlled from a compatible
motherboard.
D-RGB CABLES
EXPAND WITH MORE D-RGB PRODUCTS
CONTROL LIGHTING FROM THE MOTHERBOARD
MOTHERBOARD FRONT I/O HEADER DIAGRAM
06 I/O CABLES
The PHANTEKS REVOLT X PSU is required for a Dual-System.
Install 4x Motherboard Stand-os.
Secure the Mini-ITX Motherboard with 4x Motherboard Screws.
Install a half-height PCIe device (optional).
Connect the Reset Switch & HDD LED connectors to the
motherboard front I/O header as Power Switch and Power LED
headers.

This manual suits for next models

1

Other Phanteks Enclosure manuals

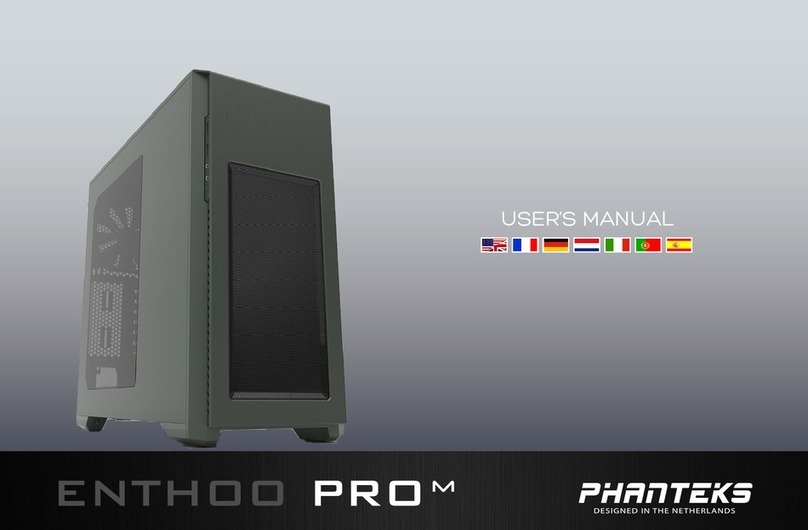
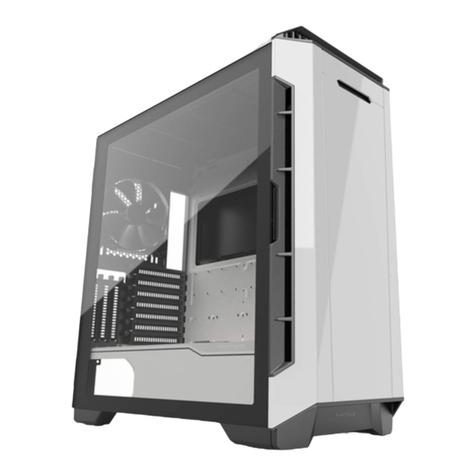
Phanteks Eclipse Series User manual

Phanteks

Phanteks Eclipse Series User manual

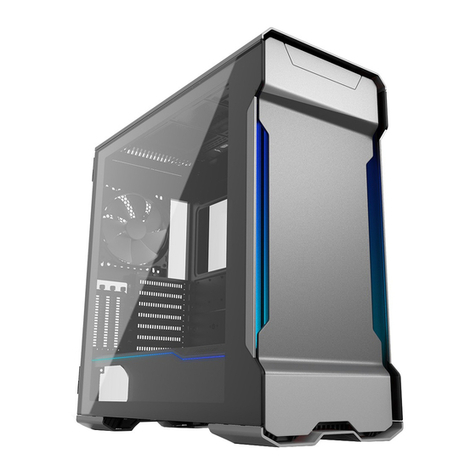
Phanteks Enthoo Evolv ATX User manual

Phanteks

Phanteks Enthoo Evolv ATX User manual

Phanteks ECLIPSE P200A User manual

Phanteks

Phanteks ECLIPSE P200A User manual

Phanteks Eclipse Series User manual

Phanteks

Phanteks Eclipse Series User manual

Phanteks Enthoo Pro M User manual

Phanteks

Phanteks Enthoo Pro M User manual

Phanteks eclipse p400 User manual

Phanteks

Phanteks eclipse p400 User manual
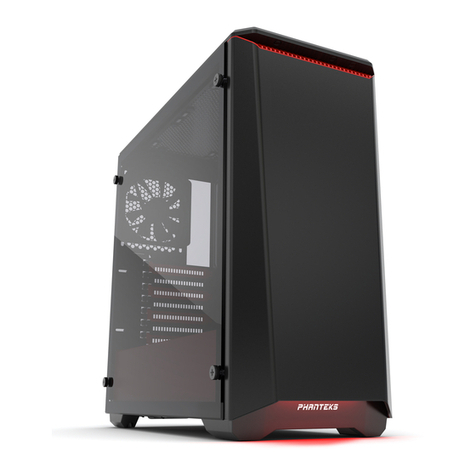
Phanteks ECLIPSE P350X User manual

Phanteks

Phanteks ECLIPSE P350X User manual

Phanteks PH-ES314ETG User manual

Phanteks

Phanteks PH-ES314ETG User manual

Phanteks Enthoo Series User manual

Phanteks

Phanteks Enthoo Series User manual

Phanteks ECLIPSE P200A User manual

Phanteks

Phanteks ECLIPSE P200A User manual

Phanteks ENTHOO PRO II User manual

Phanteks

Phanteks ENTHOO PRO II User manual

Phanteks Enthoo Series User manual

Phanteks

Phanteks Enthoo Series User manual

Phanteks ECLIPSE P200A User manual

Phanteks

Phanteks ECLIPSE P200A User manual

Phanteks Evolv Shift X User manual

Phanteks

Phanteks Evolv Shift X User manual

Phanteks eclipse p400 User manual

Phanteks

Phanteks eclipse p400 User manual

Phanteks eclipse p400 User manual

Phanteks

Phanteks eclipse p400 User manual

Phanteks Enthoo Series User manual

Phanteks

Phanteks Enthoo Series User manual

Phanteks ECLIPSE PH-EC500ATG_BK User manual

Phanteks

Phanteks ECLIPSE PH-EC500ATG_BK User manual

Phanteks Eclipse P200A User manual

Phanteks

Phanteks Eclipse P200A User manual

Phanteks Eclipse Series User manual

Phanteks

Phanteks Eclipse Series User manual

Phanteks ENTHOO ELITE User manual

Phanteks

Phanteks ENTHOO ELITE User manual

Phanteks Evolv Shift User manual

Phanteks

Phanteks Evolv Shift User manual
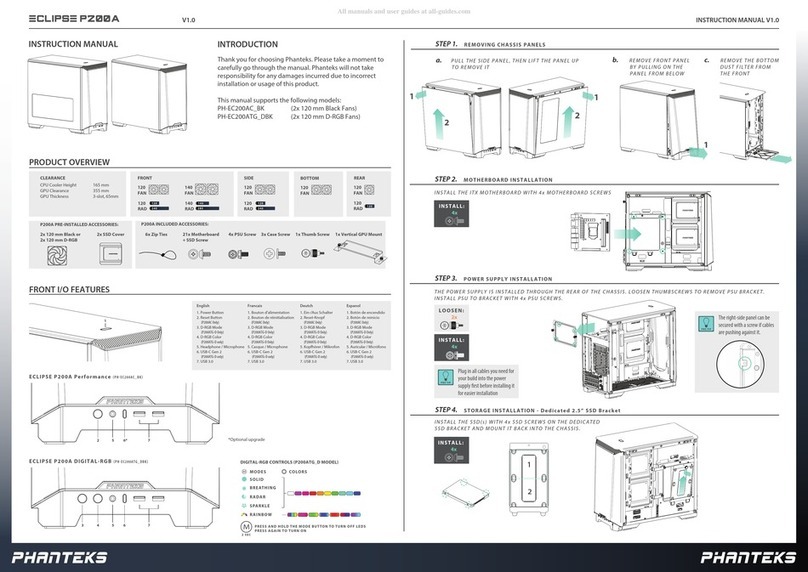
Phanteks Enthoo Evoly series User manual
Phanteks

Phanteks Enthoo Evoly series User manual

Phanteks ECLIPSE P500A User manual

Phanteks

Phanteks ECLIPSE P500A User manual

Popular Enclosure manuals by other brands

Positron BRX-XLR-8 quick start guide

Positron

Positron BRX-XLR-8 quick start guide

OWC NASPerform user manual

OWC

OWC NASPerform user manual

Edge EB615 user guide

Edge

Edge EB615 user guide

Kitronik MI:pro 56102 manual

Kitronik

Kitronik MI:pro 56102 manual

Lindy 42714 user manual

Lindy

Lindy 42714 user manual

Adaptec 2410SA - Serial ATA RAID Controller Hardware installation guide

Adaptec

Adaptec 2410SA - Serial ATA RAID Controller Hardware installation guide

StarTech.com SAT5210U2E instruction manual

StarTech.com

StarTech.com SAT5210U2E instruction manual

Penn A28PA Series installation guide

Penn

Penn A28PA Series installation guide

Macpower & Tytech IceCube User manual & installation guide

Macpower & Tytech

Macpower & Tytech IceCube User manual & installation guide

Amphenol Charles CUBE-PM628155N1 General description and installation

Amphenol

Amphenol Charles CUBE-PM628155N1 General description and installation

Aerocool Menace quick guide

Aerocool

Aerocool Menace quick guide

Dell Dell OptiPlex Micro user guide

Dell

Dell Dell OptiPlex Micro user guide

Tepex MDS Series user manual

Tepex

Tepex MDS Series user manual

Pulsar LED/B SATEL Assembly instructions

Pulsar

Pulsar LED/B SATEL Assembly instructions

StorCase Technology Data Express Ultra320 DE100 user guide

StorCase Technology

StorCase Technology Data Express Ultra320 DE100 user guide

Martin Audio WT3 Specification sheet

Martin Audio

Martin Audio WT3 Specification sheet

Rosewill CHALLENGER-U3 user manual

Rosewill

Rosewill CHALLENGER-U3 user manual

Tii technologies CCP7 Series Installation notes

Tii technologies

Tii technologies CCP7 Series Installation notes

manuals.online logo
manuals.online logoBrands
  • About & Mission
  • Contact us
  • Privacy Policy
  • Terms and Conditions

Copyright 2025 Manuals.Online. All Rights Reserved.