manuals.online logo
Brands
  1. Home
  2. •
  3. Brands
  4. •
  5. Philips
  6. •
  7. Car Receiver
  8. •
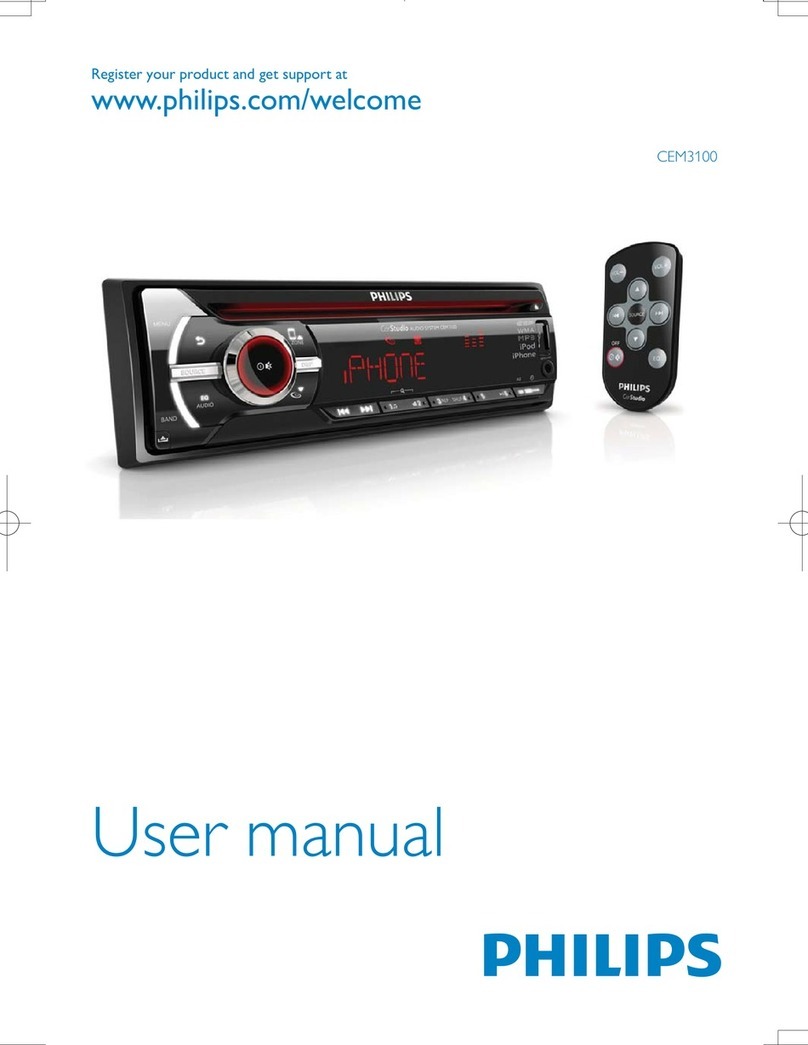
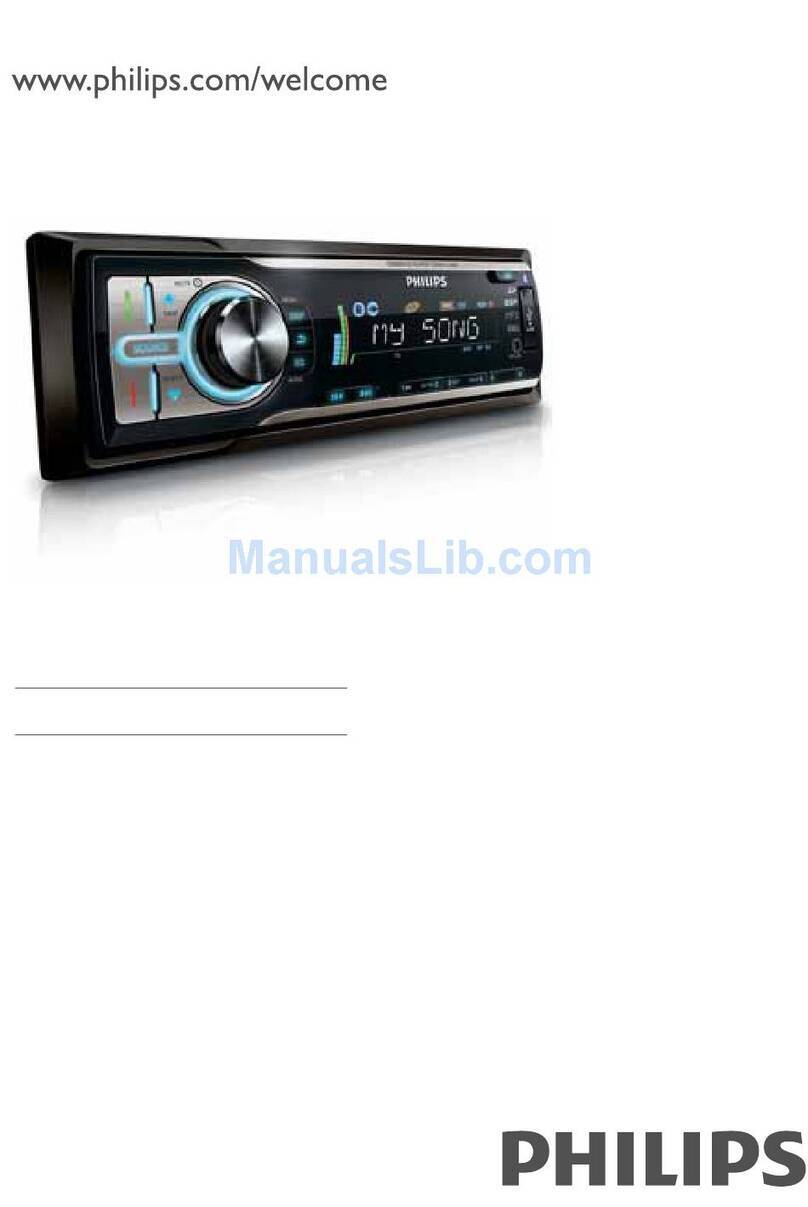
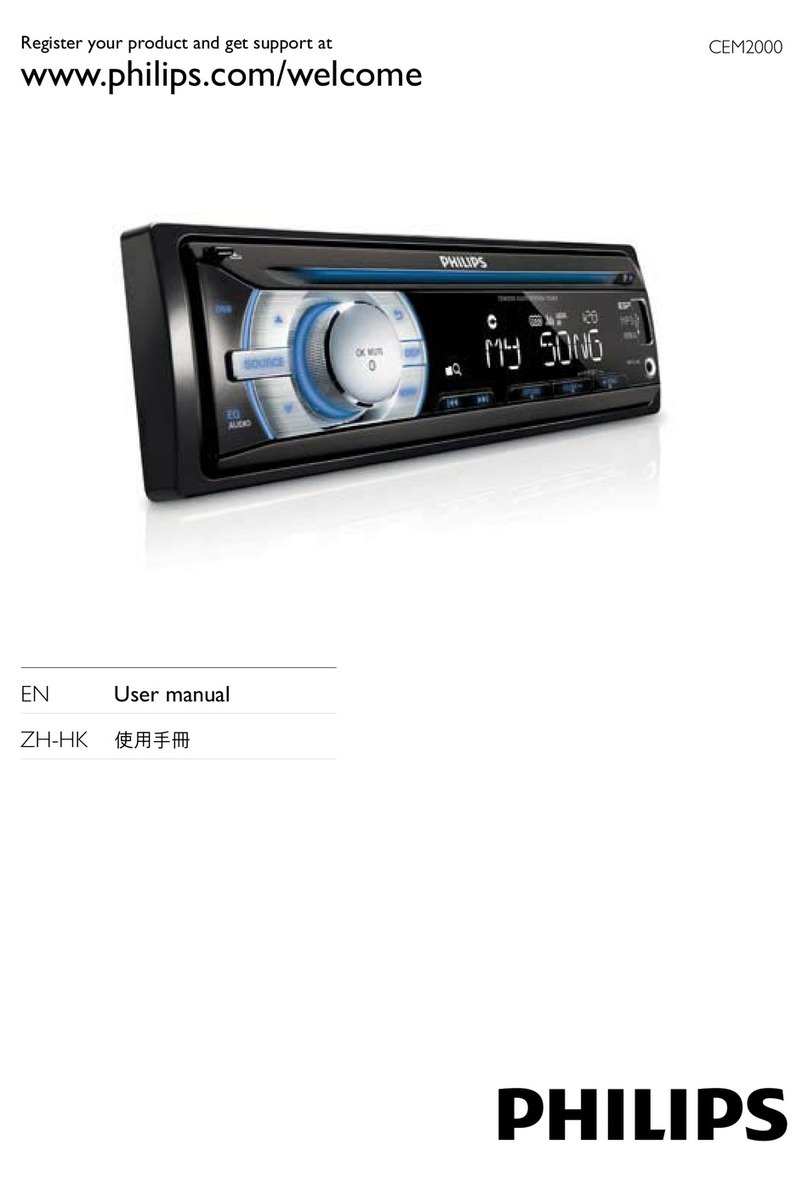
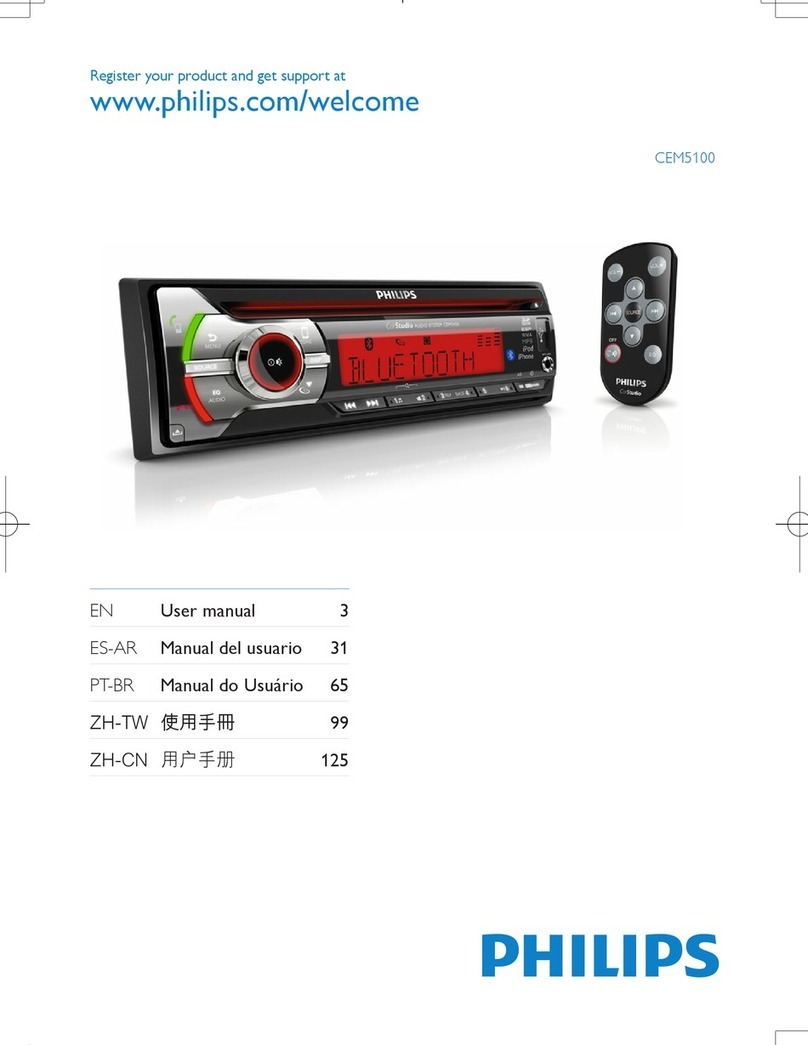
  9. Philips CarStudio CEM3100 User manual

Philips CarStudio CEM3100 User manual

Register your product and get support at
CEM3100 a
b
c
d
e
f
© 2011 Koninklijke Philips Electronics N.V.
All rights reserved.
CEM3100_00_QSG_V1.1
What’s in the box
Contenido de la caja
Main unit
(with a sleeve)
Remote control
Unidad principal
(con manga de montaje)
Rubber cushion
Almohadilla
de goma
Front panel
Panel frontalControl remoto
Screw
x 1 pc
1 tornillo
Disassembly tools
x 2 pcs
2 herramientas
de desmontaje
Trim plate
Marco del tablero
Carrying case
Funda de
transporte
User manual
Manual del
usuario
ISO male connector
Conector ISO
macho
Quick start guide
Guía de inicio
rápida
1Connect the supplied male connector to the unit.
2Check the car’s wiring carefully and connect them
to the supplied male connector.
1 Green/black s trip Left speaker (Rear)
2 White/black strip Left speaker (Front)
3 Gray/black strip Right speaker (Front)
4 Purple/black s trip Right speaker (Rear)
e Red Ignition key +12V DC when
ON/ACC
f Blue Motor/electric antenna relay
control lead
g Blue/white 
hBlack Ground
i Yellow To the +12V car battery
which is energized at all times
3  
applicable.
1Conecte el conector macho suministrado a la
unidad.
2Controle cuidadosamente el cableado del vehículo
y conecte los cables en el conector macho
suministrado.
1 Banda verde / negra Par lante izquier do (pos terior)
2 Terminal blanco /
negro
Parlante izquierdo (frontal)
3 Terminal gris / negro Parlante derecho (frontal)
4 Terminal violet a /
negro
Parlante derecho (posterior)
e Rojo Llave de encendido +12 V de
CC en ON / ACC
f Azul Cable de control del relé
de la antena eléctrica / del
motor
g Azul / blanco Cable de control del relé del

h Negro Tierra
i Amarillo A la batería del auto de +12
V que recibe alimentación
constante
3 
 
Turn on

 Press .

 press and hold until the unit is turned off.
Select country/region
1Press to turn on the unit.
»[SELECT OPERATING REGION] is displayed.
2Rotate to select an option:
 [USA] (United States)
 [LATIN] (Latin America)
 [EUROPE] (Western Europe)
 [M-EAST] (Middle East)
 [ASIA]
 [JAP] (Japan)
 [AUST ] (Australia)
3Press 
Set clock
1Press MENU
2Rotate to set hour.
3Press 
4Rotate to set minute.
5Press 
Tune to a radio station
1Press SOURCE repeatedly to select radio mode.
2Press BAND or / repeatedly to select band: [FM1][FM2][FM3][AM1][AM2] .
3Press and hold or  
4Press or to tune to a radio station manually.
»The radio station is broadcast.
  or .
Store stations automatically
1 DBB until [STORE - - -] is displayed.
2Press 
»The six strongest stations of the selected band are saved in preset channel automatically.
Encendido

 pulse .

 mantenga pulsado hasta que la unidad se apague.
Selecciona el país o región
1Pulse para encender la unidad.
»Aparecerá [SELECT OPERATING REGION].
2Pulse para seleccionar una opción:
 [USA] (Estados Unidos)
 [LATIN] (América L atina)
 [EUROPE] (Europa occidental)
 [M-EAST] (Medio Oriente)
 [ASIA]
 [JAP] (Japón)
 [AUST ] (Australia)
3Pulse 
Ajuste del reloj
1Pulse MENU varias veces has ta que la hora ac tual aparezca en la pantalla.
2Gire  
3Pulse 
4Gire 
5Pulse 
Sintoniza una emisora de radio.
1Pulse SOURCE varias veces par a seleccionar el modo de radio.
2Pulse BAND o / varia s veces par a seleccionar una banda: [FM1][FM2][FM3][AM1] o
[AM2] .
3Mantenga pulsado o hasta que aparezca el dígito de frecuencia.
4Pulse o para sintonizar una emisora de radio manualmente.
»Se emitirá la estación de radio.
  o .
Guarde las emisoras automáticamente
1  DBB hasta que [STORE - - -] aparezca en la pantalla.
2Pulse 
Store stations manually
1Tune to a station that you want to store.
2Press a numeric button for 3 seconds.
»The station is saved in the selected channel.
Play from USB
1Slide the USB socket cover marked to
the left.
2Inser t the USB device into the USB socket.
»The unit starts to play from the USB
device automatically.
Connect iPod/iPhone
1Slide the USB socket cover marked to the lef t.
2Inser t USB adaptor on one end of iPod/iPhone
cable to the USB socket on the main unit.
3Inser t the other end of the iPod/iPhone cable to
the iPod/iPhone socket.
»The unit starts playing from the USB device
automatically.
Reset
You can reset the unit to its default setting.
1Detach the front panel.
2Press the reset button by using a ball-point pen
or a similar tool.
»Preset adjustments such as preset channels and
sound adjustments are erased.
»Se guardarán automáticamente las seis emisoras más potentes de la banda seleccionada en los
canales presintonizados.
Guarde las emisoras manualmente
1Sintonice la emisora que desea almacenar.
2Mantenga pulsado un botón numérico durante 3 segundos.
»La emisora se guardará en el canal seleccionado.
Reproducción desde un dispositivo USB
1Deslice la cubier ta de la toma USB hacia
la izquierda.
2Introduzca el dispositivo USB en el puer to
USB.
»La unidad comenzará a reproducir el
contenido del dispositivo USB automáticamente.
Conexión del iPod / iPhone
1Deslice la cubier ta de la toma USB hacia la
izquierda.
2Inser te el adaptador USB de uno de los ex tremos
del cable del iPod / iPhone en el puer to USB de la
unidad principal.
3Conecte el otro extremo del cable en la toma del
iPod / iPhone.
»La unidad comenzará a reproducir el contenido
del dispositivo USB automáticamente.
Restablecimiento
Puede restablecer los valores predeterminados de la unidad.
1Extracción del panel frontal.
2Pulse el botón de res tablecimiento con una lapicer a
o una herramienta similar.
»

Connect wires: ISO male connectors
Conexión de los cables: conectores ISO macho
ÁQuick start guide
ÁGuía de inicio rápida
EN Quick start guide
ES-AR Guía de inicio rápida
PT-BR Guia de início rápido
ZH-TW ҄஠ઢܞڲ
ZH-CN ිగႬᆻଶ
183mm
53mm
1
2
fg
h
i
5($5 )5217
5
/
5($5$8;
/5
j
fg
h
i
5($5 )5217
5
/
5($5$8;
/5
j
Conteúdo da caixa Ћሑދୁ༂௚
˳໦ʑࢀذ
Unidade principal
 ᇺሑᇆIJտࠓฮij
˚໦ສ (фᙶࡨ)Ⴍઁኂ
Suporte de
borracha ཡ࢏ೌ׋
ኼᇒྌ
Painel frontalControle remoto ီచ ఱ૯ϴ
کࠍ׶
1 parafuso ઈקIJ1 ij
ᑓ೻ 1 ࠯
2 ferramentas de
desmontagem һ྅܁IJ2 ࡵij
זՃɮԮ 2 
Moldura לᆠ௏
໦ཚ׶
Estojo para transporte ѐཾދ
ᙙଝ
Manual do
usuário Ⴌ߀൱Ҭ
Ԛّʹ˫
Conector macho
ISO ISO ܈৹ࢨచ
ISO ʔઅ፾
Guia de início
rápido ිೊ૎ᆻଶ
҄஠Ƀپܞڲ
1Insira o conector macho fornecido no aparelho.
2
conecte-a ao conector macho fornecido.
1 Faixa verde/preta Alto-falante esquerdo
(tra seiro)
2 Faixa branca/
preta
Alto-falante esquerdo
(fro nt al)
3 Faixa cinza/preta Alto-falante direito (frontal)
4 Faixa roxa/preta Alto-falante direito (traseiro)
e Vrm 

f Azul Fio de controle do relé da
antena elétrica/automática
g A zul/branco Fio de controle do r elé do

h Preto Aterramento
i Amarelo Para bateria de carro de +12
V ativada ininterruptamente
3

1ࣞ฽ܚ؇ݦ৉౸ሢ҉ቯሤd
2኏྇ࣁԒ౼Լ؇׿ྮĩ೸ࠌࣞ౥ሢ฽ܚ؇ݦ
৉౸d
1૕െ/߳െྮ ኲၺඔ౸ĥࠌሤĦ
2фെ/߳െྮ ኲ ၺඔ౸ĥಏ ሤĦ
3ࡉെ/߳െྮ ᄙၺඔ౸ĥಏ ሤĦ
4኎െ/߳െྮ ᄙ ၺඔ౸ĥࠌሤĦ
eࠅെ ״֋ᄡ ON/ACC ඪĩئࡧᅤ
՞༛ +12V ሒઢ
fെ ૶ה/تِມྮሱࢡেሧྮ
gെ/фെ ৶ო౸ሱࢡেሧྮ
h߳െ ؛
i࠽െ ඵሶসݤت؇ +12V ౼
Լت՟
3ത໏๐භĩມྮߦ৶ო౸ĥത޶සᄊĦd
1፭ڃؿʔઅ፾டઅϭ໦ສy
2ˠୀᏎ݅ӁӹЗᇃwԎ ᇃҥடઅϭ፭ڃؿ
ʔઅ፾y
1၆ϳ/ඣϳᇃҢ ౔ᐰኂ (܃ʿ)
2ϳ/ඣϳᇃ Ң ౔ᐰኂ (کʿ)
3Ϙϳ/ඣϳᇃ Ң  ౔ᐰ ኂ (کʿ)
4೹ϳ/ඣϳᇃ Ң  ౔ᐰኂ (܃ʿ)
e޴ϳ ᒨˌ඀ᗐ +12V D C
w๫ ୮
כON/ACC رྸࣂ
fᔂϳ ৛༠/ཋ৽ʨᇃ ᘗཋኂઁԹ
ʵᇃ
gᔂϳ/ϳ ᒷɣ ዀᘗཋኂ ઁԹʵᇃ
hඣϳ અΔ
iඡϳ டઅϭ +12V Ӂӹཋϑw፭
ࣂ൬Ϸ˨ཋ
3ܘ๑႓עடઅʨᇃၤᒷɣዀ (Σ׮ሬ)y
Ligar

 Pressione .

 Mantenha pressionado até desligar o aparelho.

1Pressione para lig ar o aparelho.
»[SELECT OPERATING REGION] é exibido.
2Gire 
 [USA] (Estados Unidos)
 [LATIN] (América L atina)
 [EUROPE] (Europa Ocidental)
 [M-EAST] (Oriente Médio)
 [ASIA]
 [JAP] 
 [AUST ] (Austrália)
3Pressione 
Ajustar o relógio
1Pressione várias vezes MENU até que a hora atual seja exibida.
2Gire para ajustar a hora.
3Pressione 
4Gire para ajustar os minutos.
5Pressione 

1Pressione SOURCE várias vezes para selecionar o modo de rádio.
2Pressione várias vezes BAND ou / para selecionar a freqüência: [FM1][FM2][FM3][AM1]
ou [AM2].
3Pressione e segure ou até que o número da freqüência seja exibido.
4Pressione ou 
»
    ou .

1  DBB até que a mensagem [STORE - - -]
(ARMAZENAMENTO) seja exibida.
ࠓ
႓חঙቯሤĩ
 Сd
႓ޓҠቯሤĩ
 Сበ ሒሢቯሤޓҠd
࿎ᄸݗࡉ/ֽ౹
1СగײЫሑᇆ
»ࣞྣභ [SELECT OPERATING REGION]d
2ဪቩ ာᆖႤݓာ྽ķ
 [USA]ĥଧ޵Ħ
 [LATIN]ĥ৺قଧሿĦ
 [EUROPE]ĥཨ௚Ħ
 [M-EAST]ĥሱٌĦ
 [ASIA]ĥၒ ๠Ħ
 [JAP]ĥഒ҉Ħ
 [AUST ]ĥбטၒĦ
3Сಖಮ
ഥᇆൌᇖ
1ڳܑС MENU ሒሢ״ಏඪࢹ൜ฏd
2ဪቩ ඃሤ࿎ඪd
3С೴ഌd
4ဪቩ ඃሤەሴd
5С೴ഌd
לྂᇄ׌෿
1ڳܑС SOURCEIJྔހ჻ij ာᆖ෎ოࡱ୨බd
2ڳܑС BAND ࡩ/ ာᆖశٯķ
[FM1]c[FM2]c[FM3]c[AM1] ࡩ[AM2]d
3Сበ ࡩሒሢశ૓෶ን൜ฏd
4Сࡩĩාِغ࿠ሢت๝d
»ت๝ঙඵޞӎd
»႓ናِศ๎ت๝ĩೊС ࡩd
ስײխԩ׌෿
1ᅿ෎ოࡱ୨බྑĩСበ DBB ሒሢྣභ [STORE - - -]d
඀ઢ
ߗ߬඀ઢ໦ສw
 ᇼܘ y
ߗ߬ᗐஶ໦ສw
 ܘϾ قԷ໦ສᗐஶy
ፕእࡼ/Δ
1ܘ඀ઢ໦ສy
»ೋࠍᛷ [SELECT OPERATING REGION]y
2ܘፕእፕඖ}
 [USA] (޻)
 [LATIN] (ּȻ޻ݘ )
 [EUROPE] (Ϲᅩ)
 [M-EAST] (ɻ׭Δ  )
 [ASIA] (ԓʪΔ)
 [JAP] (ˀ)
 [AUST ] (ዌݘ)
3ܘᆢႏy
உցࣂᘸ
1ࠇᇲܘ MENU قԷکؿࣂං৐ᕷy
2ફᔝ ˞உցɩࣂy
3ᇼܘ ᆢႏy
4ફᔝ ˞உցʗᘸy
5ᇼܘ ᆢႏy
νᚹᄤᅌཋ
1ࠇᇲܘ SOURCE ፕእνࠑዀᅡβy
2ࠇᇲܘ BAND ֶ/ உցؐݒ}
[FM1]
x
[FM2]
x
[FM3]
x
[AM1] ֶ[AM2]y
3ܘϾ ֶwق Է ፼ ଅ ᅕ Υ ৐ ᕷy
4ܘֶʹ৽ሁϭᄤᅌཋy
»ᄤᅌཋЩܞᄤᅌy
 ߗ߬Ϭ৽ชఖᄤ ᅌཋwᇼܘ ֶy
Ϭ৽᎝Φཋ
1ΕνࠑዀᅡβɻwܘϾ DBB قԷᛷ [STORE - - -]
y
2ܘᆢႏy
2Pressione 
»
sintonizados.

1 
2 
»
Reproduzir a partir de um dispositivo USB
1Deslize a tampa da entrada USB com o
símbolo para a esquerda.
2Insira o dispositivo USB na entrada USB .
»O aparelho inicia automaticamente a

Conectar iPod/iPhone
1Deslize a tampa da entrada USB com o símbolo
para a esquerda.
2Insira o adaptador USB localizado em uma das
extremidades do cabo do iPod/iPhone na entrada
USB da unidade principal.
3Insira a outra extremidade do cabo do
iPod/iPhone na entrada do iPod/iPhone.
»O aparelho inicia automaticamente a

Reinicializar

aparelho.
1Destaque o painel frontal.
2 
caneta de ponta redonda ou uma ferramenta
semelhante.
»


2С೴ഌd
»๐ာశٯሱ࿲ߞክಞ؇ 6 ݓت๝ࣞናِѮ׋ᅿᅉඃశ؃ሱd
൱ײխԩ׌෿
1غ࿠ሢྺ႓׋և؇ت๝d
2Сበ෶ንСை 3 ୒ሴd
»ت๝ࣞ׋ևᅿ๐ာ؇శ؃ሱd
՚USB Ѱ٦
1ࣞם ҵ࢜؇ USB Ԏ৆ܤࠣ࿁ኲԉd
2ࣞUSB ඃ҃Ԏന USB ৉d
»҉ቯሤࣞናِঙඵӎۄ USB ඃ҃ሱ؇
டചd
৹ࢨ iPod/iPhone
1ࣞם ҵ࢜؇ USB Ԏ৆ܤࠣ࿁ኲԉd
2ࣞiPod/iPhone تႤ٬൪؇ USB සఇ౸
ሢቘቯሤ൪؇ USB Ԏ৆d
3ࣞiPod/iPhone تઘႤ٬ሢ iPod/iPhone
Ԏ৆d
»҉ቯሤࣞናِঙඵӎۄ USB ඃ҃ሱ؇டചd
ᇛᇆ
ிসႽࣞ҉ቯሤሹሤ༛ୱഌඃሤd
1ԙ࿣ಏ୍ђd
2඲ᄊᅗቊҕࡩฝݟСሹሤСைd
»ᅉඃశ؃ߦඔოغ؋ᅉඃغᇾࣞ҆ೄքd
»ፕցؐݒɻ঩໔௖ؿʒ࠯ཋwผϬ৽᎝Φιݯདஉ፼༞y
ʹ৽᎝Φཋ
1ሁϭ෱߬᎝Φؿཋy
2ܘϾᅕΥܘ൶ 3 ެᘸy
»ϊཋ᎝Φכܞցؿ፼༞y
ᅌי USB ໦ສ
1ᅟ ؿUSB ైᅠၰΉไ৽y
2USB ໦ສైɃ USB ైᅠy
»໦ສผ඀նϬ৽ USB ໦ສᅌיࠑ
ᅥy
டઅ iPod/iPhone
1ᅟ ؿUSB ైᅠၰΉไ৽y
2iPod/iPhone ᜿ᇃȹဲؿ USB ᔝઅ፾ైɃ˚
໦ສɐؿ USB ైᅠy
3iPod/iPhone ᜿ᇃؿȹဲైɃ iPod/
iPhone
ైᅠy
»໦ສϬ৽ USB ໦ສᅌיy
ࠇஉ
˿˞໦ສࠇஉݯԯདஉஉցy
1ז඀کࠍ׶y
2Ԛ෋೫ֶᗘЍɮԮܘࠇஉܘ൶y
»ϊࣂผ૜৖དஉ፼༞xᐰࠑሁኬ೩དஉሁኬy
!"#$% ৹ࢨཐńISO ܈৹ࢨచ
டઅཋᇃ}ISO ʔઅ፾
ÁGuia de início rápido ÁිగႬᆻଶ
Á҄஠ઢܞڲ Notes
fg
h
i
5($5 )5217
5
/
5($5$8;
/5
j
fg
h
i
5($5 )5217
5
/
5($5$8;
/5
j
fg
h
i
5($5 )5217
5
/
5($5$8;
/5
j

Other manuals for CarStudio CEM3100

6

Other Philips Car Receiver manuals

Philips CE130 User manual

Philips

Philips CE130 User manual

Philips CEM2101G/51 User manual

Philips

Philips CEM2101G/51 User manual

Philips Sonicare 400 Series User manual

Philips

Philips Sonicare 400 Series User manual

Philips CE130/51 User manual

Philips

Philips CE130/51 User manual

Philips CE120X/78 User manual

Philips

Philips CE120X/78 User manual

Philips CED780 User manual

Philips

Philips CED780 User manual

Philips CE138/85 User manual

Philips

Philips CE138/85 User manual

Philips CCR 2006 User manual

Philips

Philips CCR 2006 User manual

Philips CEM2100 User manual

Philips

Philips CEM2100 User manual

Philips DC517 User manual

Philips

Philips DC517 User manual

Philips CED320/55 User manual

Philips

Philips CED320/55 User manual

Philips CE132/85 User manual

Philips

Philips CE132/85 User manual

Philips CEM2000/55 User manual

Philips

Philips CEM2000/55 User manual

Philips CEM5200/51 User manual

Philips

Philips CEM5200/51 User manual

Philips CEM1000 User manual

Philips

Philips CEM1000 User manual

Philips CID2780 User manual

Philips

Philips CID2780 User manual

Philips CE133G User manual

Philips

Philips CE133G User manual

Philips CED780 User manual

Philips

Philips CED780 User manual

Philips CED228/98 User manual

Philips

Philips CED228/98 User manual

Philips CEM3000/51 User manual

Philips

Philips CEM3000/51 User manual

Philips CarStudio CEM2101R/51 User manual

Philips

Philips CarStudio CEM2101R/51 User manual

Philips CarStudio CEM2101/12 User manual

Philips

Philips CarStudio CEM2101/12 User manual

Philips CEM2300BT User manual

Philips

Philips CEM2300BT User manual

Philips RC369 User manual

Philips

Philips RC369 User manual

Popular Car Receiver manuals by other brands

Pioneer DEH-P490IB - Premier Radio / CD Operation manual

Pioneer

Pioneer DEH-P490IB - Premier Radio / CD Operation manual

Clarion FZ.150 Owner's maual & installation manual

Clarion

Clarion FZ.150 Owner's maual & installation manual

Sony DSX-S100 operating instructions

Sony

Sony DSX-S100 operating instructions

JVC KD-ADV49 - DVD Player With LCD monitor instructions

JVC

JVC KD-ADV49 - DVD Player With LCD monitor instructions

Planet Audio P9610I user manual

Planet Audio

Planet Audio P9610I user manual

Sony CDX-L470X operating instructions

Sony

Sony CDX-L470X operating instructions

Motorola VWA8 Service manual

Motorola

Motorola VWA8 Service manual

auna MD-130 manual

auna

auna MD-130 manual

Pioneer DEH-P6200 installation manual

Pioneer

Pioneer DEH-P6200 installation manual

Kenwood KDC-6080R/RV instruction manual

Kenwood

Kenwood KDC-6080R/RV instruction manual

Clarion DXZ276MP Installation/wire connection guide

Clarion

Clarion DXZ276MP Installation/wire connection guide

Pioneer DEH-X1650UBG owner's manual

Pioneer

Pioneer DEH-X1650UBG owner's manual

Clarion FZ709 owner's manual

Clarion

Clarion FZ709 owner's manual

Denver CAD-471 instruction manual

Denver

Denver CAD-471 instruction manual

Panasonic NTG5*1 US Series user manual

Panasonic

Panasonic NTG5*1 US Series user manual

JVC KD-DV4408 instructions

JVC

JVC KD-DV4408 instructions

JVC KD-X200 instruction manual

JVC

JVC KD-X200 instruction manual

Sony XR-A55 - Fm/am Cassette Car Stereo operating instructions

Sony

Sony XR-A55 - Fm/am Cassette Car Stereo operating instructions

manuals.online logo
manuals.online logoBrands
  • About & Mission
  • Contact us
  • Privacy Policy
  • Terms and Conditions

Copyright 2025 Manuals.Online. All Rights Reserved.