le AMB 544-9056
HK-1145-AS141 Year 2011
........................................................ ........................................................................................
(Report No. / Numéro du Rapport) (Year in which the CE mark is affixed / Année au cours
de laquelle le marquage CE a été apposé)
EC DECLARATION OF CONFORMITY
(DECLARATION DE CONFORMITE CE)
We / Nous, PHILIPS CONSUMER LIFESTYLE B.V.
(Name / Nom de l’entrepris e)
TUSSENDIEPEN 4, 9206 AD DRACHTEN, THE NETHERLANDS
(address / adresse)
Declare under our responsibilit y that the electrical product(s):
(Déclarons sous notre propre responsabilité que le (s) produit(s) électrique(s):)
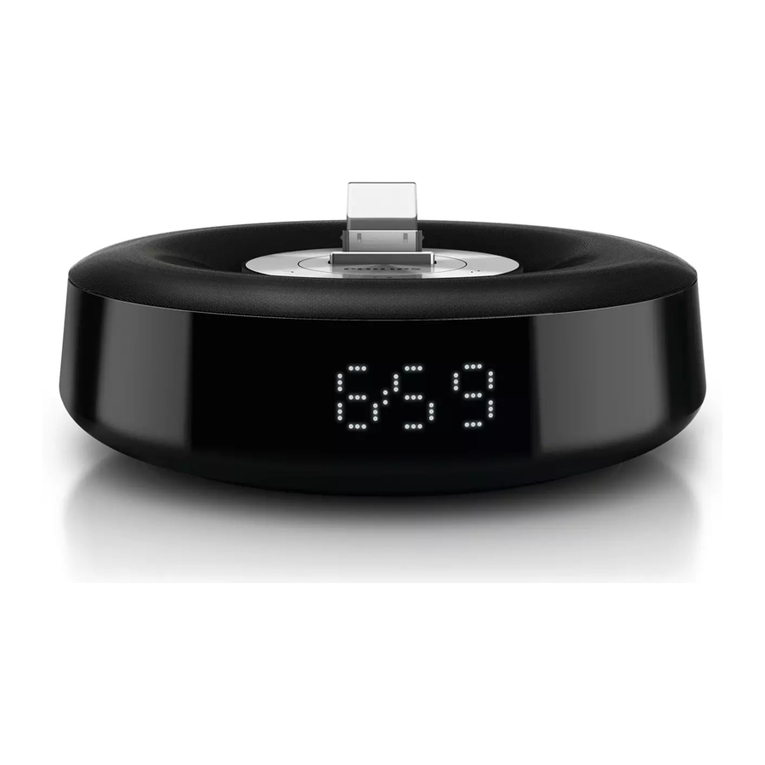
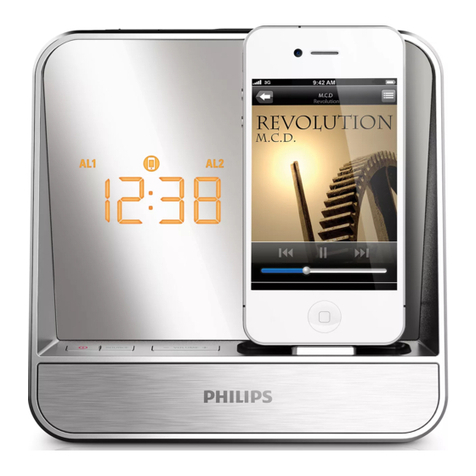
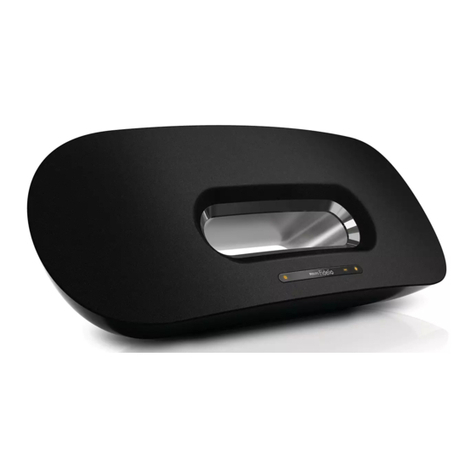
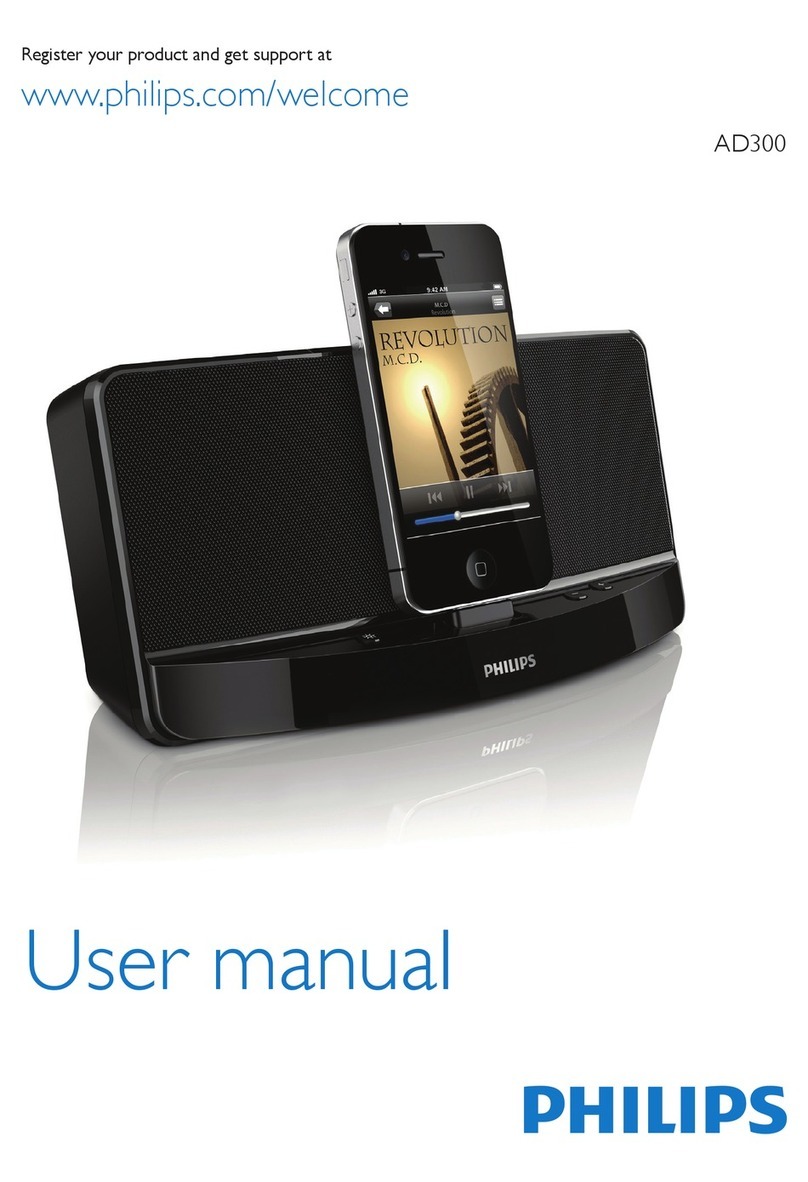
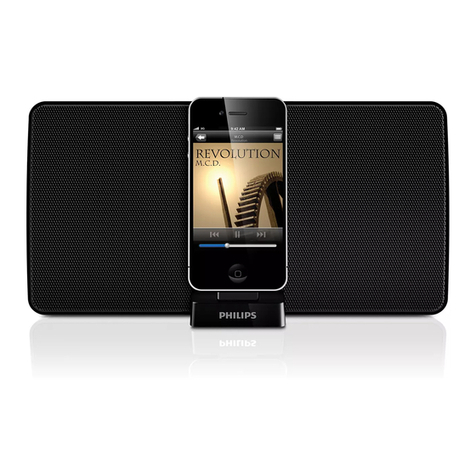
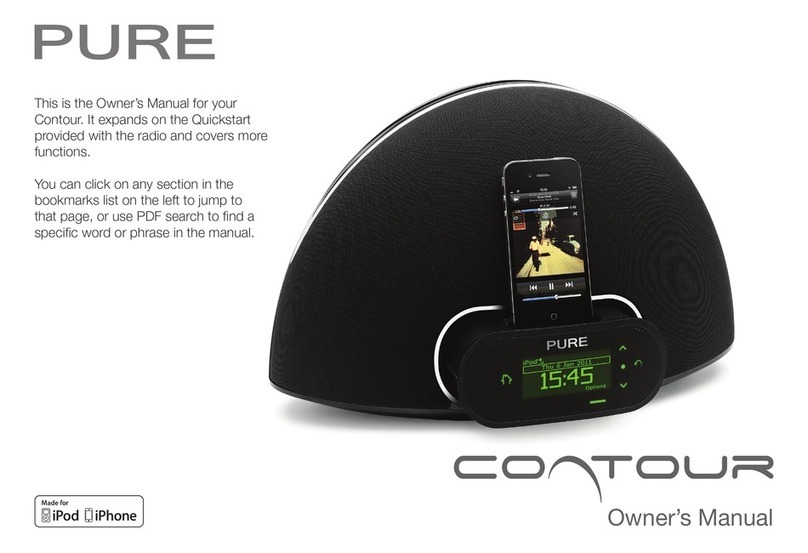
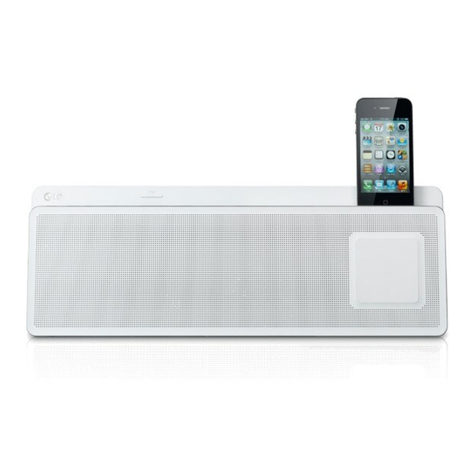
PHILIPS AS141/12, /05
.................................. .............................................
(brand name, nom de la marque) (Type version or model, référence ou modèl e)
Docking System for Android
.................................................................
(product description, description du produit)
To which this declaration relates is in conformity with the following harmonized standards:
(Auquel cette déclaration se rapporte, estconforme aux normes harmonisées suivantes)
(title, number and date of issue of the standard / titre, numéro et date de parution de la norme)
EN60065 : 2002 + A1:2006 +A11:2008+A2:2010
EN55013:2001+A1:2003+A2:2006 EN55020:2007
EN61000-3-2 : 2006 + A1: 2009 + A2: 2009 EN61000-3-3 : 2008
EN61000-6-1:2007 EN61000-6-3:2007
EN301489-1 V1.8.1 : 2008 EN301489-17 V2.1.1 : 2009
EN300328 V1.7.1 : 2006 EN62311:2008
EN62301 : 2005
Following the provisions of :
(Conformément aux exigences essentiell eset aut res dispositions pertinentes de:)
1999/5/EC (R&TTE Directive)
2004/108/EC (EMC Directive)
2009/125/EC (ErP Directive)
- EC/1275/2008
- EC/278/2009
And are produced under a quality scheme at least in conformity with ISO 9001 or CENELEC
Permanent Documents
(Et sont fabriqués conformém ent à une qualité au moins conforme à la norme ISO 9001 ou aux Documents Permanents CENE LEC)
SGS Fimko CB
SGS R&TTE
The Notified Body ................................................ performed ....................................................
(L’Organisme Notifié) (Name and number/ nom et numéro) (a effectué) (description of intervention /
description de l’intervention)
FI-12908
SZEM1107002287RF
And issued the certificate, .......................................................
(et a délivré le certificat) (certificate number / numéro du certificat)
Remarks:
(Remarques:)
Drachten, The Netherlands, Nov.11 , 2011 A.Speelman, CL Compliance Manager
........................................................... ..............................................................................................
(place,date / lieu, date) (signature, name and function / signature, nom et fonction)
EN
*1 System requirements:
Android system (version 2.1 or above);
Bluetooth 2.1 or above; and
Micro USB connector
Note: If the micro USB connector is located at the top,screen auto-rotation is available for
Android 2.3 or above.
Visit www.philips.com/FlexiDock for more details.
*2 To download and install Songbird on your computer, visit www.philips.com/songbird.
*3 To get the detailed instr uctions for use, visit www.philips.com/welcome.
1 Important
Know these safety symbols
This ‘bolt of lightni ng’ indicates uninsu lated material wit hin your unit may c ause an e lect rical
shock . For the safety of ever yone in your hous ehold , please do not remove pr oduc t covering.
The ‘exclamation point’ calls attention to features for w hich you s hould r ead the e nclosed
literature closely to prevent operating and maintenance problems.
CAUTION:To prevent elect ric s hock, match wide blade of plug to wide slot, fully inser t.
aRead these instructions.
bKeep these instruct ions.
cHeed all warnings.
dFollow all instr uctions.
eDo not use this apparatus near water.
fClean only with dry clo th.
gDo not block any ventilation openings. Ins tall in accordance with the manufacturer’s
instructions.
hDo not install near any heat sources such as radiators, heat registers, stoves, or other
iProtec t the power cord from being walked on or pinched, particularl y at plugs,
convenience receptacles, and the point where they exit from the apparatus.
j
kUnplug this apparatus during lightning storms or whe n unused for long periods of t ime.
l !
appar atus ha s been damaged in any way, such a s power-supply cord or plug is damaged,
liquid has been spilled or objects have fallen into the apparatus, the apparatus has been
expose d to rain or moisture, doe s not operate nor mally, or has been dropped.
mAppar atus sh all not be e xposed to dripping or spl ashing.
n " # $
oWhere the plug of t he Direc t Plug- in Adapter is use d as the di sconnect device, the
disconnect device shall remain readily o perable.
2 Notice
Community.
compon ents , which can be recycle d and reused.
When t his crossed- out wheeled bin symbol is at tached to a product it means that the
electronic products.
your nor mal household was te. Correc t disp osal of your old product helps to prevent potential
Environmental information
All unn ecessary packaging has been omi tted. We have tr ied to make the pac kaging easy to
separ ate into thre e mater ials: cardboard ( box), poly sty rene foam (buffer) and polye thyle ne
(bags , protective foam sheet.)
Your system consists of materials which can be recycled and r eused i f disassembled by a
3 Get started
Connect power
Caution
back or u nder side of t he devi ce.
Risk of e lectric shock! W hen you u nplug t he power adapte r, always pull the plug fro m the socket.
Never p ull the co rd.
Note
The ty pe plat e is loca ted on th e bottom of the do cking system.
Connect the power adapter to:
the DC IN socket of the docking system.
the wall socket.
Set clock
1In standby mode, pr ess and hold SET TIME for t wo seconds to activate clock setting mode.
»The hour and minute digits begin to blink.
2 / and / re peatedly to set the hour and minute.
3SET TIME
»[12H] or [24H] begins to blink.
4 / to selec t 12/24 hou r format.
5SET TIME
»The set time is displayed.
Turn on
.
»The docking system switches to the last selected source.
Switch to standby mode
again to switch the docking system to standby mode.
»[OFF] appears for one second, then the clock (if set) is displayed.
Select source
SOURCE
Note
When a n android phon e is docked, the s yste m automatically sw itche s to Bluetooth m ode.
4 Listen to FM radio
Tune to FM radio stations
Note
For bet ter recepti on, ful ly ex tend an d adjus t the pos ition of the antenna .
1SOURCE repeatedly to s elec t FM tuner source.
2 / for two second s.
»The docking system tunes to a station with strong reception automatically.
3Repea t step 2 to tune to more radio st ation s.
To tune to a station manually:
1 /
Store FM radio stations automatically
Note
In tuner mode, press an hold PROG for two seconds.
»
station automatically.
Store FM radio stations manually
1Tune to an FM r adio station.
2PROG.
»The preset number begins to blink.
3
/ repeatedly to se lect a n umber.
4PROG
5Repea t steps 1 to 4 to store othe r sta tions .
Note
To remove a pr e-stored s tation, store an other s tation in it s place .
Select a preset radio station
In tuner mode, press / repeatedly to select a preset number.
5 Other features
Set alarm timer
Set alarm
In standby mode, you c an set t wo alar ms to ring at dif fere nt time.
Note
Make su re that you have se t the clock corr ectl y.
1 AL1/AL2 for two seconds to activate ala rm setting mode.
»The hour and minute digits begin to blink.
2
/ and / rep eated ly to set t he hour and minu te.
3AL1/AL2
Select alarm source
Note
For ala rm sou nd, you can sele ct buz zer, your last listene d radi o chane l, or the lates t played track in
your An droid p hone.
Adjust AL1/AL2 RADIO·BUZZ·DOCK control to select alarm source for both alar ms.
Note
If DOCK is sele cted a s alar m sour ce, make sure th at you have d ocked the phone into the docki ng
system.
Activate/deactivate alarm timer
1AL1/AL2 to v iew ala rm set ting s.
2AL1/AL2 again to ac tivate or deactivate the alarm timer.
»The alarm icon appears if alarm timer is on and disappear s if it is off.
To stop the r inging alarm, press the cor responding AL1/AL2.
The ala rm re peats ringi ng for the next day.
Snooze alarm
When alarm sounds , press SNOOZE.
»The alarm snoozes and repeats ringing nine minutes later.
Set sleep timer
This docking system can switch to standby mode automatically after a preset period.
SLEEP repeatedly to select the sleep timer period (in minutes).
»When the sleep timer is activated, appears.
To deactivate the sleep timer, press SLEEP repeatedly until [OFF] (off) appears.
Play audio from an external device
You can listen to audio from an external device through this device.
1
the MP3 LINK socket.
the hea dphone socket of an external device.
2SOURCE
»is displayed.
3
Adjust display brightness
BRIGHTNESS repeatedly to select different brightness levels.
6 Product information
Note
%
Tuner
Tuning Range
Sensitivity
FM: <2 2 dBf
Search Selectivity FM: <28 dBf
FM: <2%
Signal to Noise Ratio FM: >55 dB
General information
1.8A
<35 W
<2 W
Max. load of Android o utpu t 5. 1.
Dimensions
Weig ht
- Main Unit
1.4 kg
AS141_05_QSG_V4.0.indd 2 2012-3-14 13:56:15

