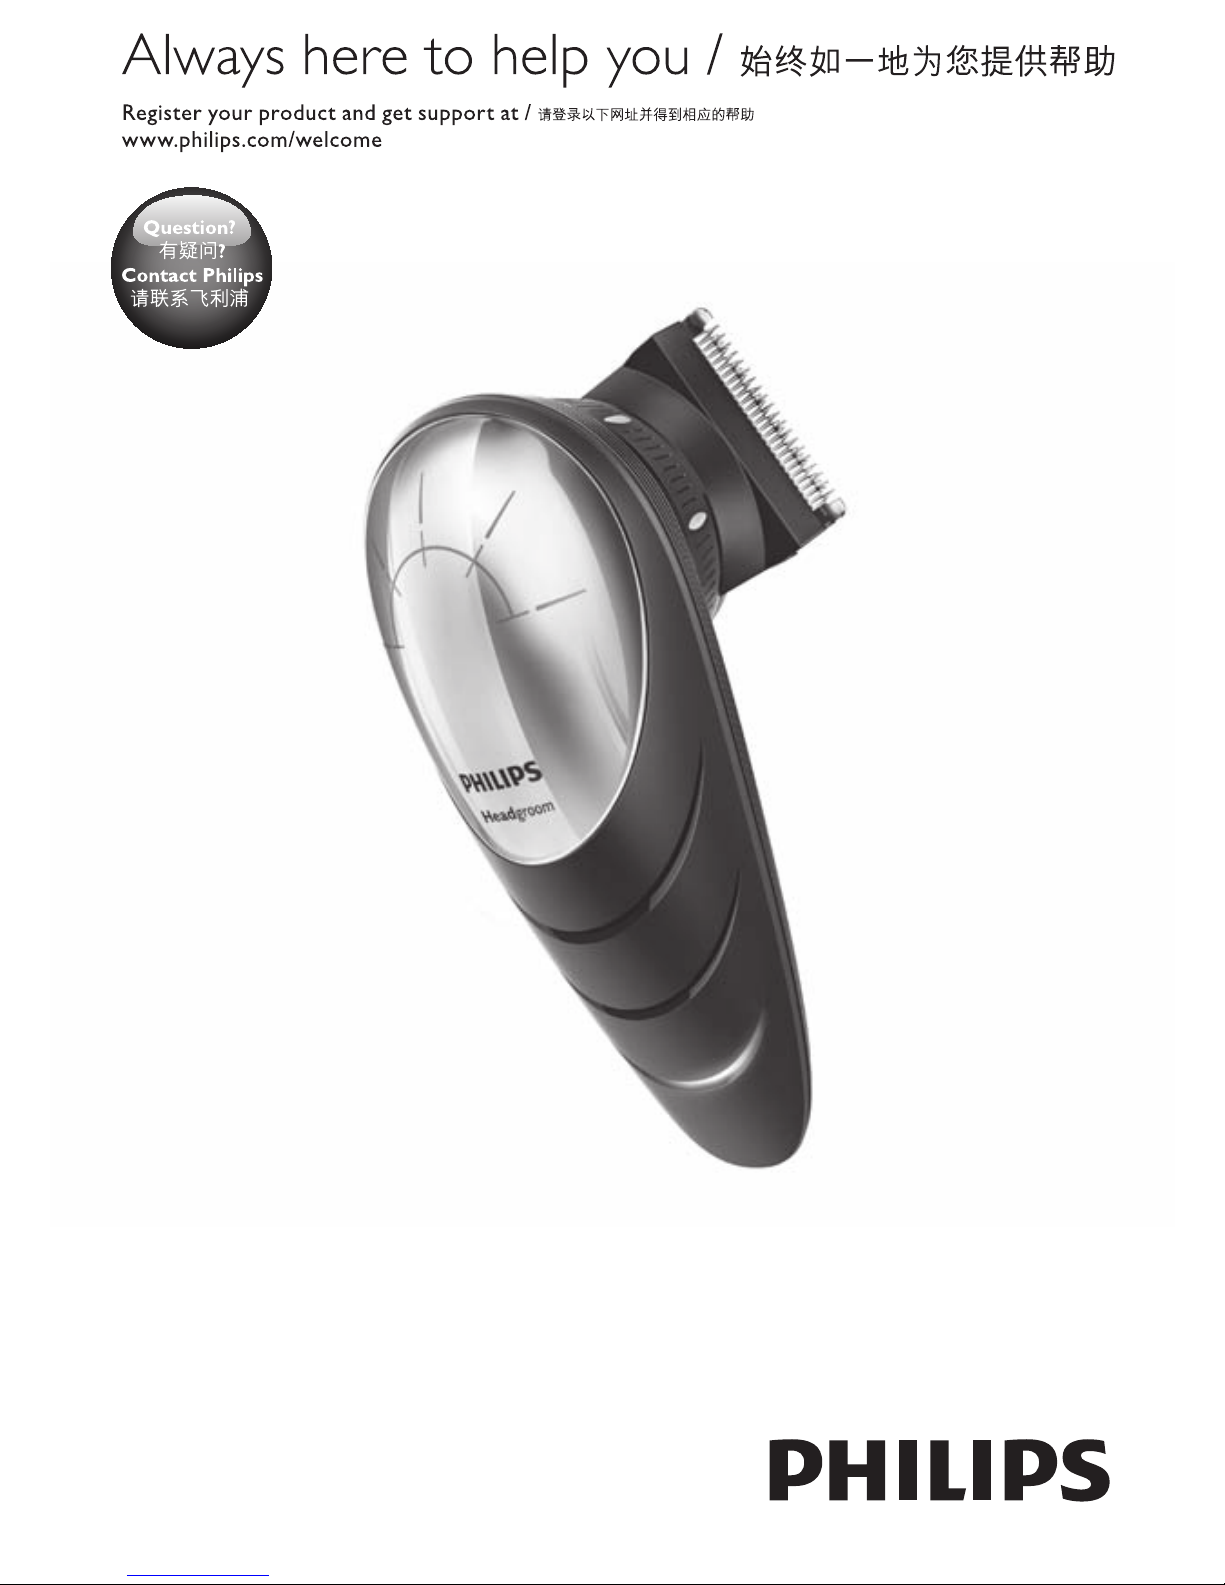
Philips QC5570/40 User manual
Other Philips Electric Shaver manuals

Philips
Philips HQ3860 User manual

Philips
Philips HQ6868/16 User manual

Philips
Philips SatinShave BRL170/00 User manual

Philips
Philips Norelco BG2020 User manual

Philips
Philips HQ6849/16 User manual

Philips
Philips MG3710 User manual

Philips
Philips PQ206 User manual

Philips
Philips QT4015 User manual

Philips
Philips HQ5710 User manual

Philips
Philips HQ6763 User manual

Philips
Philips SH91/50 User manual

Philips
Philips 7000 series User manual

Philips
Philips QG3322 User manual

Philips
Philips QP2527 User manual

Philips
Philips Norelco 3500 Instruction Manual

Philips
Philips HQ55 User manual

Philips
Philips PQ208 User manual

Philips
Philips HP6368 User manual

Philips
Philips HQ5 User manual

Philips
Philips Satinelle Ice Series User manual