manuals.online logo
Brands
  1. Home
  2. •
  3. Brands
  4. •
  5. Philips
  6. •
  7. Electric Shaver
  8. •
  9. Philips S3310 User manual

Philips S3310 User manual

IMPORTANT: PLEASE CHARGE
COMPLETELY BEFORE FIRST USE
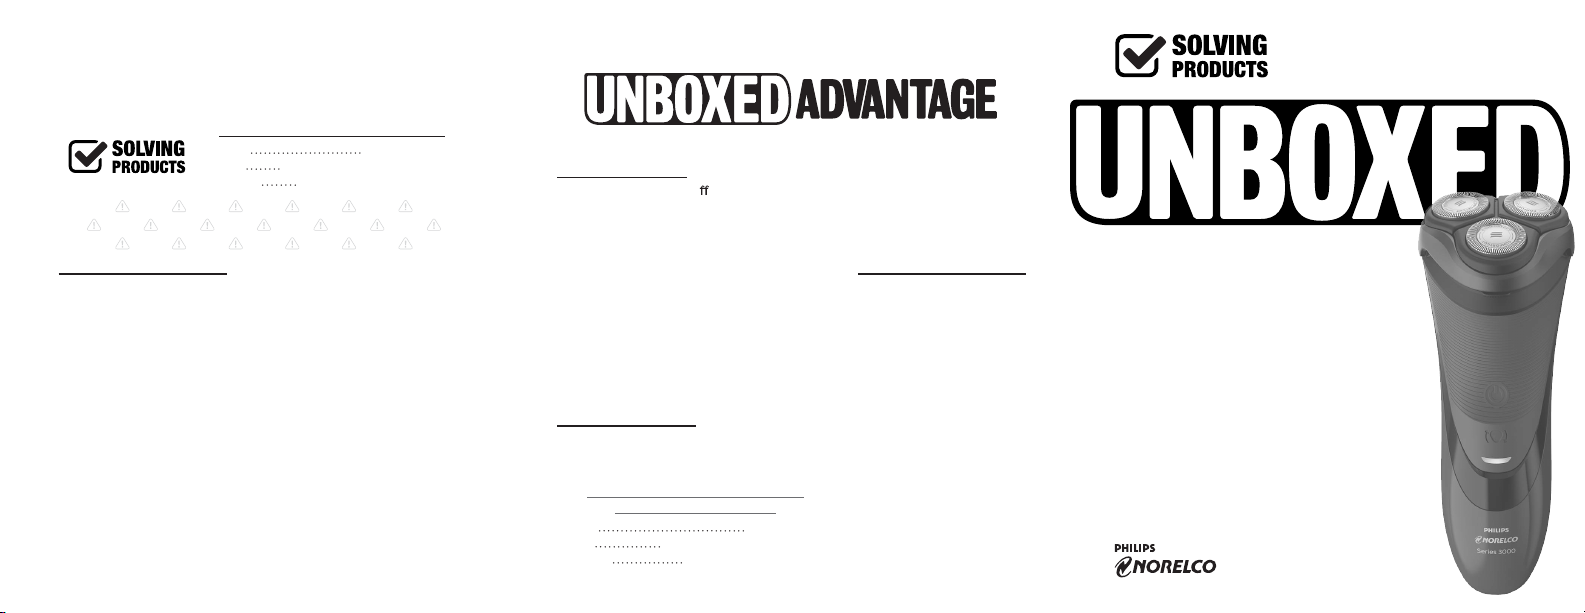
NEW S3310
ELECTRIC DRY
SHAVER OPERATION
GUIDE AND EXTENDED
SERVICE PLAN
NEW ITEM WAS CAREFULLY PACKAGED BY
SOLVING PRODUCTS, LLC, CERTIFIED RETAIL
PARTNER OF PHILIPS NORELCO.
WHAT IS UNBOXED?
Solving Products, LLC o ers brand-new products direct from manufacturer
for consumers at low economical prices. Shipped in smaller, environmentally
responsible packaging to reduce waste are only a few cost saving methods
used to create the Unboxed Advantage.
CUSTOMER SUPPORT
Solving Products customer support team is
knowledgeable and ready to help. Available
weekdays and weekends 24/7 by phone.
PLEASE DO NOT CONTACT ORIGINAL
MANUFACTURER DIRECTLY
Phone (855) 661-9124
Email Help@SolvingProducts.com
Website www.SolvingProducts.com
>
Customer oriented with exceptionally low
consumer pricing.
>
Streamlined package reduces waste result-
ing in low environmental impact.
>
1-Year extended service plan provided by
Solving Products LLC.
>
Customer support available over the phone
or visit out website.
IMPORTANT SAFETY N0TE
When using an electric product, basic precautions should always
be followed. To reduce the risk of electric shock: The power plug and
the accessories connected to it are not for immersion or for use
in shower. Do not use an extension cord with this product. Unplug
and remove power cord before cleaning. The batteries used in this
product may present a fire or chemical burn hazard if mistreat-
ed. Do not disassemble, heat above 100°C (212°F) or incinerate. To
reduce the risk of burns, fire, electric shock, or injury to persons:
Close supervision is required when this product is used by, on, or
near children, or persons with limited physical, sensory, or mental
capabilities or invalids. Use this product only for its intended house-
hold use as described in this manual. Do not use attachments not
recommended by Philips Nor th America LLC. Never operate this
product if it has a damaged power cord or charging plug, if it is not
working properly, if it has been dropped or damaged, or dropped
into water while plugged in. Keep the cord and power plug dry at all
times. Do not handle with wet hands. Only use the power plug, USB
plug and other accessories supplied with the product.
THANK YOU FOR YOUR NEW
SOLVING PRODUCTS PURCHASE
CONTACT SOLVING PRODUCTS LLC
Phone (855) 661-9124
Email Help@SolvingProducts.com
Website www.SolvingProducts.com
EXTENDED SERVICE PLAN
Pur chases are backed by
1-year extended service plan
ensuring products will be
free from defects in mate-
rial and workmanship for
one year from date of pur-
chase. Solving Products LLC
will repair or replace prod-
uct free of charge during this
year. Consumable compo-
nents (for example, shaver
heads) are excluded in this
plan. Service does not cover
equipment failure attributed
to accident, improper oper-
ation, misuse, abuse, or any
cause other than defects in
the materials or workmanship.
REPLACING THE SHAVER HEADS
OPERATION
OVERVIEW
Buttons explained for new Philips
Norelco S3310 shaver.
CHARGING & POWER
1. Charging or recharging at temperatures
below 40ºF/4,5ºC or higher than 95ºF/35ºC
2. If the shaver is subjected to a major change
in temperature, pressure or humidity, let it
acclimatize for 30 minutes before using.
3. Charging or recharging requires 8 full hours.
4. A fully charged shaver has a cordless
shaving time of up to 45 minutes.
5. The shaving time may be less than
45 minutes as a result of your shaving
behavior, cleaning habits or beard type.
6. When charging shaver for the first time or
after a long period of non-use, charge until
the charging light lights up continuously.
LED DISPLAY
BATTERY CHARGE INDICATOR
A. Charging Indicator. B. Full Charge Indicator.
C. Low Battery Indicator. D. Shaver Head Replacement
Indicator.
CLEANING
• Always clean your shaver after each use.
• Always switch shaver OFF, unplug and remove power cord before cleaning.
• Press the Release Button to open the Shaver Head Assembly.
• Clean inside shaving heads and hair chamber by running under hot water.
• Clean outside of shaving unit by running under hot water.
• Never clean, remove or replace head assembly while motor is on.
• Regular cleaning guarantees better shaving results.
• Do not immerse shaver in water.
• While rinsing shaving heads, water may drip out of the base of shaver. This is a
normal occurrence.
• Do not apply pressure to combs. Do not touch shaving heads with hard
objects as this may dent or damage precision-made slotted combs.
• Do not use shaver if combs are damaged or broken. Facial injury may occur.
• Do not use compressed air, abrasives, scourers or aggressive liquids such
as gasoline or acetone to clean the shaver.
NOTE: THE ACCESSORIES SUPPLIED MAY VARY FOR DIFFERENT PROD -
UCTS. THE PACK AGE SHOWS ACCES SORIES THAT HAVE BEEN SUPPLIED
WITH YOUR PRODUCT.
1. Turn shaver OFF, remove the charging plug from the outlet and power cord
from the shaver.
2. Press the Shaver Head Release Button to open the shaving unit.
3. Pull the shaving unit OFF the shaver.
4. Turn the lock counterclockwise to unlock.
5. Remove the shaver heads and place the new shaver heads in the shaving unit.
6. Replace the frame and turn the lock clockwise until it locks into place.
7. Insert the notch of the shaving unit into the slot in the top of the shaver.
shaver head replacement indicator symbol will go out.
• NOTE: If the shaving unit does not close smoothly, make sure you inserted the
shaving heads properly and that the retaining frame is locked.
AVAILABLE ACCESSORIES
S3310 SHAVER, CHARGER, OPERATION GUIDE,1-YEAR EXTENDED SERVICE.
AFTER EACH USE: TRIMMER
• Turn shaver OFF.
• Push down spring-release trimmer switch.
• Turn shaver ON and rinse trimmer under warm tap water.
• Turn shaver OFF and close the trimmer.
• Lubricate the trimmer teeth with onedrop of mineral oil every 6 months.
ComfortCut Blade System.
Shaving Unit.
Protective Cap.
Individually
Floating
Heads.
Shaving Unit
Release Button.
• Hair Chamber
captures shaven
hair.
Electronic
ON/OFF Button.
Shaver Head
Replacement Indicator.
LED Charge
Indicators.
•
Battery Charge,Full
& Low Indicator.

Other Philips Electric Shaver manuals

Philips Norelco 8020X User manual

Philips

Philips Norelco 8020X User manual

Philips Norelco Speed-XL 8151XL User manual

Philips

Philips Norelco Speed-XL 8151XL User manual

Philips HQ 8894 User manual

Philips

Philips HQ 8894 User manual

Philips HQ6095 User manual

Philips

Philips HQ6095 User manual

Philips Ladyshave softselect HP6322/03 User manual

Philips

Philips Ladyshave softselect HP6322/03 User manual

Philips NORELCO MG7791 User manual

Philips

Philips NORELCO MG7791 User manual

Philips AT881 User manual

Philips

Philips AT881 User manual

Philips PQ217 User manual

Philips

Philips PQ217 User manual

Philips QT4022 User manual

Philips

Philips QT4022 User manual

Philips HQ6894/01 User manual

Philips

Philips HQ6894/01 User manual

Philips HQ8882 User manual

Philips

Philips HQ8882 User manual

Philips MG3712 User manual

Philips

Philips MG3712 User manual

Philips AT941 User manual

Philips

Philips AT941 User manual

Philips HQ5715 User manual

Philips

Philips HQ5715 User manual

Philips PQ208 User manual

Philips

Philips PQ208 User manual

Philips RQ1285 User manual

Philips

Philips RQ1285 User manual

Philips PQ218 User manual

Philips

Philips PQ218 User manual

Philips TT2021/32 User manual

Philips

Philips TT2021/32 User manual

Philips HQ5413/33 User manual

Philips

Philips HQ5413/33 User manual

Philips Norelco SW9700 User manual

Philips

Philips Norelco SW9700 User manual

Philips BT7500 User manual

Philips

Philips BT7500 User manual

Philips S5583 User manual

Philips

Philips S5583 User manual

Philips NORELCO 7000 Series User manual

Philips

Philips NORELCO 7000 Series User manual

Philips 3000 series Operating instructions

Philips

Philips 3000 series Operating instructions

Popular Electric Shaver manuals by other brands

Braun ceuZer 4 face manual

Braun

Braun ceuZer 4 face manual

Braun 350CC-4 user manual

Braun

Braun 350CC-4 user manual

Braun 360S-4 user manual

Braun

Braun 360S-4 user manual

Magnitone Go Bare MINI LADY instruction manual

Magnitone

Magnitone Go Bare MINI LADY instruction manual

Clatronic HSM/R 3265 instruction manual

Clatronic

Clatronic HSM/R 3265 instruction manual

Scarlett SC-SH65R55 instruction manual

Scarlett

Scarlett SC-SH65R55 instruction manual

Profi Care PC-HSM/R 3100 instruction manual

Profi Care

Profi Care PC-HSM/R 3100 instruction manual

Silvercrest SNHT 1.5 B2 operating instructions

Silvercrest

Silvercrest SNHT 1.5 B2 operating instructions

Silvercrest SRR 3.7 B2 operating instructions

Silvercrest

Silvercrest SRR 3.7 B2 operating instructions

TriStar TR-2552 instruction manual

TriStar

TriStar TR-2552 instruction manual

BaByliss PRO GOLDFX B787GDBR operating instructions

BaByliss PRO

BaByliss PRO GOLDFX B787GDBR operating instructions

Silvercrest SRR 3.7 D5 operating instructions

Silvercrest

Silvercrest SRR 3.7 D5 operating instructions

BaByliss PRO FOILFX 02 BFS2GA operating instructions

BaByliss PRO

BaByliss PRO FOILFX 02 BFS2GA operating instructions

Silvercrest SHBS 5 A1 operating instructions

Silvercrest

Silvercrest SHBS 5 A1 operating instructions

Silvercrest SBT 1.5 B1 operating instructions

Silvercrest

Silvercrest SBT 1.5 B1 operating instructions

Remington MB4130 manual

Remington

Remington MB4130 manual

Remington G4 Graphite Series manual

Remington

Remington G4 Graphite Series manual

SEVERIN HS 0707 Instructions for use

SEVERIN

SEVERIN HS 0707 Instructions for use

manuals.online logo
manuals.online logoBrands
  • About & Mission
  • Contact us
  • Privacy Policy
  • Terms and Conditions

Copyright 2025 Manuals.Online. All Rights Reserved.