If your Philips Shaver is not working or turning on, read below the possible causes and our
advice on how to solve them yourself.
Your Philips Shaver is not charged
If you have a rechargeable Philips Shaver, it is possible, that its battery has run out. We advise
you to charge your shaver and then try turning it on again. For details on how to charge your
shaver, please refer to the user manual.
If your Philips Shaver is not rechargeable then it should be plugged in to a working electric
socket while in use.
My Philips Shaver is not giving good results
If your Philips Shaver is not giving the desired results that you expected, read the possible causes
below and our advice on how to resolve them.
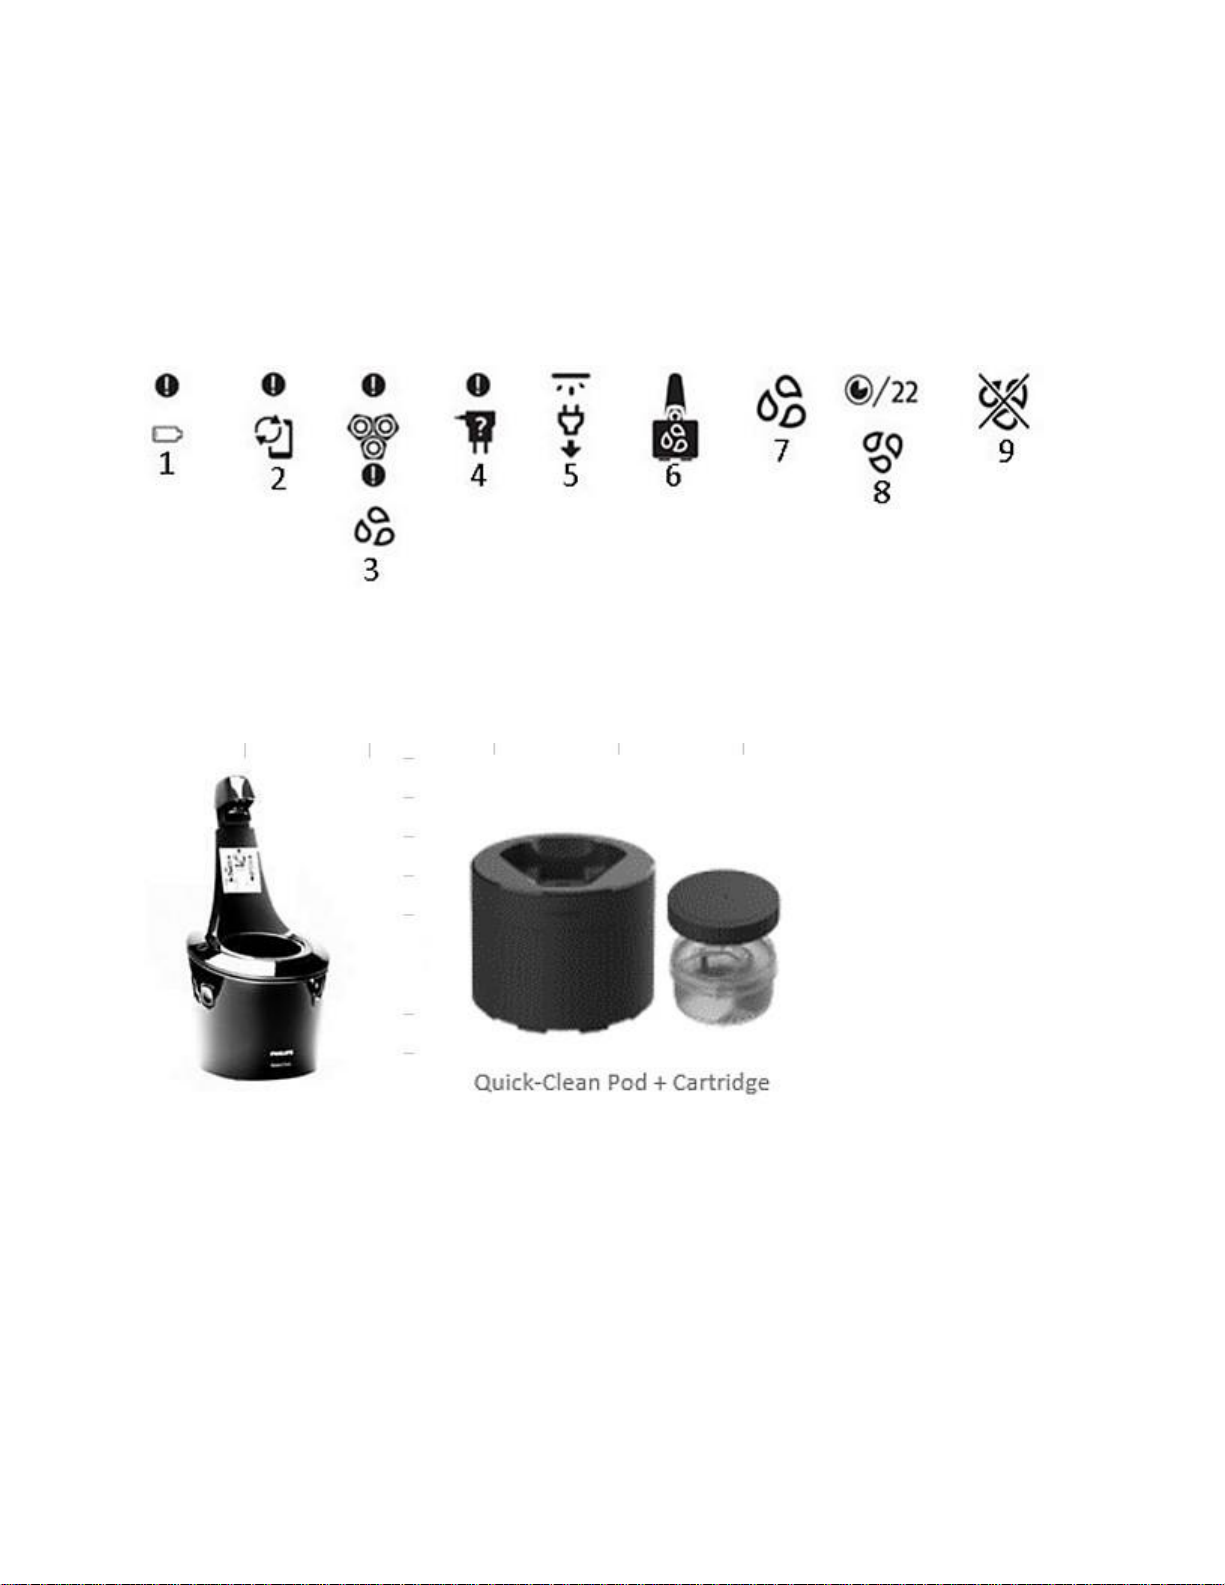
Your Philips Shaver is dirty
It is possible that the performance of your shaver has declined because it is dirty. There can be
hair or dirt particles stuck inside it, causing the shaving heads to not function correctly.
To fix this problem, clean your shaver thoroughly. If possible, remove the shaving heads and
clean your shaver from the inside as well. For detailed cleaning instructions, refer to your user
manual or view the video below.
In some shavers, a cleaning reminder symbol will blink to let you know that the shaver needs to
be cleaned.
Your Philips Shaver is not assembled correctly
Another reason why your shaver might not be working properly is that it is not assembled
correctly. For full instructions on how to reassemble your shaver, refer to your user manual or to
the video below.
Apply the right movements while shaving
When you shave with your Philips Shaver, you will achieve optimal results if you make slow,
circular movements with the shaver over the face. The latest models of S7000 and S9000 will
help you to achieve the perfect circular movements thanks to their motion-sensor control.
Allow your skin an adjustment period
If you are a new user of the Philips Shaver, keep in mind that your skin needs to adapt to the
electric razor. This means that your skin may feel slightly irritated in the beginning. Allow