Philips ReCare 7.5 S User manual

2
Please read this entire manual carefully
before operating your new recumbent
stepper with removable seat save it for
future use.
User manual
Register your product and get support at
www.philips.com/welcome
PTE7500MS
Recumbent stepper
with removable seat
ReCare
7.5 S

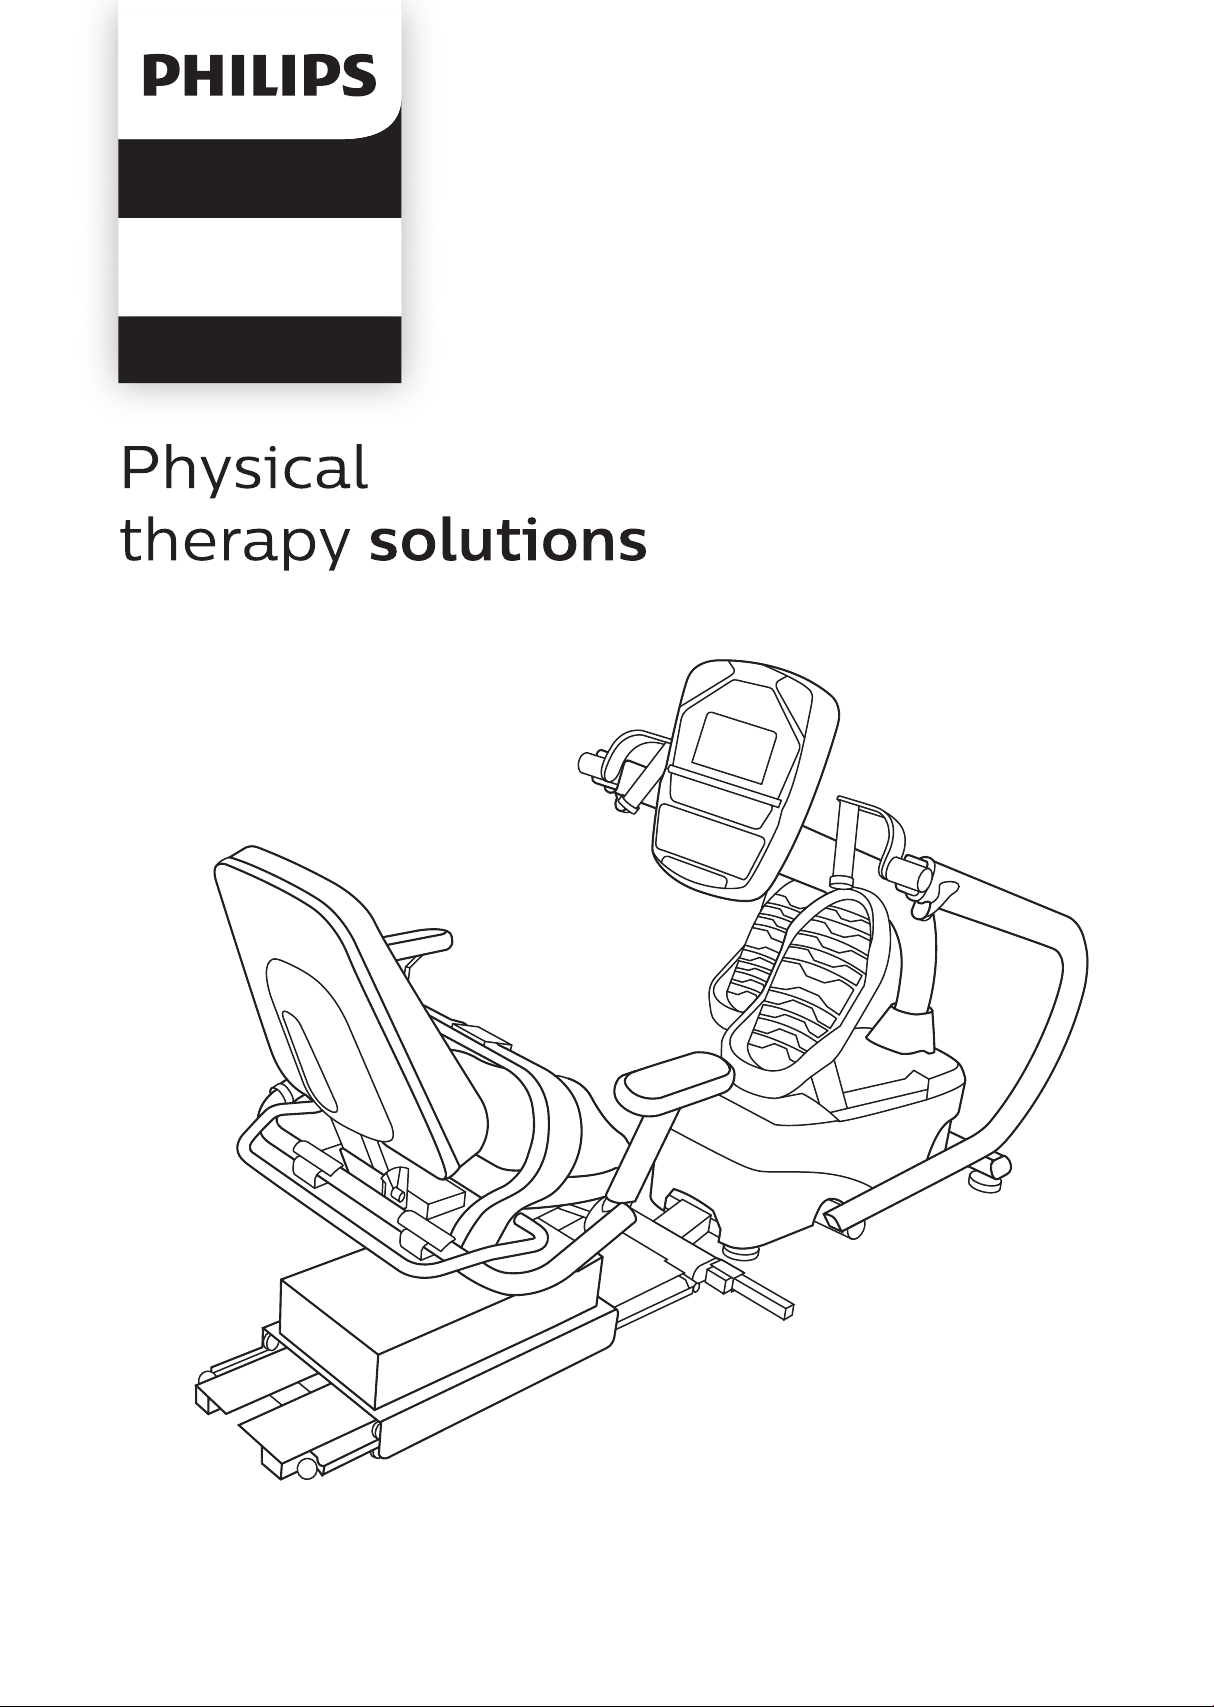
Thank you for your recent purchase of the Philips physical
recumbent stepper with removable seat, 7.5 S Philips physical therapy
and exercise solutions provide simple, reliable products that oer the
most relevant feedback to caregivers and users to achieve
best-in-class outcomes and empower individuals to build condence
in rebuilding and maintaining healthy lifestyles and keep in touch
with their
communities.
Your new product has been manufactured by one of the world’s
leading medical product manufactures. It is backed by one of the
most comprehensive warranties in the industry. Through our dealers,
distributors and manufacturer’s representatives, we will do all we can
to provide many years of successful and prosperous ownership.
Your warranty and service needs will be addressed either through
your regional sales representative or our highly trained service
technicians.
It is their responsibility to provide you with both the technical
knowledge and access to service personnel to make your ownership
experience more informed, and resolve any issues quickly.
Product registration
Register your product and get support at :
www.philips.com/welcome .
This will ensure we have all your details quickly at hand in dealing with
any after sales support. For fastest support visit us online for chat and
self service solution at :
www.philips.com/support .
Philips therapy solutions
Delivering better outcomes

Contents
Important safety instructions
Important electrical information
Important operation instructions 9
Application specication 10
Operating principle 12
Signicant physical characteristics 12
8
Signicant performance characteristic
13
Intended user prole 14
5

38
56
60
63
15
Features 17
Operation of your new stepper
Data transfer software instructions
Using a heart rate transmitter
21
Maintenance
Specications
Description of packaging symbols
Operating the 7.5 S
31
35
Assembly instructions for 7.5 S

5
Attention
Read all instructions in this manual before using this device.
Danger
To reduce the risk of electric shock disconnect your from the
electrical outlet prior to cleaning and/or service work.
Warning
• Do not modify this equipment without authorization of the
manufacturer.
• To reduce the risk of burns, re, electric shock, or injury to persons,
install the unit on a at level surface with access to a 100 to
240-volt ac, 50/60 hz, 15-amp outlet. The unit should be the only
appliance in the electrical circuit.
• Use this device only for it’s intended use as described in this
manual.
• Keep children away from the device. There are moving parts,
obvious pinch points and other caution areas that can cause harm.
• Except as instructed for use of the device, keep hands away from all
moving parts.
Important
safety
instructions

6
• Keep the electrical cord away from heated surfaces and out of all
travel lanes and do not operate the device if the cord or plug is
damaged.
• Never drop or insert any object into any openings.
• Do not use outdoors.
• To disconnect, turn all controls to the o position then remove the
plug from the outlet.
• This device is designed for commercial use and will meet the
demands of orthopedic, sports wellness and general conditioning
programs.
• Do not attempt to use the device for any purpose other than for the
purpose it is intended.
• The pulse sensors are not medical devices. Various factors, including
the user’s movement, may aect the accuracy of heart rate readings.
The pulse sensors are intended only as exercise aids in determining
heart rate trends in general.
• Warning: heart rate monitoring system may be inaccurate. Over
exercise may result in injury or death. If you feel faint stop exercising
immediately.
• Ensure there is a minimum space on the sides of the unit of two feet
for proper operation, easy access and to prevent possible injuries to
others standing or walking nearby. There should be a minimum of at
least one foot of free space at the front and rear of the unit.
• Do not use any after market parts on this device, other than those
recommended by philips.
• Do not attempt any servicing or adjustments other than those
described in this manual. All else must be left to trained service
personnel familiar with Electro-mechanical equipment and
authorized under the laws of the country in question to carry out
maintenance and repair work.

7
• Installation and assembly of this product should be performed by
trained personnel only.
• To avoid injury please observe all minimum and maximum seat and
arm adjustment settings.

8
Warning
• Never remove any cover without rst disconnecting ac power. If
voltage varies by 10% or more outside of specied range (100 to
240v), the performance of your bike may be aected. Such conditions
are not covered under your warranty. If you suspect the voltage is
low, contact your local power company or a licensed electrician for
proper testing.
• Never expose this product to rain or moisture. This product is not
designed for use outdoors, near a pool or spa, or in any other high
humidity environment.
• The 7.5 s is not protected against the ingress of water or particulate
matter.
• The 7.5 s is not suitable for use in an oxygen rich environment.
• If not stated otherwise philips devices are designed for operation in
normal climatic surroundings:
- Temperature: + 10° ... + 36° c
- Relative humidity: 30 ... 90 % (non condensing)
- Air pressure: 700 ... 1060 mbar
- Maximum operating altitude: approx. 10,000 feet (3000m),
without pressurization
- transport and store the devices at a temperature of – 20°... + 50° c.
Important
electrical
information

9
• Never use the device during an electrical storm. Surges may occur
in your facility power supply that could damage the unit’s
components.
• All users should have medical clearance before starting any
rigorous exercise program. This is especially important for
persons with a history of heart disease or other high risk factors.
• The user should adjust the seat and arms to a position that is
comfortable during exercise. The console has a program in the
setup menu that can aid in setting the correct seat and arm
position.
• Start at a safe exercise level. Do not allow the user to be over
exerted. Symptoms to watch for, but not limited to, are: shortness
of breath or diculty in breathing, pain or discomfort, feeling
faint.
• Make sure the user warms up and cools down properly to avoid
over taxing the cardio vascular system. Allow three to ve
minutes of warm up and cool down during each exercise session.
Important
operation
instructions

10
Medical purpose
• Patient warm up before physical therapy session.
• Have the patient pedal to improve range of motion after
knee/hip/ankle/shoulder or wrist surgery.
• Allow patients to perform cardiovascular exercise
Intended patient population
• There is no particular restriction on age, gender, height and
nationality.
• Maximal patient’s weight is 200kg.
• Patient must be ambulatory.
• Patient should have medical clearance before starting any rigorous
exercise program.
• This is especially important for person with a history of heart
disease or other high
• Risk factors.
Intended part of the body or type of tissue applied to or
interacted with:
• Contact site: hands, feet, and trunk
• Condition: should not have any trauma
Application
specication

11
Intended conditions of use
• Environment including hygienic requirements:
- General
Intended for indoors use. This product is not designed for use
out doors, near a pool or spa, or in any other high humidity
environment.
- Conditions of visibility
Ambient luminance: standard ambient room lighting is
sucient.
Viewing distance: 1 m
Viewing angle: 120°
- Physical
Temperature range: 10°c ~ 36°c
Relative humidity range: 30% r.H. ~ 90% r.H., Non condensing
- Hygienic requirements
There is no particular restriction on hygienic requirements.
• Frequency of use
- Dependent on therapist’s plan.
• Location
- Intended for hospital use, clinic use, home use and research in
academic Institutions.
• Mobility
- The product is intended to be xed.
1
1
2
3
1
1
2

12
The patient pushes the pedals with their feet and the arms with their
hands. The operator can increase the workload using the Up and
Down Key on the console. When the workload change is requested a
gear motor moves permanent magnets closer or further from the
aluminum ywheel creating more or less resistance.
Operating
principle
Please refer to Features of 7.5 S manual.
Signicant
physical
characteristics

13
Please refer to “Unique uses for the 7.5 S” in operating the 7.5 S.
Signicant
performance
characteristic

14
Intended operator
• There is no particular restriction on age, gender, height, weight,
ability and culture.
• Education: university or above
• Knowledge: the operator should read the user’s manual before use.
• Discipline: the operator should receive training from the
manufacturer before use.
• Experience: the operator must have experience in physical therapy.
• Background: the operator must be a major in physical therapy.
• Professional competence: the operator should have the physical
therapist license.
Intended Installer
• There is no particular restriction on age, gender, height, weight,
ability and culture.
• Education: high school or above
• Knowledge: the installer shall be able to manipulate this product
properly.
• Discipline: the installer shall be given a specic training by
manufacturer.
• Experience: the installer must have experience in product assembly
and disassembly.
• Background: the installer must be electro-mechanically trained.
• Professional competence: normal vision ability required.
Intended
user prole

15
The recumbent stepper is intended to be used in aiding in the physical
rehabilitation process for patients with orthopedic and neurological
problems. Also used in sports medicine, wellness and general
conditioning programs.
Typical applications for this type of product are:
• Patient warm up before physical therapy session.
• Have the patient pedal to improve range of motion after
knee/hip/ankle/shoulder or wrist surgery.
• Allow patients to perform cardiovascular exercise.
Unique uses for the 7.5 S
• Self adjustable step length allows patients to pedal in smaller range of
knee motion, from 5 degrees to full range.
• Arms are linked to the foot pedals for ease of coordination. Arms can
also be used alone without stepping with feet.
• Symmetry program measures balance between left and right pedal
and/or arm stroke. Graphical bio-feedback display motivates patients
to maintain even power symmetry between left and right legs. If
measuring arms only the graph and power readings will be reversed.
Operating
the 7.5 S

16
Other features of the 7.5 S
• Work range up to 750 watts.
• Indexed seat positioning accommodates users from 147 cm to 200 cm
(4’ 10” to 6’ 7”)
• Heart rate monitoring using the hand grips or optional heart rate
chest-strap.
Heart rate measurements are not for medical use
The heart rate function on this product is not a medical device. While
heart rate grips or a thumb pulse sensor can provide a relative
estimation of your actual heart rate, they should not be relied on when
accurate readings are necessary. Some people, including those in a
cardiac rehab program, may benet from using an alternate heart rate
monitoring system like a chest or wrist strap. Various factors, including
movement of the user, may aect the accuracy of your heart rate
reading. The heart rate reading is intended only as an exercise aid for
measuring heart rate trends in general.

17
7.5 S Recumbent stepper
Parts and adjustments
1. Electronic console
2. Upper body rotating handles
3. Quick release lever
4. Cushioned footplates with straps
5. Swivel seat with seat belt
6. Arm supports
7. Seat angle adjustment
8. Seat position adjustment
9. Seat carriage stops
10.Wheelchair anchor
11.Leveling glides
Optional parts (not shown)
2.2 Lower extremity bi-lateral stabilization set
2.3 Hand/wrist stabilization set
Features
10
2
3
4
5
6
7
8
9
9
1
11

18
The 7.5 S is an easy product to set up and use, from the adjustments to
the intuitive interface. This section explains how to set up, adjust and
operate your 7.5 S.
Leveling the 7.5 S
• Once the 7.5 S is assembled, and placed on a at level oor, it may
be necessary to adjust the leveling glides on the bottom of the unit
to ensure proper stability of the 7.5 S. Use a 1/2” wrench to loosen
the top nut of the levelers. Adjust the front 4 corner levelers by
hand as necessary to remove any wobble in the unit. Then tighten
all the top nuts against the bottom of the stabilizer tubes. Make
sure the bottom nut remains cinched against the leveling foot.
Connecting to A.C. power
• The 7.5 S uses a universal switching power supply. You can plug the
7.5 S power supply into any A.C. power source from 100 to 240 volts,
50 to 60 hz. The A.C. Input is located in the front of the unit.
Seat adjustments
Adjusting the seat fore/aft position
• Squeeze the brake handle located on the left side handle bar. Move
the seat to the desired position and release the handle. Move the
seat slightly until the seat lock clicks in place. There is a numbered
scale located on the seat slide plate for repeatable settings. Seat
position is indicated by the front of the seat carriage lining up with
the number on the scale.
Seat back angle
indicator
Lift handle to rotate
seat. Lower handle to
activate latch.
Seat position number
line up with front edge
of the seat carriage
14
26
35
1
2
3
4
5
6
7
8
9
10
11

19
Adjusting the seat back angle
• To adjust the seat back angle, squeeze the brake handle located on
the right side handle bar and move the seat back to the desired
position. There is a numbered scale located just below the seat
back cushion for repeatable settings.
Rotating the swivel seat
• Lift the handle behind the seat to disengage the latch. Rotate the
seat to the desired position; lower the handle when approaching
position to activate latch. The seat will latch into place every 45
degrees
• To use the 7.5 S with a wheelchair remove the two pins at the rear of
the seat tracks, squeeze the seat adjustment lever and slide the
seat assembly o the rear of the 7.5 S. Roll the wheelchair in
position and secure to the machine using the straps as shown
above.
Pull out pins,
hold seat release lever
and slide seat
assembly o the rear.
Secure strap to
the wheel or
frame member
Pull pop-pin,
slide anchor to
desired location

20
Seat belt adjustment
• Simply snap the buckles together and
adjust the strap to the desired t.
Rotating handle
• Handles rotate to allow wrist patients
to use upper body without discomfort.
Pedal strap adjustment
• Remove the ankle strap from the
chrome ring. Loosen the foot strap
enough so the patient’s foot can slide
under. Once the foot is in the correct
position reattach the ankle strap and
adjust both straps for a snug t.
This manual suits for next models
1
Table of contents
Other Philips Exercise Bike manuals