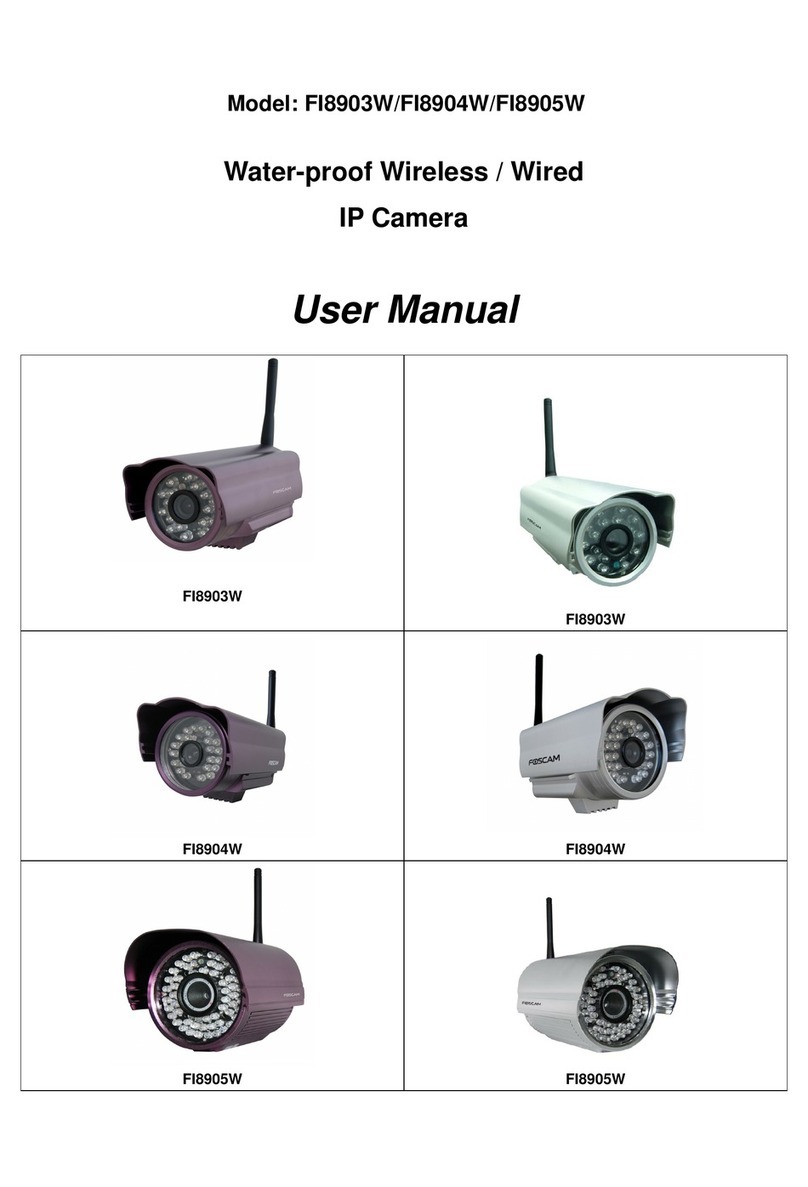
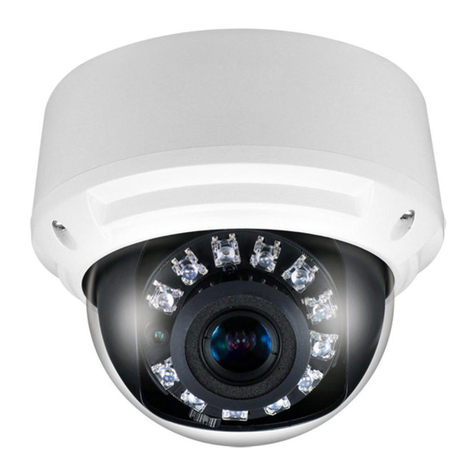
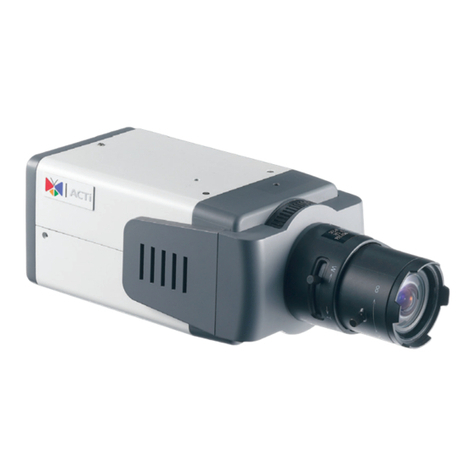
Phylink Bullet Pro PLC-336PW User manual

Quick Install Guide
Quick Install Guide
VERSION 1.0
Outdoor Network Camera

Contents
1. Verify the package contents
Verify the package contents against the list below.
PLC-336PW Network Camera
Camera Mount Bracket
External Antenna
Manual and Software on CD-ROM
CAT5 Ethernet Cable
Power Adapter
Quick Install Guide
Waterproof box and mounting accessories
Screw, plastic wall plug and hex wrench for wall mount
1. Verify the package contents ................................................................ 2
2. Hardware Overview .............................................................................. 3
3. Hardware Installation ........................................................................... 6
4. Quick installation for iOS device ....................................................... 12
5. Quick installation for Android device ................................................17
6. Camera installation on PC .................................................................. 21
7. Installation via Web Browser ............................................................. 28
PHYLINK PLC-336PW Quick Install Guide
This installation guide provides basic instructions for installing the PLC-336PW
on your network. Follow these instructions, you can quickly complete the camera
installation on , iOS
Android and PC (or Mac) .
Phylink’s website contains the latest user documentation and software updates.
Please visit www.phylink.com for more details.
For more information, please read the User Manual on the CD included with this
package.

2. Hardware Overview
PHYLINK PLC-336PW Quick Install Guide
Camera Cable
Extension Box
Wi-Fi Antenna
Sun Shield
Front Shell
Mount Bracket
Lens Light Sensor
Infrared LED
Monitors lighting conditions and switches between color and infrared
accordingly.
Light sensor
Used to illuminate the camera's field of view at night.
Infrared LED
Used to connect the camera to the power, network, amplified speaker and
wired alarm devices.
Extension box

PHYLINK PLC-336PW Quick Install Guide
Reset Button
Micro SD
Card Slot
Power Connector
Power indicator LED
Ethernet RJ45 connector
General I/O Terminal
Audio line out
Extension Box Interface
Connects to the included DC 12V power adapter.
Power Connector
3.5mm Jack, connects to the amplified speaker.
Audio line out
Power indicator LED
After camera is powered on, the indicator LED shows yellow light.
General I/O Terminal
Used to connect external wired alarm devices like PIR sensor, gas detector,
siren and etc.
Reset Button
Press this button for 5 seconds to reset the
camera. Note that all settings will be restored
to factory default.
Local storage for storing recorded image and
video.
Micro SD Card Slot

PHYLINK PLC-336PW Quick Install Guide
Waterproof Box
Extension Box
Camera Cable Connector
Mounting Accessories
Extension box can be separated from the camera main unit and connected to
the camera cable with a waterproof connector. This is a good idea when you
need to put the camera cable through a building's wall. You only need to drill
a small hole to run the camera cable extending from the rear of camera to an
indoor power source and network.
Camera Cable Connector
Used to fix the Waterproof Box on the wall.
Mounting Accessories
Waterproof Rubber
If you wish to mount the Extension Box outdoors, you must put it inside the
waterproof box. It's not necessary to use Waterproof Box when you mount the
Extension Box indoors.
Waterproof Box
The cable extending from the rear of camera has a usable length for routing
through a building’s wall. With length of 90 cm, it would make the installation
flexible and easy.
Camera Cable
Camera Cable

3. Hardware Installation
3.1 Mount the Camera
6
PHYLINK PLC-336PW Quick Install Guide
Mount the bracket
Drill three holes into the wall or ceiling.
Then hammer the supplied plastic
wall plug into the holes. Mount the
bracket and camera with supplied screws.
Adjust the angle of the bracket
Adjust the angle of the mount bracket to aim at the shooting area and then
screw the hex screw on mount bracket with the included hex wrench.
The supplied L-type hex wrench are exclusively
designed to match hex screw on mount bracket.
In case you will need to adjust the lens later,
do not discard the wrench.
Mounting nut
Sun Shield
Mounting screw
Drop ceiling Mounting
The camera can be mounted under the
eaves or ceiling.
You can replace one of the Sun Shield
mounting screws with the included
special mounting nut to mount the
camera bracket from above.
Mount Bracket

PHYLINK PLC-336PW Quick Install Guide
7
Mount the Extension Box
Extension box used to connect the camera to the power, network, amplified
speaker and wired alarm devices.
Extension box can be separated from the camera main unit. This is a good
idea when you need to put the camera cable through a building's wall.
IMPORTANT!
The Camera Cable Connector has a meta locking ring to fix the cable to the
Extension Box, you must unscrew the locking ring before you unplug the
Camera Cable from Extension Box. You can not force to unplug or unscrew it
otherwise it may cause some damage on the connector both on cable and
Extension box.
Building wall
Extension Box
Outdoor Indoor
DC Power Cable
Network Cable
A roughly 25mm diameter hole
will be required for camera cable
to pass through.
Extension Box can be mounted indoors and outdoors, it depend on your
installation environment.
Extension Box mount indoors
Locking Ring Extension Box
Camera Cable

PHYLINK PLC-336PW Quick Install Guide
8
Adjust the Sun Shield (Optional)
The Sun Shield can be mounted in several positions depending on your needs.
If you extend forward the Sun Shield, it can reduce glare from the sun as well
as keeping the lens glass dry in light rain or snow. On the other hand,
reflections of IR light from the underside of the Sun Shield would make the
entire picture appear foggy, so for maximum night vision range you would
either move the Sun Shield all the way back or remove it entirely.
DC Power Cable
Waterproof Box
Building wall
Outdoor Indoor
A roughly 1/4 inch diameter hole
will be required for either a CAT-5
network cable or the DC plug on
the power cable to pass through.
Network Cable
If you wish to mount the Extension Box outdoors, you must put it inside the
Waterproof Box.
Extension Box mount outdoors

PHYLINK PLC-336PW Quick Install Guide
3.2 Micro SD Card Installation
IMPORTANT!
The PHYLINK Bullet Pro camera is completely weatherproof, but when you take
off the Front Shell to insert a Micro SD-card, you must screw the Front Shell back
tightly to avoid water leakage and humidity. Be careful not to lose seal O-ring on
the Front Shell.
Inserting a micro SD card into the camera requires you to put the camera indoors
in a low humidity environment and unscrew the Front Shell of camera.
It is easier to do it if you take the Sun Shield off first.
Be careful not to break the lens or infrared LEDs. The micro SD card can only be
inserted into the camera with the brand tag facing towards the mount bracket.
When done, please screw the Front Shell back to the camera main body carefully.
Do not use any tools, hand tight is good enough.
If you do not have a micro SD card, but plan to add one later, this is fine.
When inserting the card, remember to turn the power off from the camera,
insert the card, and then power it back on.
9
Micro SD Card Slot

PHYLINK PLC-336PW Quick Install Guide
3.3 Connect Camera to Power and Network
Connect Network and Power
Connect the camera to your router or switch using the network cable.
Using the included power adaptor, plug one end into the Power Connector on
the Extension Box and plug the other end into a power outlet.
Connection Using a PoE Switch or PoE Injector
The Bullet Pro camera can be either connected with Power Adaptor and
network cable, or optionally with a CAT-5 network cable that is connected to
an 802.3af compatible PoE Switch or PoE Injector. Under this condition, the
network cable will transmit both power and data over a single cable and you
don’t need to connect the power adapter.
IMPORTANT!
Please note that for initial setup, you need to connect the camera directly to your
router or switch with a network cable. You can NOT connect wirelessly to the
camera without first setting it up via a network cable. After initial setup only the
power cable is required for the Wi-Fi connection.
10
Note: The DHCP sever and UPnP must be enabled on your router (which is default
setting on most router) to assign a local IP address to the network camera.
If needed, please refer to your router's user manual on how to enable DHCP server
and UPnP.
Extension Box
DC Power Cable
Network Cable
Router
PHYLINK PLC-336PW Quick Install Guide
11
Connect the Alarm Devices
General I/O terminal is Used to connect external wired alarm devices like PIR
sensor, gas detector, siren and etc. The Bullet Pro Camera have one Digital Input
and one Digital Output for external sensor and alarm.
General I/O Terminal
Pin NO. Name
1
2
3
4
Specification
POWER
DI
DO
GND
12VDC ± 5%, max. 0.5A (For external device)
Digital output , Max. 40VDC, max. 400mA
Digital input, OPEN/Short-to-GND
Ground
POWER
DI
DO
GND
For more details about how to use , please read the UserGeneral I/O terminal
Manual on the included installation CD or download from the PHYLINK
support website.
Mount the antenna
If using a Wi-Fi Network connection, the provided external antenna must be
mounted to the SMA connector at the rear of camera main body.
Please keep the antenna vertical for better signal strength.

4. Quick installation for iOS device
4.1 Camera installation on iOS device
There are three ways to add a camera on an iOS device.
Option 1
Search the camera in Local Area Network
Add Camera
17:50 63%
Cancel
Name
THG5T55K2RY7K1VWC7XJ
Save
Camera
UID
Account admin
PasswordPassword
Enter the " ". ( The default password is "admin". )Password
Assign a " " to the camera to help identify this camera if more than oneName
camera is in use. ( The default name is "Camera". )
Press " " button and your camera will show up under “Camera List”.Save
If your camera is in the same Local Area Network with your smartphone, the
App can search the cameras automatically. If the camera UID shows up on list
then press the UID for the camera you are setting up.
Search "PHYCAM" App from App Store, download and install it.
Start the App and then the " " screen will appear.Add Camera
PHYLINK PLC-336PW Quick Install Guide
12
iPhone
Event Playback Add Camera Info
Camera
Add Camera
17:50 63%
Camera Found! (2)
Camera Found! (2)
Add QRCode
VNW5V15K6RY7J4VWC7W1
192.168.168.102
THG5T55K2RY7K1VWC7XJ
192.168.168.103
iPhone

Option 2
Scan the camera UID using Smartphone
Manually type UID
Option 3
If your camera is not in the same Local Area Network with your Smart phone,
the App can NOT search cameras for Local Network.
Press " " button to scan the camera UIDQRCode
from the sticker on the Camera Cable.
Press " " button and manually type "UID" according to the UID sticker on theAdd
Camera Cable.
Enter the " ". ( The default password is "admin". )Password
Assign a " " to the camera to help identify this camera if more than oneName
camera is in use. ( The default name is "Camera". )
Press " " button and your camera will show up under “ ”.Save Camera List
Event Playback Add Camera Info
Camera
Add Camera
17:50 63%
Camera Found! (2)
Camera Found! (2)
Add QRCode
VNW5V15K6RY7J4VWC7W1
192.168.168.102
THG5T55K2RY7K1VWC7XJ
192.168.168.103
17:50 63%
Place a barcode inside the
viewfinder rectangle to scan it.
Cancel Light
Enter the " ". ( The default password is "admin". )Password
Assign a "Name" to the camera to help identify this camera if more than one
camera is in use. ( The default name is "Camera". )
Press " " button and your camera will show up under “ ”.Save Camera List
PHYLINK PLC-336PW Quick Install Guide
13
iPhone iPhone
Camera UID Sticker

Press on the Camera name from “ ” for "Live View" with a wiredCamera List
connection.
Press the " " button to go back to the “ ”.Back Camera List
Press to View saved pictures.
Press to take a snapshot.
Press to start listening or stop listening.
Live View
17:50 63%
Back
Camera
Online / LAN
768x432 / FPS: 16 / BPS: 154 Kbps
Press to start speaking or stop speaking.
iPhone
PHYLINK PLC-336PW Quick Install Guide
14

4.2 Wireless Setup on iOS device
Event Playback Add Camera Info
Camera
Camera List
17:50 63%
VNW5V15K6RY7J4VWC7W1
Edit
Connected
Camera
V5G5SX5U2TE71JBWC7W1
Connected
Camera
Edit Camera
17:50 63%
Back
Name Camera
Account admin
Password
Reconnect Connected
Security Code
Advanced Setting
Advanced Setting
17:50 63%
Back
Motion Detection
Video Quality
Alarm Recording
Microphone
Speaker Not available
Network Setup
Alarm Actions
Login Account
Press on from the and go to the .Camera List Edit Camera
Go to > .Advanced Setting Network Setup
iPhone iPhone
iPhone
PHYLINK PLC-336PW Quick Install Guide
15

Network Setup
17:52 62%
Back
WiFi Networks
Data & Time
WiFi Networks
17:52 62%
Back
CHOOSE A NETWORK...
D-Link_DIR-612
TP-Link_245416
FAST_11DA2E
phr-002
Enter Password
17:52 62%
Cancel Join
Password
After a successful wireless setup, you can remove the network cable and the
camera should work through the wireless network after a short delay.
Press , then the App will search for available wireless networks,WiFi Networks
select your network among this list.
Type your Wi-Fi password and press the “ ” button to complete the Wi-Fi setup.Join
iPhone iPhone
iPhone
PHYLINK PLC-336PW Quick Install Guide
16

5. Quick installation for Android device
5.1 Camera installation on Android device
Option 1
Enable Wi-Fi on Android device, press on “ ” button and the camera UIDSearch
will shows up on "Search camera from LAN" screen. Then press the UID for the
camera you are setting up.
Search the camera in Local Area Network
20:46
PHYCAM
Click here to add camera
Search camera from LAN
TDGNUX5221EZ11BWC7EJ
192.168.168.105
Refresh
If your camera is in the same Local Area Network with your smart phone,
the App can search the cameras automatically.
Assign a to the camera to help"Name"
identify this camera if more than one
camera is in use.
( The default name is "Camera". )
Enter the " ".Password
( The default Password is "admin". )
Search "PHYCAM" App from Google Play, download and install it.
Start the App and then the following screen will appear.
Press " " button and then the cameraOK
will show up under the “Camera List”.
PHYLINK PLC-336PW Quick Install Guide
17
Press to add a new camera.
There are three ways to add a camera
on the Android device.
Add Camera
Device Setting
UID:
Search
Scan
20:46
Account: admin
Password:
Name: Camera
OK Cancel
TDGNUX5221EZ11BW

If your camera is not in the same Local Area Network with your smartphone,
the App can NOT search cameras for Local Network.
Press and manually type "UID" according to the UID sticker on the
Camera Cable.
Add Camera
Device Setting
UID:
Search
Scan
20:46
Option 2
Scan the camera UID using Smartphone
Enter the " ". ( The default password is "admin". )Password
Assign a " " to the camera to help identify this camera if more than oneName
camera is in use. ( The default name is "Camera". )
Press " " button and your camera will show up under “Camera List”.OK
Manually type UID
Option 3
Enter the " ". ( The default password is "admin". )Password
Assign a " " to the camera to help identify this camera if more than oneName
camera is in use. ( The default name is "Camera". )
Press " " button and then the camera will show up under the “Camera List”.OK
Press " " button to scan the camera UIDScan
from the sticker on the Camera Cable.
Camera UID Sticker
PHYLINK PLC-336PW Quick Install Guide
18

Press the “Back” button of Android to go back to the “Camera List”.
Press to view saved pictures.
Press to take a snapshort of live view.
Press to start listening or stop listening.
Press to start speaking or stop speaking.
Live View
Camera
20:46
PHYCAM
VNW5V15K6RY7J4VWC7W1
Online
Camera
Click here to add camera
Press on the camera name from “Camera List” for "Live View" via a wired
connection.
PHYLINK PLC-336PW Quick Install Guide
19

5.2 Wireless Setup on Android device
Press and hold camera name until the menu shown below pops up.
And then press .Edit Camera
20:46
PHYCAM
VNW5V15K6RY7J4VWC7W1
Online
Camera
Click here to add camera
Network Setup
20:46
Wi-Fi Setting
Advanced Setting
Advanced Setting
Wi-Fi Setting
SSID None
Disconnect
D-Link_DIR-612
D-Link_DIR-612
TP-Link_245416
FAST_11DA2E
phr-002
Modify Password
Note: The “Advanced Setting” at the bottom of Edit Camera page. Maybe you need
to scroll down the screen to find it.
Press on the text box to view the
list of available networks. Select your
network from the list and type in your
Wi-Fi password, and press " " button toOK
complete setup.
After successful wireless setup, remove the
network cable and the camera should work
through the wireless network after a short
delay.
Go to > and then press .Advanced Setting Network Setup Wi-Fi Setting
PHYLINK PLC-336PW Quick Install Guide
20
Other manuals for Bullet Pro PLC-336PW
1
Table of contents
Other Phylink IP Camera manuals

Phylink
Phylink PLC-325PW Bullet HD User manual

Phylink
Phylink PLC-213W User manual

Phylink
Phylink PLC-325PW Bullet HD User manual

Phylink
Phylink PLC-223W User manual

Phylink
Phylink PLC-128PW User manual

Phylink
Phylink PLC-325PW Bullet HD User manual

Phylink
Phylink Bullet HD User manual

Phylink
Phylink PLC-223W User manual