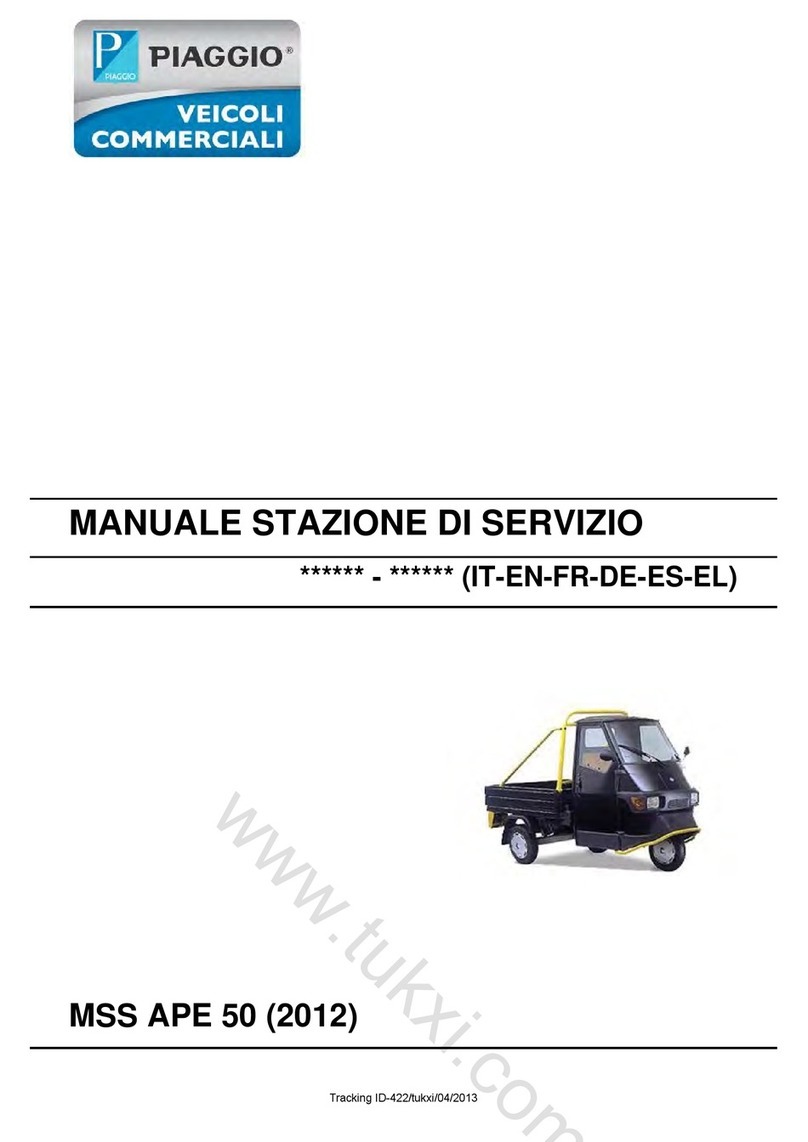
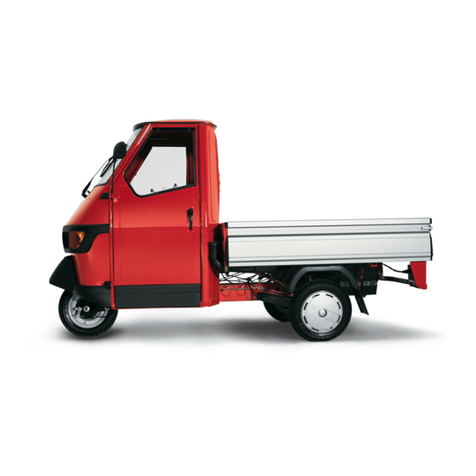
PIAGGIO Ape TM User manual

Piaggio would like to thank you
for choosing one of its products. We have drawn up this booklet to show you all features of our product. Please read the booklet carefully before using
your vehicle. It includes information, suggestions and warnings regarding your vehicle. You will also be informed of features, details and devices that
will prove the excellence of your choice. We believe that if you follow our suggestions you will soon tune in with your vehicle and use it for a long time
at full satisfaction.
This booklet is an integral part of the vehicle, and upon sale, it should be transferred to the new owner.
Ape TM - Ape TM Diesel
Ed. 01_02/2012

INSTRUCTIONS
The instructions given in this booklet are intended to provide a clear, simple guide to using your scooter; details are also given of routine maintenance
procedures and regular checks that should be carried out on the vehicle at an Authorised PIAGGIO Dealer or Service Centre. The booklet also
containsinstructionsforsimplerepairs.Anyoperationsnotspecificallydescribedinthisbookletrequiretheuseofspecialtoolsand/orparticulartechnical
knowledge: to carry out these operations refer to any authorised PIAGGIO Dealer of Service Centre. Read this booklet carefully before using your
vehicle. Follow the instructions contained in this booklet for your personal safety and to ensure long-lasting use of your vehicle. Failure to observe these
instructions may cause personal injury or damage to the vehicle.
2

Personal safety
Failure to completely observe these instructions will result in serious risk of personal
injury.
Safeguarding the environment
Sections marked with this symbol indicate the correct use of the vehicle to prevent dam-
aging the environment.
Vehicle intactness
The incomplete or non-observance of these regulations leads to the risk of serious
damage to the vehicle and sometimes even the invalidity of the guarantee.
Thesignsindicatedonthispageareveryimportant,theyhighlightthepartsofthebooklet
thatshouldberead with particular care. Each signconsistsofa different graphic symbol,
making it quick and easy to locate the various topics.
3

4

INDEX
IDENTIFICATION......................................................................... 7
Vehicle identification number.................................................... 8
SAFE RIDING.............................................................................. 11
Safe drive.................................................................................. 12
Running-in period...................................................................... 12
VEHICLE USE.............................................................................. 13
Checks...................................................................................... 14
Before starting the engine......................................................... 18
Engine start up.......................................................................... 19
Stopping the engine.................................................................. 21
Starting difficulties..................................................................... 21
Gear position............................................................................. 22
Driving Tips............................................................................... 23
DOORS AND LOCKS.................................................................. 27
Keys.......................................................................................... 28
Door locking/unlocking by key............................................... 28
Front door windows................................................................... 29
Engine inspection port.............................................................. 30
SEATS AND SAFETY BELTS..................................................... 31
Using the safety belts................................................................ 32
Fasting the safety belt........................................................... 33
Adjusting the safety belt........................................................ 34
To release the safety belt...................................................... 34
INSTRUMENT PANEL AND CONTROLS................................... 35
Handlebars............................................................................ 36
Steering wheel....................................................................... 39
Controls..................................................................................... 43
Ignition switch........................................................................... 53
GAUGES AND WARNING LIGHTS............................................ 55
Instrument unit and indicators................................................... 56
AIR CONTROL SYSTEM............................................................. 57
Heating.................................................................................. 58
Heating and demisting........................................................... 59
Demisting.............................................................................. 59
MIRRORS AND WINDOW GLASSES......................................... 61
Adjusting the mirror............................................................... 62
Wipers and Brushes.................................................................. 62
INSIDE EQUIPMENT................................................................... 65
ELECTRICAL SYSTEM............................................................... 67
Fuel version.............................................................................. 68
Diesel version........................................................................... 68
EMERGENCY.............................................................................. 71
Wheel replacement................................................................... 72
Maintenance instructions....................................................... 72
MAINTENANCE........................................................................... 75
Check engine oil level........................................................... 76
Oil change and oil filter replacement..................................... 76
Checking the brake fluid level................................................... 79
Gear box oil level...................................................................... 81
Window washer fluid level......................................................... 83
Cooled fluid............................................................................... 83
Changing the engine cooling fluid......................................... 84
Checking and replacing the air cleaner element....................... 84
Replacing the fuel filter............................................................. 85
Air bleeding........................................................................... 86
Fuel exhaustion..................................................................... 86
Checking and replacing the pre-heating plugs.......................... 87
Fuses........................................................................................ 88
Exhaust circulation system (EGR)......................................... 91
Tyres......................................................................................... 91
Pressure................................................................................ 92
Periods of inactivity................................................................... 92
Troubleshooting / What to do if................................................. 98
SPARE PARTS AND ACCESSORIES........................................ 107
Warnings................................................................................... 108
TIPPER VERSION....................................................................... 109
5

System Operation..................................................................... 110
Warnings for Loading and Unloading Operations..................... 111
Scheduled Maintenance........................................................... 114
Extraordinary Maintenance....................................................... 116
Trouble-Shooting...................................................................... 117
Warning Plate Symbols............................................................. 120
technical sheet for EC conformity declaration........................... 123
Preface.................................................................................. 123
Equipment Layout................................................................. 124
Analysis of Risks Connected with the Layout and Operation
of the Equipment................................................................... 127
TECHNICAL DATA...................................................................... 135
Vehicle...................................................................................... 138
SCHEDULED MAINTENANCE - CHECKS................................. 149
Scheduled maintenance service............................................... 150
6

Ape TM - Ape TM Diesel
Chap. 01
Identification
7

01_01
Vehicle identification number (01_01, 01_02, 01_03)
The identification codes consist of a prefix followed by a number punched on the
chassis and on the engine, respectively.
Always quote the serial numbers when ordering spare parts.
The chassis identification number is located on the crossmember under the seat as
shown in the figure.
The frame identification code is:
ZAPT1000000001001
01_02
Check that the chassis prefix and number punched on the vehicle correspond to that
shown on the vehicle documents.
The engine identification number is printed as shown in the figure.
The first indicates the location of the plate on the diesel engine, while the second is
on the gasoline engine.
01_03
The gasoline version engine identification initials are:
ATM2M
The diesel version engine identification initials are:
LDW 422
8
1 Identification

CAUTION
BE REMINDED THAT ALTERING IDENTIFICATION REGISTRATION NUMBERS
MAY LEAD TO SERIOUS PENAL SANCTIONS (IMPOUNDING OF THE VEHICLE.
ETC.)
9
1 Identification

10
1 Identification

Ape TM - Ape TM Diesel
Chap. 02
Safe riding
11

02_01
Safe drive (02_01)
ENSURE THE SPARE WHEEL IS CORRECTLY SECURED TO THE SEAT
THROUGH THE RETAINING STRAP, IN ORDER TO PREVENT IT FROM MOVING
IN THE EVENT OF AN EMERGENCY STOP.
Running-in period
Duringthefirst1000km,donottwistthethrottlefullyopenandavoiddrivingatconstant
speed over long stretches of roads. After the first 1000 km gradually increase speed
until reaching the maximum performance.
12
2 Safe riding

Ape TM - Ape TM Diesel
Chap. 03
Vehicle use
13

Checks (03_01, 03_02, 03_03, 03_04)
Before using the vehicle, check:
1. That the oil and fuel (for fuel versions) tanks are filled.
2. The engine/transmission oil level (for diesel versions).
3. The brake fluid level.
4. That the tyre inflation pressure is correct.
5. Correct operation of side/taillights, headlights and turn indicators.
6. Front and rear brake operation.
7. Gearbox oil level (for petrol versions).
8. Electrolyte and battery charge check.
9. Check coolant (diesel version)
CAUTION
TYRE PRESSURE SHOULD BE CHECKED WHEN TYRES ARE COLD.
TYRE PRESSURE
Front tyre pressure 2.5 atm
Rear tyre pressure 4.5 atm
Fuel tank
14
3 Vehicle use

The fuel filler cap is fitted with a lock.
To open: insert the supplied key and turn it anticlockwise.
To close: put the filler cap back in position, turn the key clockwise and remove.
For petrol versions, the recommended fuel is as follows:
- unleaded petrol.
For diesel versions, the recommended fuel is as follows:
- diesel normally found on the market.
To this purpose please note that at low temperatures the paraffin elements contained
in diesel spontaneously dissociate, thereby decreasing fluidity. If it is not possible to
use winter type diesel, mix diesel with a special additive in the amounts indicated on
the container.
The additive must be poured into the tank before the diesel and before the process
described above since a late addition generates no effects.
CAUTION
•WHEN REFUELLING, KEEP THE CAP CLEAN FROM DUST AND DIRT.
CAUTION
BEFORE REFUELLING, STOP THE ENGINE. PETROL IS HIGHLY INFLAMMA-
BLE. DO NOT DROP PETROL ON HOT ENGINE PARTS. DO NOT SMOKE. KEEP
NAKED FLAMES AWAY: FIRE HAZARD. DO NOT INHALE PETROL FUMES.
15
3 Vehicle use

FUEL
Total capacity: 15 litres
Fuel (Unleaded petrol)
03_01
03_02
Oil tank (for petrol versions)
The oil tank is provided with a light reserve indicator on the instrument panel.
To top up, remove cap «B» and pour in new oil.
CAUTION
USING OTHER TYPES OF OIL CAN COMPROMISE ENGINE DURABILITY.
Recommended products
AGIP CITY TEC 2T
Oil for 2-stroke petrol engines
JASO FC, ISO-L-EGD Specifications
16
3 Vehicle use

Characteristic
Mixer oil (2.0 l)
RESERVE: 0.6 l
03_03
03_04
Removing the battery
The battery is located under the seat. The latter can be easily tilted removing the two
nuts «A» located at the two ends below the seat, as shown in the figure.
If it is necessary to remove the battery from its housing (for replacing or charging it),
disconnect the cables, remove nut «B» and release the battery from the locking
bracket «C».
CAUTION
NEVER DISCONNECT THE BATTERY WHEN THE ENGINE IS RUNNING TO
AVOID DAMAGING THE ELECTRICAL SYSTEM.
BATTERY ELECTROLYTE CONTAINS SULPHURIC ACID: AVOID CONTACT
WITH EYES, SKIN AND CLOTHES. IN THE EVENT OF ACCIDENTAL CONTACT,
RINSE WITH PLENTY OF WATER AND SEEK MEDICAL ADVICE
WARNING
USED BATTERIES ARE HARMFUL FOR THE ENVIRONMENT AND MUST BE
COLLECTED AND DISPOSED OF IN COMPLIANCE WITH THE LAW.
17
3 Vehicle use

Installing a new battery
Make sure the terminals are fitted correctly. The battery is an electrical device that
requires careful checks and diligent maintenance.
CAUTION
DO NOT INVERT THE POLARITIES: DANGER OF SHORT-CIRCUIT AND FAULTS
IN THE ELECTRICAL DEVICES.
Checking electrolyte level
The electrolyte level must be checked frequently and must reach the maximum level.
Top up exclusively with distilled water.
If the battery requires topping up too frequently, check the electrical system - the bat-
tery is probably working in overload conditions, which will lead to rapid deterioration.
Before starting the engine
- Ensure that the parking brake is released.
- Ensure that the reverse gear control lever is forward or backward according to
whether you want to move forward or in reverse.
- Ensure that the gear control lever is in neutral position: position Nfor the handlebar
version, central lever position for the steering wheel version.
THIS PRELIMINARY OPERATION IS NOT REQUIRED IN THE STEERING WHEEL
DIESEL VERSION.
18
3 Vehicle use

03_05
03_06
Engine start up (03_05, 03_06)
Engine ignition (gasoline version)
Open the fuel cock «A» (turn it counter clockwise to open and clockwise to close).
With cold engine, pull the starter lever «C» and insert the start key into the key switch,
then turn it to position 2and at the same time press the accelerator control.
After start up, release the key that will automatically return to position 1.
WARNING
EXHAUST GASES ARE TOXIC. DO NOT START THE ENGINE IN A CLOSED
PLACE.
WHEN THE ENGINE IS ON, DO NOT HANDLE PARTS AND CONNECTIONS OF
THE ELECTRIC SYSTEM, ESPECIALLY THE SPARK PLUG CABLE.
03_07
Engine start up (03_06, 03_07)
Engine ignition (diesel version)
Introduce the start key into the switch and move it to position 1. On the instrument
panel, the glow plug preheat indicator will light up. The hotter the engine, the sooner
the indicator will turn off. Then move the key to position 2 while pressing the acceler-
ator control at the same time. After start up, release the key that will automatically
return to position 1.
19
3 Vehicle use

WARNING
EXHAUST GASES ARE TOXIC. DO NOT START THE ENGINE IN A CLOSED
PLACE.
03_08
Engine start up (03_07, 03_08)
Starting off (versions with handlebar)
With idle engine, pull the clutch lever «A» and turn the gear knob to the 1st gear
(position 1on the gear indicator «B»). To start off, release the clutch lever «A»
smoothly and accelerate by turning the throttle twist grip «C».
WARNING
EXHAUST GASES ARE TOXIC. DO NOT START THE ENGINE IN A CLOSED
PLACE.
03_09
Engine start up (03_08, 03_09)
Start-up (handlebar versions)
Withidle engine,presstheclutch pedal «A»andengagethe first gearwiththegearbox
lever. Gently release the clutch pedal while gradually pressing the accelerator pedal
«B».
20
3 Vehicle use
This manual suits for next models
1
Table of contents
Other PIAGGIO Utility Vehicle manuals