manuals.online logo
Brands
  1. Home
  2. •
  3. Brands
  4. •
  5. PITH & STEM
  6. •
  7. Indoor Furnishing
  8. •
  9. PITH & STEM DropTop User manual

PITH & STEM DropTop User manual

Page: 1
www.pithandstem.com
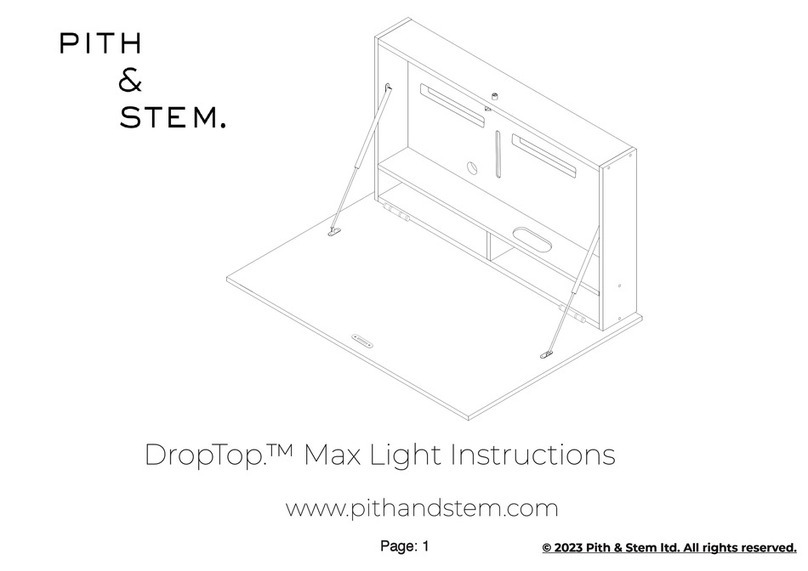
DropTop.™ Single Light Instructions
© 2023 Pith & Stem ltd. All rights reserved.
Page: 2
DropTop.™ Single Light Instructions.
ixings Packs
Tools
12 3 45
678910
x17 x19
x8
x8
Brick/Concrete Wall
Fixings Plasterboard Wall
Fixings
x3 x3
x6
x6
25mm hole saw or a 25mm Spade bit
For a Plasterboard Wall
*included *Not included*Not included
Page: 3
DropTop.™ Single Light Parts
SL
B
SL
A
SL
CSL
D
SL
E
SL
SL
G
SL
H
Page: 4
DropTop.™ Single Light dimensions.
82cm
38cm 10cm
14cm
67cm
55cm
87cm
54cm
10cm
Exterior dimensions when Closed:
Height: 67cm
Width: 87cm
Depth: 15.8cm
Worktop Dimensions:
Width: 87cm
Depth: 55cm
Weight - 20kg
It is recommended to have
two people for safely
mounting your DropTop.
!
The Single Light supports up
to 50kg in weight
Page: 5
75cm 37cm
10cm
The Single Light is designed to
house a 24-inch or a 29-inch
Ultrawide monitor.
Available Monitor Space dimensions:
Height: 35cm
Width: 75cm
Depth: Please see note below*
DropTop.™Single Light Monitor space dimensions
Monitor Mount Depth available
Extendable 5cm
Tilt 6cm
Slim 8cm
!Please note that the
available monitor space
depth will vary based on your
chosen Monitor Mount
Page: 6
Monitor Mounts.
Your DropTop™ Light will include one of the following monitor brackets, depending on your order.
Slim Mount
Depth: 1.3cm
Tilt Mount
Depth: 3.3cm
Extendable Arm Mount
Depth: 5cm
!Make sure your monitor is VESA compatible
with 75x75mm or 100x100mm. Also, please
note the recommended monitor depth for
each mount.
The recommended
maximum depth
for your monitor is 5cm
The recommended
maximum depth
for your monitor is 8cm
The recommended
maximum depth
for your monitor is 6cm
Page: 7
DropTop.™Single Light Wall Plate dimensions.
50cm
10.4cm
2 cm
3.7cm
Page: 8
Page: 8
1.6cm
The Single Light is designed with
a back recess depth of 1.6cm. This
allows for any cables to be fed
tidily behind the DropTop
It is recommended to feed the
monitor's power cable through
round cable management
grommet and down between the
gap to keep it tidy.
DropTop.™Single Light Cable Management
5.5cm
Page: 9
2
3
Fixings Pack #2
SL
SL
G
SL
E
1
x 1
Fixings Pack #1
SL
SL
G
SL
E
DropTop.™Single Light Assembly
Page: 9
Page: 10
3
SL
B
SL
SL
E
SL
G
ront
ront View Back View
At this step, make sure to position Part B at the
front view instead of the back, as shown above.
x
ML
B
ML
B
4
x12
Fixings Pack #1 Fixings Pack #3
x 4
SL
C
SL
D
Page: 11
5
Fixings Pack #2
x4
SL
C
SL
D
SL
B
SL
SL
E
SL
G
6
Fixings Pack #1
x2
Fixings Pack #3
x3
SL
A
Page: 12
7
Fixings Pack #4
x4
SL
A
8Fixings Pack #2
x4
SL
A
SL
C
SL
D
SL
SL
E
SL
G
SL
B
Page: 13
Fixings Pack #2
10
Fixings Pack #5
SL
H
SL
D
SL
SL
B
9
Fixings Pack #2
Fixings Pack #3
SL
A
SL
D
SL
B
Page: 14
11
Fixings Pack #7
x4
Fixings Pack #7
Fixings Pack #8
x2 x6
SL
C
SL
D
SL
A
SL
B
SL
E
SL
G
SL
SL
H
12
SL
E
Cable management grommet.
Insert the two thin
metal disks into the
black oval-shaped
ring.
Page: 15
After your DropTop is mounted, the speed of
the soft opening feature can be adjusted.
Locate the ridged surface at the end of each
stay to make adjustments.
To increase the speed
of the soft opening
feature, turn the
ridged surface at the
end of each stay anti-
clockwise
To slow down the soft
opening speed, turn
the ridged surface
clockwise at the end
of each stay.
14
Matching colour cover cap stickers have
been provided with your DropTop.™
Apply the cover caps over any exposed
screws.
SL
C
SL
D
SL
A
SL
B
SL
E
SL
G
SL
SL
H
13
Page: 16
2
Attach the screen mount to the monitor using
the screws that were provided.
Monitor Back
View
x 4
To install your monitor on a Slim or Tilt mount.
1
Your DropTop.™ comes with either a Slim
Monitor Mount or a Tilt Monitor Mount,
depending on your chosen conguration.
Slim Monitor Mount
Tilt Monitor Mount
Page: 17
3
Insert your monitor into the desk and t the
monitor bolts into the screen mount loosely. Adjust
the screen mount to the desired height, then
tighten the bolts.
Front View
Back View
x2
4
Page: 18
To install your monitor on an Extendable Arm Mount
2x VESA Plate-b 2x Wall Plate &
Articulating Arms-A
4x M4 Bolt - f 2 x M4 Bolt - d 2 x M6 Bolt
Wrench-c
1
This way up.
4 x M4 Bolt-f
This way up.
Carefully place your monitors face down on a
clean, at surface. Attach the VESA Plate-b to the
back of your monitor using the M4 Bolts-f
provided.
2
Page: 19
3
Attach the Wall Plate & Articulating Arms-A to the
VESA slot on the back of the DropTop, using the 2 x
M6 bolts provided.
2 x M6
Bolt
ront View
Back View
Wall Plate &
Articulating Arms-A
4
Fully extend the articulating arms out.
Page: 20
Hook the VESA Plate-b to the Socket on
the fully extended arms.
5
Secure the VESA
Plate-b to the
articulating arm using
the 2x M4 Bolt-d
provided.
Use the wrench
provided to adjust the
tilting angle of the
VESA Plate-b.
2 x M4 Bolt - d
6

Other manuals for DropTop

1

This manual suits for next models

1

Other PITH & STEM Indoor Furnishing manuals

PITH & STEM DropTop Duo 24 User manual

PITH & STEM

PITH & STEM DropTop Duo 24 User manual

PITH & STEM DropTop Classic User manual

PITH & STEM

PITH & STEM DropTop Classic User manual

PITH & STEM DropTop User manual

PITH & STEM

PITH & STEM DropTop User manual

PITH & STEM DropTop Classic User manual

PITH & STEM

PITH & STEM DropTop Classic User manual

PITH & STEM DropTop Duo 27 User manual

PITH & STEM

PITH & STEM DropTop Duo 27 User manual

Popular Indoor Furnishing manuals by other brands

JeWe Nathalie instructions

JeWe

JeWe Nathalie instructions

Furniture of America CM7182N Assembly instructions

Furniture of America

Furniture of America CM7182N Assembly instructions

Furniture of America Bellagio CM3319L-SC-2PK Assembly instructions

Furniture of America

Furniture of America Bellagio CM3319L-SC-2PK Assembly instructions

Pfister BRIGHTON manual

Pfister

Pfister BRIGHTON manual

Nex NEW HENRY 758976 Assembly instructions

Nex

Nex NEW HENRY 758976 Assembly instructions

AIS OXYGEN 120 Installation

AIS

AIS OXYGEN 120 Installation

Sunset Trading DLU-TPD-4242-B Assembly instructions

Sunset Trading

Sunset Trading DLU-TPD-4242-B Assembly instructions

Cooper Lighting Nimbus I 601-IP Specification sheet

Cooper Lighting

Cooper Lighting Nimbus I 601-IP Specification sheet

Winners Only DRT23060 Assembly instructions

Winners Only

Winners Only DRT23060 Assembly instructions

PAIDI 2708 instructions

PAIDI

PAIDI 2708 instructions

WIEMANN Meran Assembly instructions

WIEMANN

WIEMANN Meran Assembly instructions

Axentia 115924 Assembly instructions

Axentia

Axentia 115924 Assembly instructions

VABCHES D8L246BS01 manual

VABCHES

VABCHES D8L246BS01 manual

Lightolier Lighting Systems A-3 Specification sheet

Lightolier

Lightolier Lighting Systems A-3 Specification sheet

Habitat ELLIOT ELLI-AV-AW15-A manual

Habitat

Habitat ELLIOT ELLI-AV-AW15-A manual

OVIS 33531U21QU Assembly instructions

OVIS

OVIS 33531U21QU Assembly instructions

OFM Mesa Series Assembly instructions

OFM

OFM Mesa Series Assembly instructions

GFW BELLA 8165 Assembly instructions

GFW

GFW BELLA 8165 Assembly instructions

manuals.online logo
manuals.online logoBrands
  • About & Mission
  • Contact us
  • Privacy Policy
  • Terms and Conditions

Copyright 2025 Manuals.Online. All Rights Reserved.