manuals.online logo
Brands
  1. Home
  2. •
  3. Brands
  4. •
  5. PITH & STEM
  6. •
  7. Indoor Furnishing
  8. •
  9. PITH & STEM DropTop User manual

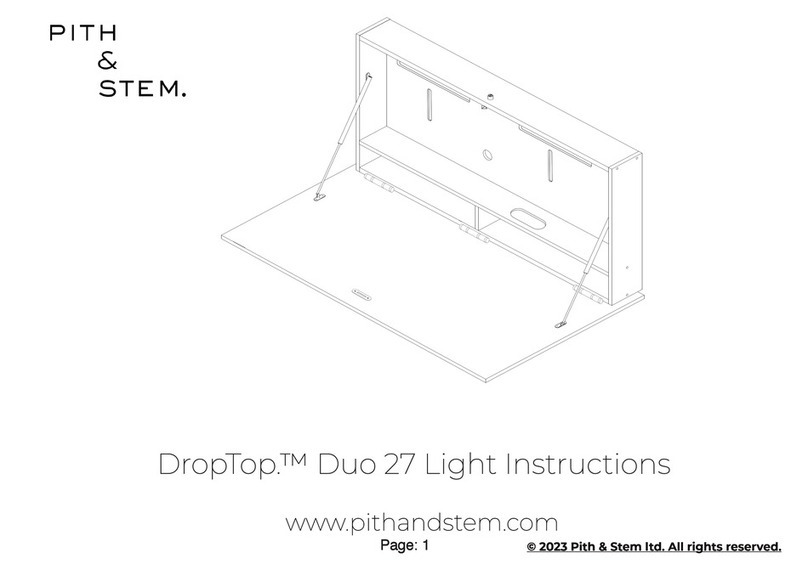
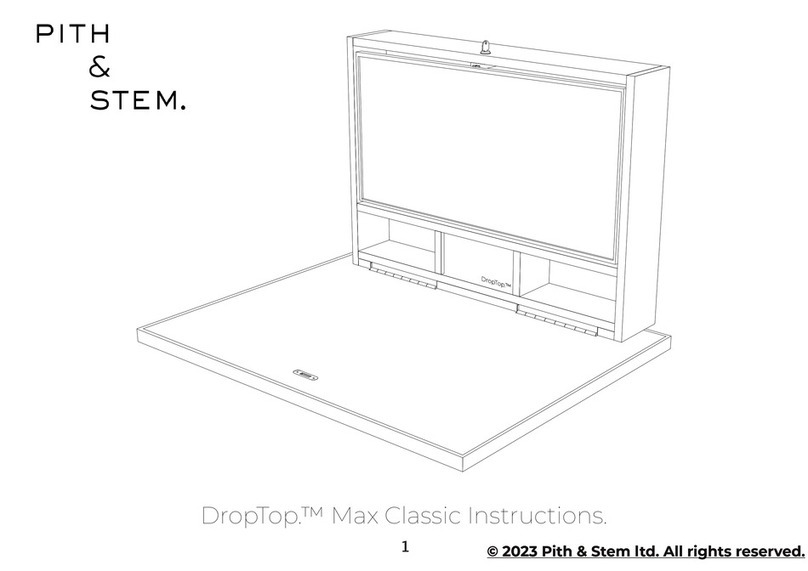
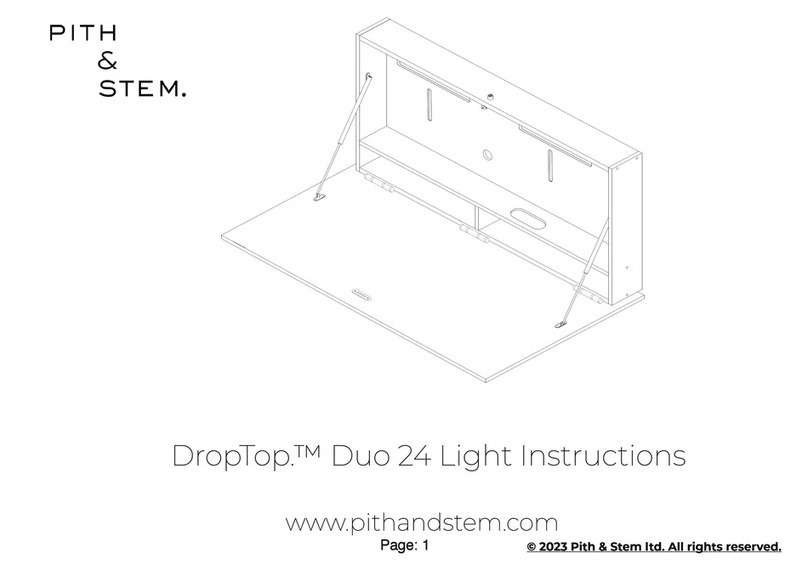
PITH & STEM DropTop User manual

Page: 1
www.pithandstem.com
DropTop.™ Max Light Instructions
© 2023 Pith & Stem ltd. All rights reserved.
Page: 2
DropTop.™ Max Light I structio s.
Fixi gs Packs
Tools
12 3 45
678910
x17 x19
x8
x8
Brick/Concrete Wall
Fixings Plasterboard Wall
Fixings
x3 x3
x6
x6
25mm hole saw or a 25mm Spade bit
For a Plasterboard Wall
*included *Not included*Not included
Page: 3
DropTop.™ Max Light Parts
ML
B
ML
A
ML
CML
D
ML
E
ML
F
ML
G
ML
H
Page: 4
DropTop.™ Max Light dime sio s.
95cm
45cm 10cm
14cm
72cm
60cm
100cm
59cm
10cm
Exterior dime sio s whe Closed:
Height: 72cm
Width: 100cm
Depth: 15.8cm
Worktop Dime sio s:
Width: 100cm
Depth: 60cm
Weight - 25kg
It is recomme ded to have
two people for safely
mou ti g your DropTop.
!
The Max Light supports up to
50kg i weight
Page: 5
89cm 41cm
10cm
The Max Light is desig ed to
house a 27-i ch or a 34-i ch
Ultrawide mo itor.
Available Mo itor Space dime sio s:
Height: 41cm
Width: 89cm
Depth: Please see notes below*
Monitor Mount Depth available
Extendable 5cm
Tilt 6cm
Slim 8cm
DropTop.™Max Light Mo itor space dime sio s
!Please ote that the
available mo itor space
depth will vary based o your
chose Mo itor Mou t
Page: 6
Mo itor Mou ts.
Your DropTop™ Light will i clude o e of the followi g mo itor brackets, depe di g o your order.
Slim Mou t
Depth: 1.3cm
Tilt Mou t
Depth: 3.3cm
Exte dable Arm Mou t
Depth: 5cm
!Make sure your mo itor is VESA compatible
with 75x75mm or 100x100mm. Also, please
ote the recomme ded mo itor depth for
each mou t.
The recomme ded
maximum depth
for your mo itor is 5cm
The recomme ded
maximum depth
for your mo itor is 8cm
The recomme ded
maximum depth
for your mo itor is 6cm
Page: 7
DropTop.™ Max Light Wall Plate dime sio s.
50cm
10.4cm
2 cm
3.7cm
Page: 8
1.6cm
The Max Light is desig ed with a
back recess depth of 1.6cm. This
allows for a y cables to be fed
tidily behi d the DropTop
It is recomme ded to feed the
mo itor's power cable through
rou d cable ma ageme t
grommet a d dow betwee the
gap to keep it tidy.
5.5cm
DropTop.™Max Light Cable Ma ageme t
Page: 8
Page: 9
Page: 9
2
3
Fixings Pack #2
ML
F
ML
E
ML
G
1
x 1
Fixings Pack #1
ML
F
ML
E
ML
G
DropTop.™Max Light Assembly
Page: 10
3
ML
B
ML
F
ML
E
ML
G
Fro t
Fro t View Back View
At this step, make sure to position Part B at the
front view instead of the back, as shown above.
x
ML
B
ML
B
4
x12
Fixings Pack #1 Fixings Pack #3
x 4
ML
C
ML
D
Page: 11
5
Fixings Pack #2
x4
ML
C
ML
D
ML
B
ML
F
ML
E
ML
G
6
Fixings Pack #1
x3
Fixings Pack #3
x3
ML
A
Page: 12
7
Fixings Pack #4
x4
ML
A
8Fixings Pack #2
x4
ML
A
ML
C
ML
D
ML
F
ML
E
ML
G
ML
B
Page: 13
Fixings Pack #2
10
Fixings Pack #5
ML
H
ML
DML
F
ML
B
9
Fixings Pack #2
Fixings Pack #3
ML
A
ML
D
ML
B
Page: 14
11
Fixings Pack #7
x4
Fixings Pack #7
Fixings Pack #8
x2 x6
ML
C
ML
D
ML
A
ML
B
ML
E
ML
G
ML
F
ML
H
12
ML
E
Cable management grommet.
Insert the two thin
metal disks into the
black oval-shaped
ring.
Page: 15
After your DropTop is mounted, the speed of
the soft opening feature can be adjusted.
Locate the ridged surface at the end of each
stay to make adjustments.
To increase the speed
of the soft opening
feature, turn the
ridged surface at the
end of each stay anti-
clockwise
To slow down the soft
opening speed, turn
the ridged surface
clockwise at the end
of each stay.
14
Matching colour cover cap stickers have
been provided with your DropTop.™
Apply the cover caps over any exposed
screws.
ML
C
ML
D
ML
A
ML
B
ML
E
ML
G
ML
F
ML
H
13
Page: 16
2
Attach the screen mount to the monitor using
the screws that were provided.
Monitor Back
View
x 4
To i stall your mo itor o a Slim or Tilt mou t.
1
Your DropTop.™ comes with either a Slim
Monitor Mount or a Tilt Monitor Mount,
depending on your chosen conguration.
Slim Monitor Mount
Tilt Monitor Mount
Page: 17
3
Insert your monitor into the desk and t the
monitor bolts into the screen mount loosely. Adjust
the screen mount to the desired height, then
tighten the bolts.
Front View
Back View
x2
4
Page: 18
To i stall your mo itor o a Exte dable Arm Mou t
2x VESA Plate-b 2x Wall Plate &
Articulating Arms-A
4x M4 Bolt - f 2 x M4 Bolt - d 2 x M6 Bolt
Wrench-c
1
This way up.
4 x M4 Bolt-f
This way up.
Carefully place your monitors face down on a
clean, at surface. Attach the VESA Plate-b to the
back of your monitor using the M4 Bolts-f
provided.
2
Page: 19
3
Attach the Wall Plate & Articulating Arms-A to the
VESA slot on the back of the DropTop, using the 2 x
M6 bolts provided.
2 x M6
Bolt
Fro t View
Back View
Wall Plate &
Articulating Arms-A
4
Fully extend the articulating arms out.
Page: 20
Hook the VESA Plate-b to the Socket on
the fully extended arms.
5
Secure the VESA
Plate-b to the
articulating arm using
the 2x M4 Bolt-d
provided.
Use the wrench
provided to adjust the
tilting angle of the
VESA Plate-b.
2 x M4 Bolt - d
6

Other manuals for DropTop

1

Other PITH & STEM Indoor Furnishing manuals

PITH & STEM DropTop Classic User manual

PITH & STEM

PITH & STEM DropTop Classic User manual

PITH & STEM DropTop User manual

PITH & STEM

PITH & STEM DropTop User manual

PITH & STEM DropTop Duo 24 User manual

PITH & STEM

PITH & STEM DropTop Duo 24 User manual

PITH & STEM DropTop Classic User manual

PITH & STEM

PITH & STEM DropTop Classic User manual

PITH & STEM DropTop Duo 27 User manual

PITH & STEM

PITH & STEM DropTop Duo 27 User manual

Popular Indoor Furnishing manuals by other brands

Next 580852 Assembly instructions

Next

Next 580852 Assembly instructions

Argos 737/8876 Assembly instructions

Argos

Argos 737/8876 Assembly instructions

Moments Furniture Laguna care relax user manual

Moments Furniture

Moments Furniture Laguna care relax user manual

Next EZRA A59192 Assembly instructions

Next

Next EZRA A59192 Assembly instructions

UpDown Desk PRO Series Set up and operation guide

UpDown Desk

UpDown Desk PRO Series Set up and operation guide

BUT HAPPY 3 820101 manual

BUT

BUT HAPPY 3 820101 manual

SUNON T213 installation manual

SUNON

SUNON T213 installation manual

Halsey Taylor HRFG - ER*A owner's manual

Halsey Taylor

Halsey Taylor HRFG - ER*A owner's manual

MasterCraft 3-TIER LOCKER 068-0007-6 instruction manual

MasterCraft

MasterCraft 3-TIER LOCKER 068-0007-6 instruction manual

Sanus CFR1620 instruction manual

Sanus

Sanus CFR1620 instruction manual

TATSOUL 370-S instruction manual

TATSOUL

TATSOUL 370-S instruction manual

Gladiator Cadet Series Assembly instructions

Gladiator

Gladiator Cadet Series Assembly instructions

FURNITUREBOX RENATO 140CM Assembly guide

FURNITUREBOX

FURNITUREBOX RENATO 140CM Assembly guide

philrouge Airtouch instruction manual

philrouge

philrouge Airtouch instruction manual

RiverRidge Woodbury Wall Shelf 16-030 Assembly instructions

RiverRidge

RiverRidge Woodbury Wall Shelf 16-030 Assembly instructions

Kettler 06663-4600 Assembly manual

Kettler

Kettler 06663-4600 Assembly manual

hygena Matrix Large Sideboard Assembly instructions

hygena

hygena Matrix Large Sideboard Assembly instructions

overstock DINING CHAIR Assembly instruction

overstock

overstock DINING CHAIR Assembly instruction

manuals.online logo
manuals.online logoBrands
  • About & Mission
  • Contact us
  • Privacy Policy
  • Terms and Conditions

Copyright 2025 Manuals.Online. All Rights Reserved.