Using your DL170 PC connection
Note:While DL170 is communicating with your PC using the RS-
232C interface cable, it can not receive a fax message from other
fax machine.
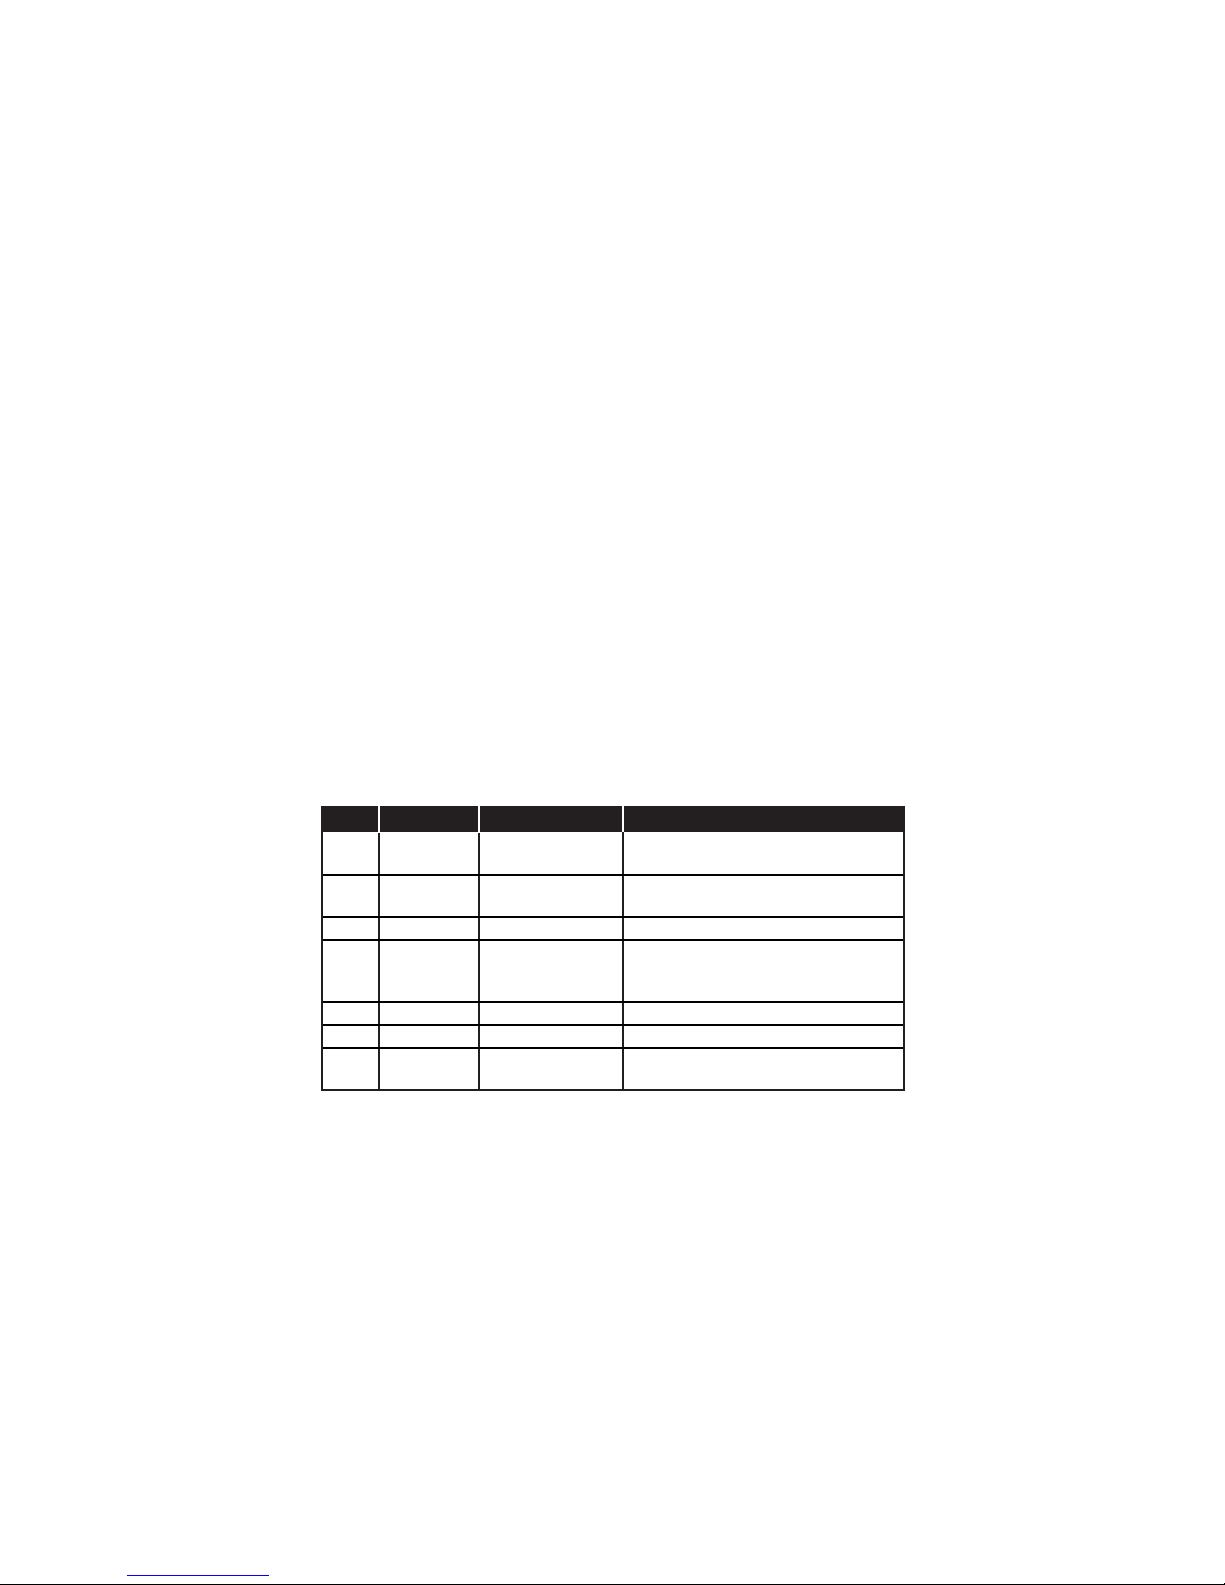
Scanning from your fax to your computer
You can store logos, signatures, line art or even photographs onto
your computer by using the fax machine to scan to your computer:
1. Make sure your fax is connected to your computer (see page 3).
2. Fax machine: Insert the document. Adjust resolution and con-
trast if necessary.
3. Computer: Instruct your fax software to receive.
Note: If necessary, consult your fax software’s instructions.
4. Fax machine: Press
Program key, F, 1, 0, 1
, ENTER.
Your fax software will now “receive” the fax (including the TTI, if
you’ve set one) onto your computer. To cancel the scanning operation
while it’s in progress, just press STOP. (To cancel the job after scan-
ning the document, consult your software’s operating instructions.)
Printing from your computer to your fax
With the RS-232C interface installed, you can also print documents
from your computer to your fax.
1. Make sure your fax is connected to your computer (see page 3).
2. Computer: Use your application — for example, a word-process-
ing program — to send the document to your fax software, just
as if you were actually going to fax the document.
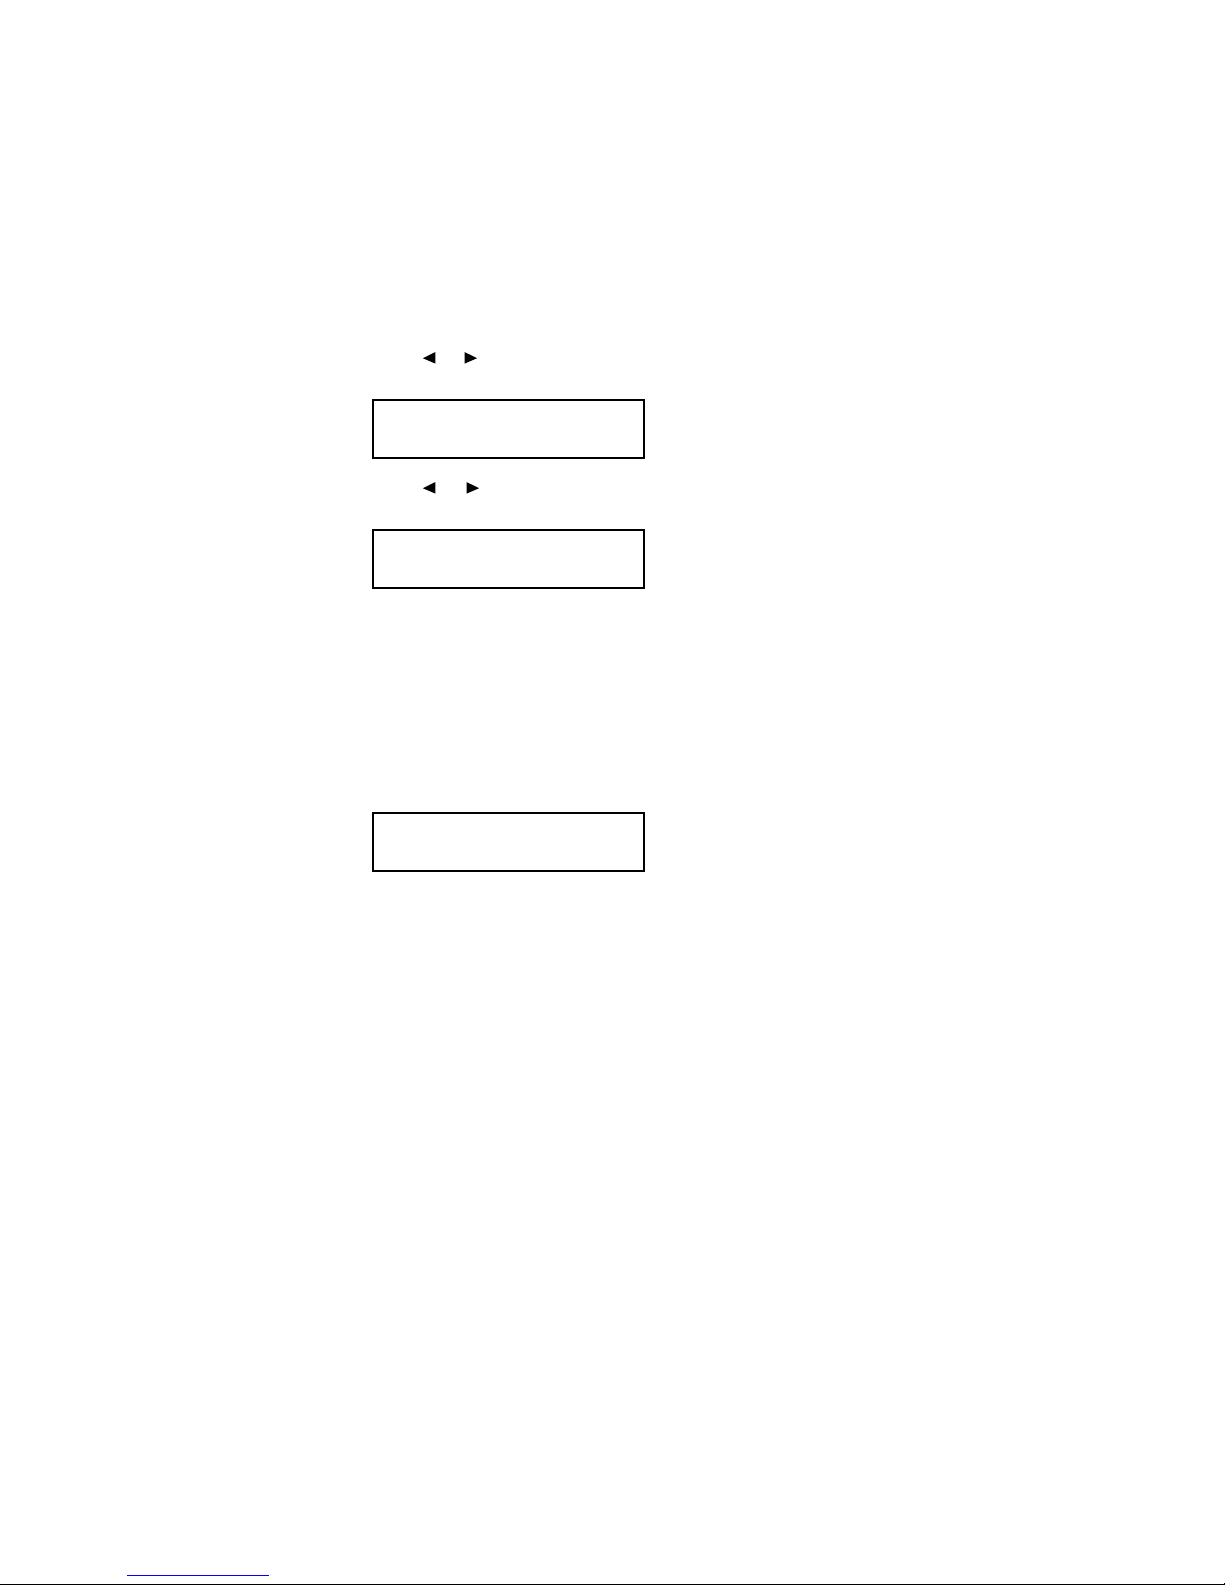
PC-FAX Scan
A4 Memory 99%
7