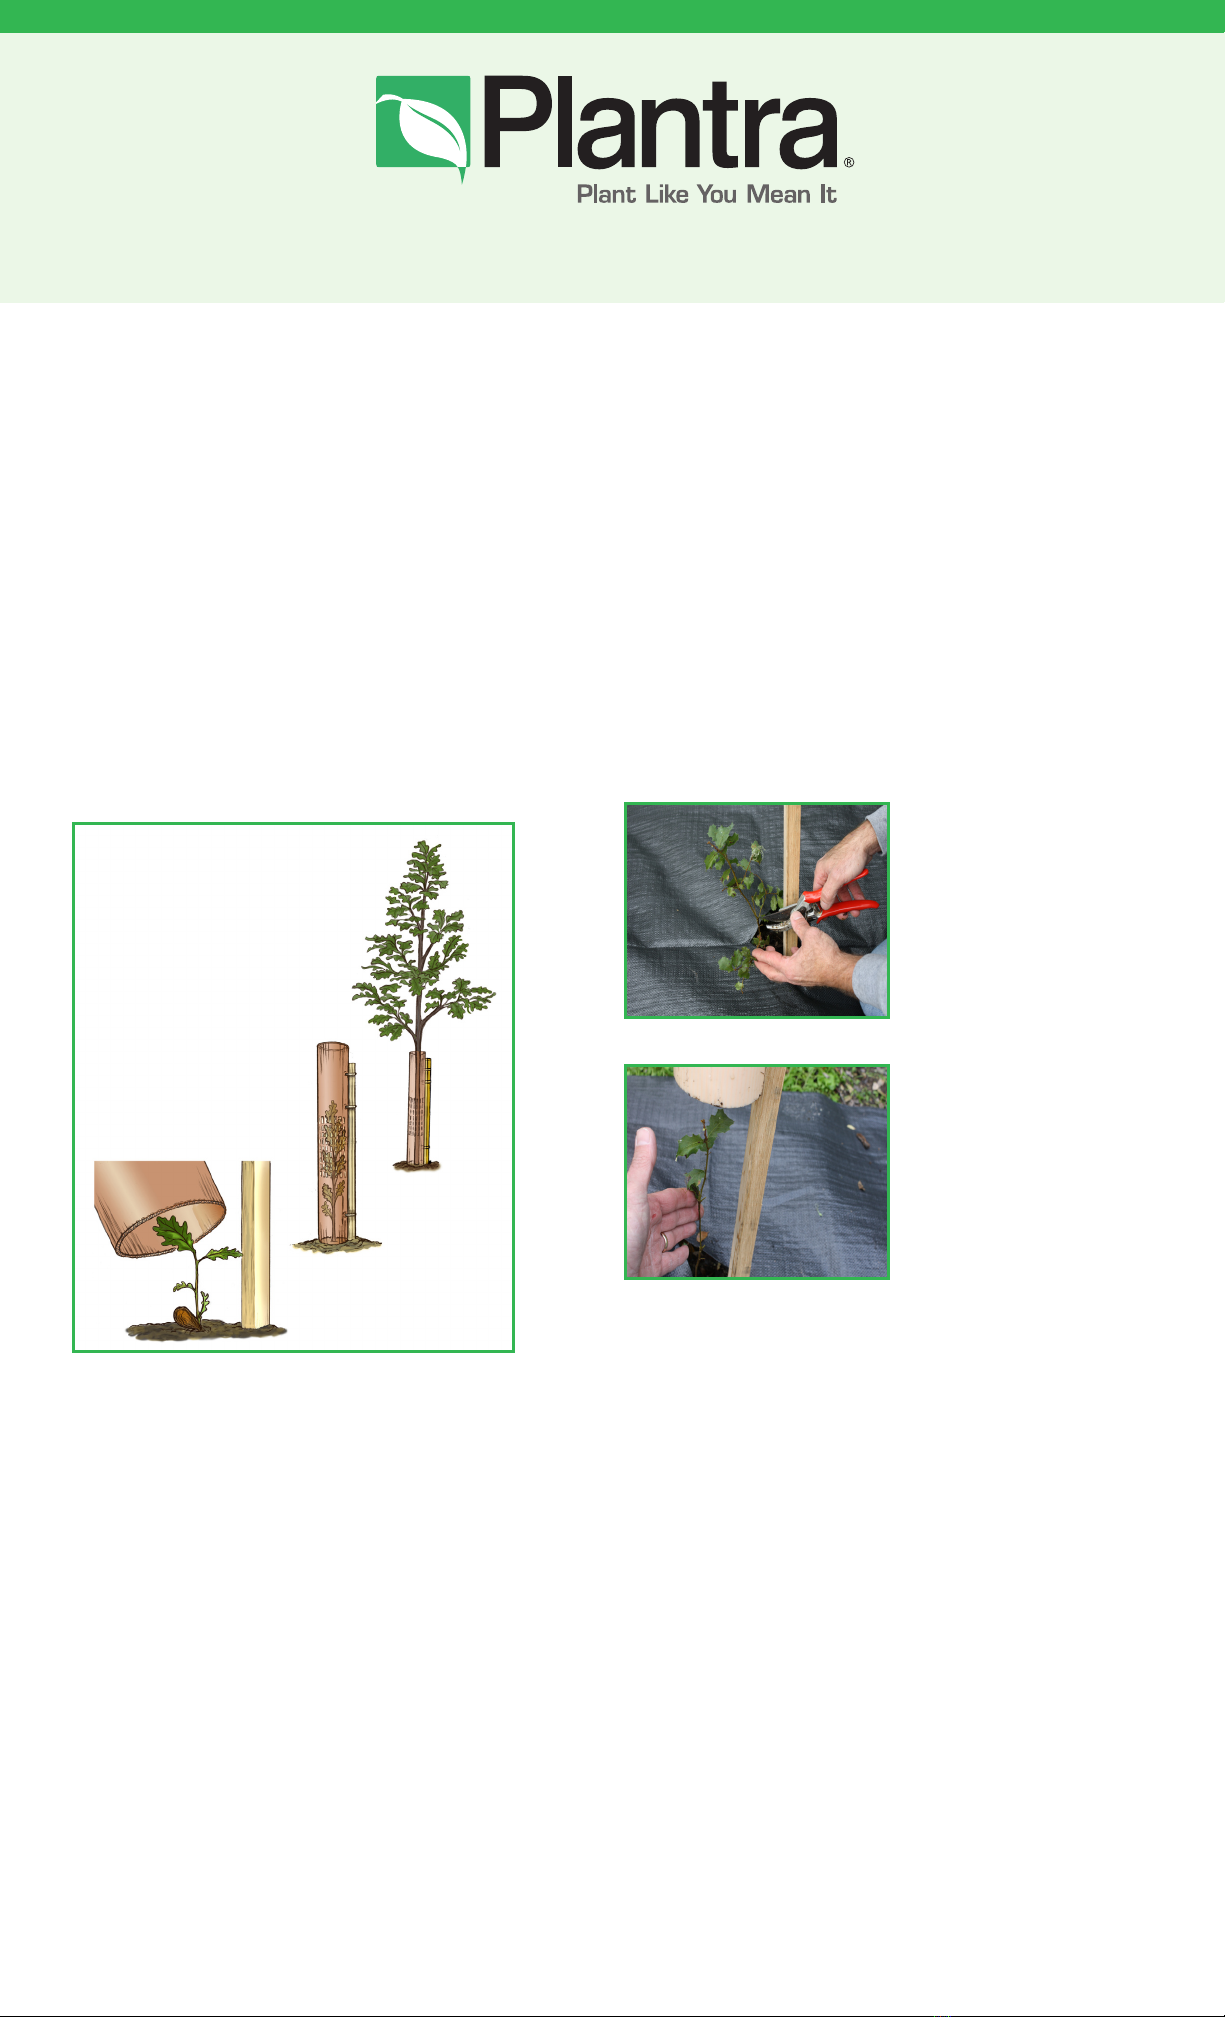
Hint – For the strongest attachment please cinch the cable
tie tight. Then re-insert the tip of the cable tie back through
the opening near the head of the tie and pull tight. Doing so
will ensure that the cable won’t come loose if animals nibble
on the ends. See figure 4.
Proper cable tie
installation with
tie-tip looped-back
through.
Hint - Once the tube has been firmly seated, mound some
soil around the tube base to a height of 2 inches to keep
out unwanted mice and voles and to maintain a wind-free
micro-climate in the “nurture-zone” of the seedling (For
taller tubes we’ve built “Cross-Flow™” venting to recharge
CO2 and help acclimate developing seedlings for ambient
conditions like proper dormancy in the fall).
3. Bird Exclusion Netting
All tree tubes offered by Plantra that are 4ft and taller
come with bird exclusion mesh netting that is intended to
discourage birds from entering the tubes where they could
become trapped. Simply stretch the netting over the tube
top (as if pulling on a sock) to the point where the top
cable tie tail can be inserted loosely through the side to
keep the mesh from being removed prematurely by wind.
See Figures 5 and 6.
Installing
mesh top
Cable tie
inserted
through mesh
4. A Word About Weed Control
Weeds and grasses steal light, water, and nutrients from
your trees and provide cover for stem-girdling rodents.
Every square foot of soil is capable of producing a limited
amount of biomass growth. By controlling weeds, you
channel all of that growth potential into your trees to
optimize their growth.
Using Plantra Tree Tubes will make your seedlings easier to
find for weed control and provide protection against weed
sprays. If herbicides are not intended for your planting,
weed control still needs to be achieved and the best way
to accomplish this is with weed mats. See Figure 7.
Using weed mats
assures that every
square foot of ground
covered contributes
directly to your new
seedling and reduces
follow-up efforts (and
money spent) trying
to control competing
vegetation after
the fact.
Tree Tube After-Care
Plantra tree tubes are designed to last for years - until your
trees are big enough to make it on their own. In the first
season or two, leaves will grow inside the tree tube as the
seedling grows. Please do not remove green leaves - they are
important to fuel the tree’s early growth and should be left
to grow and photosynthesize the sun’s energy.
To keep your trees protected beyond the first growing
season, do not remove Plantra tree tubes until the tree
trunk inside has grown to the size of the tube diameter.
The tree tubes are perforated along two sides their entire
length, allowing the tube to split open once the trunk
diameter grows bigger than the diameter of the tube.
Waiting until the stem grows to the size of the tree tube
diameter assures that your tree is “wind-firm” and ready
to support itself entirely and allows the tube to protect the
main trunk against damage by antler rub, gnawing rodents
or mechanical injury. Once your trees outgrow the tree tube
diameter the tubes should be collected and removed from
the field.
Hint: Prune lateral branches above the tube to wind-
firm your trees. Trees grown in Plantra tree tubes will
grow fast, straight and strong. As a result, the new growth
that emerges from the tube top will be exposed to wind
conditions that may be too strong for the developing
canopy. To help your trees gradually become wind-firm,
it is advised that a portion of the lateral or side branches
be removed to reduce wind-load. Remove enough lateral
branches to assure that the main trunk remains upright
(not leaning to one side) in windy conditions.
FIGURE 4
FIGURE 5
FIGURE 6
FIGURE 7
Thank you again for choosing Plantra and Planting Like You Mean It!
Please visit www.plantra.com to learn more about making your planting a success:
Plant Nutrition • Animal Repellents • Crop Netting • Planting Tools
Weed Barrier Fabric • Support Stakes • Tree Bark Protectors
Print additional copies of these instructions and find information on all our products at www.plantra.com
©2011 Plantra, Inc. • All Rights Reserved
TTIS 110118 V.1