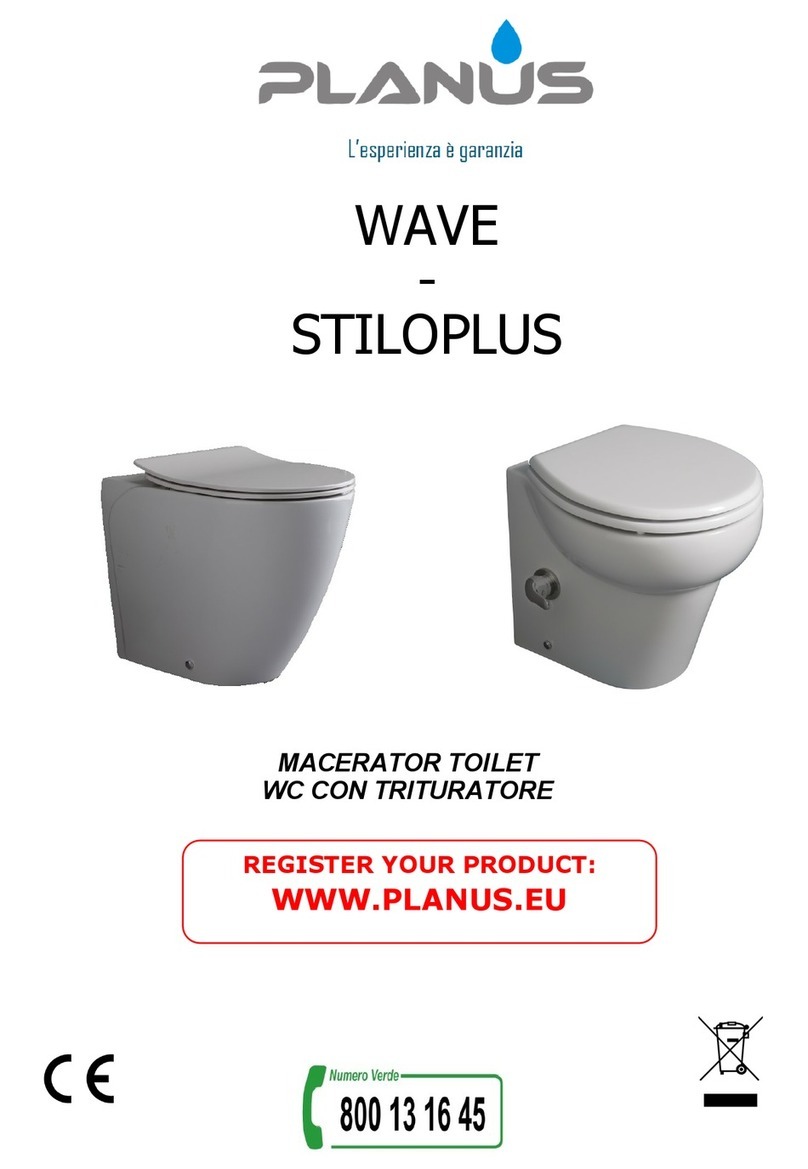
PLANUS SIBARI User manual

Made in Italy
MACERATOR TOILET
WC CON TRITURATORE
SIBARI

Index
ENGLISH
Indications for installation and use 3
Illustrations 7
ITALIANO
Istruzioni di installazione ed uso 5
Illustrazioni 7
Measures in millimeters
2

1 WARNINGS AND PRECAUTIONS CONCERNING INSTALLATION
The appliance must be installed only by qualified personnel and it can
be used only after installation made in accordance with following instal-
lation instructions.
The appliance must be supplied through a residual current device
(RCD) having a rated residual operating current not exceeding 30mA.
It is advised to predispose a power socket for the appliance exclusive
use.
If the supply cord is damaged, it must be replaced by the manufacturer
or similarly qualified person.
During installation and before attempting any work on the unit, the elec-
trical power supply must be disconnected.
2 OPERATING PRINCIPLE
SIBARI is a toilet containing a pump able to macerate and automatically dis-
charge wastewater through a little pipe (diameter 40) up to the nearest sewer.
The pump is activated by the switch.
3 TECHNICAL DATA
4 PLUMBING INSTALLATION
Connect the discharge rubber hose to the discharge pipe and secure it with
the metal jubilee clip provided (32-50 mm).
An additional barbed fitting is supplied in case of soft discharge pipe.
Connect the water supply hose to the inlet solenoid and to a shut off valve.
Caution: The quality of the rinsing of the bowl depends on the water pressure.
WARNING: For correct rinsing, the water supply must be min 1.7 bar dynamic
pressure (ie. the pressure when the tap is open).
Note: In an area where water is not pure (dirty, sandy), we advise you to add a
filter between the shut off valve and the toilet to prevent clogging of the sole-
noid valve.
Input Voltage AC 220-240V, 50Hz
Input Power 600W
Degree of protection IP44
Norms EN 60335-1
EN 60335-2
EN 12050-3
Performances See Fig. 1
Discharge hose 40 mm
3

5 ELECTRICAL INSTALLATION
The electrical installation should be carried by a qualified person.
The unit should be connected to a fully earthed electrical supply.
6 COMMISSIONING THE UNIT AND USE
After the installation, both electrical and hydraulic, it’ s possible to check the
product.
Pushing and keeping the button (>2 sec) it will be activated the regular flush se-
quence. It will add water, then the pump will run.
Pushing the button quickly (<2 sec) it will be activated the short flush. Pump will
run immediately and the water consumption is reduced.
After the installation, make some regular flush to prime the pump and check the
proper work. If the pump does not clear the bowl, disconnect the electrical plug
and wait about 10 seconds before to reconnect. If also after the reconnection the
unit is continuing to not working properly, you have to disconnect the electrical
plug and to check that the discharge pipe is clear and not kinked.
7 USAGE PRECAUTIONS AND WARNINGS
This appliance is for domestic use only.
The appliance can discharge exclusively organic residuals and toilet paper.
Do not throw foreign bodies inside the toilet or in the others appliances con-
nected to the unit, they will damage the product (like for example: cotton,
sanitary towels, condoms, wet wipes, plastic or wood or metal parts, food or
others residuals, etc.).
Children and all persons with reduced physical, sensory or mental capabili-
ties, or lack of experience and knowledge, cannot use the product unless
they have been given supervision or instruction concerning use of the appli-
ance by a person responsible for their safety.
If away for a long period (holidays or others occasions) it is recommended to
turn off the main water supply.
Solvents and other chemicals products can damage the device.
In case of heavy duty work, the motor thermal protector will stop automati-
cally the unit as the motor is overheat. In this case unplug the plug from the
socket-outlet, then plug it again after 30-60minutes and the appliance will
restart working normally.
8 MAINTENANCE
DISCONNECT THE ELECTRICAL POWER SUPPLY, BEFORE ATTEMPTING ANY
WORK ON THE UNIT.
The device does not need any particular maintenance.
4

1 AVVERTENZE E PRECAUZIONI PER L’INSTALLAZIONE
- L’apparecchio deve essere installato solo da personale qualificato e
può essere utilizzato solo a seguito della corretta installazione effettuata
come da indicazioni incluse nel presente libretto.
- L’apparecchio deve essere alimentato da una rete protetta mediante
interruttore differenziale avente massima differenza ammissibile di cor-
rente non superiore a 30mA.
- Si consiglia di predisporre una presa di corrente per l’uso esclusivo da
parte dell’apparecchio.
- Se il cavo di alimentazione risulta danneggiato, questo deve essere
sostituito dal produttore o da personale parimenti qualificato.
- Durante l’installazione e prima di effettuare qualsiasi manutenzione
occorre accertarsi che il cavo di alimentazione non sia collegato.
2 PRINCIPIO DI FUNZIONAMENTO
SIBARI è un wc contenente una pompa in grado di scaricare automaticamente
attraverso un piccolo tubo di diametro 40 mm, fino alla condotta fognaria più
vicina. La pompa è attivata tramite un interruttore.
3 DATI TECNICI
4 INSTALLAZIONE IDRAULICA
.
Collegare il tubo di scarico alla linea di scarico e serrarlo tramite la fascetta a
vite (32-50 mm) fornita.
Collegare il tubo flessibile dell’acqua di risciacquo all’elettrovalvola e alla linea
prevedendo un rubinetto di chiusura.
Attenzione: la qualità del risciacquo del wc dipende dalla pressione dell’acqua.
Per ottenere un ottimo risciacquo la pressione di uscita del rubinetto deve es-
sere di almeno 1,7 bar.
Consigli: nelle regioni in cui l’acqua contiene sabbia o calcare si consiglia di
inserire un filtro aggiuntivo nel rubinetti di uscita .
5
Tensione di alimentazione AC 220-240V, 50Hz
Assorbimento 600W
Grado di protezione IP44
Norme EN 60335-1
EN 60335-2
EN 12050-3
Prestazione Vedere Fig. 1
Diametro tubo di scarico 40 mm

5 INSTALLAZIONE ELETTRICA
L’installazione elettrica deve essere effettuata da personale qualificato.
L’apparecchio deve essere collegato ad una rete comprensiva di connettore
di terra correttamente installato.
6 VERIFICA DELL’INSTALLAZIONE E USO
Terminata l’installazione, sia idraulica che elettrica, si può provvedere alla verifica del
funzionamento dell’apparecchio.
Premendo e mantenendo premuto il pulsante (>2 sec) si avvia il ciclo di risciacquo re-
golare. Viene immessa acqua e successivamente si avvia la pompa.
Premendo il pulsante velocemente (< 2 sec) si avvia il ciclo di risciacquo breve.
La pompa si avvia immediatamente e il consumo d’acqua è ridotto.
Dopo l’installazione, eseguire qualche ciclo regolare per innescare la pompa e verifica-
re il corretto funzionamento. In caso di difficoltà di scarico, togliere l’alimentazione e
attendere 10 sec prima di ricollegare l’alimentazione. Se dopo questa operazione la
pompa continua a non scaricare bene, togliere nuovamente l’alimentazione elettrica e
verificare che la tubatura di scarico non sia bloccata o che non vi siano strozzature.
7 AVVERTENZE E PRECAUZIONI RELATIVE ALL’USO
Questo apparecchio è ad uso esclusivamente domestico.
L'apparecchio è realizzato per scaricare esclusivamente carta igienica e
residui organici. Evitare di gettare all'interno dei corpi estranei che posso-
no danneggiarlo (quali ad esempio: stoffa, preservativi, assorbenti, salviet-
te struccanti, oggetti in plastica o metallo, cibo o altri residui solidi della
cucina, ecc.).
I bambini e tutte le persone con capacità fisiche, sensitive o mentali ridotte
o inesperte non possono utilizzare l’apparecchio se non a seguito della
supervisione o adeguata istruzione di una persona responsabile per la loro
incolumità.
Nel caso in cui la casa o il bagno non vengano utilizzati per lungo tempo
(ferie o altro) si consiglia di chiudere l'entrata generale dell'acqua.
Detersivi, solventi o altri prodotti chimici possono danneggiare
l’apparecchio.
In caso di uso prolungato il selezionatore termico a protezione
dell’apparecchio interromperà automaticamente l’alimentazione del motore
qualora questo dovesse surriscaldarsi. In questo caso occorre disconnet-
tere l’alimentazione elettrica e quindi ricollegarlo dopo una pausa di circa
30-60 minuti. L’apparecchio tornerà a funzionare normalmente.
8 MANUTENZIONE
DISCONNETTERE L’ALIMENTAZIONE ELETTRICA PRIMA DI QUALSIASI TIPO DI
INTERVENTO SULL’APPARECCHIO.
L’apparecchio non necessita di alcuna particolare manutenzione.
6

7
Fig.1
Fig.2
Fig.3

PLANUS S.p.A. - S.S. Flaminia Km 57,250 –Z.I. Prataroni
01033 Civita Castellana (VT) –Italy
Tel +39 0761 542052 Fax +39 0761 540723
PLANUS S.p.A. - S.S. Flaminia Km 57,250 –Z.I. Prataroni
01033 Civita Castellana (VT) –Italy
16
EN 60335-1
EN 60335-2
EN 12050-3
WASTEWATER LIFTING PLANT
DN 40
Lifting effectiveness –see pump curve
Table of contents
Languages:
Other PLANUS Toilet manuals
Popular Toilet manuals by other brands

ADVANCED HOME CARE
ADVANCED HOME CARE 9830-4 Guide

Pfister
Pfister Bernini VTP-E11W Quick installation guide

Adventure Kings
Adventure Kings Camping Toilet user manual

Fisher-Price
Fisher-Price W4106 quick start guide

Glacier bay
Glacier bay N2428R Use and care guide

Dometic
Dometic Saneo Series installation manual

DURAVIT
DURAVIT DuraStyle Rimless 2559090000 Mounting instructions

American Standard
American Standard CADET 2462.100 installation instructions

Olympia
Olympia SYNTHESIS SYN 230101 Installation and Maintenance

Spectrum
Spectrum Pfister Halifax VTP-E10HLW Quick installation guide

Icera
Icera St. Thomas Series Installation & Care Guide

Roper Rhodes
Roper Rhodes MINERVA Fitting instructions