Dome Features 3
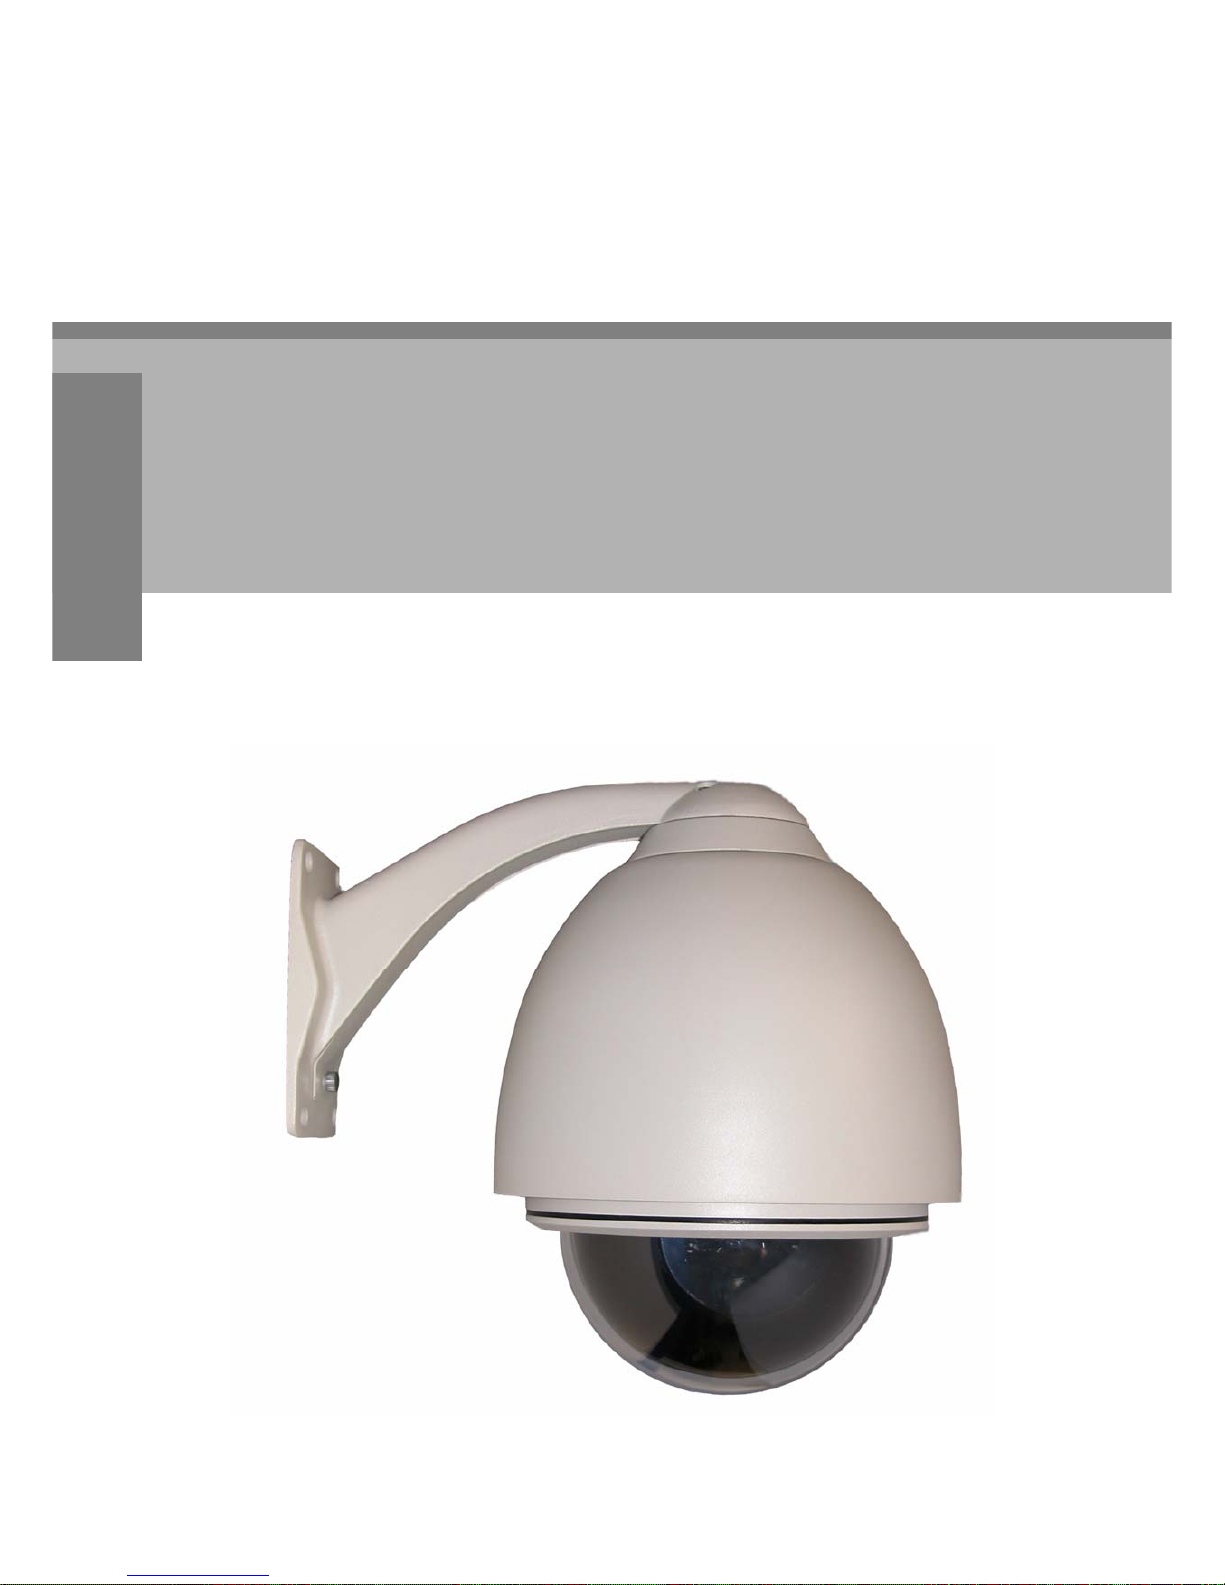
Pan, Tilt and Zoom Dome Camera / PTZ-2201-10
This section of the manual is designed to provide basic description of the PTZ camera and its
functions. Actual operation may vary slightly dependent on the control methods and
DVR/PTZ keyboard utilized.
3.1 Automatic Camera Actions
•Auto Focus
The PTZ-2201 camera is equipped with an auto-focus lens. Once the camera has
moved, or objects shift on the main screen, the lens will attempt to automatically
focus the lens.
•Preset Pattern Tour
The camera can run a pattern of preset positions, allowing you to specify the presets
and the order for the pattern.
•Home Action
Presets can be used to set a Home position and home time, when the camera has not
been controlled in a few minutes, and then the camera will return to the preset Home
position.
3.2 Camera Control
•Magnification Control
The user can adjust the zoom of the image through the “Wide/Tele” commands on a
PTZ Keyboard or DVR with RS-485 controls. This speed dome supports optical and
digital zoom capabilities.
•Focus Control
The PTZ-2201 system defaults to Auto-Focus. When the lens changes to zoom in or
out, the lens will automatically adjust the focus according to the objects in the center
of the camera’s view. The user can manually adjust the focus of the camera by using a
PTZ Keyboard with “Far/Near” buttons or with DVR using the Far/Near commands
through RS-485 control. Once the joystick is manipulated to move the camera, the
Auto-Focus will be re-enabled again.
The camera may not auto-focus in the following situations:
oTarget is not at the center of the image
oCamera is observing objects in the foreground and background at the same
time
oTarget is a strong light object such as a spotlight
oTarget is moving too fast
oTarget is too dark or vague
oTarget image is too small
•Iris Control
System defaults to Auto-Iris. Camera can rapidly adjust size of Iris, this adjusts the
amount of light that is allowed into the image sensor of the camera. User may adjust
the Iris by a PTZ Controller keyboard using the “Open/Close” key or through a DVR
with RS-485 PTZ Controls. User can reassume Auto-Iris control by simply moving
the camera again using the joystick.