pline G3 User manual

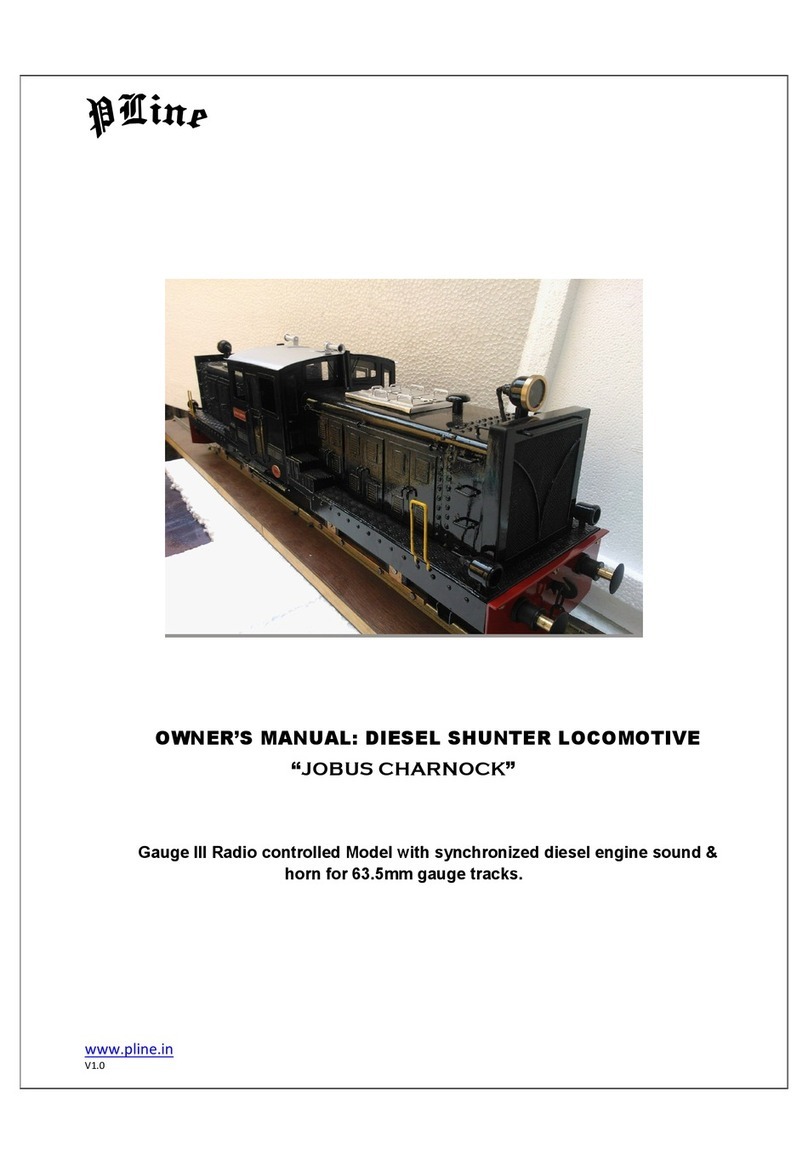
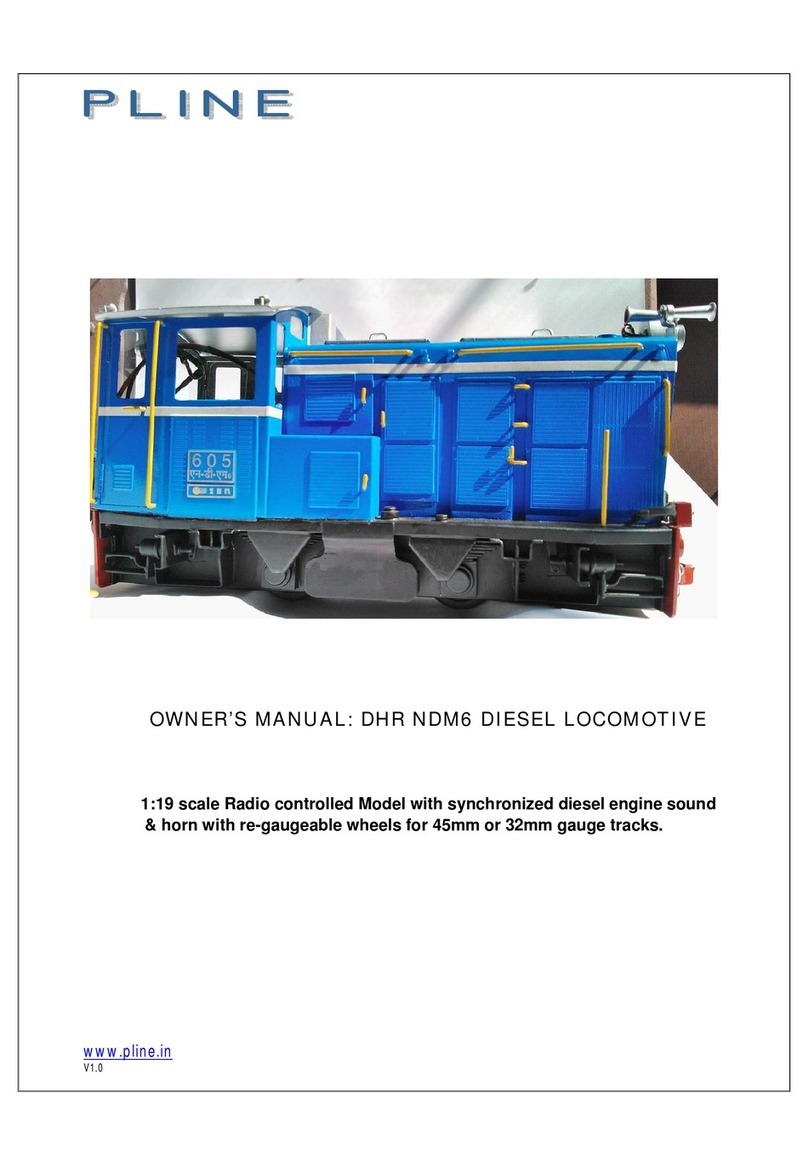
Owner’s Manual: Standard Gauge Diesel shunter Locomotive in Gauge 3 scale
Model Engineering Company
47, Sankharitola Street, Calcutta-700014, India.
Visit us at: http://pline.co.in
Email: info@pline.co.in
16-17V1.0
PLine
Built in Brass
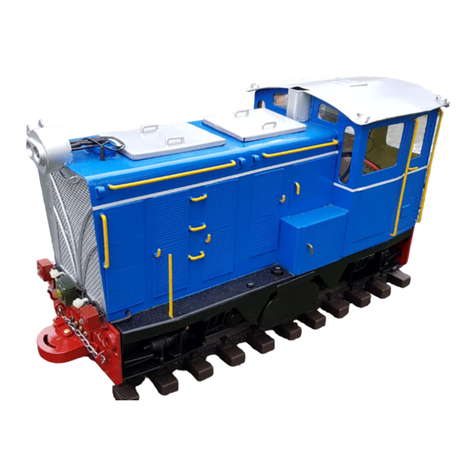
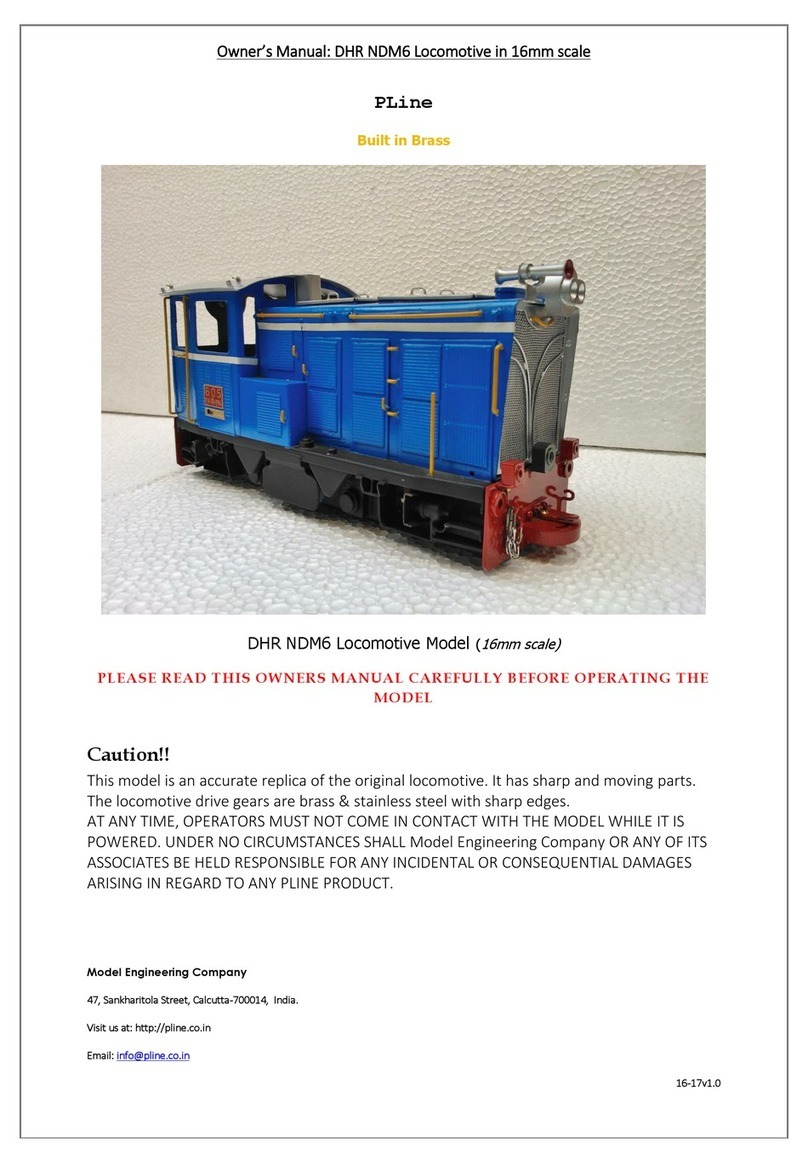
Standard Gauge Shunter Locomotive Model (
G3 scale)
PLEASE READ THIS OWNERS MANUAL CAREFULLY BEFORE OPERATING THE
MODEL
Prototype Information:
Not many Standard gauge locomotives operated in India, except for some industrial lines that did use
Standard gauge locos for shunting and short hauling purposes.
General Description of PLine G3 Shunter:
This model is accurately crafted in G3 scale, and is of all metal construction (Brass, Steel, Copper and
Phosphor bronze). It is powered by 2 Powered Bogies each having an all metal gear drive delivering a
gear ratio of 1:48 per bogie. The Bogies are driven by two low rpm & very high torque, geared 12v PM
DC motors.
The Model comes painted and ready to install a RC set of your choice to control the direction and
speed of the Model. The main power switch is a 3-way, “Centre off” type toggle switch located inside

Owner’s Manual: Standard Gauge Diesel shunter Locomotive in Gauge 3 scale
Model Engineering Company
47, Sankharitola Street, Calcutta-700014, India.
Visit us at: http://pline.co.in
Email: info@pline.co.in
16-17V1.0
the cab. The Switch is accessible through any of the cab’s side larger windows. The switch operates in
3 positions, centre ‘off’, above to ‘Charge’ the battery, and bottom to power the model ‘on’. To
Charge the battery of the Locomotive, turn the 3-way switch to the ‘Charge’ position (above), and
insert the charger jack in to the charging socket located on the cab’s dashboard.
The Directional lights of the Model can be switched on by flipping the smaller toggle switch on the
cab’s dashboard downwards, now if the model is driven forward or in reverse the respective
headlamp, ditch lights & tail lamps will light up. The Shunter uses miniature LED’s (connected in
parallel) for all illuminations.
The Main fuse is located inside the cab. To replace a fuse, remove the cabin roof, by unscrewing the 4
small screws that hold the roof in place. The Model uses a 10Amps, cartridge type, commercial fuse.
Coupler Selection:
This model comes with a pair of factory installed (with our standard) sprung “Hook & Chain” type
couplers , you may use any other body mounted “Chopper” or “Drawbar” type couplers, available
from other manufacturers.
Care should be taken while opening the cab doors, or the engine room access hatches. They all have
small brass latches that can be turned to lock & unlock these Doors & Access hatches.
We do not recommend you to try and disassemble this large and complex model. Also please take
care while lifting this heavy model up. It should always be picked by grasping it by under the frames
on both ends.
Technical Specifications of PLine G3 Diesel Shunter:
Scale: 1:22.5 scale
Gauge: 64mm (factory set)
Length: 640mm (over buffer beams)
Width: 130mm
Height: 188mm
Motors: 2 X 12v DC PM metal geared type(torque 1kgf)
Gear Ratio: 1:48 on each bogie
Sprung Axle boxes, buffers and couplers

Owner’s Manual: Standard Gauge Diesel shunter Locomotive in Gauge 3 scale
Model Engineering Company
47, Sankharitola Street, Calcutta-700014, India.
Visit us at: http://pline.co.in
Email: info@pline.co.in
16-17V1.0
Minimum turning Radius: 800mm
In-Cab controls: Main switch (3-way with “Centre Off”), Light switch, Cartridge Fuse holder &
Charging Socket
Suggested wiring diagram:
Battery Pack Selection:
Your G3 shunter does not come with the Battery Pack due as per International Shipping & Security
norms. We recommend any deep-cycle Battery pack with an output of 12v rated at 6.0AH (or higher
rating). You can use Gel-Cells, Dry lead-Acid, NiCad or Metal Hydride rechargeable battery packs.
Once the RC set and sound units have been installed, connect your preferred battery pack to the
black Connector strip inside the Engine bonnet by unscrewing the small 8 screws on the sides of the
Bonnet Lid that hold it in place. BE CAREFUL TO CONNECT THE CORRECT POLARITY OF THE BATTERY
TERMINALS TO THE CONNECTOR STRIP. THE WIRE AT THE OTHER END OF THE CONNECTOR STRIP
GIVE YOU THE POLARITY (RED WIRE IS POSITIVE & THE BLACK IS NEGATIVE). INCORRECT POLARITY
CONNECTION CAN DAMAGE THE CONTROL SYSTEM OF YOUR MODEL. REFER TO THE WIRING
DIAGRAM ABOVE WHILE INSTALLING THE CONTROL ELECTRONICS.

Owner’s Manual: Standard Gauge Diesel shunter Locomotive in Gauge 3 scale
Model Engineering Company
47, Sankharitola Street, Calcutta-700014, India.
Visit us at: http://pline.co.in
Email: info@pline.co.in
16-17V1.0
Caution!!
This model is an accurate replica of the original locomotive. It has sharp and moving parts.
The locomotive drive gears are brass & stainless steel with sharp edges.
AT ANY TIME, OPERATORS MUST NOT COME IN CONTACT WITH THE MODEL WHILE IT IS
POWERED. UNDER NO CIRCUMSTANCES SHALL Model Engineering Company OR ANY OF ITS
ASSOCIATES BE HELD RESPONSIBLE FOR ANY INCIDENTAL OR CONSEQUENTIAL DAMAGES
ARISING IN REGARD TO ANY PLINE PRODUCT.
Model Features:
This is a handcrafted brass model and is available painted in 2 different liveries.
The Model is handcrafted in Brass, with bronze and Steel parts
Directional headlamps, ditch lights and tail lamps on motors
Working Cabin doors, & engine hatches
All scale fittings like Handrails, Air horn, vent, ditch lights, footboards, door handles, door
latches are turned brass & copper.
Front and rear radiators are Brass
Cab front & rear Windows, are glazed
Supplied with 2 Photo-etched Brass Nameplates & fitted with Photo-etched Brass Builders
Plate.
Operating & Maintenance:
Like any other Engineering masterpiece, there are a few precautions to be taken before you can
actually run it on a layout.
Before you start running your model outdoors, you need to lubricate all the moving parts
and break it in. This is because the gearboxes and the bushes must be worn in sufficiently to
allow smooth running.
Lubricating:
With a bit of care, your locomotive should give you many years of pleasure and reliable service.
Lubrication is of prime importance for a model of this type with many moving parts. Always use
quality lubricants. This should not be a problem, for there are many modern lubricants available in
hobby and sport shops. Light oil such as Labelle #108 or Hoppe’s Gun Oil would be good enough for

Owner’s Manual: Standard Gauge Diesel shunter Locomotive in Gauge 3 scale
Model Engineering Company
47, Sankharitola Street, Calcutta-700014, India.
Visit us at: http://pline.co.in
Email: info@pline.co.in
16-17V1.0
lubricating most of the moving parts. For gears use a suitable gear grease such as Permatex Super
Lube or another hobby gear lubricant.
The main bevel gears in the Power Bogies should be greased. To access the many moving parts of this
model it is best to carefully place it on its side on a soft towel or foam sheet. A drop of light oil on
every moving part is necessary, and there aren’t many on this locomotive. Use oil that is a bit heavier
to lubricate the axle bushings and pivot points of the Power Bogies. Use a drop of Lubricating Oil to
lubricate each axle end and the two sides of the axle box and the edges of the horn block. Also apply
a drop of Lubricating Oil at the base of the pivot bolts (space between the Delrin washers and the
underside of the floorboards) that attach the wheel bogies to the Chassis of the Model. Be sure to
lubricate all the wheel bearings, gear bearings etc. that you can see.
Do not over lubricate, for excess oil only picks up unwanted dirt. Be careful to keep lubrication off the
painted surfaces as this causes shiny areas.
The main gear box is lubricated in the factory and will not need any attention when you first run your
model. However, in time, you should make sure that the gears are will lubricated with suitable gear
grease.
Thorough Lubrication of the locomotive should be done every 5 hours of operation.
Operating:
Start by inserting the batteries in the RC Transmitter (Tx) by removing the cover of the Battery
compartment at the back of the Tx. Be careful to place the batteries in the correct polarity order.
Place your model on a small stretch of flat test track.
Now connect the Battery Pack terminals in the model to the Battery connector inside the Model,
again make sure that the polarity is correct and your model’s battery pack is adequately charged for a
short run.
Next, check that you have a 8Amp cartridge fuse inside the Fuse Holder in the cab. Make sure the
Light switch is turned off.
Always SWITCH ON the Tx first before POWERING ON the model. You can power on the model by
flipping the 3-way switch to the ‘above’ position.
You should hear the Engine idling sound from your loco while the loco is stationary.
Now slowly increase the throttle on the Tx joystick in any direction. CAUTION: DO NOT RUN THE
MOTORS YET ON FULL THROTTLE. Run the model at half throttle in any one direction for a few
minutes, then stop, and then run it again at half throttle for a few minutes more. As the loco speeds
up the sound emitted through the internal speaker should also change. Repeat this procedure for
about half an hour until the model runs smoothly in both directions.
Once you have run your Model on half throttle in both directions on a test track for atleast about an
hour, your model should be ready to run at Full throttle on the Outdoor layout.

Owner’s Manual: Standard Gauge Diesel shunter Locomotive in Gauge 3 scale
Model Engineering Company
47, Sankharitola Street, Calcutta-700014, India.
Visit us at: http://pline.co.in
Email: info@pline.co.in
16-17V1.0
Maintenance:
Clean the body of the Model with a clean soft lint free cotton cloth. To remove stubborn grease stains
from the painted surface use a detergent solution with a lint free cloth. With a little care your PLine
Locomotive will give you years of trouble free running.
IMPORTANT!
Some parts may have loosened during shipment. Inspect your model prior to
THANK YOU!
Table of contents
Other pline Toy manuals
Popular Toy manuals by other brands

ACME
ACME zoopa 300 movie instruction manual

Fisher-Price
Fisher-Price PowerMax Rescue Heroes Hal. E. Copter manual

Eduard
Eduard Walrus Mk.I interior 1/48 quick start guide

marklin
marklin 37153 instruction manual

MTHTrains
MTHTrains Lionel No. 9 Std.-Gauge Operator's manual

L. G. B.
L. G. B. FRR Steam Loco Instruction

KOR MODEL
KOR MODEL Zlin Z-37A Cmelak Assembly instructions

GREAT PLANES
GREAT PLANES ultimate! Instruciton manual

Toyhouse
Toyhouse 158884 user manual

THE WORLD MODELS
THE WORLD MODELS Sky Walker EP instruction manual

Build RC
Build RC RC SCALE FOX ARF EP GLIDER Build guide

Costway
Costway TY325133 user manual