9User manual
English
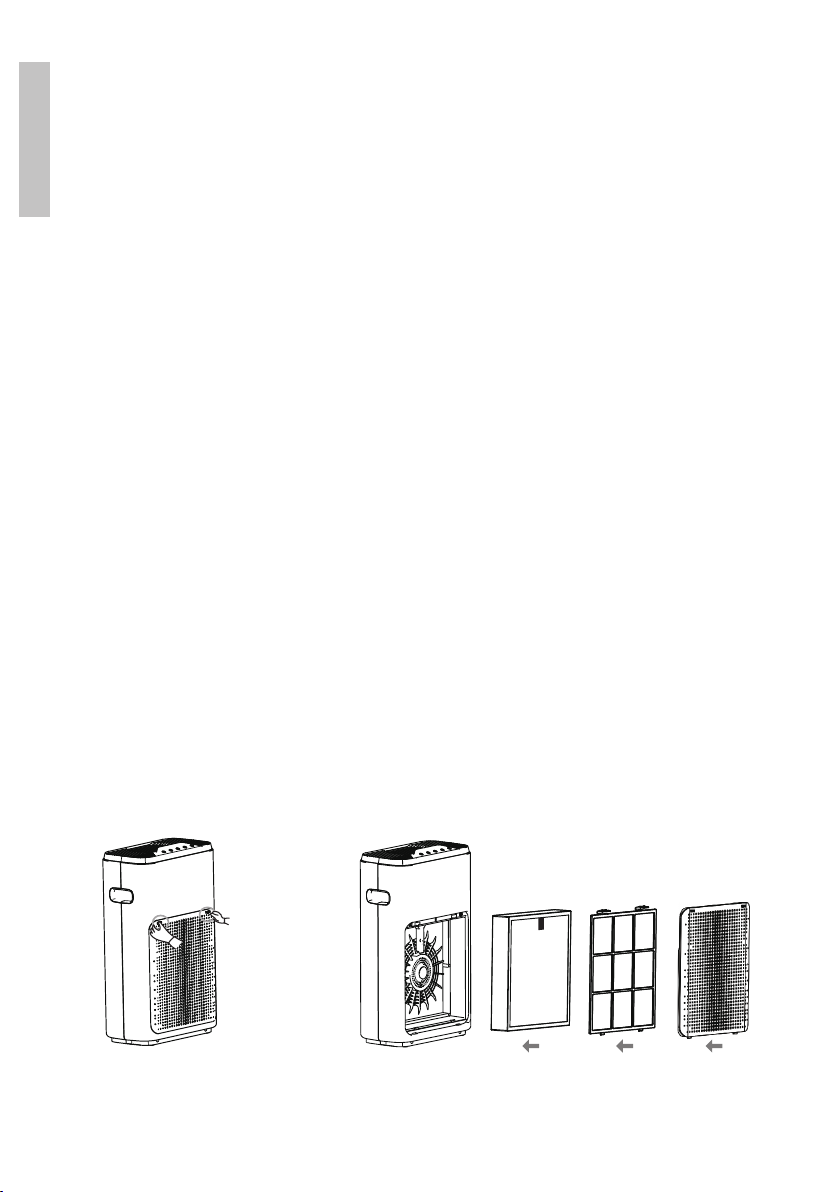
Filter maintenance
Clean the pre-lter approximately every 6 months of use. Use a
vacuum cleaner to rst clean the surface of the lter, then wash
it with water. Make sure it is well dried before reinstalling it in the
purier.
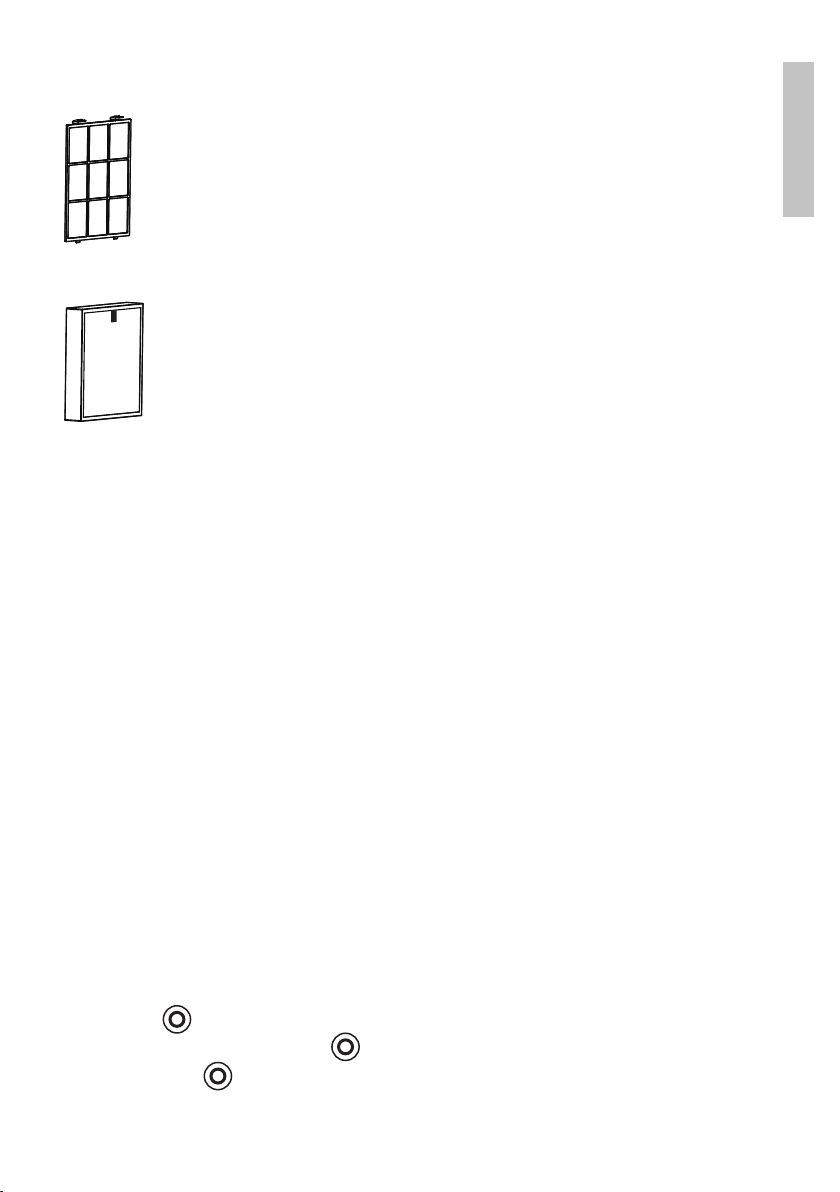
Clean the HEPA + active carbon lter every 2 months of use.
When the lter indicator on the control panel ashes (1500
hours of use have elapsed), rst press the Reset key to exit the
warning mode and reset the timer, then remove and clean the
lter.
Warnings:
• Do not wash the HEPA lter with water.
• When cleaning the HEPA lter, stay in an open area so that you do
not inhale unhealthy particles that are trapped in the lter.
• Do not expose the lter to direct sunlight for a long time.
Other warnings:
• Disconnect the purier from the power supply before maintenance.
• Do not use the purier without lters.
• If you do not use the purier for a long time, disconnect it from the
mains.
• If you use the purier in a heavily polluted space (for example, where
there is a lot of smoking), the lters must be cleaned or replaced more
often.
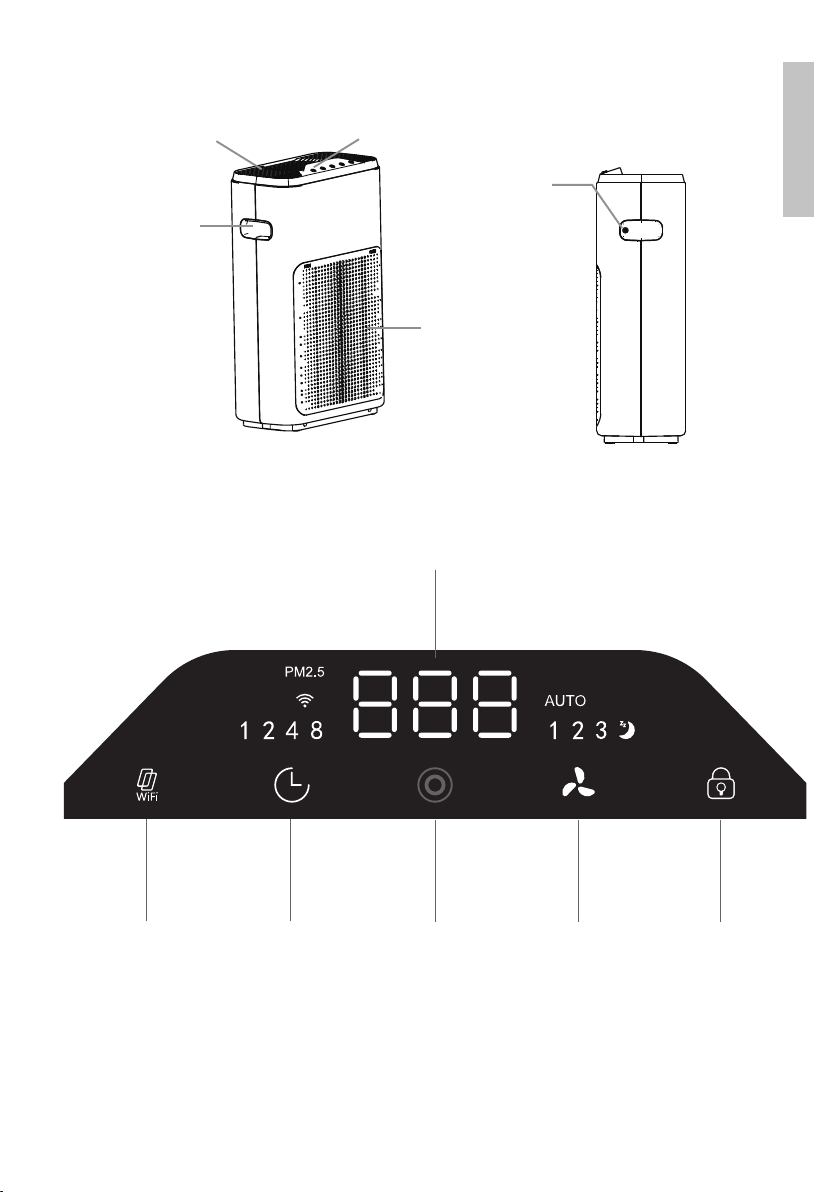
Usage instructions
1. Power supply: After connecting the purier to the mains, you will
hear a “Di” sound. The purier will enter standby mode and the status
LED ( ) will become red.
2. Start: Press the key to start the air purier. The air quality
indicator ( ) will become red. The purier will enter the automatic
operation mode.