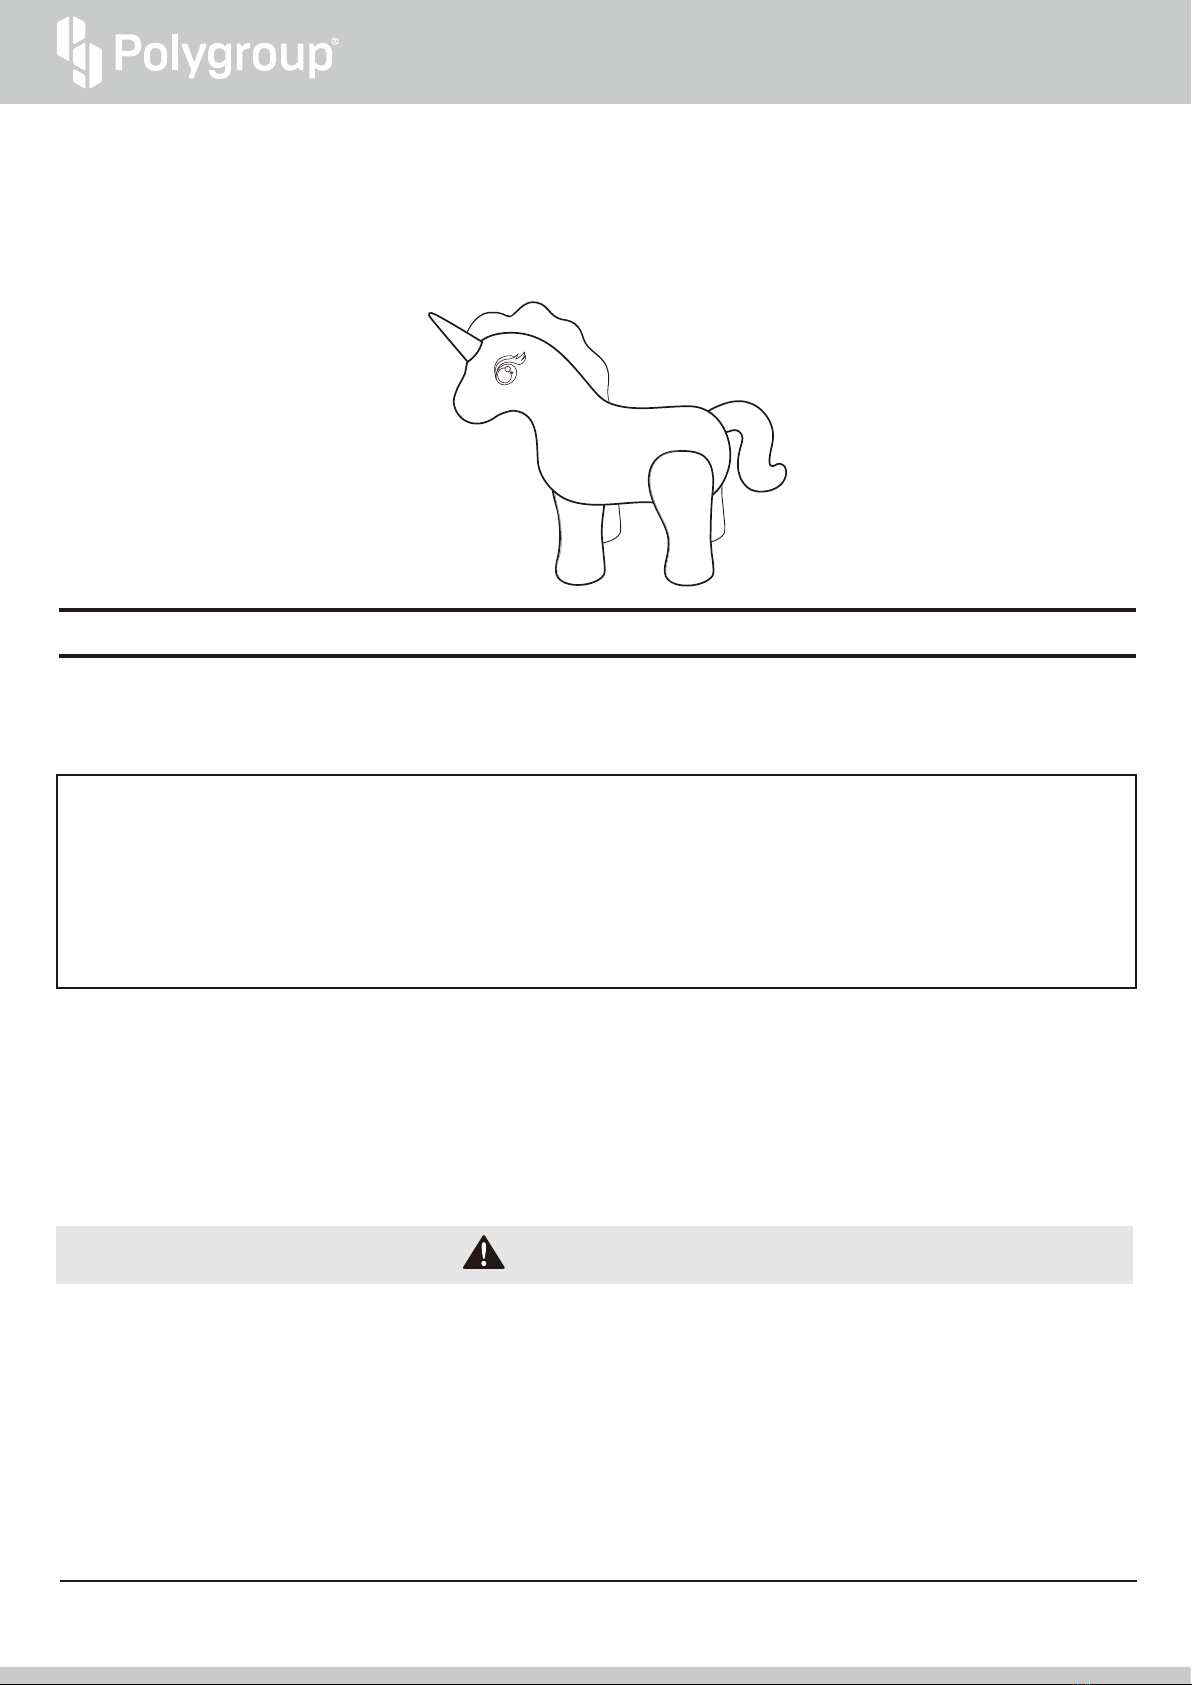
MANUAL DEL PROPIETARIO
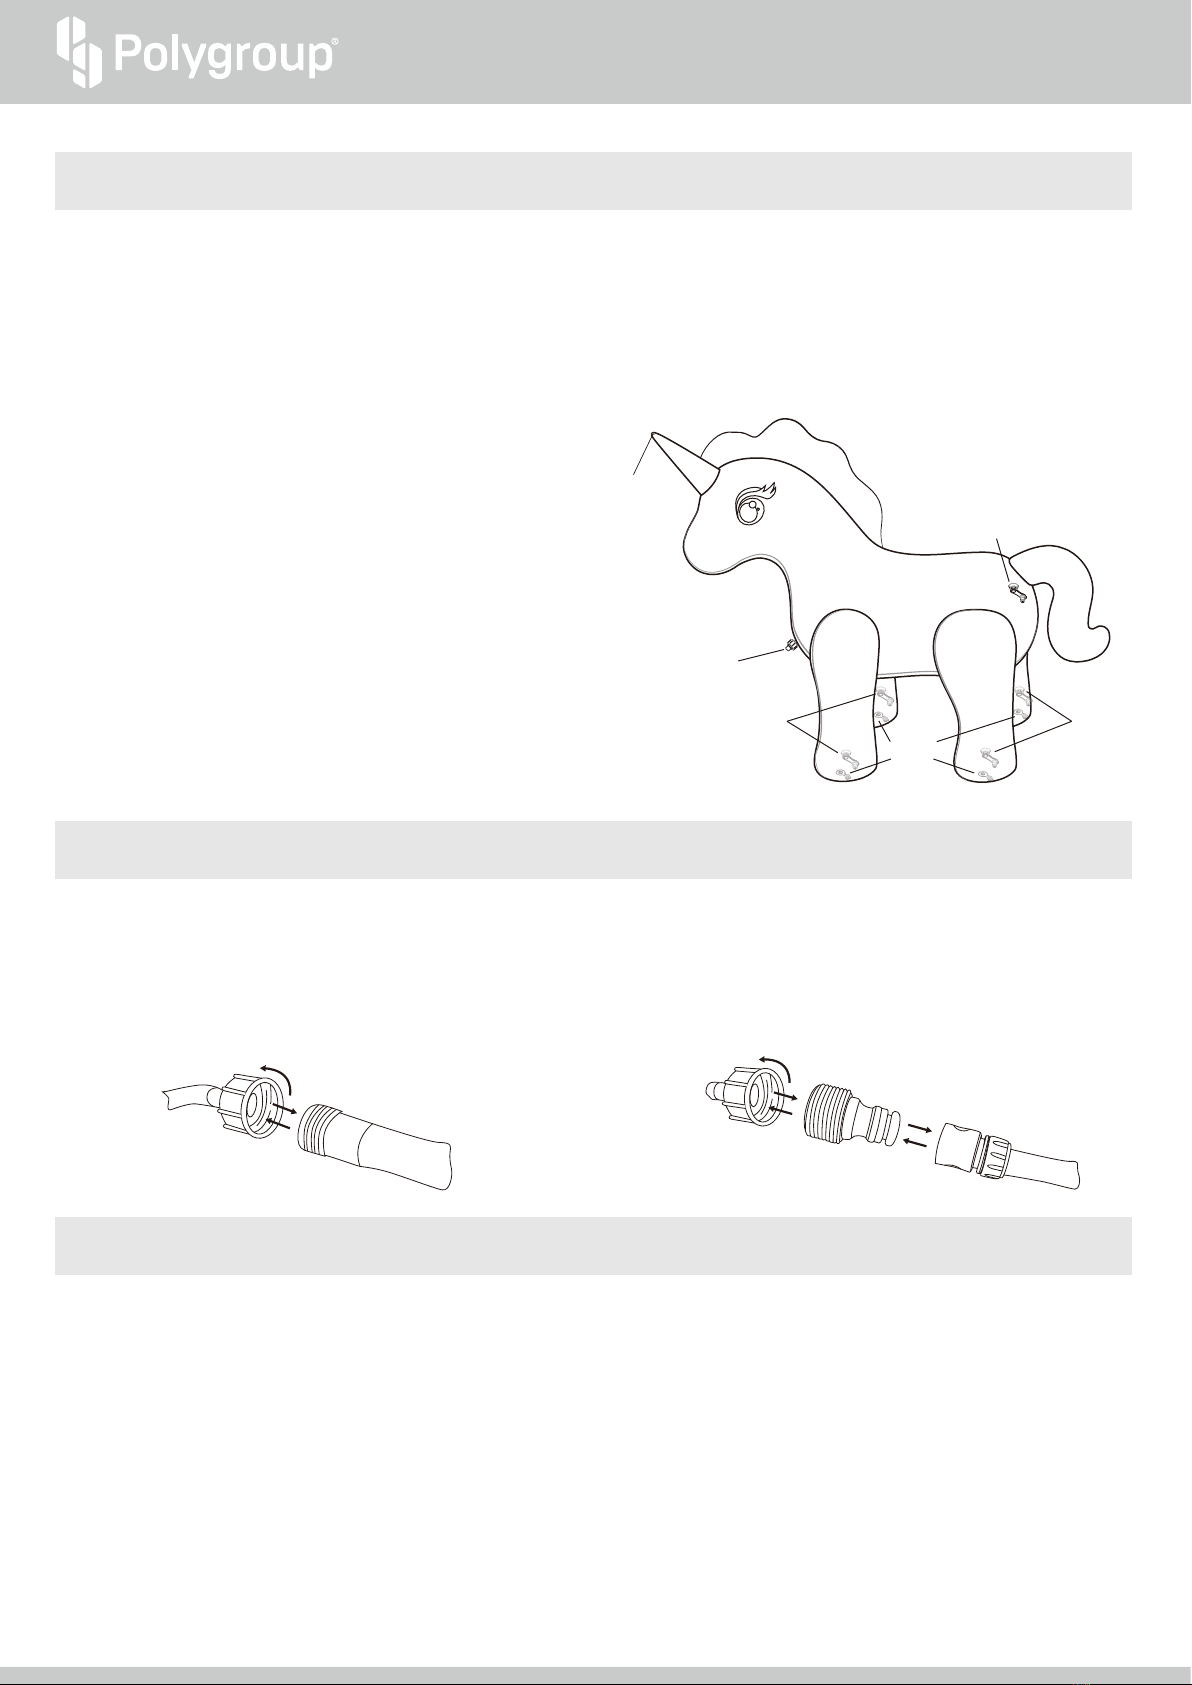
Válvula de aireVálvula de aire
Válvula de aire
Conector para
manguera de agua
Pulverizador
de agua
Tapón de
desagüe
2
INSTRUCCIONES DE INSTALACIÓN
Antes de ensamblar su producto, tómese unos minutos para comprobar el contenido y familiarícese con todas las piezas.
CÓMO SE HINCHA
CÓMO SE DESHINCHA
1. Saque el producto de su caja y asegúrese de que contiene todas las piezas.
2. Llene la base de agua a través del tapón de desagüe; el volumen será de aproximadamente 1/3 del espacio total. Cierre correctamente el tapón.
3. Hinche la base y el cuerpo horizontal a través de las otras válvulas de aire.
4. Luego cierre la válvula con su tapón y presiónela hacia dentro para que no sobresalga en la superficie.
5. Conecte la manguera de jardín con el conector de la manguera de agua.
MANTENIMIENTO Y ALMACENAMIENTO
INSTRUCCIONES PARA LA CONEXIÓN DE UNA MANGUERA
Conector roscado
para manguera Quick-Connect
Manguera de jardín
Conector roscado
para manguera
Manguera de jardín
Para los productos que tienen pulverizadores de agua o se
conectan a mangueras, apriete el conector roscado a una
manguera de jardín estándar. Abra el agua lentamente y ajuste la
velocidad hasta el valor de velocidad o giro deseado (si procede).
Para los productos que disponen de mecanismo
Quick-Connect, apriete este entre el conector roscado y una
manguera de jardín estándar.
1. Para la limpieza: lave el producto con agua templada ligeramente jabonosa y cuélguelo para que se seque, No lo planche ni lo cepille. No lo
limpie con productos de limpieza que contengan disolventes - de lo contrario dañará el producto de forma permanente.
2. No arrastre la piscina cuando esté llena de agua o podrá sufrir pinchazos en caso de que haya objetos punzantes.
3. Para la reparación: limpie la zona a reparar. Presione el parche de reparación que se incluye en el suministro sobre el pinchazo/agujero/fuga, y
espere 30 minutos hasta volver a hinchar la piscina.
IMPORTANTE: No modifique este producto ni use ninguna pieza o accesorio que el fabricante no haya incluido en el suministro. Sustituya las
piezas defectuosas según se indica en las instrucciones del fabricante.
4. Para el vaciado: retire todos los accesorios, la manguera y los juguetes (si los hay). Deshinche la piscina, y a continuación retire el tapón de la
válvula de desagüe y vacíela. También puede empujar las paredes de la piscina hacia abajo y hacia adentro para deshincharla completamente.
5. Para el almacenamiento: vacíe completamente el producto y deje que se seque totalmente a aire. Dóblelo con cuidado y almacénelo en un lugar
seco alejado de la acción directa del sol. El embalaje original de cartón puede emplearse para su almacenamiento.
NOTA: No utilice aire comprimido para hincharlo o podría destruir
fácilmente el producto. Si la válvula no se puede introducir en el
producto, es una indicación de que talvez esté demasiado inflado.
Presione la base de la válvula con los dedos para que salga el aire.
Luego cierre la válvula con su tapón y presiónela hacia dentro para
que no sobresalga en la superficie.
Tire de la válvula hacia afuera Abra el tapón de la válvula y
apriete la base con los dedos para dejar salir el aire. Cuando
haya salido todo el aire vuelva a colocar el tapón en la válvula.
Manténgalo alejado de niños pequeños: peligro de asfixia por
piezas de pequeño tamaño.