PONSSE H73 Manual

Service training

Service training
1
2
3
4
5
6
7
8
9
10
Safety regulations
Technical data
Electrical equipment
Adjustment and service instructions
Testing instructions
Hydraulics
Pressure adjustments
Extra equipments
Scheduled maintenance

Service training
000
04052000 1.1
Safety regulations
1. Use caution and patience
when servicing the harvester
head.
2. Immediately report any
malfunctions in the head to
your foreman or the person
responsible for servicing.
3. The engine should be shut off
during servicing.
4. Avoid working alone.
Keep a mobile phone near
you when you service the
harvester outside the cab.
Store an emergency alarm
number in one of the quick
select phone numbers.
5. Service the harvesting head
according to the
manufacturers service
schedule.
6. If you are not familiar with the
construction of the machine,
ask the manufacturer for
instructions before beginning
to service or repair it.
7. Danger to life!
Never attempt to service the
head near the range of
movement of the saw, the
delimbing knives or the feed
rollers when the engine is
running.
Safety while servicing and repairing:
8. Danger to life!
When servicing the head,
make definitely sure that
nobody starts the harvester!
If the harvester is started, the
knives and rollers will close,
the saw will return to its home
position and the head will
return to a horizontal position!
9. Manual control:
Each directional valve is
equipped with a precontrol
solenoid which allows the
directional valve to be
controlled manually by
pressing the end spindle.
9.1 Danger to life!
Avoid using the manual
control when troubleshooting
or repairing the harvester
head. If maual control is
absolutely necessary be
extremely caution.
9.2 Do not use the manual control
to tilt the harvester head or
operate the rotator.
9.3 Be sure of the correct valve.
Beware of the spinningmotion
of the feed rollers and the
movement of the delimbing
knives and the saw bar.

Service training
000
04052000 1.2
Safety regulations
10. When testing the functioning
of the saw:
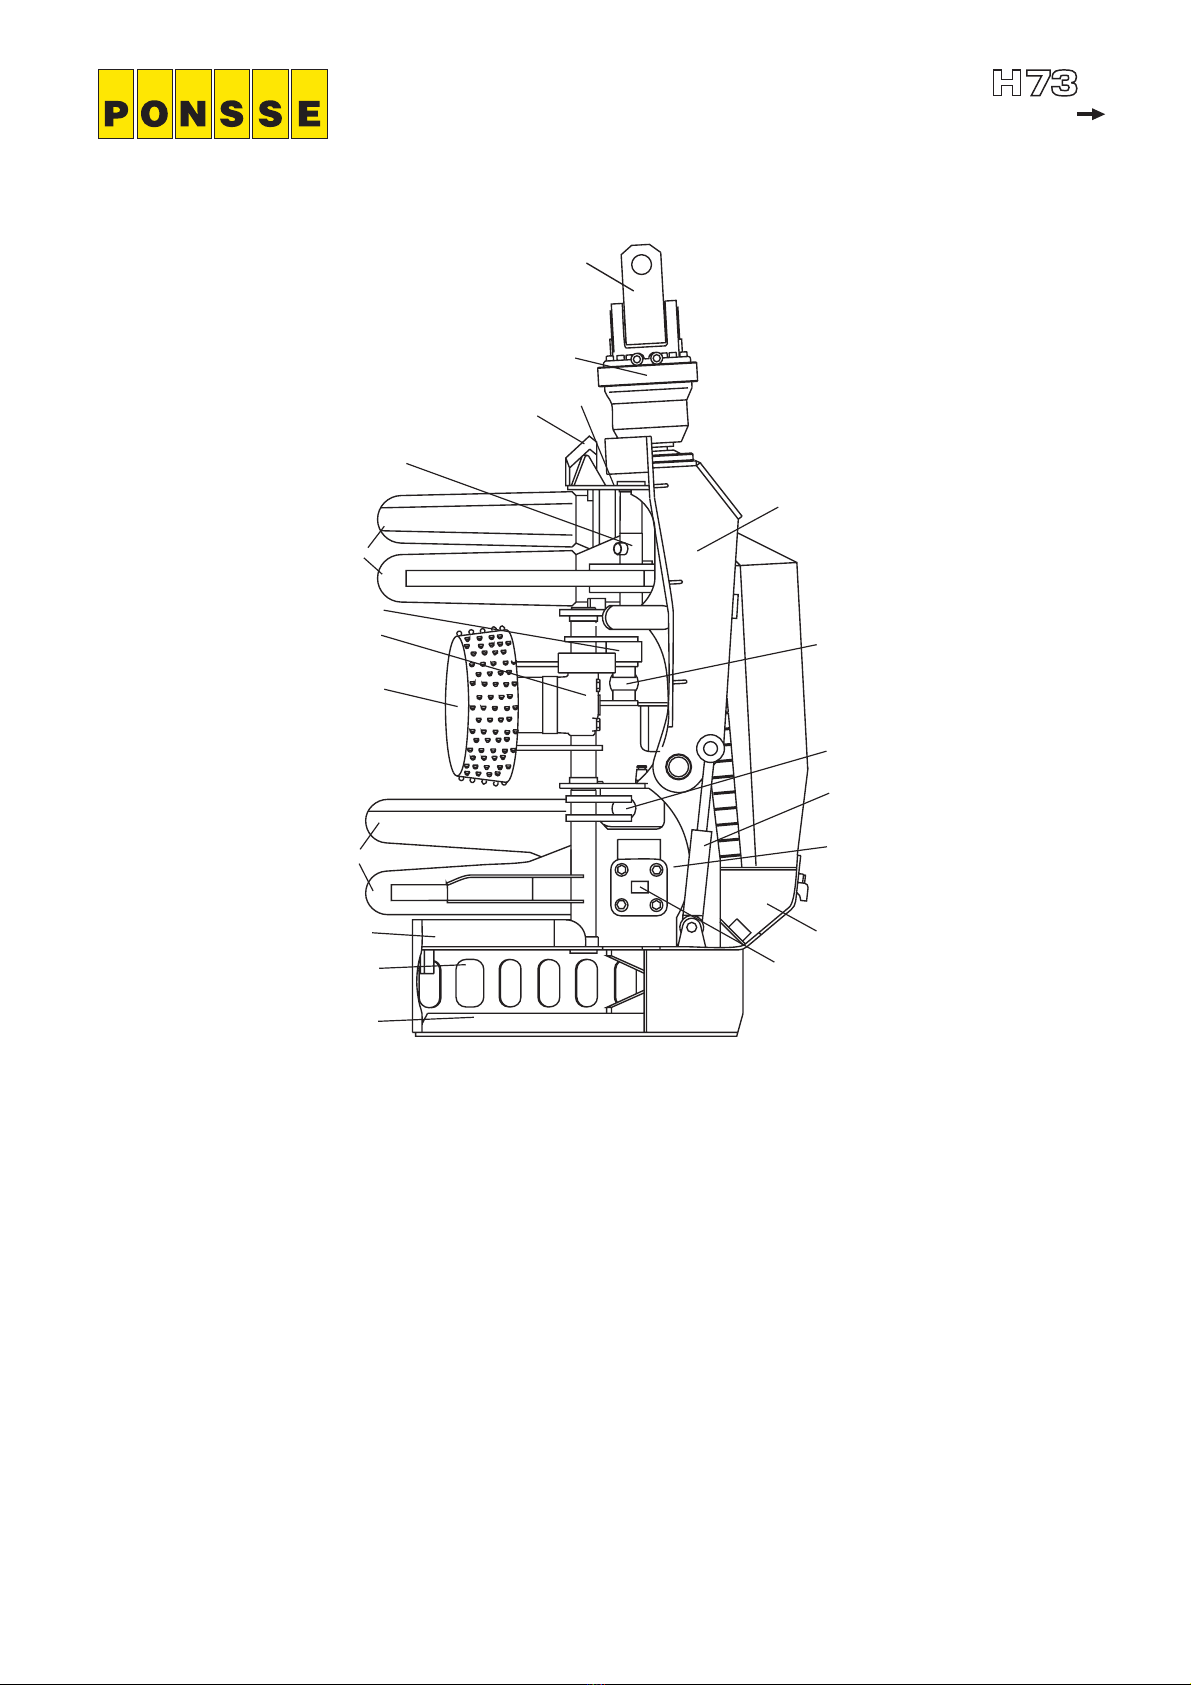
- The harvester head must
be in a horizontal position
- Nobody is to be in line with
the saw
- Keep the harvester head
as near to the ground as
possible
11. Never raise the harvester
head near the cab windows
while testing the saw.
12. When servicing indoors, the
saw must only be tested with
the chain removed.
13. Remove the pressure from
the hydraulic system before
beginning to service or repair
jobs.
14. Do not clean or lubricate the
machine while the engine is
running.
15. Always wear protective gloves
when handling the saw chain.
16. Pay special attention to
cleaning and inspecting the
limit switches, saw bar, saw
chain and delimbing knives.
Do not slit yourself to the
cutting edge of the delimbing
knives.
Always wear protective gloves
when handling the delimbing
knives.
17. Be aware of the danger of
slipping when working on top
of the harvester head.
18. If oil gets on your skin, re-
member to clean it off. Take
care of cuts and scratches
immediately.
19. Use safety goggles in service
and repair jobs.
20. Do not change the pressure
settings without the approval
by the manufacturer.
21. Use only sound tools and
approved lifting equipment,
abandon / repair damaged
tools.
22. Danger!
Be careful when removing hot
liquids or oils from the
machine. Hot liquid or oil can
cause serious burn injuries.
23. Disposal of liquids, oil or other
problem wastes:
- Do not pour into ground or
water
- Find out the proper ways to
dispose of them
- Note the local environmental
regulations

Service training
000
28022000 2.1
H73001
Technical data
1
2
3
11
10
9
8
7
6
5
4
12
13
15
14
18
17
16
5
3
1. Chain lubricating oil container
2. Saw bar
3. Feed rollers
4. Reaction bar
5. Delimbing knives (front)
6. Delimbing knife cylinder (front)
7. Feed roller cylinder
8. Cradle
9. Tilt cylinder
10. Saw bar cylinder
11. Saw motor
12. Rotator
13. Serial number
(Give the serial number when
ordering spare parts or otherwise
contacting the manufacturer)
14. Delimbing knives (rear)
15. Delimbing knife cylinder (rear)
16. Swing coupling
17. Feeding motor (upper side)
18. Feeding motor, 2 pcs (lower
side)

Service training
000
28022000 2.2
H73001
Technical data
Weight 950 kg
Height 1515 mm
Width:open 1440 mm
Power consumption 70-90 kW
Operating pressure 20-24 Mpa
Oil flow requirement 200-300 l/min
Rotator SISU MR10AMF
Saw unit: hydraulic chain saw (F11-19)
Power 45 kW
Sawbar length 750 mm
Chain speed 44 m/s
Chain pitch 0.404"
Cutting diameter 640 mm
Feeding unit:
Feeding type 3 spiked steel rollers
Feeding force 26 kN
Feeding speed 0-4 m/s
Delimbing unit: One fixed ond four movable knives.
Delimbing diameter 670 mm
Delimbing knives and feed rollers separately
controllable
Measuring and control automation:
PONSSE 1000 or PONSSE OPTI system
Automatic volume measurement with data
storage and printer output.

Service training
000
28022000 3.1
Harvester
connector
Valve connectors
Saw sensor
Length measure
sensor
Diameter sensor
Tilt sensor
Colour marking
connectors
Electrical equipment
Electrical harness / sensoring

Service training
000
02052000 3.2
To crane
Computer
Electrical equipment
Optinet
To pivot frame

Service training
000
28022000 3.3
Electric diagram (IPS)
Location number of pin connector box Directional valve
solenoids+diodes
Saw rotation
Saw feed
Slow forward
Slow reverse
Rollers open
Front knives open
Fast forward
Fast reverse
black
black
black
brown
brown
blue
brown
blue
Saw limit A
Saw limit B
black brown
blue Tilt limit
Feed current length sensor
red
yellow
green
blue
Length sensor Diameter
sensor
blue
yellow
Tilt up
Rear knives open
Rear knives open extra pressure
Color 1 (blue)
Color 2 (red)
Urea valve
Rotator right
Rotator left
Front knives open extra pressure
GND

Service training
000
28022000 3.4
Electric diagram, Knutsson
GND
KNUTSSON
Feed rollers 2-power system
Lubrication oil pump
Location number of pin connector box Directional valve
solenoids+diodes
Saw rotation
Saw feed
Slow forward
Slow reverse
Rollers open
Front knives open
Fast forward
Fast reverse
black
black
black
brown
brown
blue
brown
blue Saw limit A
Saw limit B
black brown
blue Tilt limit
Feed current length sensor
red
yellow
green
blue
Length sensor Diameter
sensor
blue
yellow
Tilt up
Rear knives open
Color 1 (blue)
Color 2 (red)
Urea valve
Rotator right + (KGK-)
Rotator left+(KGK-)
Front and rear knives extra pressure

Service training
000
29022000 4.1
Sensor
casing
Sensor
Rubber
coupling
Metering
wheel
Adjustment and service
instructions
Length measuring device

Service training
000
29022000 4.2
Adjustment and service
instructions
Length measuring device
Testing the length measurement
1. Lift the harvester head so that you can rotate the measuring roller.
2. Shut the engine off.
3. Turn on the measurement system, switch on the power to the harvester
head by pulling the knob out on the main switch (moto-switch).
4. Go to the length calibration programming mode.
5. Write down the original value of the length correction.
6. Set the length correction of pine to zero.
7. In the Handling mode, select pine for the tree sort.
8. Press the ENTER key to zero the length.
9. Mark the zero point on the measuring roller and on the measuring roller
housing. Be careful not to move the roller.
10. Check that the length on the display is zero.
11. Rotate the measuring roller with force e.g., by kicking it.
12. Rotate the measuring roller so the zero mark on the measuring roller is
inline with the zero mark on the measuring roller housing.
13. Check the length on the display. It should be divisible by 50 without a
remainder. E.g., 50, 100, 150, 200, 250, 300, etc.
If the display shows some other length, the measuring system is not
functioning correctly at high speeds.
ATTENTION!
After testing, change the length
correction to the original value.
Repair:
Adjust the gap between the sensor and code roller again. If this does not help,
replace the sensor.

Service training
000
29022000 4.3
A
B
Adjustment and service
instructions
Diameter measuring
Before calibrating of the diameter, you should check the
following:
1. The tree travels in the centre of the harvester head. If
necessary, adjust the tree (a round one) to the centre
using the reaction brace .
2. Check that the measurements Aand Bare equal. If
the difference is greater than 5 mm, an adjustment has
to be made. A half revolution of the reaction brace is
equivalent to a 5 mm change in the difference between
measurements A and B. Recheck the measurements.
3. When the feeding rollers are closed, the sensor
reading must be 30. If the reading is something else, it
can be adjusted by turning the sensorbody.

Service training
000
29022000 4.4
1 mm
ABC
1. Turn the engine off and make sure no one is able to start
the machine.
2. Turn the saw bar to its upper position and remove the old
sensors.
3. Use a thin-bladed screwdriver or similat tool to check that
the detector holes do not coincide with the sensor
locations (A, B).
4. Lightly screw the new sensors into place until they are
seated.
5. Unscrew the sensors one revolution to obtain a 1 mm gap.
6. Tighten the locking nut C.
Adjustment and service
instructions
Saw sensor replacement

Service training
000
29022000 4.5
Adjustment and service
instructions
Saw sensor replacement
Sensors
Adjustment
plate
Adjustment of sensors

Service training
000
29022000 4.6
Adjustment and service
instructions, saw
Adjustment of sensors
Saw bar
limit screw

Service training
000
29022000 4.7
1
2
3
4
Adjustment and service
instructions
Delimbing knife sharpening
The condition of the delimbing knives has a major effect on the
pruning result and pruning resistance (especially in the summer).
The recommended shape of the delimbing knives is shown in the
following diagram. Sharpen the top side of the blade to a 45°
angle. Do not sharpen the bottom side.
Saw chain lubricating pump adjustment
1. Oil volume adjustment
2. Lubricating pump
3. Check valve
4. Lock nut
NOTE! If the adjusting screw is
overtightened, the pump will not
function, because the piston will
not be able to move.
Oil volume adjustment:
Oil volume should be adjusted according to the type of oil used
and the lubricating need. Open lock nut no. 4. Turn adjusting
screw no. 1 to obtain a suitable oil flow volume. Turning the
screw clockwise will decrease the volume. Tighten the lock nut.

Service training
000
04052000 5.1
Testing instructions
Pulse sensor testing
1. Turn on the power by turning the switch to the ON position.
2. Switch the NPN/PNP switch to the correct position, depending on which type of
inductive sensor you are going to test. In the new harvester heads all inductive
sensors are NPN type. In the older harvester heads the saw sensor is PNP type if
the saw sensors diameter is 8 mm.
3. Connect the conductors as follows:
- Brown conductor to +
- Blue conductor to -
- Black conductor to IN
NOTE! If you are going to test two sensors at the same time, connect as follows:
- The brown conductors to +
- The blue conductors to -
- The black conductors to different IN poles.
4. Put a piece of metal in front of the sensor. If a red or yellow lamp lights on the tester,
the sensor is in good condition, otherwise the sensor is faulty.
5. Turn off the power of the test device when you have finished testing the sensors.
If the BATT.OK lamp does not light when the power has been turned on, the
batteries are empty. Replace the batteries.

Service training
000
04052000 5.2
W
A
V
V
10.0
V
A
W
NOTE! The measured object has
to be without a voltage.
E.g., Checking the diameter sensor:
1. Connect the wires as in the adjacent figure.
2. Slowly turn the the gear of the diameter
sensor and watch the display of the digital
multimeter. The value should vary between
1.5 and 11.5 kW(kilo-ohm) (±10 %)
depending on the rotating direction.
By connecting black and blue wires to the
multimeter, reading must be 10 kW(±10 %).
Rotating of the gear wheel may not affect the
reading.
Resistance measurement
Short-circuit measurement
Select the measuring unit by turning the
switch as shown in the adjacent figure.
By putting both ends of the black and red
measuring cables together you should
hear an audible signal from the digital
multimeter.
NOTE! The wire that you are
going to measure has to be
without voltage.
Testing instructions
Using a digital multimeter
Yellow Blue

Service training
000
04052000 5.3
VV
A
W
24.0
V
A
W
0.600
V
Voltage measurement
Connect the black measuring cable to the COM
terminal and the frame of the machine. Connect
the red measuring cable to the V terminal and the
other end to the wire or connector you want to
check. Then the digital multimeter will show the
actual voltage at that moment at that point.
Testing instructions
Using a digital multimeter
Diode test
When the digital multimeter is connected as shown
in the adjacent figure and the switch on the digital
multimeter is turned to the diode measuring mode,
the multimeter show a value between 0.5 - 0.7.
Swapping the measuring cables on the diode should
change the reading on the multimeter to 1.
NOTE! To check a diode, it has
to be without a voltage.
NOTE! AC/DC switch in
position DC
Table of contents