Porsche A2DIY-CR12 User manual

Courtesy of: DiscountCarStereo.com
Serving the internet community since 1995
A2DIY-CR12
QUICK START BLUETOOTH INSTALLATION GUIDE FOR PORSCHE CR-1 AND CR-2 RADIOS
Created January 16, 2016
Revised April 25, 2021

PRODUCT SAFETY & DISCLAIMER
READ ALL INSTRUCTIONS CAREFULLY BEFORE INSTALLING, FAILURE TO DO SO MAY CAUSE
PERSONAL INJURY OR DAMAGE TO PRODUCT AND/OR PROPERTY
•This installation guide is provided as a GENERAL installation guide, some vehicles vary and may
require additional steps. We do not accept responsibility for third party labor charges or
modifications. Exercise due-diligence when installing this product.
•We do not accept any responsibility for vehicle damage or personal injury resulting from the
installation of this product.
Careless installation and operation can result in equipment damage
Introduction:
If looking to add Bluetooth® features to Porsche CR-1 or CR-2 radios you should
consider the A2DIY-CR12 kit. This revised easy to install kit is essential to adding
Bluetooth® features to older vehicles while keeping everything stock. This “triple
play” module supports APTx "CD-like’ high quality audio for streaming music and
sounds great for (1) mobile conversations, (2) streaming Pandora, Sirius radio,
Apple music, audiobook, podcast and (3) CD changer retention OR an AUX input
(vehicles without changer). Use included media button (remote) to adjust
Smartphone: volume, track up/down/pause and more and can be mounted to
steering wheel or dashboard. In addition, an optional “Fast charge’ USB port helps
to keep devices charged while on the road. Thanks to the A2DIY-CR12 kit, Porsche
owners can update to Bluetooth® 4.1 without changing original radio.
Works in vehicles with or without CD changer.
If retaining CD changer; skip to installation 2 on page 4.
See Frequently Asked question at the end of this guide for more details.
Installation 1: (Without CD changer)
Radio removal required to gain access to connectors.
Remove trim ring and ensure the 2 tabs are centered at which point the radio is
pulled out the dash (grasping the cassette opening provides some leverage) or
push from rear. Proceed with step 1 below
Alert: If vehicle has a CD changer but not retaining it, simply disconnect CD changer
plug from radio.
1. Connect module installation harness 13-pin plug (See Fig. 1)to radio 13-
pin connector (See Fig. 2)
Fig. 1
Fig. 2
radio connector
Fig. 3

2. Connect installation harness 22-pin plug (see Fig. 3) to module 22-pin
connector (See Fig. 4)
Fig. 4
module
3. Connect supplied 3.5mm audio cable (See Fig. 5) to module “AUX” jack
(See Fig. 4). Route audio cable to dash area or wherever Aux device will
reside (within 3 ft.)
Fig. 5
Audio cable
4. Secure visor microphone (See Fig. 6) to visor or headliner using included
visor clip (See Fig. 7)
Fig. 6
Microphone
Fig. 7
Visor clip
5. Route microphone (See Fig. 6) down pillar, under driver kick panel and
across to radio cavity and connect to module “MIC” jack (See Fig. 4)
Be cautious not to damage or cut both microphone cable.
Optional dash mount button-style microphone:
For convenience, we offer an optional button microphone instead of
standard visor microphone.
The standard microphone installs on visor or headliner, but optional
button-style microphone can be mounted to dashboard or custom
installed as seen in image below.
To install simply connect 1/8” plug to module “MIC” jack (See Fig. 4),
route button to dash area (cable is 6ft. long); clean surface, remove tape
backing and secure to dash. (To add this option to cart, simply tap
“Optional button style microphone” on order page)
When button style microphone is added to order, standard visor
microphone (See Fig. 6) is omitted.

6. Power connection:
- 993 CR-1/CR-2 radios e.g. 993.645.104.00 with 8-pin iso plugs (See
Fig. 8) are plug-n-play
- 994 CR-1/CR-2 radios e.g. 964.645.014.00 with 5-pin power plug are
not plug-n-play and requires splicing ground and accessory wires.
964 wiring
993 wiring
Fig. 8
993 radio 8-pin radio connectors
7. For 993 wiring: Connect (car side) 8-pin plug to installation harness 8-
pin connector (See Fig. 9).
Fig. 9
installation harness
8. Connect 8-pin plug from installation harness (See Fig. 9) to radio.
9. For 964 wiring: Tap black wire to ground (brown) and Red wire to
accessory (green) as seen in Fig. 8 (radio colors may vary but position
remain the same)
Proceed to “Pairing” section on page 8
Installation 2: (Retaining CD changer)
CD Changer must be in working order. If for some reason CD no longer
functions, this module will also not function.
Radio removal required to gain access to connectors.
Remove trim ring and ensure the 2 tabs are centered at which point the radio
is pulled out the dash (grasping the cassette opening provides some leverage)
or push from rear. Proceed with step 1 below
1. Disconnect factory CD changer plug from radio
2. Connect factory CD changer plug to module 13-pin connector
3. Connect module installation harness 13-pin plug (See Fig. 9)to radio 13-
pin connector (See Fig. 10)
Fig. 9
Fig. 10
radio connector
4. Proceed to step 4 on page 3 to complete the rest of the installation

Optional USB “Fast Charge” Kit (not for thumb drives etc.)
This fast charge USB kit can be added to any vehicle. It supports BC1.2, QC2.0,
QC3.0, PE1.1, PE2.0, FCP, SFCP fast charge protocols (Apple, Samsung, Huawei etc.)
Note: iPhone "Fast charge" kicks in when battery capacity is between 0-79%, and
return to regular charge mode when it reaches 80%.
Should you decide to add to car, we suggest one of 3 connecting options:
A. Flush to dash/panel requires drilling a ¾” hole
B. Flush with Support bracket (Mount USB terminal wherever your installation
demands without drilling)
A. Flush to Dash or Panel (drilling required)
1. Drill a ¾” hole in the dash or panel using a step drill bit or equivalent
(See Fig. 11)
Fig. 11
Step drill bit
2. Insert supplied 3ft. USB male terminal (See Fig. 12) through hole created
in step 1 and connect to install harness USB port (See Fig. 13)
Fig. 12
Flush mount 3 ft. USB cable
Fig. 13
installation harness USB port
3. Snap USB extension cable head (See Fig. 14) in place and flush with
mounting surface (See Fig. 15)
Fig. 14
USB head

Fig. 15
Flush mounted
4. Tuck and secure any extra wire from moving parts and test operation
B. Bracket Mount (No drilling)
1. Locate a flat surface at location of choice within 3.2 ft. of module and
mount USB support bracket (See Fig. 16) to surface using adhesive/tape
or screws (included).
Fig. 16
USB mounting bracket
2. Insert male terminal through hole in bracket (See Fig. 17) and connect to
module USB port (See Fig. 13)
Fig. 17
3. Snap USB head (See Fig. 17) to bracket until flush (See Fig. 18)
Fig. 18
4. Tuck and secure any extra wire away from moving parts and test
operation (
See Bluetooth Pairing and Connection
)

Bluetooth Media button
Pairing Bluetooth media button: Ensure Bluetooth is enabled on your device
(e.g., Smartphone/Tablet etc.)
Press and hold pause/play until Blue LED begin flashing
Scan smartphone for available devices and select BT009 from list. (Blue LED turns
off).
Fig, 18
Installing media button:
Attach the button to steering wheel (includes holder) or attach to dashboard using
included double sided tape –your choice.
Because the media button pairs with your Smart device, it can also be used at
home, in the park or wherever you decide to play your tunes.
Operation:
Once paired with smart device (e.g., Phone, Tablet, etc.), users may perform the
following functions on iOS with Bluetooth 3.0 and later or Android 4.0 or later.
Media button functions applies to smartphone NOT the C5 radio.
Charging Media Button:
Media button built-in rechargeable 200mAH battery may last up to 10 days.
Connect included USB cable to charge charging port at the back.
Red LED indicates charging; A full charge is reached after 2 hours at which time
LED turns off.

Bluetooth pairing:
Pairing varies among devices but basic steps are the same. This process is done
upon initial install and will not have to be repeated.
1. Turn ignition and radio “ON”
Blue LED through module peephole will flash (pairing mode)
2. On A2DP device: go to
Bluetooth Settings
, Tap to Scan
3. Wait for Bluetooth device name (See Fig. 19) to appear and tap it.
Once paired confirmation tone is heard on car speakers
Fig 19
Test Operation:
1. Turn ignition and radio “ON”
2. Press “CD” button on radio
3. Launch smartphone music streaming application
4. Use media button to change tracks, adjust device volume, pause etc.
5. Place test call or ask someone to call. Use media button Pause/play
button end call.
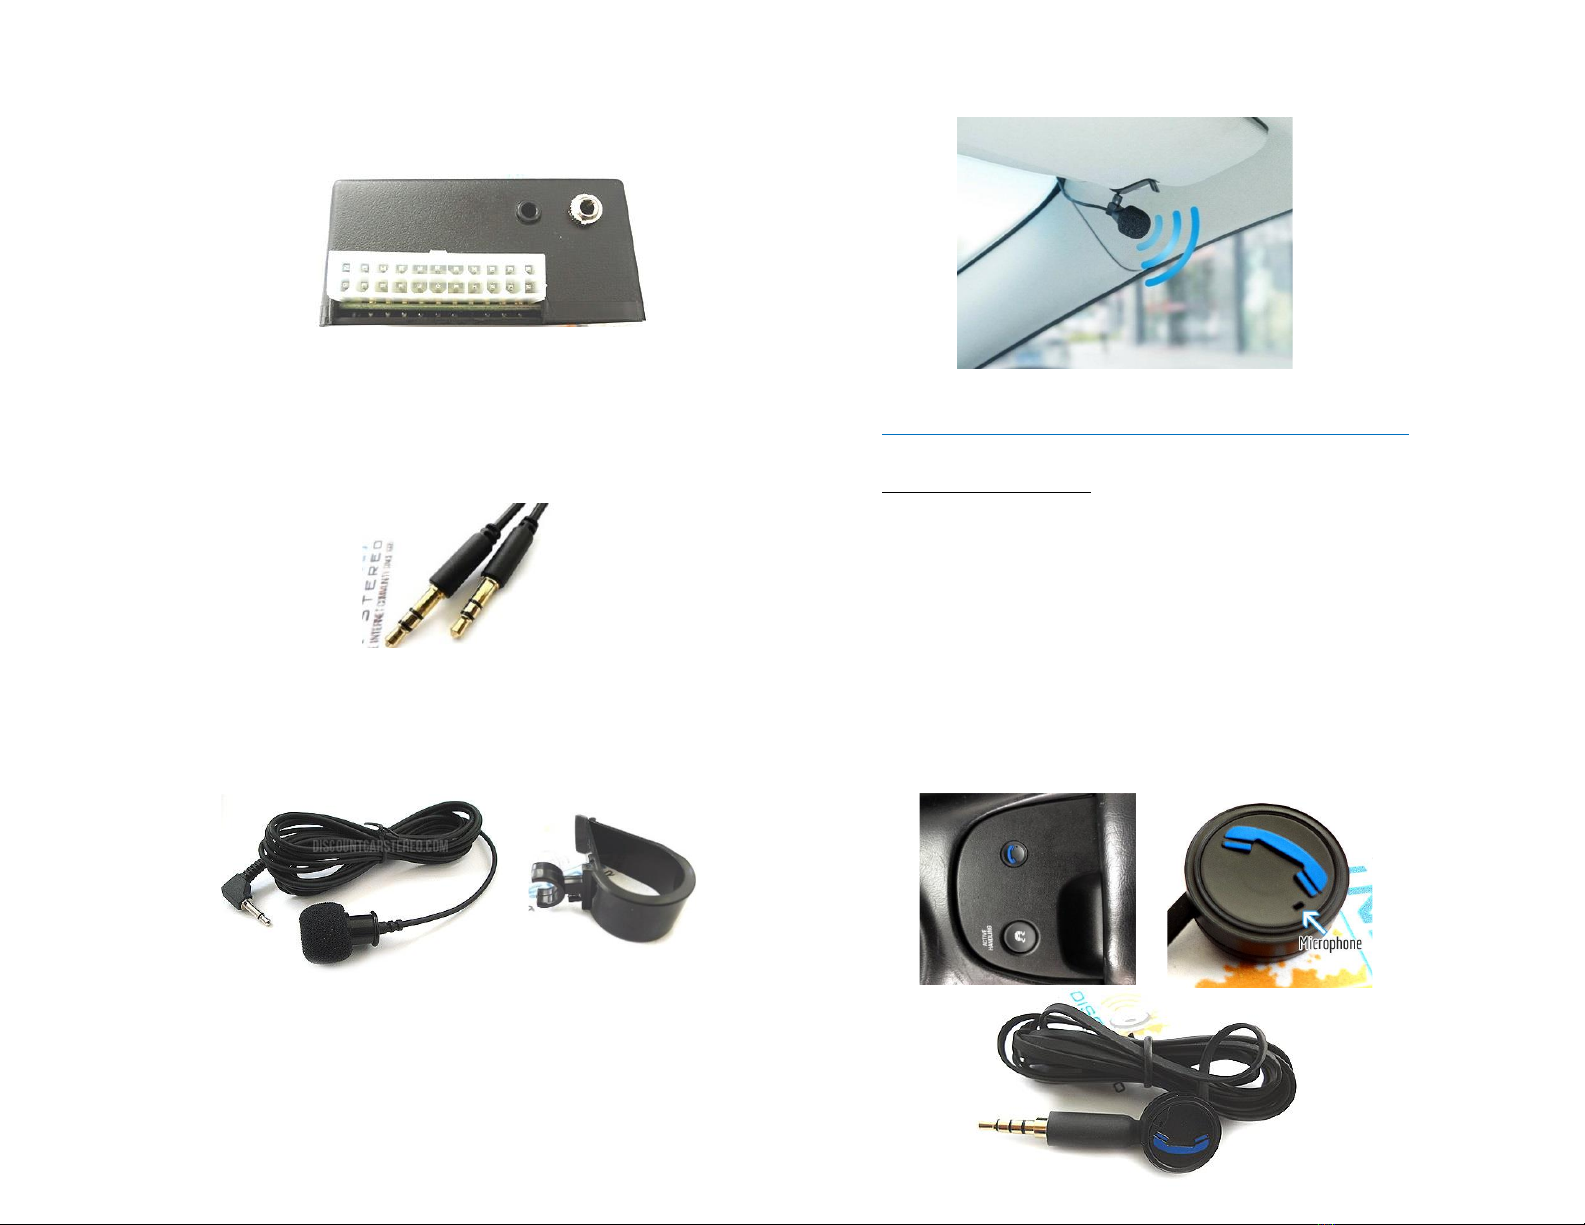
Note: Media button is used to accept/end calls and switch between
Bluetooth and CD playback (if retaining CD changer) or to switch between
Bluetooth and aux (not retaining CD changer)
6. If correct operation is confirmed go ahead and reinstall radio.
Playlist, Track selection, display name/number are *NOT*
possible from radio. Use audio device built-in controls or
optional wireless remote to access and control audio files and
applications.
Frequent asked questions
1. What is the difference between the BLU-CR12 and A2DIY-CR12?
The A2DiY-CR12 includes music streaming Hand-free calls and AUX. The A2D-
CR12 does not support hands-free calls.
2. Does the A2DIY-CR12 work on all Porsche radios?
Works on Porsche CR-1 and CR-2 radios only
3. Will radio display call number or song name?
NO. These features are not possible on these radios.
4. Is it possible to control smartphone from radio buttons?
NO; Use smartphone built-in controls, media button or smartphone voice
commands. Use radio volume button to set playback level.
5. I selected CD changer retention option but how do I listen to CD’s?
Press CD button on radio to enter Bluetooth mode (if not already), then press
pause/play on media button.
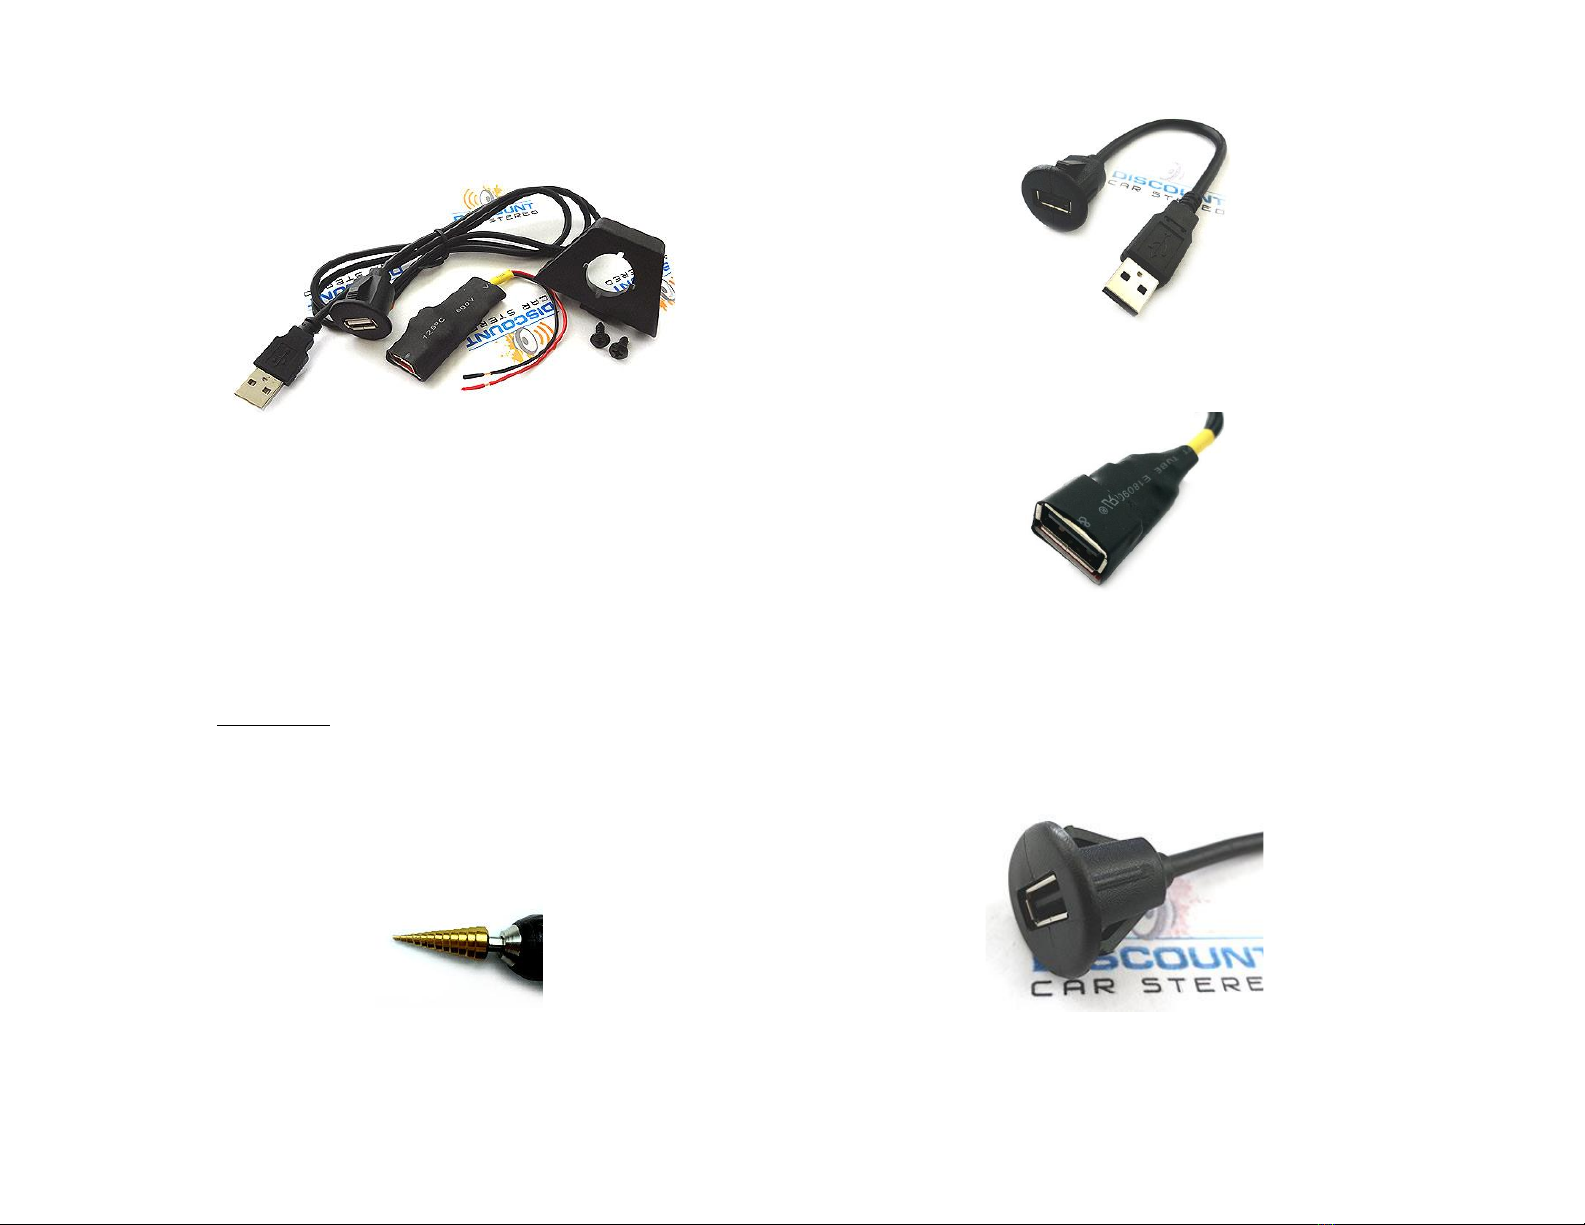
6. How do I listen to AUX device?
Press CD button on radio to enter Bluetooth Mode (if not already), Connect aux
device to 3.5mm plug, press Play/pause on media button. To return to
streaming music, press Pause/Play again.
7. Will radio mute when call is made and/or received?
Muting is only possible when radio is in “CD/Bluetooth mode. If in AM/FM
mode; radio will not mute. To hear caller on car speaker; radio must be ino
“CD/Bluetooth” mode.
8. My second phone does not pair or find Bluetooth module. What gives?
Ensure no other phone is paired. Allow module to enter “discovery” mode at
which point it will be ready for pairing.
Disclaimer
• This product has no affiliation with Porsche or Apple
• When possible, professional installation is recommended
Email support@discountcarstereo.com
© 1995-Apr-21 Discount Car Stereo, Inc. All rights reserved. Information in this document is subject
to change without notice. Other products and companies referred to herein are trademarks or
registered trademarks of their respective companies or mark holders.
Table of contents