manuals.online logo
Brands
  1. Home
  2. •
  3. Brands
  4. •
  5. Portable Rotation
  6. •
  7. Antenna
  8. •
  9. Portable Rotation 12PRSAT-MAG User manual

Portable Rotation 12PRSAT-MAG User manual

Copyright 2016 © Portable Rotation, Inc.
Page 1
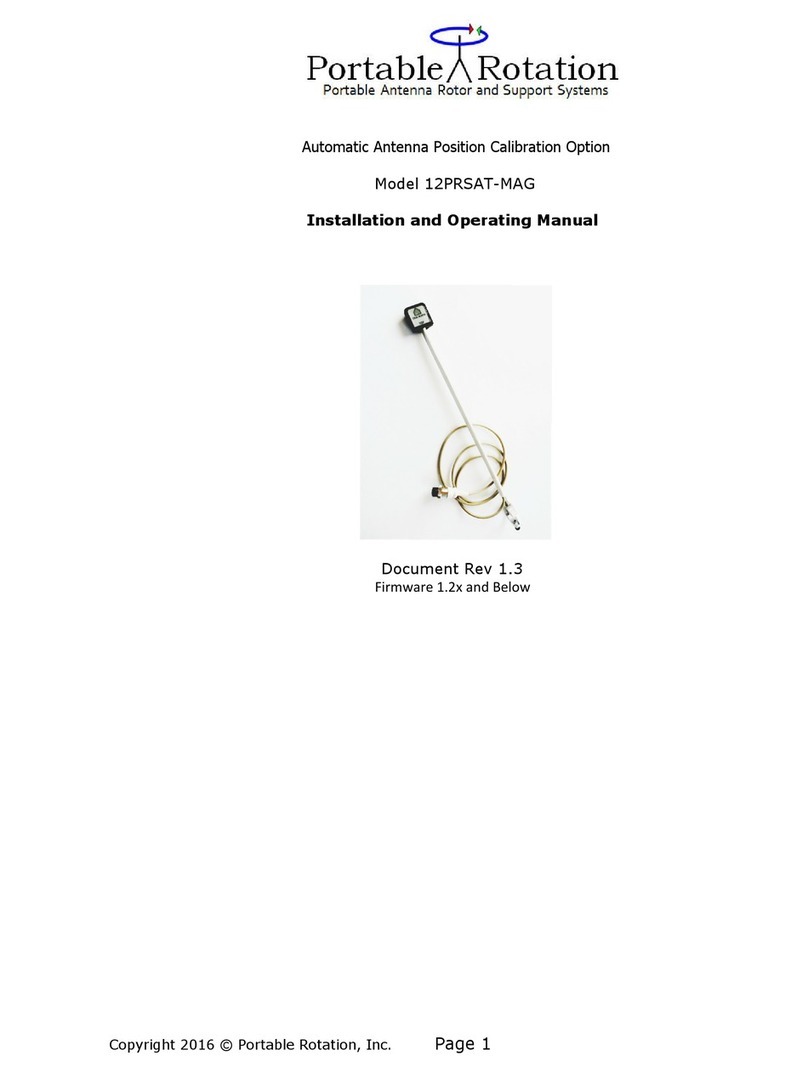
Automatic Antenna Position Calibration Option
Model 12PRSAT MAG
Installation and Operating Manual
Document Rev 1.3
Firmware 1.2x and Below
All manuals and user guides at all-guides.com
all-guides.com
Copyright 2016 © Portable Rotation, Inc.
Page 2
Introduction:
The Automatic Antenna Position option provides the user with a fast and simple way to deploy the 12 Volt
Dual Axis Porta le Rotor System y providing automatic True North and 0 Degree Elevation antenna system
positioning. The system consists of a Tilt Compensated 3-Axis Magnetometer and 3-axis Accelerometer that
attaches to the Left (when viewed from the ack) Antenna Arm. When deploying the system, the user only
needs to set the Antenna in a Northerly position and approximately level and instruct the Hand Controller to
do an Antenna Position Cali ration. When finished the system will move the antenna ack to 0 degrees
True North and to 0 Degrees Elevation.
While in Remote Control mode, a move command to 0 Degrees Azimuth and 0 degrees Elevation will cause
a short re-cali ration to happen. This will correct any drift inaccuracies in the system and ring the antenna
ack to 0 degrees Azimuth and 0 degrees Elevation.
Specifications:
Azimuth Accuracy: +/- 4 Degrees
Elevation Accuracy +/- 1 Degree
Installation:
•Power off The Az/El Rotor System
•Remove the Left Antenna Arm and slide the mounting fixture over the end of the antenna Arm. Position such that
it does not interfere with the Arm Set Screws or ru on the Elevation unit Enclosure
•Re-Attach the Antenna Arm, tightening the set screws
•Adjust the sensor Arm such that it is in alignment with the attached antenna and lightly tighten the set screw
•Plug in the 5 pin connector to the matching socket at the ottom of the Azimuth Unit. Tightening locking collar
finger tight.
•Use Velcro straps in a few locations to mate the ca le to the main Elevation ca le, leaving some slack in the ca le
at the top.
Initialization:
There are two required steps to initialize the Position Sensor for use: Setting your locations Declination and
Cali rating the Sensor.
To set the Declination, Power on the System while holding the “CW” utton. Press the “Mode” Button to select
Magnetic Declination. Prior to this step it is recommended to look up your locations Declination, a num er of we
sites can e found with your locations information.
All manuals and user guides at all-guides.com
Copyright 2016 © Portable Rotation, Inc.
Page 3
Config
AC MD BR
Ent MD
MagD:+12
Turn On while Holding
the CCW Button
Press the “MODE button
To Enter Declination
[NOTE: Doing a Power-On full Reset operation, all data including the Declination and Calibration data are cleared if the
All’ option is used. A partial Part’ will not clear saved magnetometer calibration and declination data but will clear
direction data.]
To perform a Magnetometer Cali ration, with the Rotor System On, press all three uttons. After the firmware
version is displayed the Function Menu is displayed.
Press the “CW” utton to select the Cali rate function. The Cali rate System su -menu is displayed. Press the “CCW”
utton to select the Cali rate Magnetometer option. The message “Stand By / Mag Cal” is displayed and oth the
Green and Red LEDs will alternately flash at a ½ second duty cycle.
The cali ration cycle takes approximately 12 minutes to complete. The system moves the sensor through 180 degrees
of elevation movement, then moves the azimuth y 30 degrees and then rotates the elevation unit ack 180 degrees.
This cycle repeats 6 times taking samples as the sensor moves. At the end of the cali ration cycle, the data is saved
and used to calculate the correction factor for hard metal and other magnetic interference sources.
Press all buttons brings
up the Function Menu
Function
GP VO CA
CalibSys
CM AC
Press the “CCW buttons
to calibrate the sensor
Stand By
Mag Cal
Calibration process
Is active
When the LEDs stop flashing the process if finished.
Operation:
The Automatic Antenna Cali ration feature has two modes of operation; Manual and Automatic.
When in the Manual Mode, from the Cali rate System su -menu, press the “CW” utton for Antenna Cali ration. The
system will attempt to position the antenna to 0/0 degrees. The antenna direction must e within +/- 45 Degrees of True
North and +/- 10 degrees of level with (0 Degrees Elevation). The Manual or Automatic Antenna Cali ration function will
not e done if the Cali ration Process has not een done first.
When using the Auto Turn Function, a turn to 0 degrees Azimuth and 0 degrees Elevation will cause an Antenna re-
cali ration after returning to 0:0 degrees.
When in the Remote Mode of operation, any computer commanded turn to 0 degrees Azimuth and 0 degrees Elevation will
cause an Antenna re-cali ration after returning to 0:0 degrees. This can e automated y configuring the tracking
application to park at 0:0 degrees
Operational Summary
:
Before Operation:
•Install the Magnetometer
•Enter Declination in degrees
•Perform a Magnetometer Cali ration
Field Deployment
•Place antenna in a Northerly Direction and relatively level
All manuals and user guides at all-guides.com
Copyright 2016 © Portable Rotation, Inc.
Page 4
•Perform an Automatic Antenna Cali ration, the system will position the antenna to True North and at an
Elevation of 0 degrees
Normal Operation
•Antenna Auto re-Cali ration occurs on any computer commanded turn operation to 0 degrees Azimuth and 0
degrees Elevation.
•Many Satellite Tracking applications offer a Park operation that can e manually and/or automatically configured
to issue a move to 0:0 degrees which will cause the Antenna Automatic Re-Cali ration to e performed after
returning to home position.
All manuals and user guides at all-guides.com

Other Portable Rotation Antenna manuals

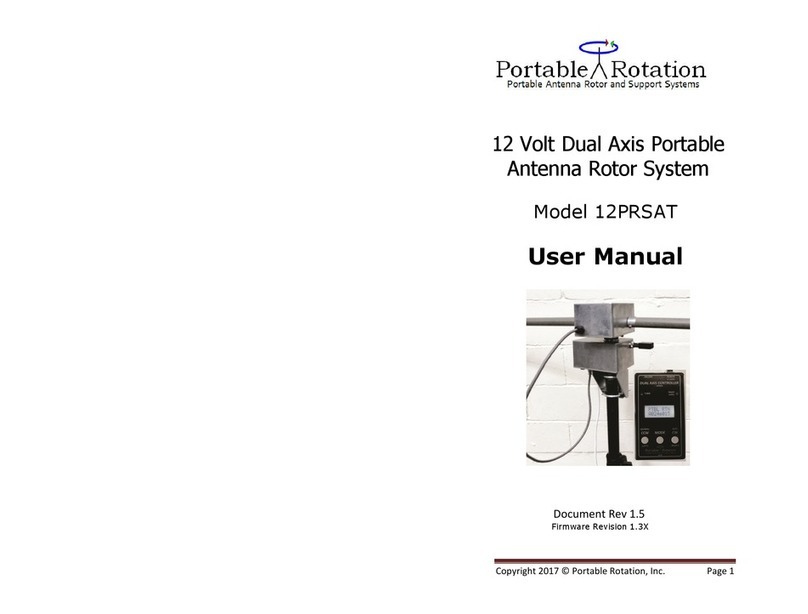
Portable Rotation 12PRSAT User manual

Portable Rotation

Portable Rotation 12PRSAT User manual

Portable Rotation 2PRSAT User manual

Portable Rotation

Portable Rotation 2PRSAT User manual

Portable Rotation 12PRSAT-MAG User manual

Portable Rotation

Portable Rotation 12PRSAT-MAG User manual

Popular Antenna manuals by other brands

Vivanco TVA 2040 operating instructions

Vivanco

Vivanco TVA 2040 operating instructions

VBOX Motorsport HD quick start guide

VBOX Motorsport

VBOX Motorsport HD quick start guide

Megasat Profi-Line II D1 manual

Megasat

Megasat Profi-Line II D1 manual

Intellian GX60 Installation and operation user guide

Intellian

Intellian GX60 Installation and operation user guide

Beyerdynamic AT91 operating instructions

Beyerdynamic

Beyerdynamic AT91 operating instructions

Panasonic CA-GA60N installation instructions

Panasonic

Panasonic CA-GA60N installation instructions

Solid Signal ColorKing 5886 Assembly guide

Solid Signal

Solid Signal ColorKing 5886 Assembly guide

Oricom ANU800 Fitting instructions

Oricom

Oricom ANU800 Fitting instructions

Winegard Carryout PM-2000 operating instructions

Winegard

Winegard Carryout PM-2000 operating instructions

Nautel CL40 Technical instruction manual

Nautel

Nautel CL40 Technical instruction manual

Select-A-Tenna 541 instructions

Select-A-Tenna

Select-A-Tenna 541 instructions

Dover Petro Vend M1040-ANT installation manual

Dover

Dover Petro Vend M1040-ANT installation manual

QRPGuys DS1 Assembly manual

QRPGuys

QRPGuys DS1 Assembly manual

Listen Technologies LA-122 user manual

Listen Technologies

Listen Technologies LA-122 user manual

Poynting Wavehunter installation manual

Poynting

Poynting Wavehunter installation manual

KVH Industries TracVision UHD7 installation guide

KVH Industries

KVH Industries TracVision UHD7 installation guide

Maxview MXL003/65Q Installation & operating instructions

Maxview

Maxview MXL003/65Q Installation & operating instructions

Naxa NAA-303 Operation manual

Naxa

Naxa NAA-303 Operation manual

manuals.online logo
manuals.online logoBrands
  • About & Mission
  • Contact us
  • Privacy Policy
  • Terms and Conditions

Copyright 2025 Manuals.Online. All Rights Reserved.