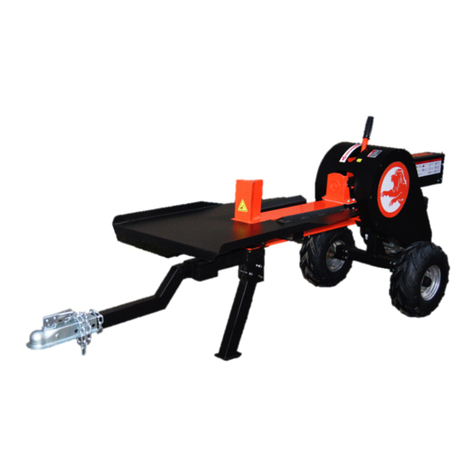
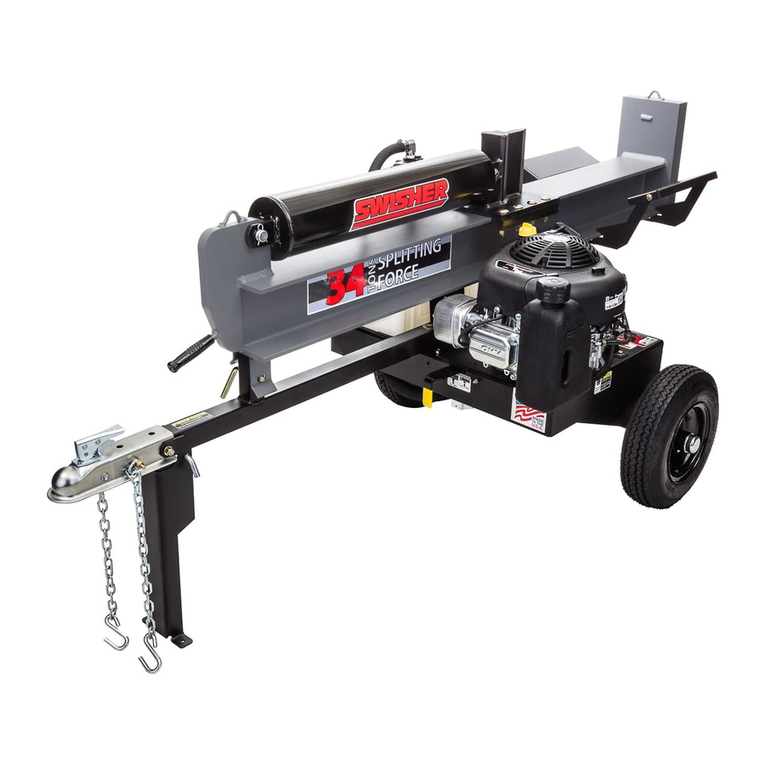
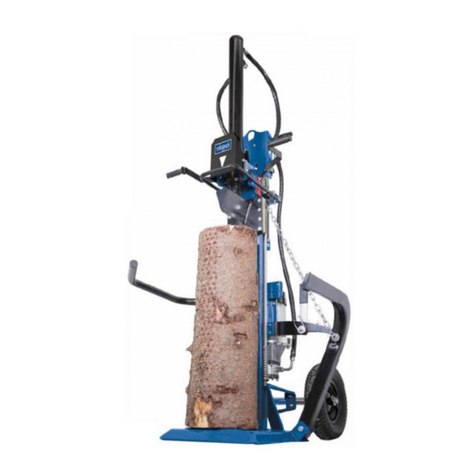
power King PK0311 Manual

30 TON LOGSPLITTER
MODELS
PK0311 / PK0312
Owner’s Manual and Operating Instructions

2
MACHINE COMPONENT DEFINITIONS
1.) 50mm/2’ Coupler. Attaches the log splitter to your vehicle. Fits only 50mm/2’ hitch balls.
2.) Hydraulic Cylinder. It is rated to 3500 psi.
3.) Control Valve Handle. Use the control valve handle to move the wedge slide forward and
backward.
4.) Wedge. The wedge features a taper that makes splitting easier.
5.) Log Cradle. Keeps the log on the beam without operator assistance.
6.) Beam. The beam is made of 6” wide flange beam (also called I-Beam).
7.) Engine. The air cooled engine powers the hydraulic pump.
8.) Tires. Maximum rated speed is 30 mile per hour.
9.) Gear Pump. The gear pump makes the hydraulic oil flow through the system.
10.) Jockey wheel.The leg supports the log splitter while operating. The leg should be raised while

3
towing(see Operation Instructions).
11.) Safety Chains. A safety feature to prevent loss of log splitter while towing.
OPERATION INSTRUCTIONS
Proper Operation of the Log Splitter
1.) Load a log onto the beam and against the endplate.
2.) Serious accidents can happen when other people are allowed inside the work zone. Keep
everyone else out of the work zone while operating control valve.
3.) Make sure hands are clear of crush hazard zones.
4.) Push control valve handle FORWARD by two hands to split log.
5.) Push control valve handle BACKWARD by two hands to return wedge to its original position.
6.) Clear the split wood from the work zone.
!

4
OPERATION INSTRUCTIONS
!
FOR HORIZONTAL USING
FOR VERTICAL USING
Take out lock pin
Lift
beam at the end
FOR HORIZONTAL TOWING
Press handle down
and lock tightly.
Hook safety chain
to tow vehicle.
Fold the jockey wheel

5
OPERATION INSTRUCTIONS
HOW TO SPLIT THE LOG WITH SLANT SURFACE
!

6
MAINTENANCE AND STORAGE
Before performing maintenance, the log splitter must be placed in maintenance mode.
1.) Turn off engine.
2.) Move the control valve handle forward and backward to relieve hydraulic pressure.
After performing maintenance, make sure all guards, shields, and safety features are put back
in place. Failure to follow this warning can result in serious injury.
Refer to the engine owner’s manual for engine maintenance.
What When How
Hoses Each Use
Inspect for exposed wire mesh and leaks. Replace
all worn or damaged hoses before starting engine
Hydraulic Fittings Each Use
Inspect for cracks and leaks. Replace all damaged
fittings before starting engine
Nuts and Bolts
Each Use
Check for loose bolts
Beam
Each Use
Apply grease to beam surface
Moving Parts
Each Use
Clear debris
SPECIFICATIONS
!
!
!
Maximum Pressure……………….
Maximum Flow ………………….
Hydraulic Fluid Capacity ………..
Hydraulic Fluid Type …………….
Coupler Size ……………………...
Maximum Towing Speed…………
Maximum Log Length …………...
Hydraulic Cylinder Bore …………
Hydraulic Cylinder Stroke ……….
Maximum Log Diameter ………...
3500 psi
16GMP
17L / 30
10wt AW32, ASLE
H-150, or ISO32
2” Ball
45MPH
25.6 "
4.5"
23.6 "
19.7"

7
TROUBLESHOOTING
Problem
Cylinder rod will not move
SOLUTION: A,D,E,H,J
Slow cylinder rod speed when extending or
retracting
SOLUTION: A,B,C,H,I,K,L
Wood will not split or splits extremely slowly
SOLUTION: A,B,C,F,I,K
Engine bogs down during splitting
SOLUTION: G,L
Engine stalls under low load condition
SOLUTION: D,E,L,M
Cause Solution
A-Insufficient oil to pump
Check oil level in reservoir
B-Air in oil
Check oil level in reservoir
C-Excessive pump inlet vacuum
Check pump inlet hose for blockage or kinks
D-Blocked hydraulic lines
Flush and clean the splitter hydraulic system
E-Blocked control valve
Flush and clean the splitter hydraulic system
F-Low control valve setting
Adjust control valve with a pressure gauge
G-High control valve setting
Adjust control valve with a pressure gauge
H-Damaged control valve
Return control valve for authorized repair
I-Internal control valve leak
Return control valve for authorized repair
J-Internal cylinder leak
Return cylinder for authorized repair
K-Internally damaged cylinder
Return cylinder for authorized repair
L-Engine Control out of adjustment
Adjust idle control nuts
M-Engine is loaded during idle down mode Use shorter log length to allow engine
to speed
up before contact.

8
Components in the package

9
Open Shipping Crate
1. Set the shipping Crate on a solid, flat surface.
2. Carefully cut the shipping bands and remove lid of shipping crate.
3. Using two people to lift, carefully remove the engine, oil tank, wheels, tow bar, support legs, and
hardware. (For parts reference see the last page in manual)
4. Locate all hardware before beginning assembly.
Step 1: Wheel Assembly Step 3: Attach Tow bar to Oil Tank
Step 2: Attach jockey wheel to tow bar Step 4: Attach engine
ASSEMBLY
Attach the jockey wheel to tow bar fix with Bolt
M10x25,spring washer 10 and wsher 10
Attach the tow bar to the toil tank with Bolt
M10X25, washer 10 Lock Nut M10
Fix the wheel to the oil tank axle by a slotted nut
M24x2, cotter pin Ø4x36 and attach the dust
cap.
Attach engine block to oil tank with bolt M10x30,
flat washer 10 and spring washer 10, and fix by
screw M10
Attach the engine to engine block with bolt
M8x40, spring washer 8, washer 8, lock nut M8

10
Attach the tow bar to beam with hinge pin and R
pin
Step 5: Attach Tow Bar to Beam Step 7: Assemble the pipes
Step 6: Attach control valve to cylinder Step 8: Attach Log Cradle
Assemble all the pipes according to the picture
Take out the log stripper and move the cylinder
to stripper end
Assemble the control valve on cylinder
Assemble back the log stripper
Attach log cradle(#88) to beam with Bolt M10x25,
washer10 and lock nut m10

11
EXPLODED VIEW AND PARTS LIST

12
NO. DESCRIPTION QTY NO. DESCRIPTION QTY
1 Beam 1 41 Oil Filter 1
2 Wedge 1 42 Hydraulic Oil Tank Cover 1
3 Bolt M12x50 8 43 Bolt M8X25 2
4 Bolt M12x50 14 44 Hydraulic pump 1
5 Wedge Spacer 1 45 Woodruff key 8
6 Wedge Plate 2 46 Bolt M6x10 1
7 Lock nut M12 2 47 Gear pump coupling 1
8 1/2”-22x1.5 Connector 12 48 Nut M8 1
9 Hydraulic oil pipe B 1 49 Pump housing 1
10 Pipe Joint 1 50 Ordinary Flat Key 1
11 Bolt M8X40 1 51 Engine coupling 1
12 Valve lable plate 1 52 Engine bushing 1
13 Control valve 4 53 Bolt M8x30 1
14 1/2-1/2 pipe joint 14 54 Spring washerφ8 1
15 Hydraulic oil pipe A 1 55 Washerφ8 4
16 Nut M10 1 56 Bolt M8X40 1
17 Hydraulic oil pipe C 1 57 Hinge pin 4
18 Cylinder 1 58 Engine 1
19 Hoop 4 61 Hydraulic oil tank 4
20 R PINφ3x65 18 62 Wheel 16” 2
21 Hitch coupler 38 63 Thin Slotted Nut M24x2 1
22 Srping 3 64 Cotter pin φ4x36 2
23 Nut M10 2 65 Dust cap 2
24 Pin 3x22 1 66 Spring washer φ10 2
25 Bolt M10X25 1 67 Washer φ10 2
26 Lock pin 4 68 Bolt M10x30 2
27 Spring 1 69 Engine block 16
28 Grip 2 70 Bolt M16x1.5 4
29 Handle 2 71 Washer φ16 4
30 Bolt M12x80 1 72 Log cradle 1
31 Chain 1 73 Bolt M10x25 1
32 Jockey wheel 1 74 Valve handle grip 1
33 Tow bar 1 75 Valve handle 2
34 Bearing 609-2Z 1 76 Log stripper (right) 1
35 Pin II 1 77 Bolt M8x25 4
36 Net Type Oil Filter 40x180-J 1 78 Log stripper (left) 1
37 Oil Filter Core ZG1 1/2 33 79 Chain 2
38 Inlet Pipe Fitting G1 1 80 Lock 4
39 Steel hoop 12 81 Log stripper 1
40 Suction Pipe 1 82 Bolt M8x20 2

13
QVTOOLS, LLC.
Warranty Statement
QVTOOLS, LLC warrants all gas power equipment 1 year for manufacture defects, Kohler engine 3
years from date of purchase. Proof of purchase date required for warranty repairs. Keep your
receipt. QVTOOLS, LLC will provide parts and labor of Powerking products only at our approved service
centers, Customer is responsible for delivery and pickup of the product to and from the service center.
Please call us at 800-344-3371 for warranty claims and to be assigned a service center. Gas Equipment
is non-returnable and will be serviced by authorized service centers only. Only authorized service centers
have parts and can perform repairs as to not void your warranty. This warranty does not cover cosmetic
defects such as paint, decals or wear items. This warranty does not cover failures or problems due to acts
of God, or events or forces beyond the control of the QVTOOLS, LLC.Warranty does not apply to
defects due directly or indirectly to misuse, abuse, negligence, or accidents, repairs or alterations, or a
lack of maintenance. QVTOOLS shall in no event be liable for death, injuries to persons or property, or for
incidental, special, or consequential damages arising from the use of our products.
All NON-GAS products are covered with 1 year warranty from manufactures defects and will be repaired
or replaced by QVTOOLS, LLC. with proof of purchase date. Please call 800-344-3371 PST to obtain an
RGA number from our customer service department to return your product.
Other manuals for PK0311
1
This manual suits for next models
1
Table of contents
Other power King Log Splitter manuals

power King
power King PK0322 Manual
power King
power King PK0303 User manual

power King
power King PK0324 User manual

power King
power King PK0342 User manual

power King
power King PK0304 System manual

power King
power King PK0311 User manual

power King
power King PK0308 Manual

power King
power King PK0322K Instruction Manual