Power Master SRFW-250E User manual

Instruction Manual
Gasoline Welding Generator

TABLE OF CONTENTS:
1. GENERAL SAFETY INFORMATION
2. ELECTRICAL SAFETY INFORMATION
3. SAFETY STICKERS AND EXPLANATIONS
4. CONTROL IDENTIFICATION
5. PRE OPERATING INSPECTION
6. STARTING THE ENGINE
7. USING THE GENERATOR
8. USING THE WELDER
9. ACTUAL WELDING
10. STOPPING THE ENGINE
11. TROUBLESHOOTING
12. MAINTENANCE
13. TRANSPORTING AND STORAGE
14. TECHNICAL SPECIFICATION AND DATA

1
IMPORTANT:
Thank you for purchasing a Power Master Gasoline Welder Generator (hereinafter referred to as
the “welder generator”).
This manual will assist you in operating and maintaining your welder generator. This manual is the
latest version.
With the continuous improvement and upgrading of this product, the manufacturer reserves the
right to modify this manual without notice. The manufacturer shall assume no liability for incorrect
information contained in this manual.
This manual is an integral part of the welder generator. When the welder generator is transferred
to others, this manual should be handed over to the new owner.
Some important information in this manual will be indicated in the following way. The users should
pay special attention to these instructions.
The range of Power Master Products is safe and reliable, but incorrect use
of these products may cause personal injury and or damage to your
machine. Please read this manual thoroughly before operation as this
product is required to operate strictly in accordance with this manual.

2
IMPORTANT NOTICES:
PLEASE PAY SPECIAL ATTENTION TO STATEMENTS PRECEDED BY THE FOLLOWING
WORDS:
Danger
•DANGER
This indicates a hazardous situation, which, if not avoided, will result in death or serious
injury.
Warning
•WARNING:
This indicates a hazardous situation, which, if not avoided, could result in death or serious
injury.
Caution
CAUTION:
This indicates a hazardous situation, which, if not avoided, could result in injury.
For any queries on the above please contact Gentech Industries

3
1. GENERAL SAFETY INFORMATION:
Danger Warning Caution
1.1. A “LAYMAN” and or “CHILDREN” may not recognize the possible dangers of operating a
Welder Generator. We recommend that only competent persons should operate the Welder
Generator.
1.2. Fuel is combustible and easily ignited. Do not refuel during operation.
1.3. Do not refuel whilst smoking or near naked flames. Do not over fill or spill fuel. If this happens
clean the fuel on and around the Welder Generator properly before operating.
1.4. Only use the specified fuel and oil when operating the Welder Generator.
1.5. Some parts of the internal-combustion engine are hot and might cause burns. Pay attention
to the warning signs on the generating set.
1.6. Engine exhaust gases are toxic. Do not operate the Welder Generator set in an unventilated
room. When installed in a ventilated room, additional requirements for fire and explosion
protection shall be observed.
1.7. Regularly check that the bolts and nuts are properly tightened as they may become lose due
to the vibration of the Welder Generator whilst in operation.
1.8. Before using the Welder Generator ensure that you have checked the periodic maintenance

4
schedule in the operator manual.
1.9. Always use a face shield/welding mask when welding with the Welder Generator. Your face
and eye protection is of the utmost importance.
1.10. Looking at a welding arc may cause damage and or severe pain to your eyes and even
possible temporary blindness. DO NOT BE NEGLIGENT.
1.11. Always wear the correct specified gloves when operating the Welder Generator.
1.12. Always wear the correct specified safety shoes/boots when operating the Welder Generator
1.13. Always wear an apron when operating the Welder Generator.
2. ELECTRICAL SAFETY INFORMATION:
2.1. Electrical equipment including cables, cords and plug connections must not be defective.
Please check before using.
2.2. Do not plug a Welder Generator directly into a wall socket – outlet.
2.3. The Welder Generator shall not be connected to other power sources such as the power
company supply mains. In special cases where stand-by connection to existing electrical
systems or integration therewith is intended, note that it is a legal requirement that such
connection or integration may only be performed by a competent person.
2.4. Protection against electrical shock depends on circuit-breakers that are specially matched to

5
the Welder Generator. If a circuit breaker requires replacement, it shall be replaced by a
circuit breaker that has identical ratings and performance characteristics.
2.5. Due to high mechanical stresses only tough rubber-sheathed flexible cable should be used
2.6. If the Welder Generator is of Class II construction then earthing of the Welder Generator is
not required.
2.7. Cord Extensions Sets:
When a cord extension set is connected to the generating set the following should be
considered:
2.7.1. A 1mm2 flexible cable can draw a maximum of 10A provided that the cable is not longer
than 25m.
2.7.2. A 1.5mm2 flexible cable can draw a maximum of 10a provided that the cable is not longer
than 35m
2.7.3. A 1.5mm2 flexible cable can draw a maximum of 16a provided that the cable is not longer
than 20m
2.7.4. A2.5mm2 flexible cable can draw a maximum of 10a provided the cable is not longer than
65m
2.7.5. A 2.5mm2 flexible cable can draw a maximum of 16a provided that the cable is not longer
than 45m

6
2.7.6. A 4mm2 flexible cable can draw a maximum of 10a provided that the cable is not longer
than 100m
2.7.7. A 4mm2 flexible cable can draw a maximum of 16a provided that the cable is not longer
than 65m
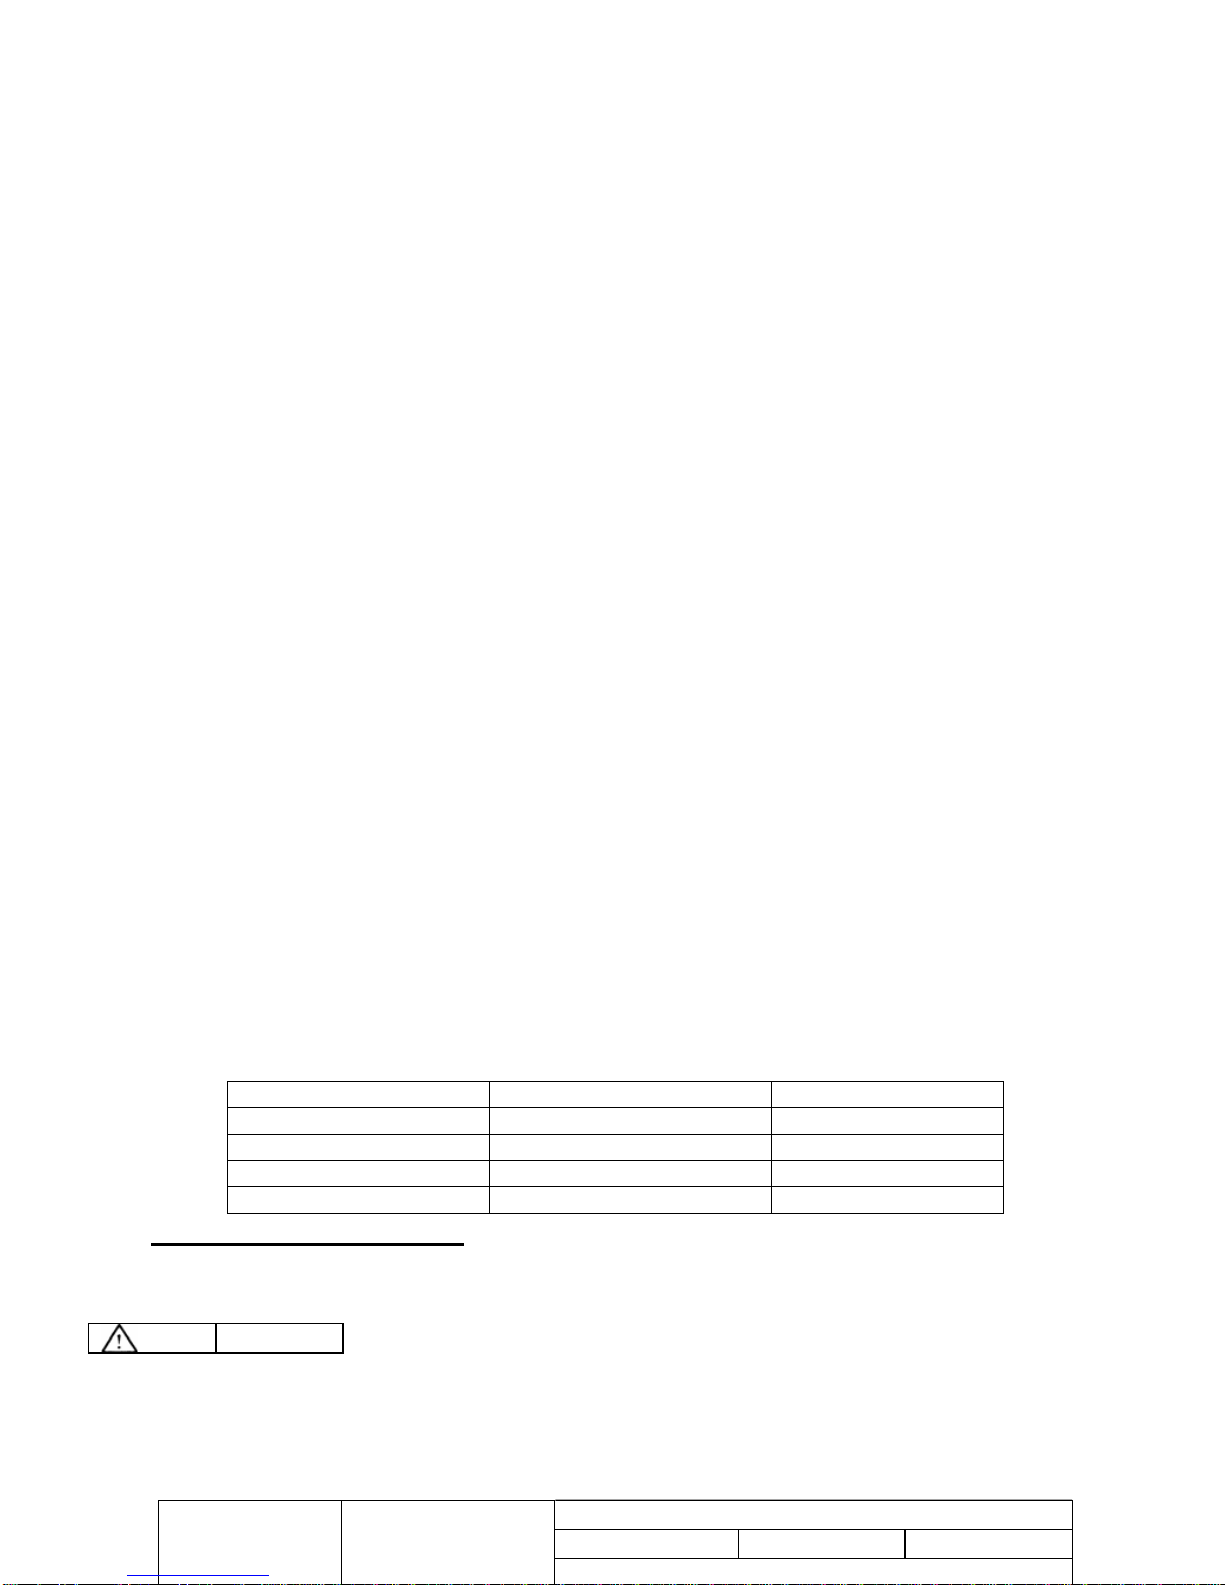
3. VOLTAGE DROP IN ELECTRIC EXTENSION CORDS
When a long electric extension cord is used to connect an appliance or tool to the generator, a
certain amount of voltage drop or loss occurs in the extension cord which reduces the effective
voltage available for the appliance or tool.
The chart below has been prepared to illustrate the approximate voltage loss when an extension
cord of 300 feet (approx.100 meters) is used to connect an appliance or tool to the generator.
Nominal
cross
section A.W.G. Allowab
le
current
No. of
strands/
strands dia. Resistance Current Amp.
mm2 No. A No./mm /100m 1A 3A 5A 8A 10A 12A 15A
Voltage drop
0.75 18 7 30/0.18 2.477 2.5V 8V 12.5V
1.27 16 12 50/0.16 1.486 1.5V 5V 7.5V 12V 15V 18V
2.0 14 17 37/0.26 0.952 1V 3V 5V 8V 10V 12V 15V
3.5 12 to10 23 45/0.32 0.517 1.5V 2.5V 4V 5V 6.5V 7.5V
5.5 10 to 8 35 70/0.32 0.332 1V 2V 2.5v 3.5V 4V 5V

7
4. CONTROL IDENTIFICATION:
1. Welding transform switch
2. Choke lever
3. Air-Cleaner
4. Positive pole
5. Negative pole
6. DC
7. Current regulator
8. Socket
9. Circuit Breaker
10. Volt meter
11. Engine Switch

8
5. PRE OPERATING INSPECTION:
Caution
5.1. Engine Oil – This is a major factor affecting the performance and life span of the Welder
Generator. Do not use non-detergent and 2 stroke oil as this will damage the Welder
Generator.
5.2. Before using the Welder Generator check the oil level, ensure that the unit is on a flat and
level surface when doing this and that the unit is “OFF”
5.3. The recommended oil to use is 4 – stroke gasoline engine oil IE SAE10w-30
5.4. Running the Welder Generator with insufficient engine oil will cause damage to the Welder
Generator.
5.5. Please note that the Welder Generator is fitted with a “low oil alert sensor”.
5.6. Only use clean un- leaded fuel when operating/running the Welder Generator.
Dirty/contaminated fuel will cause damage to the Welder Generator and will affect the
performance.
Warning
5.7. Gasoline is extremely flammable, exercise extreme caution when putting fuel into the fuel
tank. DO NOT BE NEGLIGENT.

9
5.8. Always refuel in a well ventilated area.
5.9. Do not attempt to refuel the Welder Generator whilst the engine is running.
5.10. Be careful not to over fill the tank when refueling. If this happens, clean the fuel spillage
properly.
5.11. Do not smoke whilst refueling.
5.12. Keep out of reach of children
Warning
5.13. When connecting the battery make sure that the positive and negative battery cables are
connected to the correct terminals on the battery
5.14. The battery supplied is a 12v/18ah battery, only replace if necessary with the same
specified battery.
5.15. The battery gives off explosive gasses, do not smoke whist working with the battery. Keep
away from children.
5.16. Check your battery regularly for erosion and or damages.
5.17. The battery contains sulfuric acid, avoid contact with skin and eyes. Consult your doctor
immediately should contact me made with your eyes
5.18. Electrolyte is poisonous, if consumed drink large quantities of water or milk and contact
your doctor immediately.

10
6. STARTING THE ENGINE:
6.1. Turn the circuit breaker to the “OFF” position.
6.2. Set the auto-throttle switch to the “OFF” position
6.3. Open the fuel cock
6.4. Push the chock lever to the “CLOSED position
Caution
Do not use the choke if the engine is warm
6.5. Turn the key to the “ON” position. Release once the engine starts.
Caution
If using the recoil starter (pull starter) to start the engine be careful as injury may occur due to the
sudden change of the rotation direction of the engine.
6.6. Open the choke lever
6.7. Turn the auto-throttle switch to the “AUTO” position
7. USING THE GENERATOR:
7.1. Connect the load to the WelderAC Output Receptacle
7.2. Set the welder/AC 50hz selector to the AC 50Hz position
7.3. Turn the circuit breaker to the “ON” position

11
7.4. Turn the aut0-throttle switch to the “OFF” position
Warning
Do not overload your generator, only load up to the rated power under the rated ambient conditions.
Note that operating your generator in extreme humidity and temperatures or in an environment that is
not well ventilated will affect the performance and a reduction in power will be noticed.
8. USING THE WELDER:
8.1. Turn the circuit breaker to the “OFF” position
8.2. Connect the welding cables to the respective welder terminals
8.3. Turn the auto=throttle switch to the “AUTO” position
8.4. Set the welder/AC 50Hz selector to the ”WELDER” position
8.5. Set the current adjusting dial to the required current level
Caution
NEVER CONNECT ANY TYPE OF ELECTRICAL APPLIANCE TO THE AC RECEPTACLES
WHILST THE SELECTOR IS SET TO THE “WELDER” POSITION.
9. ACTUAL WELDING:
9.1. Selecting the correct welding current:
9.1.2 First measure the thickness of the steel plate that requires welding. Then select the
12
correct electrode diameter and current making reference to the table below:
TABLE 1: PLATE THICKNESS (mm) ELECTRODE DIAMETER (mm) CURRENT SETTING(A)
2.0 – 3.0 2.0 50 - 80
3.0 – 4.0 3.2 70 - 120
4.0 – 6.0 4.0 110 - 170
>7.0 5.0 140 - 210
9.2. Selecting the welding cable:
Table 2 shows the current carrying capacity of various lengths and gauges of standard copper
welding Caution
•Always allow a considerable safety margin when selecting welding cable.
•The life span of the welder will be shortened if the specification cable fails to meet the
requirements.
TABLE 2:
CABLE GUAGE CABLE SQ (MM2)
LENGTH (METERS)
0 - 15 15 - 30 30 - 40
CURRENT CAPACITY (AMPERES)
1 35 250 200 150
2 25 200 150 100

13

14

15
10. STOPPING THE ENGINE:
10.1. Stopping the engine whilst in the “generator” function:
10.1.1.1. Turn the circuit breaker to the “OFF” position
10.1.1.2. Disconnect the load from the AC receptacle
10.1.1.3. Turn the key to the “OFF” position
10.1.1.4. Turn the fuel cock off
10.2. Stopping the engine whilst in the “welder” function:
10.2.1.1. Stop welding
10.2.1.2. Turn the key to the “OFF” position
10.2.1.3. Turn to fuel cock off
11. TROUBLESHOOTING:
11.1. If the engine will not start:
11.1.1.1. Open the fuel cap to check if the engine has sufficient fuel.
11.1.1.2. Open the oil cap dispenser and check if the machine has sufficient oil.
11.1.1.3. Remove the spark plug and turn the key to the “ON” position
11.1.1.4. Check to see if there is spark coming from the spark plug.
11.1.1.5. Replace the spark plug if necessary.

16
If the engine will still not start then contact Gentech Industries for technical assistance.
The details are on the back page of this operators manual.
11.2. No electricity/voltage at the AC Receptacles:
11.2.1.1. Check if the circuit breaker is in the “ON” position. Turn to the “ON” position if necessary.
11.2.1.2. If there is still no electricity/voltage after this has been done it is possible that there is
something wrong or damage has been caused to the AVR (Automatic Voltage Regulator)
and or Rotor/Stator.
Do not attempt to do anything further, contact Gentech Industries immediately for
assistance.

17

18
12. Engine Oil:
12.1.1.1. Remove the oil filter cap and check the oil.
12.1.1.2. Remove the drain plug and allow the oil to drain out. Ensure that the oil is drained into a
disposable container.
12.1.1.3. Remove the drain plug and allow the oil to drain out. Ensure that the oil is drained into a
disposable container.
12.1.1.4. Remove the drain plug and allow the oil to drain out. Ensure that the oil is drained into a
disposable container.
12.1.1.5. After all the oil is drained replace the drain plug and tighten sufficiently.
12.1.1.6. Replace the engine oil with the recommended type. Ensure that sufficient oil is added.
Ensure that this is done whilst the welder generator is on a flat secure surface.
12.2. Spark Plug:
12.2.1. Ensure that the engine is switched off.
12.2.2. Remove the spark plug using a proper spark plug spanner.
12.2.3. Check the spark plug for carbon build up.
12.2.4. Clean the spark plug properly.
12.2.5. Check the spark plug gap is between 0.7mm and 0.8mm
12.2.6. If the spark plug is damaged and or very old and dirty we recommend that you replace it.
Table of contents
Other Power Master Portable Generator manuals


