Powerhorse 53135 User manual

SAVE THESE INSTRUCTIONS
4" Chipper Shredder
Owner’s Manual
WARNING: Read carefully and understand all ASSEMBLY AND OPERATION
INSTRUCTIONS before operating. Failure to follow the safety rules and other basic safety
precautions may result in serious personal injury.
Item #53135

Page 2 of 31
Thank you very much for choosing a Powerhorse™product!
For future reference, please complete the owner’s record below:
Serial Number/Lot Date Code: ________________________________
Purchase Date: ____________________________________________
Save the receipt, warranty, and this manual. It is important that you read
the entire manual to become familiar with this product before you begin
using it.
This Chipper Shredder is designed for certain applications only. Northern
Tool & Equipment is not responsible for issues arising from modification
or improper use of this product such as an application for which it was
not designed. We strongly recommend that this product not be modified
and/or used for any application other than that for which it was designed.
For technical questions, please call 1-800-222-5381.

Page 3 of 31
Table of Contents
Intended Use..........................................................................................................................................4
Technical Specifications......................................................................................................................4
Important Safety Information...............................................................................................................4
Specific Operation Warnings...............................................................................................................6
Safety Labels.........................................................................................................................................8
Main Parts of Chipper Shredder........................................................................................................12
Site Considerations ............................................................................................................................13
Assembly Instructions........................................................................................................................13
Before Each Use..................................................................................................................................16
Operating Instructions........................................................................................................................17
After Each Use.....................................................................................................................................21
Maintenance ........................................................................................................................................22
Troubleshooting..................................................................................................................................25
Parts Diagram......................................................................................................................................27
Parts List..............................................................................................................................................28
Replacement Parts..............................................................................................................................29
Limited Warranty.................................................................................................................................30

Page 4 of 31
Intended Use
This Chipper Shredder is a great way to quickly turn yard waste into ground covering for gardens or
trees. The highly effective cutting mechanism uses two hardened chipping knives, 10 hammers, and
ten shredding blades. The dual feed enables you to use the drop-in shredding hopper for brush and
leaves and the dedicated chipper chute for sticks and branches.
Technical Specifications
Property
Specification
Max. Cutting Thickness (in.)
4
Displacement (cc)
420
Maximum RPM
3600
HP
15
Important Safety Information
⚠WARNING
Read and understand all instructions. Failure to follow all instructions may result in serious
injury or property damage. Replace worn labels or missing manuals.
The warnings, cautions, and instructions in this manual cannot cover all possible conditions or
situations that could occur. Exercise common sense and caution when using this tool. Always
be aware of the environment and ensure that the tool is used in a safe and responsible
manner.
Do not allow persons to operate or assemble the product until they have read this manual and
have developed a thorough understanding of how it works.
Do not modify this product in any way. Unauthorized modification may impair the function
and/or safety and could affect the life of the product. There are specific applications for which
the product was designed.
Keep all guards in place at all times.
Use the right tool for the job. DO NOT attempt to force small equipment to do the work of
larger industrial equipment. There are certain applications for which this equipment was
designed. It will do the job better and more safely at the capacity for which it was intended. DO
NOT use this equipment for a purpose for which it was not intended.
Industrial or commercial applications must follow OSHA requirements.
⚠WARNING
This Chipper Shredder may contain chemicals known to the State of California to cause cancer,
birth defects or other reproductive harm.

Page 5 of 31
⚠WARNING
WORK AREA SAFETY
Inspect the work area before each use. Keep work area clean, dry, free of clutter, and well lit.
Cluttered, wet, or dark work areas can result in injury. Using the Chipper Shredder in confined
work areas may put you dangerously close to other cutting tools and rotating parts.
Do not use the Chipper Shredder where there is a risk of causing a fire or an explosion; e.g.,
in the presence of flammable liquids, gases, or dust. The product can create sparks, which
may ignite the flammable liquids, gases, or dust.
Make sure no children or bystanders are within 50 ft. of chipping operation.
Protect cars, windows and other objects within 50 ft. from flying debris.
This machine is to be operated by one person only. When operating the machine, only stand
in the operator feed area.
Keep children and bystanders away from the work area while operating the tool. Do not allow
children to handle the Chipper Shredder.
Be aware of all power lines, electrical circuits, water pipes, and other mechanical hazards in
your work area. Some of these hazards may be hidden from your view and may cause
personal injury and/or property damage if contacted.
Do not tilt or transport the machine while it is operating. Only operate this machine in open
space (e.g. not close to a wall or other fixed object) on a flat, level surface away from.
⚠WARNING
PERSONAL SAFETY
Stay alert, watch what you are doing, and use common sense when operating the tool. Do not
use the tool while you are tired or under the influence of drugs, alcohol, or medication. A
moment of inattention while operating the tool may result in serious personal injury.
Dress properly. Do not wear loose clothing, dangling objects, or jewelry. Keep your hair,
clothing and gloves secure. Loose clothes, jewelry, or long hair can be caught in branches and
pulled into the shredder.
Keep hands and feet away from inlet and discharge openings.
Avoid burns from engine by not touching hot exhaust.
Check that the split housing is fastened shut.
Wear the proper personal protective equipment when necessary. Use ANSI Z87.1 compliant
safety goggles (not safety glasses) with side shields, or when needed, a face shield. Use a
dust mask in dusty work conditions. Also use non-skid safety shoes, hardhat, gloves, dust
collection systems, and hearing protection when appropriate. This applies to all persons in the
work area.
Do not overreach. Keep proper footing and balance at all times. Never stand at a higher level
than the base of the machine when feeding material into it. Ensure that there are no tripping
hazards in the feed area.

Page 6 of 31
Be aware of potential for carbon monoxide (CO) poisoning.
⚠WARNING
OPERATIONAL SAFETY
Make sure that the machine is properly adjusted, set up correctly and the hopper and funnel
are empty before starting the machine.
Do not leave unattended while machine is running. Shut off the machine and disconnect the
spark plug wire whenever you leave the work area.
Do not feed metal, rocks, bottles, cans or any other non-botanical objects into the machine.
Inspect wood for nails or other foreign objects.
Do not feed excessively long materials. Cut wood to at most 4 ft. before feeding into machine.
Make sure the machine has come to a complete stop and disconnect the spark plug wire
before freeing a jam or clog, emptying the bag, filling the gas tank, or performing any
maintenance or repairs.
⚠CAUTION
CHIPPER SHREDDER USE AND CARE
Do not force the Chipper Shredder. Products do a better and safer job when used in the manner
for which they are designed. Plan your work, and use the correct product for the job.
Check for damaged parts before each use. Carefully check that the Chipper Shredder will operate
properly and perform its intended function. Replace damaged or worn parts immediately. Never
operate the Chipper Shredder with a damaged part.
Store the Chipper Shredder when it is not in use. Store it in a dry, secure place out of the reach of
children. Inspect the tool for good working condition prior to storage and before re-use.
Use only accessories that are recommended by the manufacturer for use with your Chipper
Shredder. Accessories that may be suitable for one product may create a risk of injury when used
with another tool. Never use an accessory that has a lower operating speed or operating pressure
than the tool itself.
Keep guards in place and in working order. Never operate the product without the guards in place.
Do not leave the Chipper Shredder running unattended.
Specific Operation Warnings
⚠WARNING
READ THIS ENTIRE MANUAL AND MOTOR MANUAL: These manuals contain proper operating
and safety instructions for this chipper/ shredder.
SAFETY EQUIPMENT: Wear safety glasses, hearing protection, and gloves when operating a
Chipper Shredder. Make sure any bystanders are also wearing safety equipment.
MOTOR OPERATION: Refer to the motor manual for operating instructions and gasoline motor

Page 7 of 31
safety warnings.
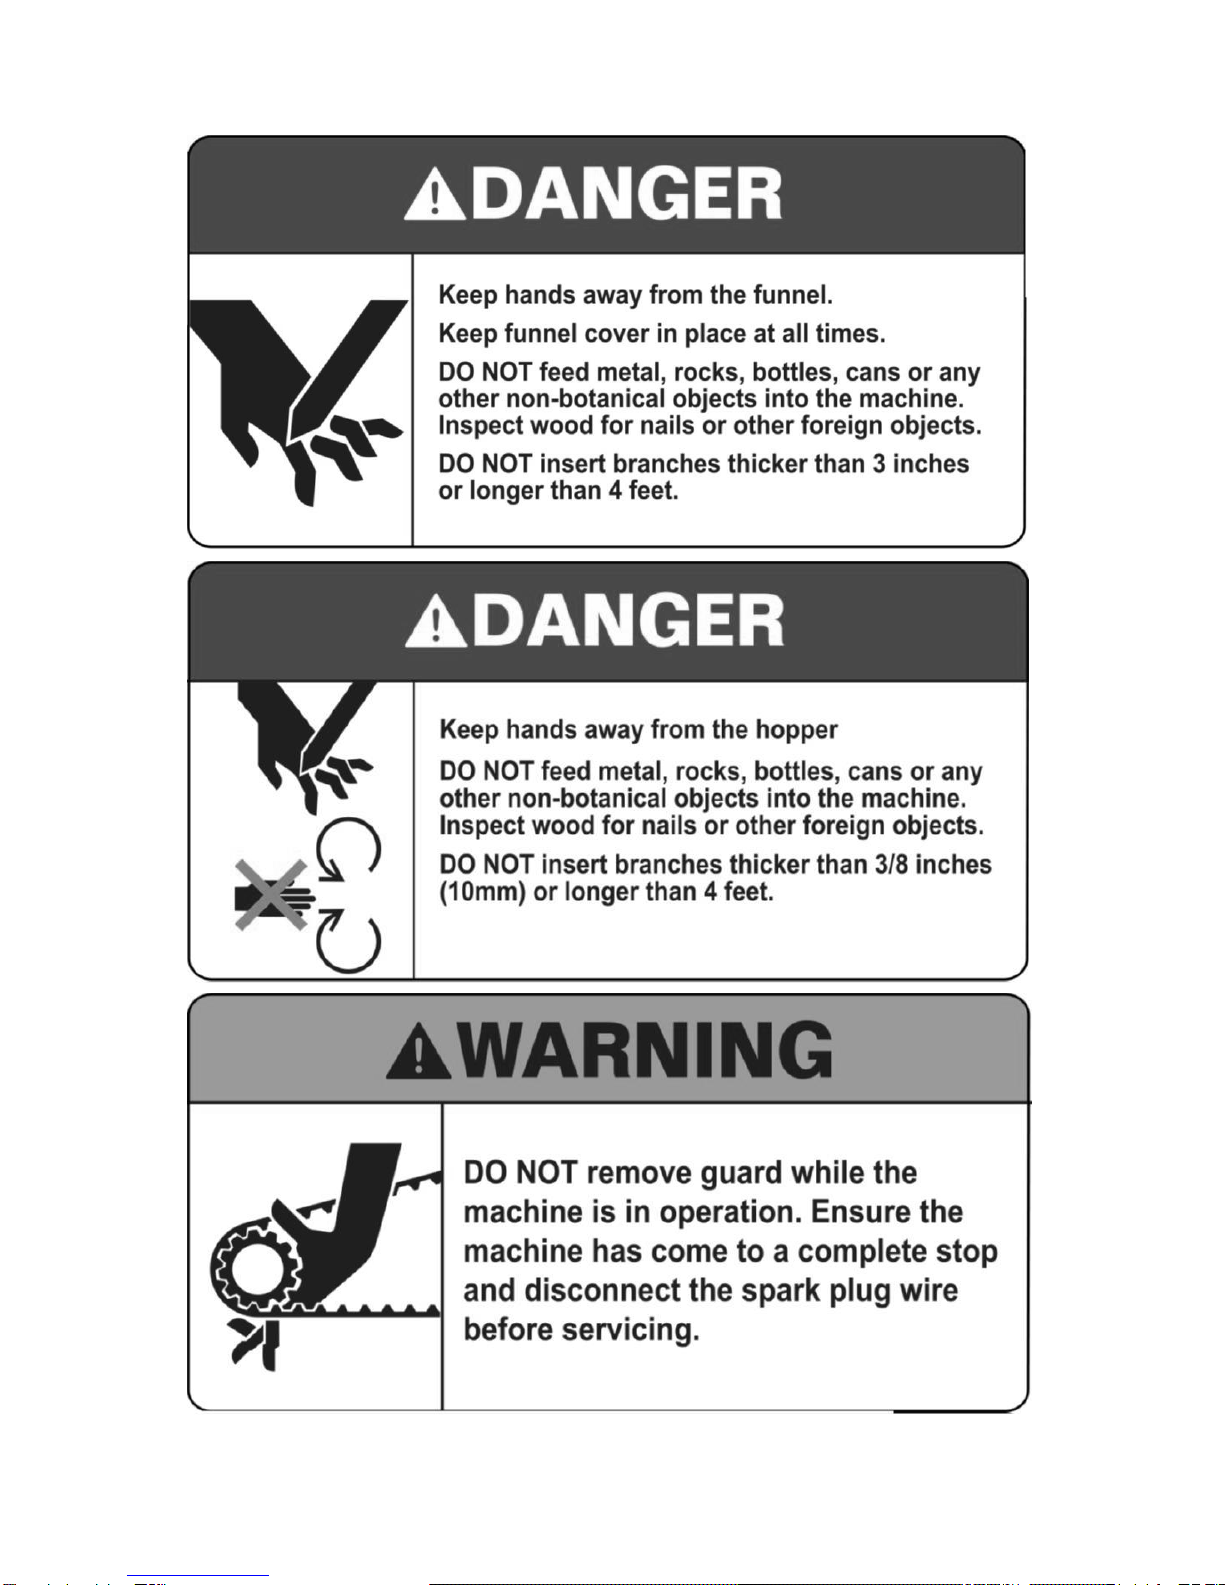
HAND SAFETY: DO NOT put hands or other body parts into hopper, funnel, or outlet while the
blades are turning. The Chipper Shredder can drag you into the blade, causing amputation of
fingers, hands or other body parts. DO NOT touch the exhaust during or immediately after
operation to prevent burns.
CLOTHING: DO NOT wear loose clothing, neckties, scarves, or jewelry which may get caught in
moving parts. DO NOT wear clothing or gloves with pull ties or straps. This type of clothing could
get tangled with material that is being shredded, pulling you into the Chipper Shredder.
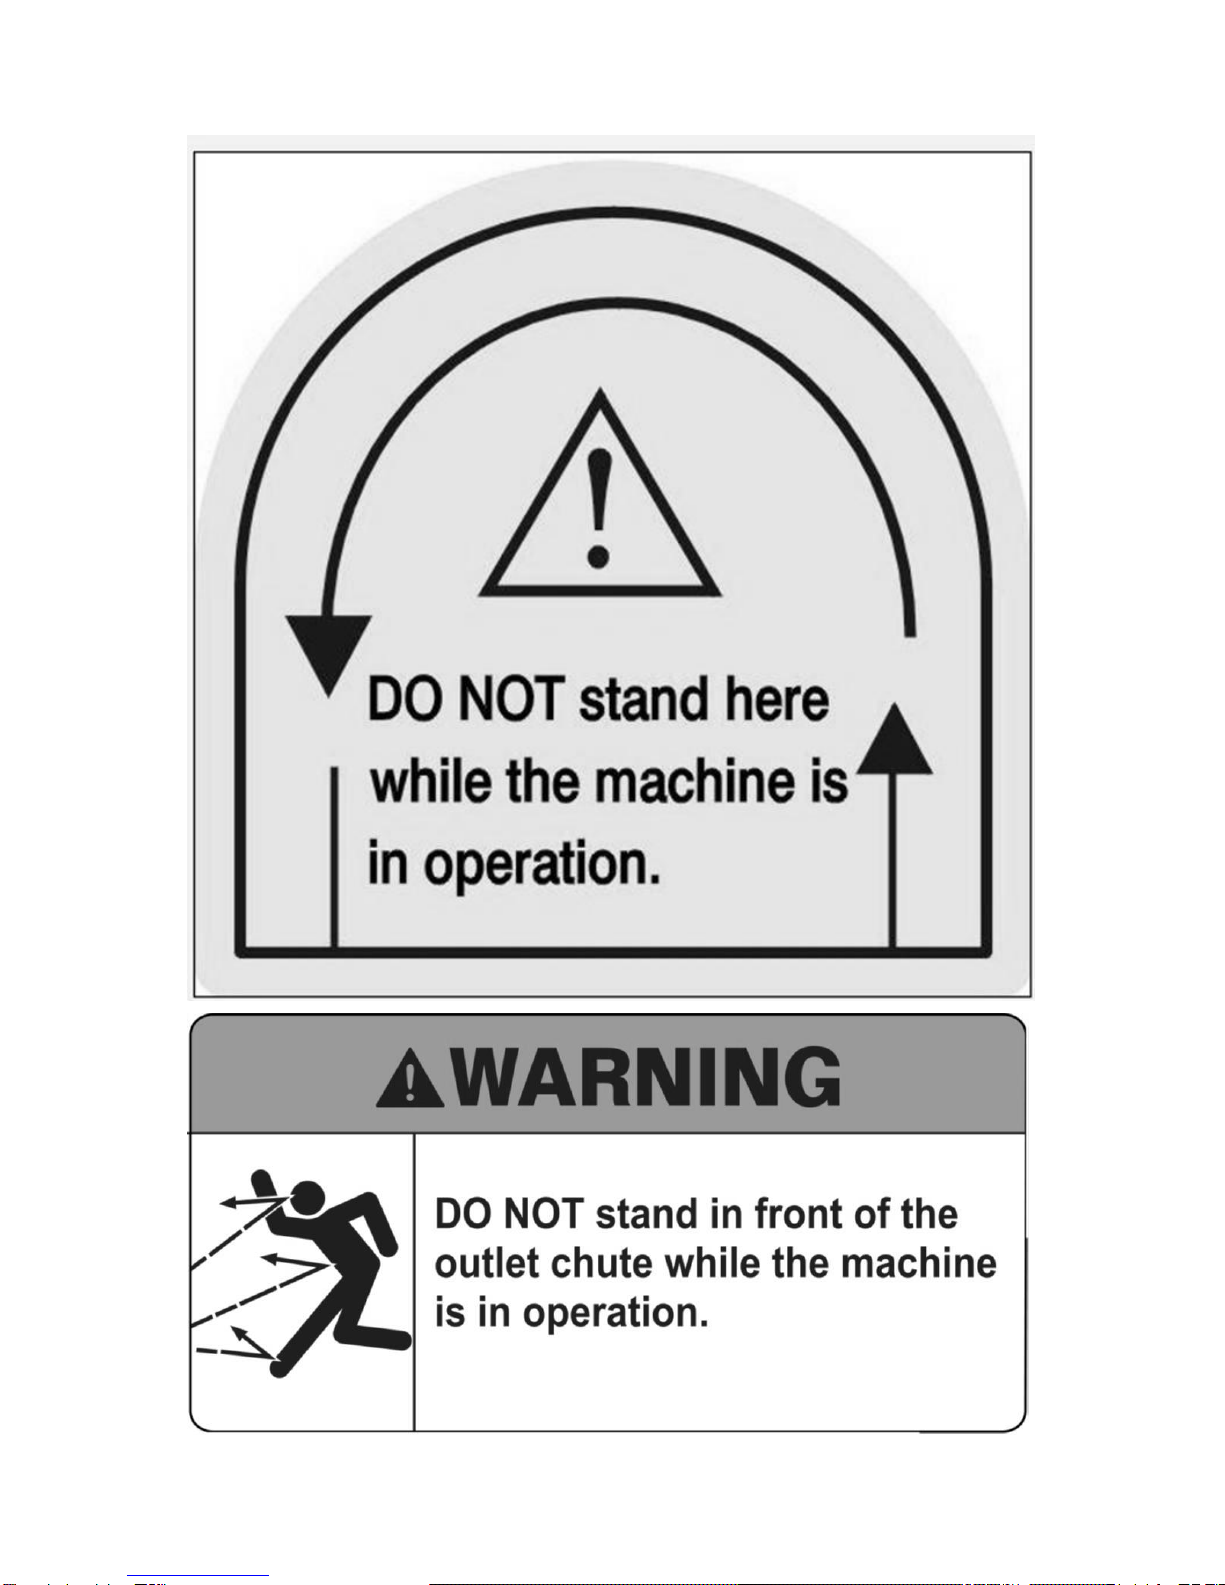
OPERATING LOCATION: Set up the Chipper Shredder on firm, level, grass or dirt. DO NOT set
up the Chipper Shredder on gravel, asphalt, concrete, or stone. The chips are expelled from the
machine with enough force to ricochet off of hard surfaces and cause serious injury. DO NOT set
up the Chipper Shredder in a location where sparks or heat from the motor could cause a fire.
SECURE FOOTING: Placing the Chipper Shredder on a slope or slippery surface may cause the
operator to fall into the machine, causing burns from the motor, or an amputation if an arm
accidentally goes into the hopper. Wear non-slip, closed toed shoes or boots to maintain secure
footing.
JAMS AND CLOGGING: Turn the Chipper Shredder OFF, allow all moving parts to come to a
complete stop, and disconnect the spark plug wire before attempting to free a jam or clog.
FEEDING MATERIAL: Hold branches and brush loosely, and allow the Chipper Shredder to draw
the material in. The machine sometimes will draw material in very quickly and your hand may be
drawn in if you are holding tightly. If the blades hit a hard object, or if the machine begins to make
an unusual noise or vibration, immediately shut the Chipper Shredder OFF.
TURN OFF THE CHIPPER SHREDDER: Turn OFF the machine, allow all moving parts to come to
a complete stop, and disconnect the spark plug wire before moving the machine, emptying the
bag, unclogging the inlets or outlets, filling the gas tank, or performing maintenance and repairs.
STARTING THE CHIPPER SHREDDER: Make sure the hopper and funnel are empty when
starting the machine. The pull start cord may stop suddenly causing the Chipper Shredder to fall
over or injure your hand or arm.
CLEANING THE CHIPPER SHREDDER: Allow the motor to cool off, then brush dust and chip
build-up off of the motor to prevent fire or motor overheating.

Page 8 of 31
Safety Labels

Page 9 of 31

Page 10 of 31

Page 11 of 31

Page 12 of 31
Main Parts of Chipper Shredder
Pic.1 Chipper Shredder Identification
Reference
Subassembly
A
Hopper
B
Motor
C
Chip Outlet
D
Chipper Funnel
E
Choke
F
Fuel Cock
G
ON/OFF Switch
H
Throttle
I
Fuel Tank Cap
J
Air Cleaner
K
Exhaust
L
Pull Start Handle
M
Battery Assembly
N
Tow Bar

Page 13 of 31
Site Considerations
Location
The Chipper Shredder must be placed on a firm, flat, grass or dirt surface to prevent the machine from
tipping. DO NOT place the machine on concrete, asphalt, or other hard surfaces. The chips could
bounce up from the hard surface and cause injury.
Working Clearances
Consider the length of the material to be processed through the machine and make sure that there is
enough height above the Chipper Shredder to accommodate the material.
Make sure the unit is located close to the area where the chips are going to be used to reduce
carrying.
Stay clear of the discharge area. Make sure all bystanders, children, pets, or objects that you do not
want damaged or covered in chips, are clear of the discharge area.
Assembly Instructions
⚠WARNING
This machine presents serious injury hazards to untrained users. Read through this entire manual to
become familiar with the controls and operations before starting the machine!
The major components of this Chipper Shredder have been assembled at the factory. Some minor
assembly is required. The assembly process will use all the parts and hardware listed in the inventory.
DO NOT attempt to start this machine until all assembly has been completed. Serious personal injury
and damage to the machine could occur.
1. Tip the Chipper Shredder over and remove the bolts shown in Pic.2. DO NOT turn the Chipper
Shredder over once it is full of oil and gas. The oil and gas will spill out.
For assembling the leg you’ll need: 2pcs Bolt M8x20, 1pc Bolt M8x200, 1pc Support Tube, 4pcs
Washer Ø8, and 3pcs Lock nut M8.
For assembling the wheel assembly you need: 4pcs Bolt M8x200, 2pcs Support Tube, 4pcs Washer
Ø8, and 2pcs Lock nut M8.

Page 14 of 31
Attaching the Leg (Pic. 2)
2. Attach the wheel assembly and the leg with the bolts that were removed in Step 1.
3. Fix the tow bar to the wheel assembly with the tow bar bolt that is attached.
4. Place the handle on the hopper and line up all of the holes. Secure it with flat washer (Ø8, 4pcs),
spring washer (Ø8, 4pcs) and bolt (M8x20, 4pcs). (See Pic.3.)
Installing the Handle (Pic. 3)

Page 15 of 31
5. Place the funnel over the studs in the side of the Chipper Shredder and secure it with flat washer
(Ø8, 3pcs), spring washer (Ø8, 3pcs), and locknut (M8, 3pcs). See Pic.4.
Pic.4 Funnel installation
6. Install the battery assembly to the front part of the machine using the bolts (M8 x 20, 2pcs) and
locknut (M8, 2pcs). See Pic.4.2. Take off the battery cover and carefully connect the cables to
the battery’s #2 terminal (‘+’in red and ‘-‘in blue) firmly. NOTE: battery not included.
Pic.4.2 Battery Assembly Installation
7. Place the battery cover and attach it with bolts (M8x20, 2pcs), a flat washer (Ø8, 2pcs), and a
spring washer (Ø8, 2pcs). See Pic.4.3.
Battery Cover Installation (Pic. 4)

Page 16 of 31
Before Each Use
⚠WARNING
This Chipper Shredder does not have oil in the motor when shipped. Add oil before operating the
Chipper Shredder, or the motor will seize.
Before operating, fill the motor with oil and gas according to the instructions.
Filling the Engine Oil
⚠WARNING
Never open oil fill port while engine is running. Hot oil can spray over face and body.
Place the machine on a level surface and remove the oil filler cap (Pic.5, 5.1).
Add engine oil to the upper level of the dipstick (Pic.6, 6.1).
Filling the Fuel Tank
The Chipper Shredder is powered by a four-stroke engine, which uses unleaded gasoline fuel. Use a
suitable funnel to transfer the fuel to the engines fuel tank, taking care not to spill any fuel or over fill
the fuel tank. The fuel tank should not be filled above the top of the fuel filter as shown in Pic.7

Page 17 of 31
Operating Instructions
⚠WARNING
Damage to your eyes, hands, and ears could result from using this machine without proper
protective gear. Always wear safety glasses, hearing protection, and leather gloves when operating
this machine.
Loose hair and clothing could get caught in machinery and cause serious personal injury. Keep
loose clothing and long hair away from moving machinery.
If you have never used this type of machine or equipment before, WE STRONGLY RECOMMEND
that you read books, trade magazines, or get formal training before beginning any projects.
This Chipper Shredder does not have oil in the motor when shipped. Add oil before operating the
Chipper Shredder, or the motor will seize.
Chipping/Shredding
Understand and follow all of the safety precautions listed in warning and caution areas before
operation.
This Chipper Shredder is intended for mulching garden and pruning waste such as green branches,
twigs, brush, vines, and long grasses. DO NOT use this Chipper Shredder for chipping construction
debris, plastic, paper products, rope or twine, or any material that may contain metal.
Note: Remove any nails, rope, twine, or rocks that may be imbedded in roots, before inserting
material into the Chipper Shredder.
To Operate the Chipper Shredder
⚠WARNING
Carbon Monoxide Warning. The running engine gives off carbon monoxide, a
poisonous gas that can kill you. You CANNOT smell it, see it, or taste it. If you start to feel
sick, dizzy, or weak while using the chipper, shut off the engine and get to fresh air RIGHT
AWAY. See a doctor. You may have carbon monoxide poisoning.
1. Place the Chipper Shredder on a flat, firm, dirt or grass surface and point the outlet in a safe
direction.
2. Check the oil and gas levels before starting the motor.
3. Place the bag over the chute and tie it securely in place.
4. Make sure the hopper and funnel are empty before starting the engine. If there is material in the
hopper or funnel, the pull start cord may stop suddenly causing the Chipper Shredder to fall over,
or causing injury to your hand or arm.
5. Put on eye and ear protection and gloves, start the Chipper Shredder as instructed in the
manual, then set the throttle to FAST.
6. Stand to the side of the hopper and make sure you have a stable stance and firm footing.
To Start the Chipper Shredder
1. Turn the fuel lever to the ON position (Pic.8, 8.1).
2. Set the choke lever to the ON position (Pic.9, 9.1).

Page 18 of 31
3. Use the electric starter to start: Turn the key (Pic.10, 10.2) from “OFF” to “ ON” and then to
“START”.
4. If the electric starter doesn’t work, you can also use the recoil starter to start: Turn the engine
ON/OFF switch to the ON position (Pic.10, 10.1).
5. Hold down the engine firmly with one hand on the frame. With the other hand grip the recoil
starter cord handle and pull slowly until resistance is felt indicating that the recoil starter is
engaged. When resistance is felt pull the cord sharply (Pic.11). Continue this procedure until the
engine starts.
6. When the engine has been successfully started and is running smoothly return the choke lever to
the OFF position (Pic.12, 12.1).

Page 19 of 31
When the engine is running, the speed can be adjusted by moving the throttle control lever (Pic.13,
13.1) to the high (indicated by a hare), medium or low position (indicated by a tortoise).

Page 20 of 31
To Stop the Chipper Shredder
To stop the engine, turn the key (Pic .10, 10.2) to the OFF position or you can stop the engine by
turning the engine ON/OFF switch to the OFF position (Pic.14, 14.1).
When the engine has stopped and before storing, turn the fuel lever to the OFF position (Pic.15,
15.1).
To Shred Twigs, Leaves, and Brush
1. Slowly pour the material into the hopper. DO NOT try to stuff too much material in at one time or
the machine will jam.
2. Use a 1" diameter branch to push the material into the hopper if necessary (Pic.16). DO NOT use
your hands!
Pic.16 Shredding leaves
Table of contents