3
SERVICING OF A DOUBLE-INSULATED
APPLIANCE
In a double-insulated
product, two systems of
insulation are provided
instead of grounding. No
grounding means are
provided for a double-insulated product, nor
should grounding means be added to the
product. Servicing a double-insulated product
requires extreme care and knowledge of the
system, and should be done only by qualified
service personnel. Replacement parts for a
double-insulated product must be identical to
the original parts. A double-insulated product
is marked with the words “Double Insulation”
or “Double Insulated”. Product may also be
marked with symbol shown in Figure 1.
Do not use pressure that
exceeds the operating pressure of any of
the parts (hoses, fittings, etc.) in the
pressurized system. Ensure all equipment
and accessories are rated to withstand the
maximum working pressure of the unit.
Explosion hazard.
•NEVER spray flammable liquids or use
pressure washer in areas containing
combustible dust, liquids or vapors.
•Never operate this machine in a closed
building or in or near an explosive
environment.
Do not spray electrical
apparatus and wiring.
•Never disconnect the high pressure
discharge hose from the machine while
the system is pressurized. To depressurize
machine, turn power and water supply off,
then press gun trigger 2-3 times.
•Never permanently engage the trigger
mechanism on the gun.
•Never operate the machine without all
components properly connected to the
machine (handle, gun/wand assembly,
nozzle, etc.).
Equipment damage.
•ALWAYS turn water supply “ON” before
turning pressure washer “ON”. Running
pump dry causes serious damage.
•Do not operate the pressure washer with
the inlet water screen removed. Keep
screen clear of debris and sediment.
•NEVER operate pressure washer with
broken or missing parts. Check equipment
regularly and repair or replace worn or
damaged parts immediately.
•Use only the nozzle supplied with this
machine.
•Never leave the wand unattended while
the machine is running.
•Never attempt to alter factory settings.
Altering factory settings could damage the
unit and will void the warranty.
•Always hold gun and wand firmly when
starting and operating the machine.
•NEVER allow the unit to run with the trigger
released (off) for more than one (1) minute.
Resulting heat buildup will damage pump.
•Pressure washer is not meant to pump hot
water. NEVER connect it to a hot water
supply as it will significantly reduce the life
of the pump.
•NEVER store the pressure washer
outdoors or where it could freeze. The
pump will be seriously damaged.
•Release trigger when changing from high
to low pressure modes. Failure to do so
could result in damage.
Keep hose away from sharp
objects. Bursting hoses may cause injury.
Examine hoses regularly and replace if
damaged. Do not attempt to mend a
damaged hose.
EXTENSION CORDS
If using an extension cord,
use only grounded, three wire extension
cords that are in good condition.
Use of an extension cord is not recommended.
If one is used, then use only wire sizes and
lengths shown in chart below.
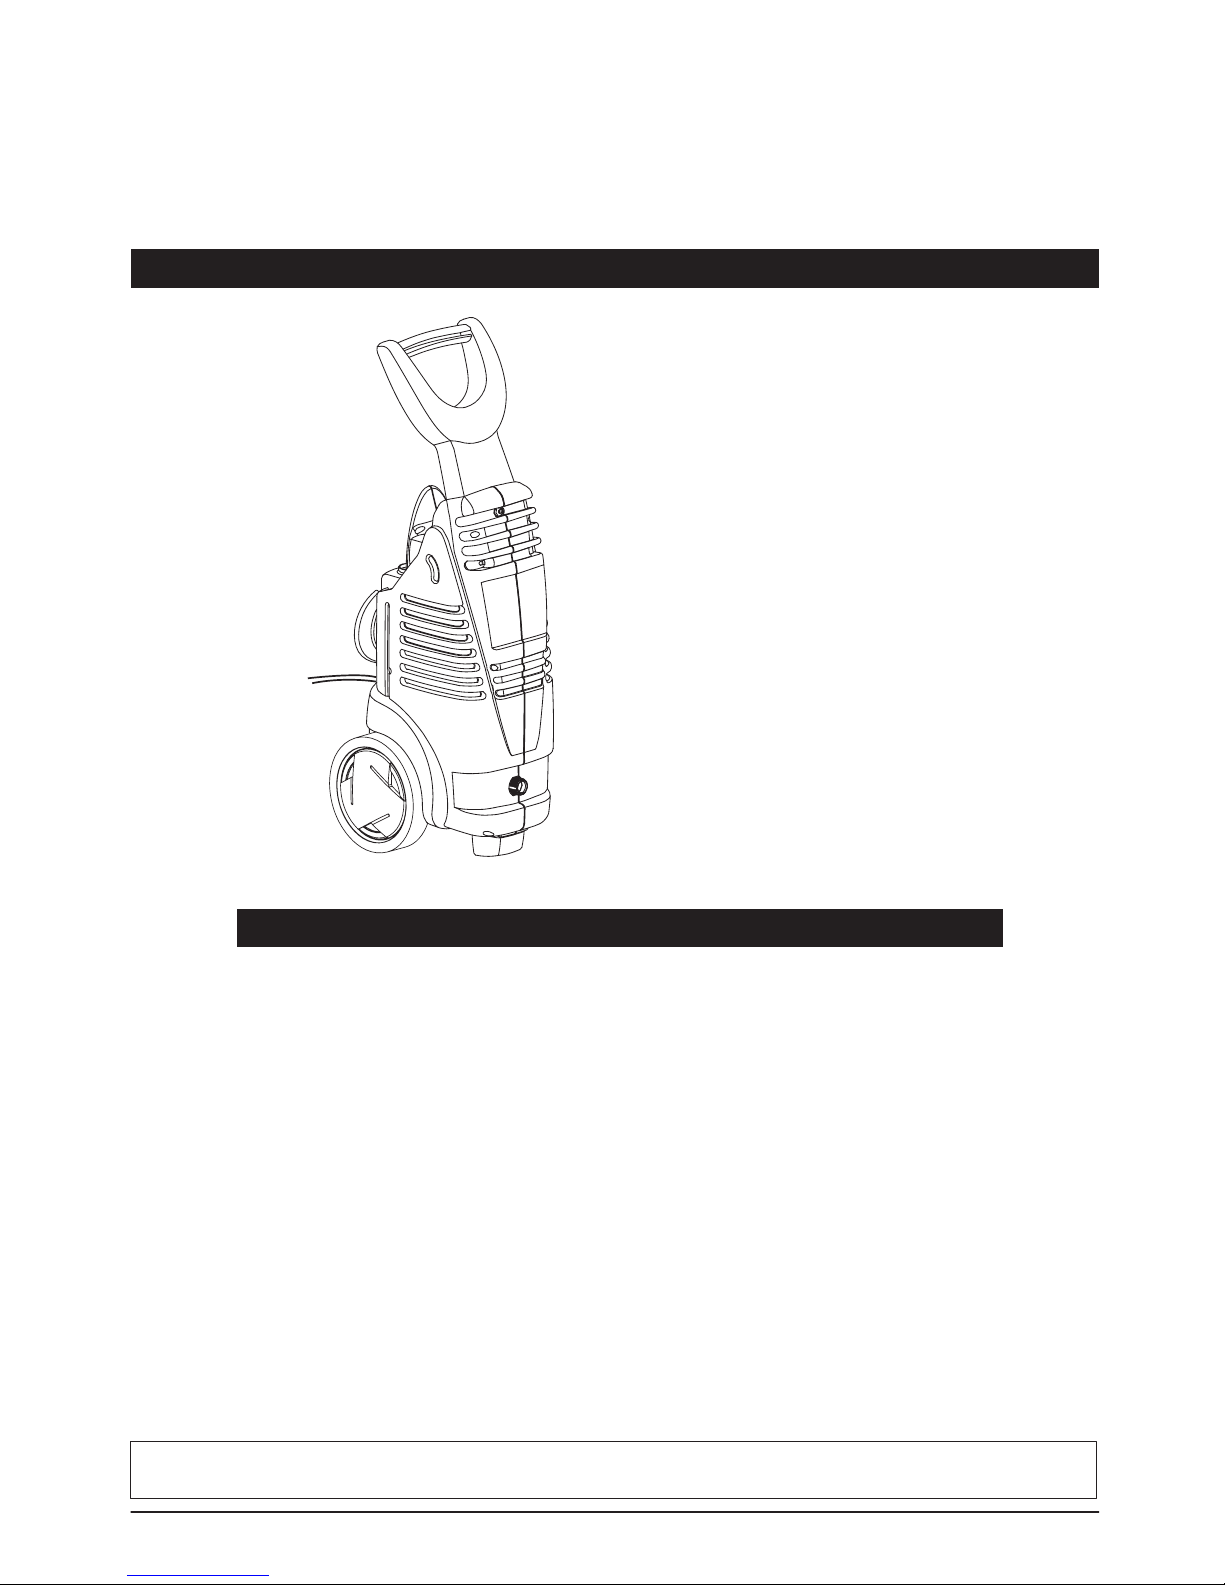
Safety and Warning Information (Continued)
Pressure Washer
!WARNING
!CAUTION
!WARNING
!WARNING
!WARNING
!WARNING
Figure 1 - Double
Insulated symbol
!DANGER